Create/Delete Workspace
Create Workspace
When you log in to Mockitt for the first time, after selecting your usage intent, Mockitt will create a default Workspace for you. You can name the Workspace, invite members, and set up product descriptions.
If you already have a Workspace, you can create a new one by clicking the workspace switcher dropdown in the bottom-left corner. Note that an individual user can also create an Enterprise Workspace.
Workspace Settings
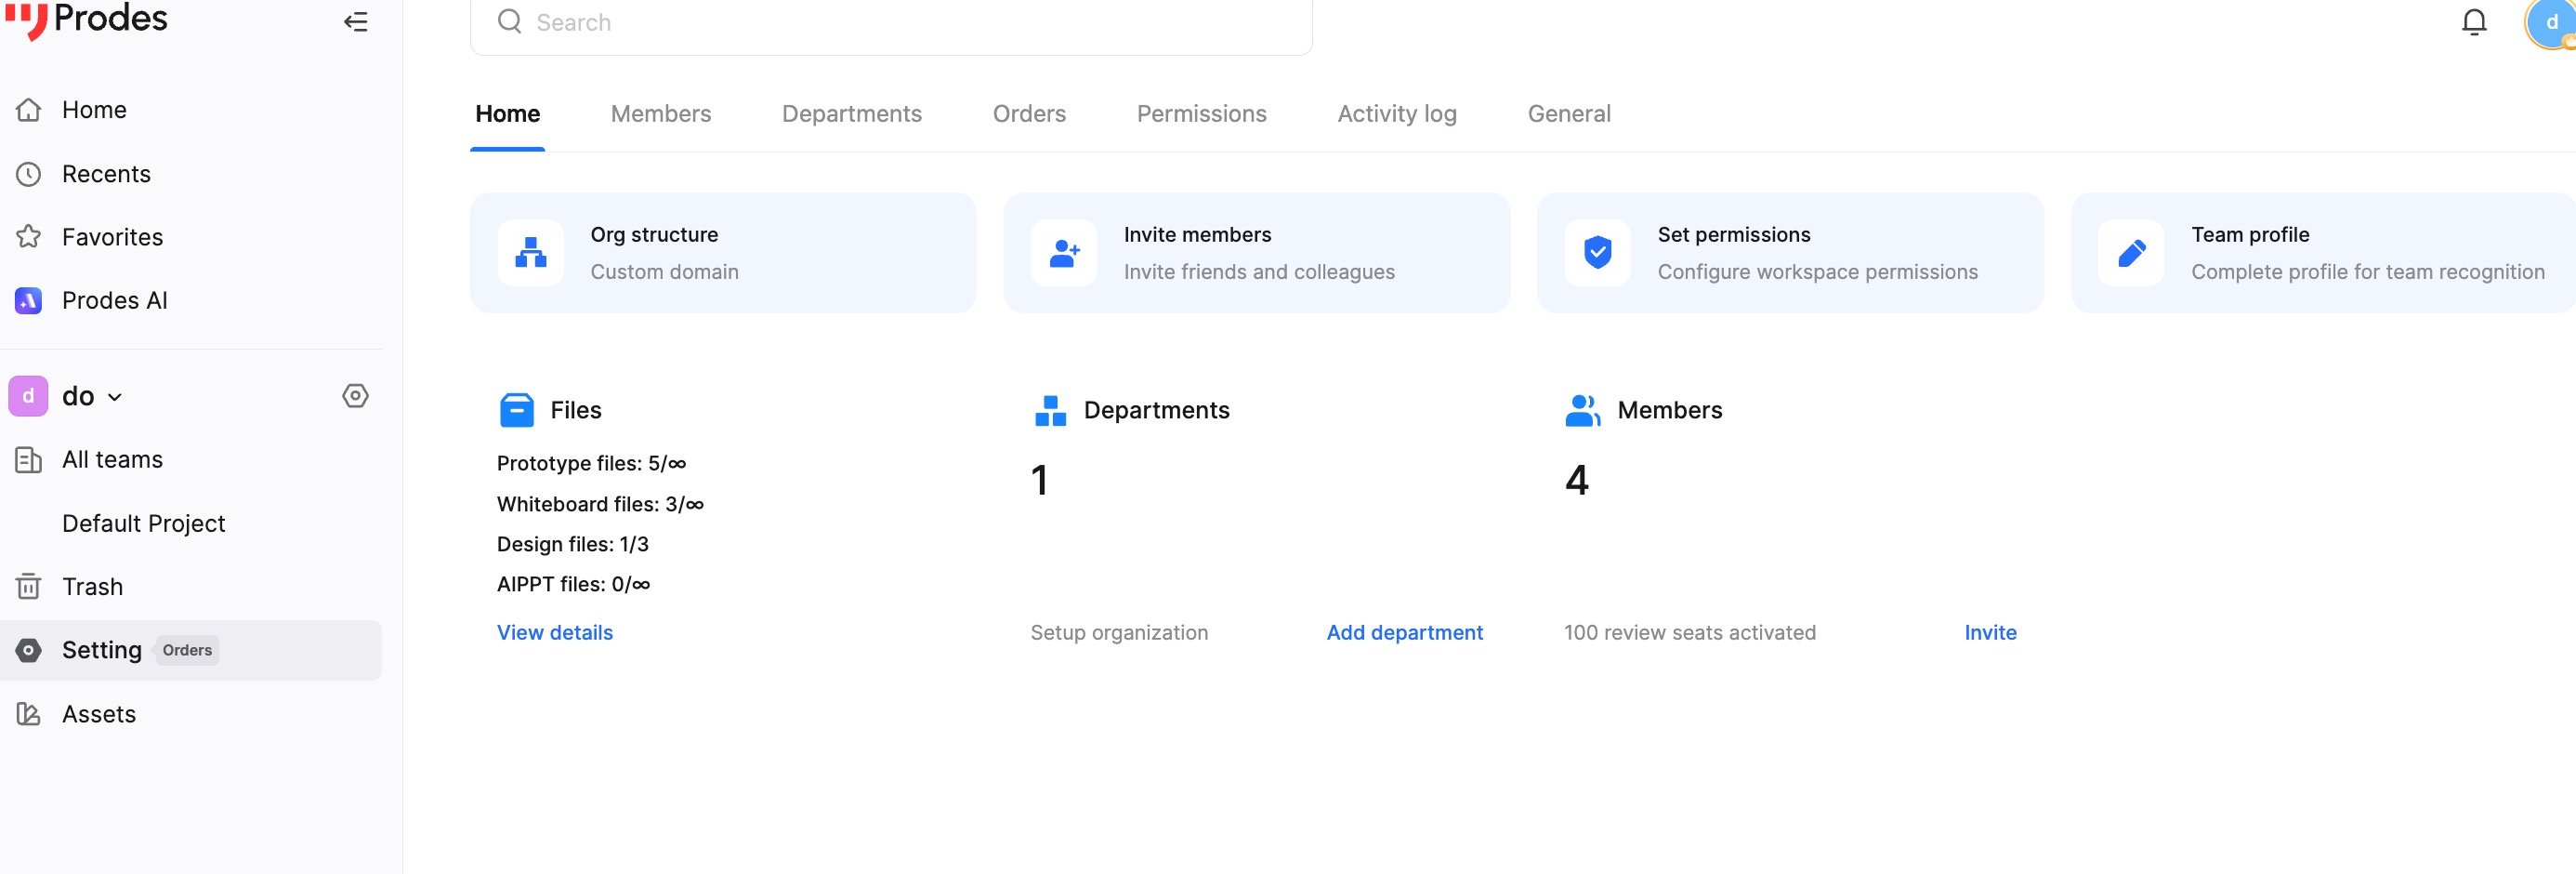
After switching to the target Workspace, click Workspace Settings in the bottom-left corner to enter the management interface.
Here, you can manage members, manage permissions, query operation logs, modify basic workspace information, and manage orders and invoices.
1. Member Management
In the Member Management page, you can view the current list of members. You can invite new members, edit existing member information, assign seats, or remove members who are no longer needed. This allows you to flexibly adjust the team composition to adapt to changes.
2. Permissions
In the Permissions page, you can configure member permissions in detail. You can specify permission scopes for different roles to manage the team flexibly based on responsibilities.
3. Operation Logs
In the Operation Logs page, you can view the records and history of member activities. Querying logs helps you understand member activities, detect potential issues in time, and track project changes and updates.
4. Workspace Info
In the Workspace Info page, you can modify basic information such as the Workspace name, size, and industry. Keeping this information up-to-date ensures data accuracy.
5. Orders and Invoices
In the Orders and Invoices page, you can view and manage subscription orders and invoice information. The Workspace Owner can check order status and details, and download relevant invoices.
Transfer Workspace Ownership
You can transfer the Workspace (Owner permission) to another member following the process below.
Note: The Workspace must have two or more members/seats to perform a transfer operation.
In Member Management, select the account that will receive the ownership. Click the dropdown button, select Owner, and confirm the transfer.
After transferring ownership, the original Owner will become a regular member of the Workspace.
Dissolve Workspace
Dissolving a Workspace is a high-risk operation. Currently, users can only delete expired Workspaces.
A Workspace can be deleted 60 days after it has expired. This operation must be performed by the Workspace Owner.
Please Note: Deleting the Workspace will permanently delete all files and related data within it.