Share
In Mockitt, you can use the Share feature to distribute your prototype files. Currently, the Share function offers two modes: Default Share and Advanced Share, catering to different sharing needs.
Default Share
Create a Share Link
After finishing your prototype, you can create a default share link by following these steps:
- In the editor, click the Share button in the top right corner.
- Select Default Share in the share panel.
The Default Share function allows people with access to view all content in your prototype file.
Access Permissions
In Default Share, you can set access permissions for the share link:
- For prototype files in your Personal Workspace, the default share permission is "Everyone with the link".
- For prototype files in a Team Workspace, you can choose "Everyone with the link" or "Team members only".
Sharing Methods
Default Share provides three ways to share:
- Copy Link: Copy the share link to send to others.
- Scan Code: Click Scan Code to generate a QR code for your prototype. You can take a screenshot and send the QR code to others, allowing them to scan and view your prototype on mobile devices.
- Embed: This allows you to embed your prototype into third-party software. Mockitt supports embedding via Embed Code. Copy the corresponding code and paste it into third-party platforms to embed the Mockitt file.
Share Settings
In Default Share, you can configure the following settings:
- Password Protection: Set a password for your prototype file. Anyone with the link will need to enter this password to view the content.
- Show Annotations: Enable this to let others see your annotations in the prototype. If disabled, they can only see the prototype without annotations.
- Allow Comments: Enable this to allow viewers to add comments. If disabled, they cannot comment.
- Skip Mobile Prompt: If unchecked, users opening the link on a mobile phone will see a prompt page to choose how to view the file. If checked, the link will open the prototype directly.
- Highlight Hotspots: If enabled, clickable areas (hotspots) will flash or highlight when the user clicks on a non-interactive area during preview.
Advanced Share
Advanced Share provides more options, including share title, share type, basic settings, and visible canvases.
Create Advanced Share
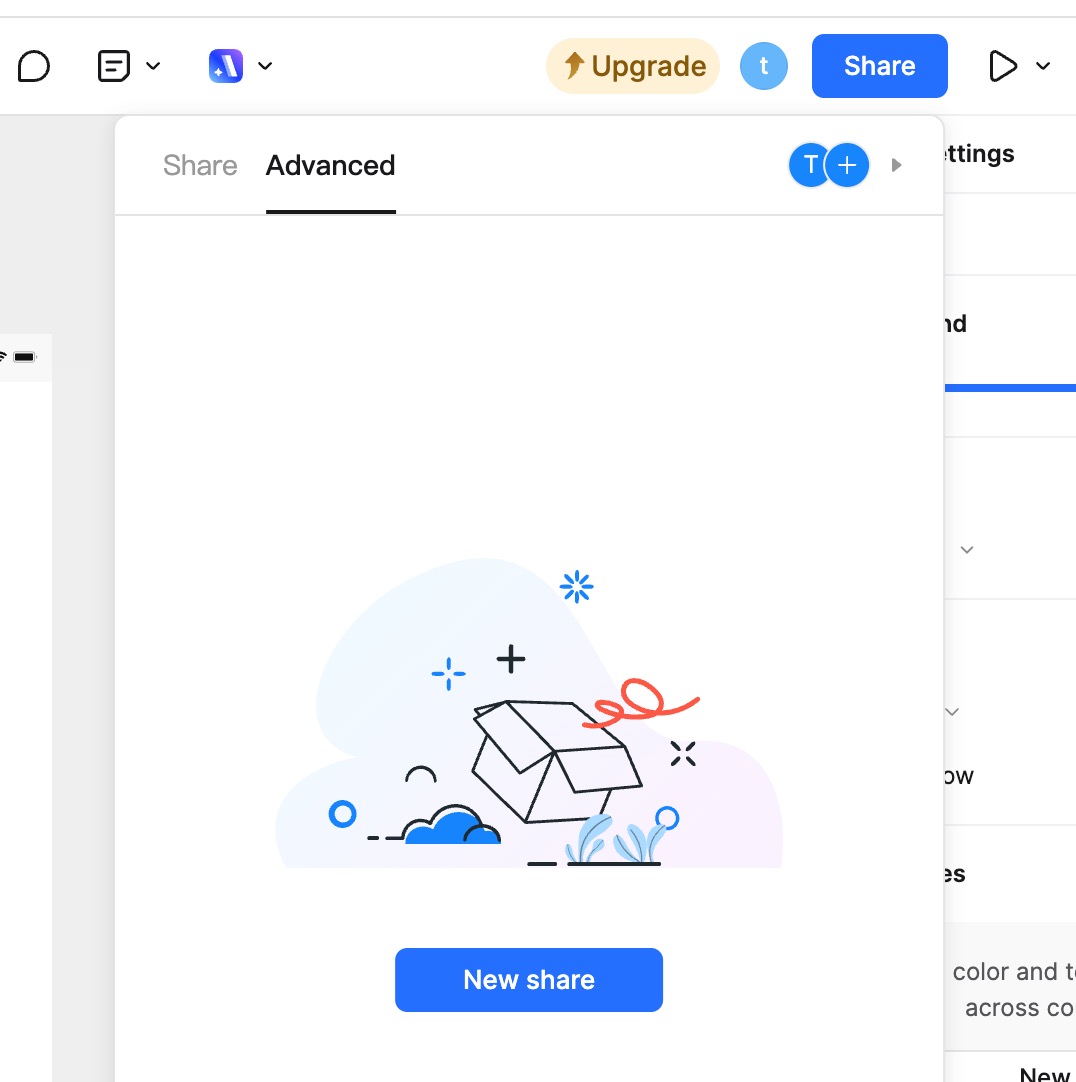
In the editor, click the Share button in the top right corner and select Advanced Share (or create a new custom link) to start.
Set Share Title
You can set a title for each Advanced Share link to better manage different versions or audiences.
Set Default View Mode
There are two view modes: Grid and Presentation.
- Grid Mode: The link opens in a view where all pages are visible.
- Presentation Mode: The link opens in a simulated device mode, allowing for interactive prototype testing.
Basic Settings
In Advanced Share, you can configure the same basic settings as Default Share (Password, Annotations, Comments, etc.).
Visible Canvas
Advanced Share allows you to select specific canvases (pages) to share. You can choose to share all or only a subset of your project. Note that sharing a canvas includes all pages/screens within that canvas structure.
Share from Left Panel
In the editor's left panel:
- Right-click a Canvas and select Copy Share Link to create a link starting from that specific canvas.
- Right-click a Page within a canvas and select Copy Share Link to create a link starting directly from that specific page.
Share from Read-Only Mode
In Read-Only mode (e.g., when viewing someone else's file), you can share the prototype with others. The link generated will open directly in Read-Only mode. Users will only see the parts of the canvas that were originally shared with you.
Share from Presentation Mode
In Presentation mode, you can share the prototype by clicking the Share button in the top right corner. The link will open directly in Presentation mode, allowing users to interact with all visible canvases.
Close Share
Once a prototype is shared, anyone with the link can view it (subject to permissions).
1. Revoke Default Share To stop sharing, simply change the Link Permission status in the Default Share panel to "Off" or restricted. The link will become invalid. Re-enabling it will make the link active again.
2. Delete Advanced Share For Advanced Share links, you can delete specific links. Once deleted, users can no longer access the prototype via that specific URL.
FAQ
Can I set an expiration time for the share link? Yes, Advanced Share allows you to set an expiration time for the link.
Will changes to the file or share settings sync automatically?
- For Default Share, any changes to the file content or share settings will automatically sync to the existing link.
- For Advanced Share, if you modify the visible canvases in the settings, refreshing the link will show the changes. However, if you change the "View Mode" (e.g., from Presentation to Overview), previously shared links will retain their original mode setting.
Can I view the view count of the shared prototype? Yes, you can view the number of views in the Share panel.