Table Widget Usage FAQs
The Table widget is one of the built-in widgets provided by Mockitt, used to insert and edit table content in prototype designs.
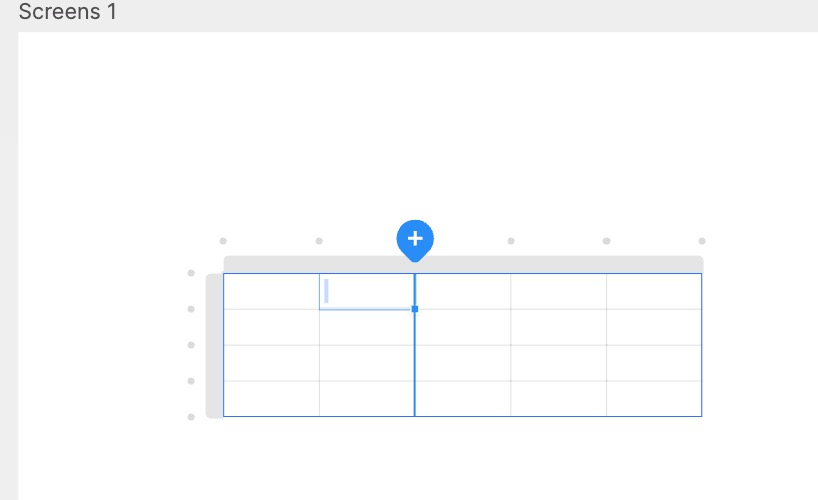
Insert Table Widget
You can drag and drop the Table widget directly from the Widgets panel onto the canvas to start editing and filling in content.
Line Breaks
To insert a line break within a table cell, use the shortcut Shift + Enter.
Adding and Modifying Tables
- Drag and Drop: The Table widget is located in the Built-in Widgets category. Drag it onto the canvas to use it.
- Merge Cells: Select the cells you want to merge, right-click, and choose Merge Cells.
- Auto-fill Cells: After filling in a cell, hover your mouse over the bottom-right corner of that cell. The cursor will turn into a black cross. Drag it to fill adjacent cells.
- Set Interactions: Select a specific cell, then add an interaction event in the right panel to make the cell clickable.
Adding/Deleting Rows and Columns
Double-click to Edit: Double-click a specific cell to select it, then right-click. You can choose to add or delete rows and columns relative to that cell.
Quick Add Indicators: Each row and column has corresponding gray dots on the edges. Hover your mouse over the position where you want to add a row or column, and the gray dot will turn into a blue plus sign. Click it to add a column to the right or a row below.
Properties Panel: Select the entire Table widget. In the Appearance panel on the right, you can modify the Rows and Columns count to add or delete them.