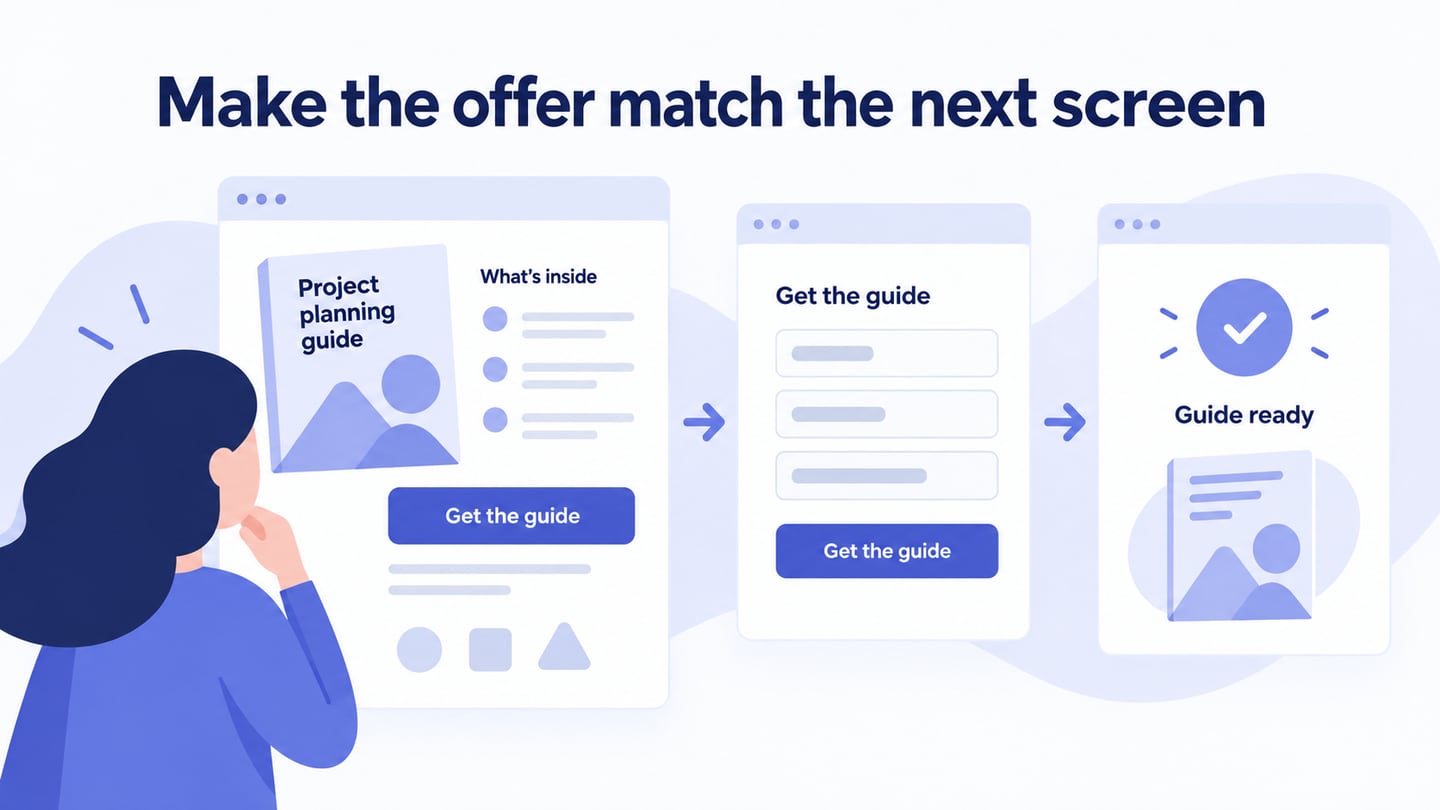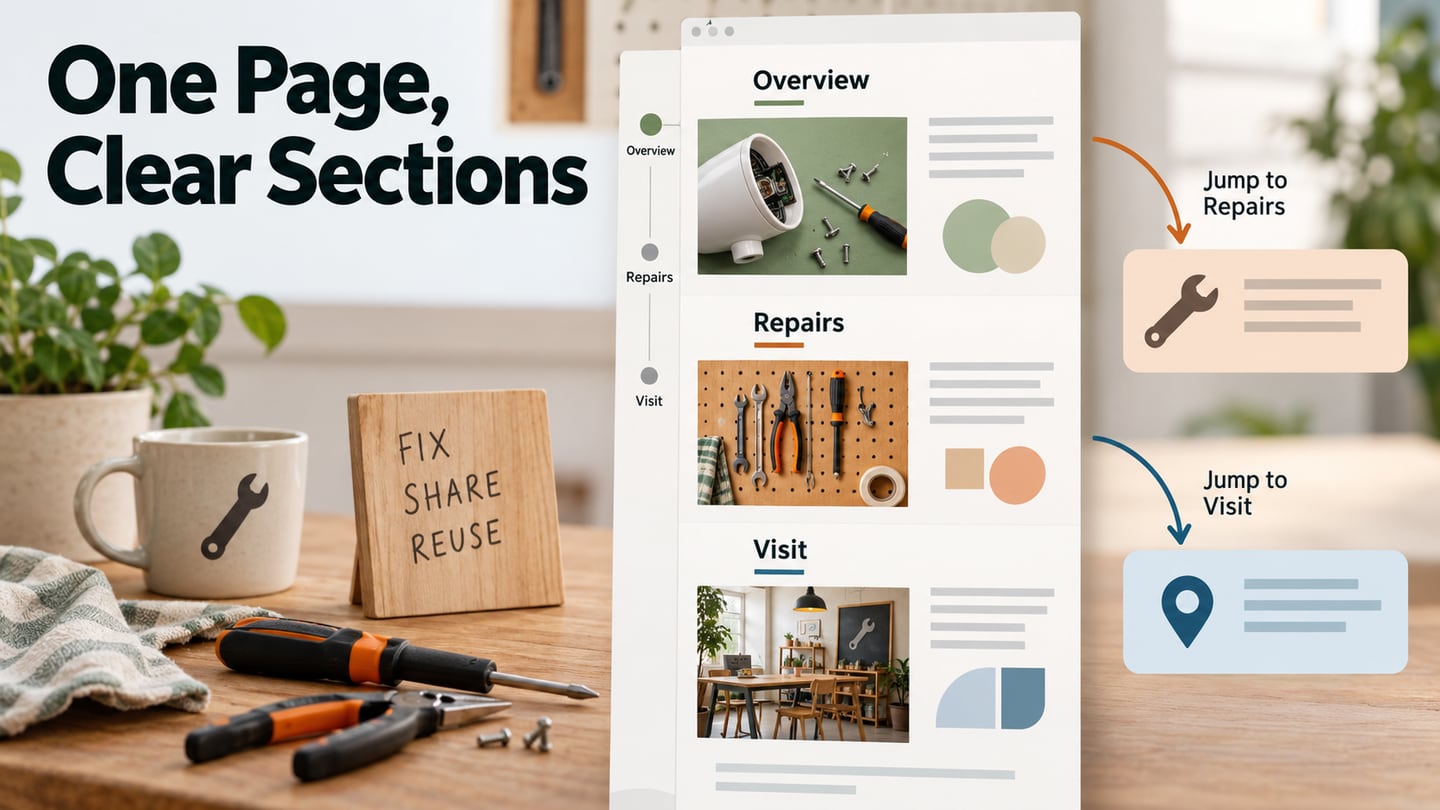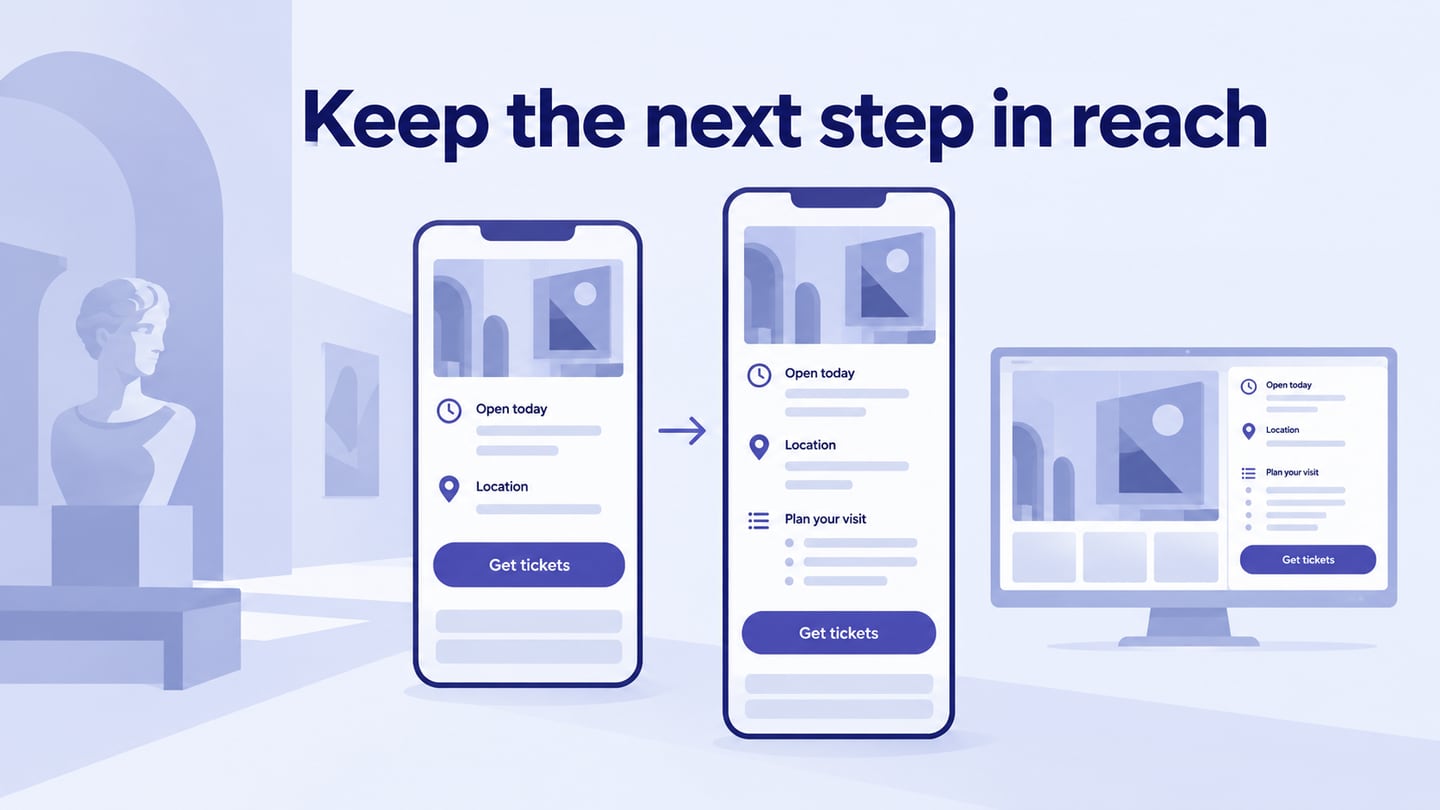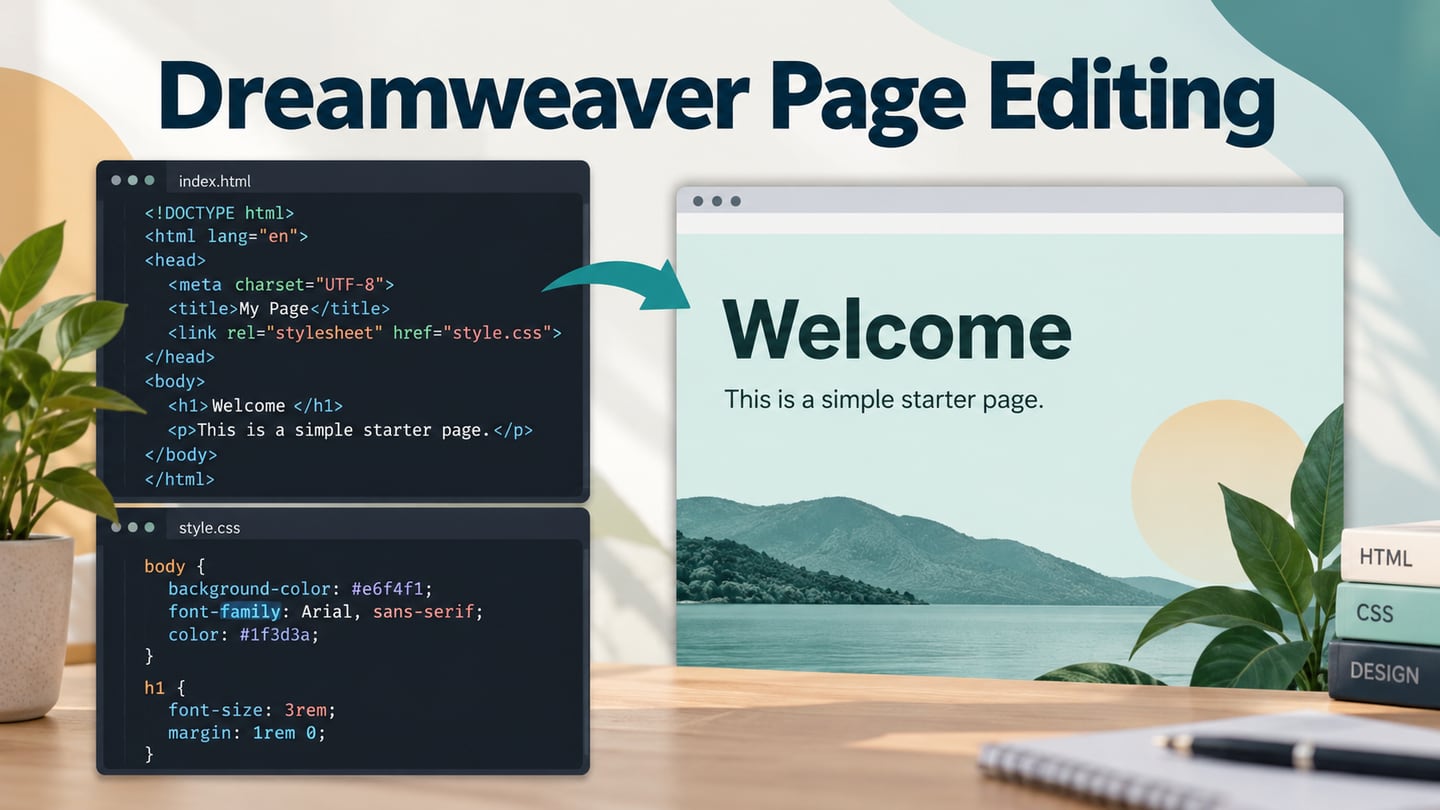
Google Web Designer is a visual authoring tool for HTML content, animation and advertising creatives. It also supports an ordinary HTML webpage, so the first decision is the document you need, not whether every project is an ad. If you want to agree the layout and click behavior before implementation, a Mockitt website prototype can make that discussion concrete. The workflows below keep those two outputs separate: an authored HTML document and a reviewable interface prototype.
Create an HTML Page in Google Web Designer
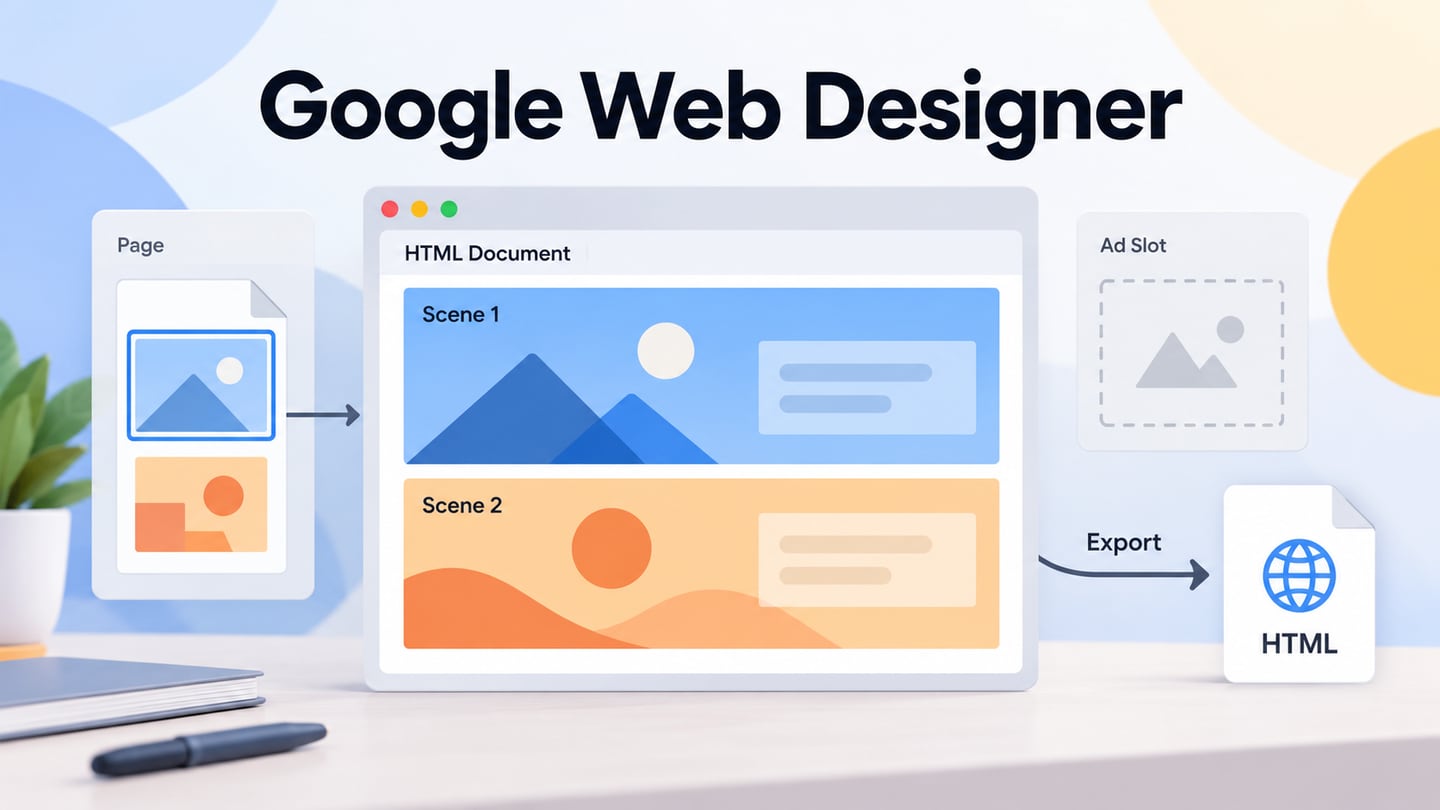
Google’s document-type guide distinguishes HTML webpages from ad, video and image formats. An HTML document with pages contains different scenes within one document; those scenes are not separate website URLs. Choose that model when the experience belongs in one document. A site that needs independent pages, a CMS or transactions also needs an implementation plan beyond the visual layout.
Step 1: Install the tool and create a file. Download Google Web Designer from its official website and follow the installer for your operating system. Launch it and use File > New. Start with a small business-page task, such as introducing a record collection, rather than trying to build navigation, a catalogue and checkout at once.
Step 2: Choose the HTML document and its settings. Select HTML for a basic webpage, or HTML with pages if the design needs scenes in the same document. Set the file name and storage location, then choose the animation mode appropriate to the work. Keep the name descriptive so the editable project and published output are easy to distinguish. Advertising environments and ad-slot dimensions belong to the relevant ad workflow; they are not a substitute for planning a website’s structure.
Step 3: Place and style the content. Add text, images and other required elements on the stage, then adjust their size, position, color and alignment through the available properties. Begin with the page heading, one image and a meaningful action. Check whether the text still fits at the widths you intend to support. Design view helps with composition; Code view lets you inspect and edit the underlying work.
Step 4: Connect an event to an action. Give the relevant element an identifiable name or ID, then add an event through the Events panel. The event dialog separates the trigger, event, action, receiver and any extra configuration. A click can change another element’s style or reveal a different scene. Simply naming text “Menu” does not create navigation: specify what opens, what closes and how the reader returns.
Preview the document in a browser to try the event; the authoring stage alone does not demonstrate its behavior. For a collection page, check the action that reveals a record’s details and the action that returns to the overview. Verify the exported files in the intended environment before treating the work as a published website.
Visual tools reduce some manual work, but understanding HTML structure remains useful when checking document semantics, layout and implementation. Responsive behavior needs deliberate design and testing. If the deliverable is a promotional creative instead, establish the message and placement through a web banner design brief before choosing its ad format.
Use a prototype when the main uncertainty is the visitor’s path or the content hierarchy. It lets stakeholders review a proposed interface before the implementation details are settled. Use the HTML authoring workflow when you are ready to create and validate that document.
Plan the Interface in Mockitt
Mockitt provides an online environment for arranging interface elements, connecting screens and sharing the resulting prototype. That makes it useful alongside HTML authoring: a reviewer can discuss a confusing action or missing detail without first reading code. A prototype preview remains a design artifact; it does not establish that hosting, data storage or a production checkout has been implemented.

Useful Mockitt Features for This Task
- Use available components and templates as a starting point, then replace sample content with the actual headings, images and actions your page needs.
- Reuse a styled component when several record cards or navigation items need the same visual treatment.
- Connect an action to its destination screen or state. A Link Area represents an interactive region; it is not a command for importing a design file.
- Choose transitions and interaction triggers that explain the intended behavior without relying on a fixed count of effects.
- Use a state change to make a small interaction visible, such as selecting a record before displaying its details.
- Keep review comments near the relevant screen and share the prototype with the people making the design decision.
Five Steps for a Website Prototype
For a fictional record shop, plan a collection overview and a selected-record detail before writing the webpage. The retained screenshots below show an earlier Mockitt interface; they illustrate project setup and widgets rather than Google Web Designer.
Step 1: Start a Prototype Project
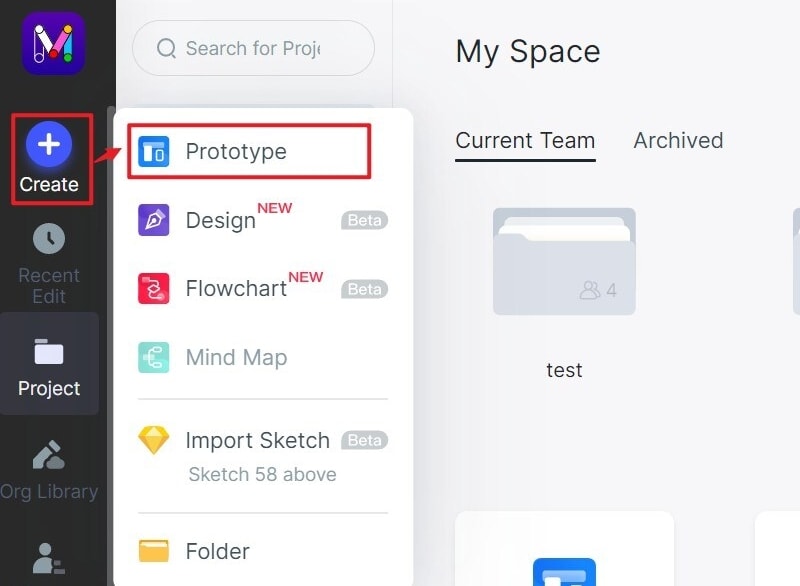
Create a prototype project from the workspace. Give it a task-specific name, such as “Record collection preview,” so reviewers know which part of the website they are evaluating. The earlier capture shows Prototype under the Create menu.
Step 2: Set the Page Size
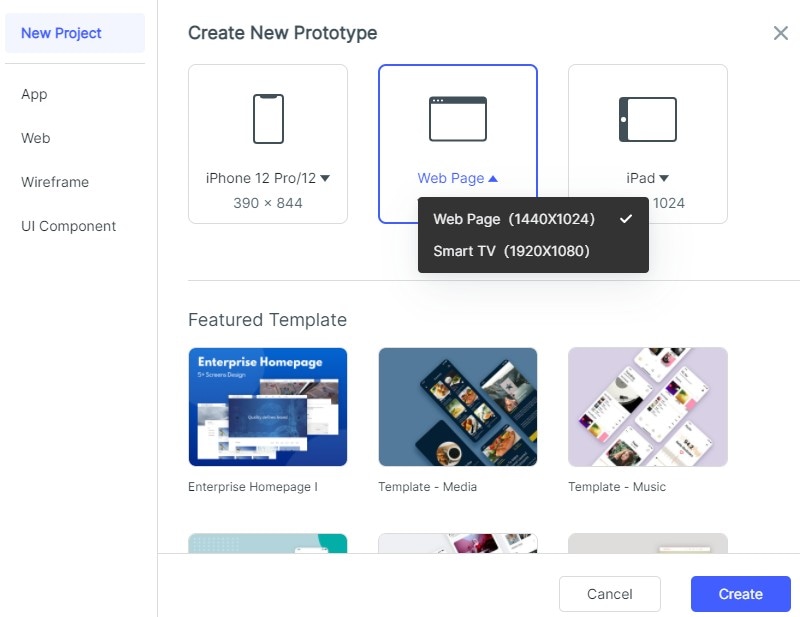
Choose a web-sized canvas or the closest appropriate starting preset. Plan a separate narrow layout if the same content must work on a phone. A device preset sets up a design area; it does not prove that a production webpage will resize correctly.
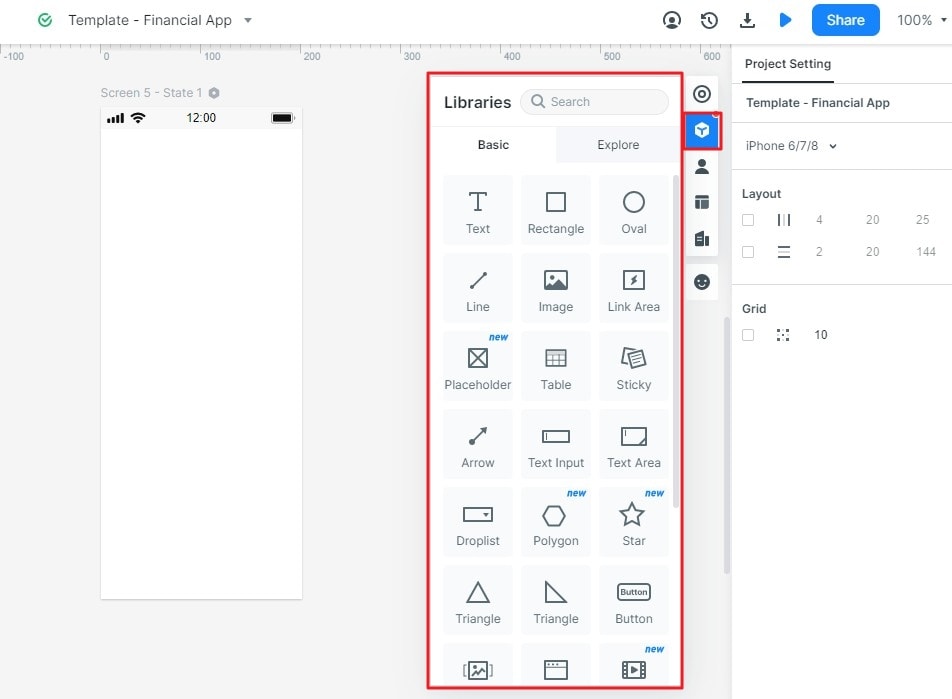
Step 3: Add and Reuse Widgets
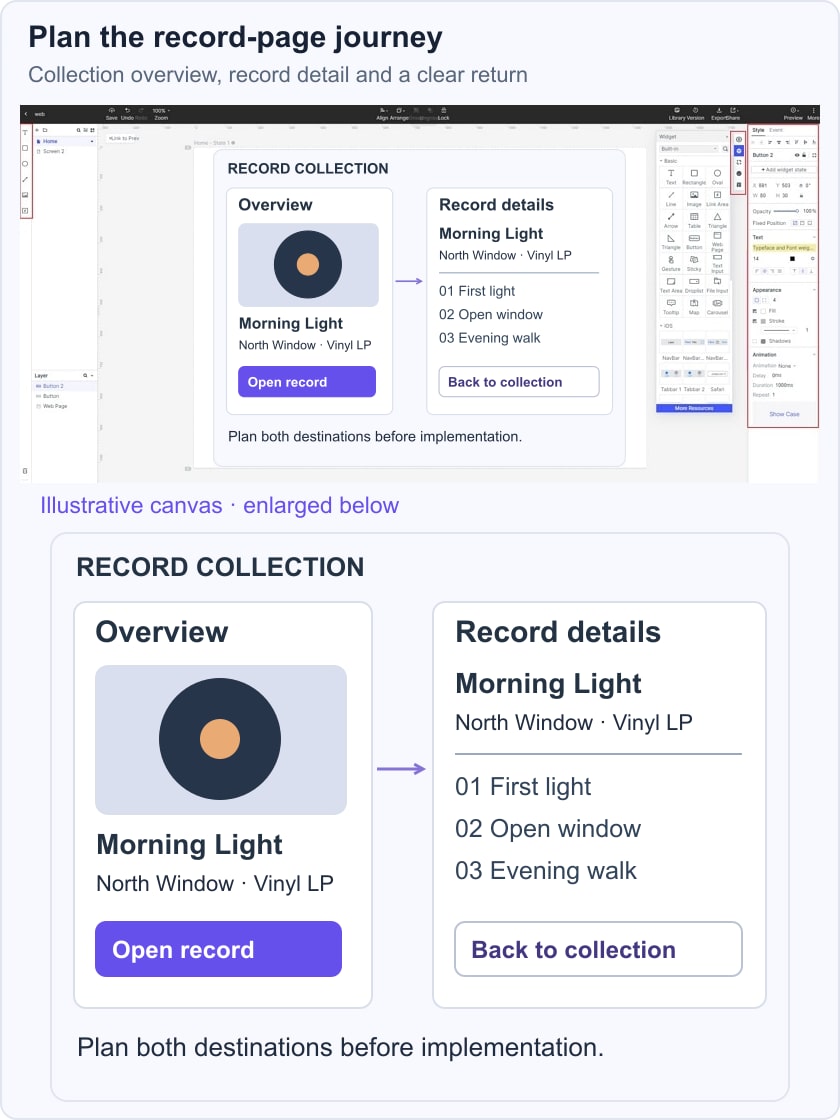
Place the collection heading, record cards and detail action. Adjust text and image properties, then reuse repeated card elements. In this example, each record has a title, artist and format, while the selected detail adds a track list. Keep the Overview and Record details destinations visible so the intended path can be discussed.
Step 4: Show the Selected State
Connect the record action to its detail view and provide a return route. Use a state change or transition only where it clarifies the relationship. Preview both directions and ask whether the selected record remains identifiable after the change. Avoid adding motion simply because an effect is available.
Step 5: Plan Embedded Media and Review
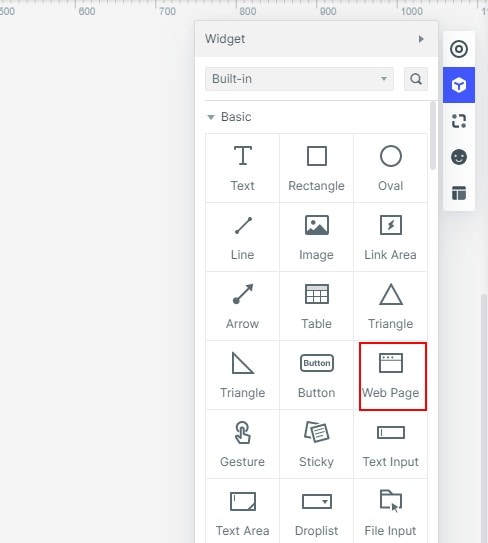
If the page needs a video or other embedded content, show where it belongs and what the visitor should do. The preserved widget capture includes a Web Page component; that is different from dropping a video on an editing timeline. Check the component’s current supported URL behavior before depending on an embed. For a record preview, agree the media area, playback expectations and fallback content, then verify the actual integration during implementation.
The useful handoff is a clear set of content, states and actions. Google Web Designer can author the appropriate HTML document; Mockitt can help reviewers agree the intended interface. Before launch, inspect the browser result, responsive layout, keyboard behavior and destination links in the implemented site. A convincing preview is a starting point for that work.