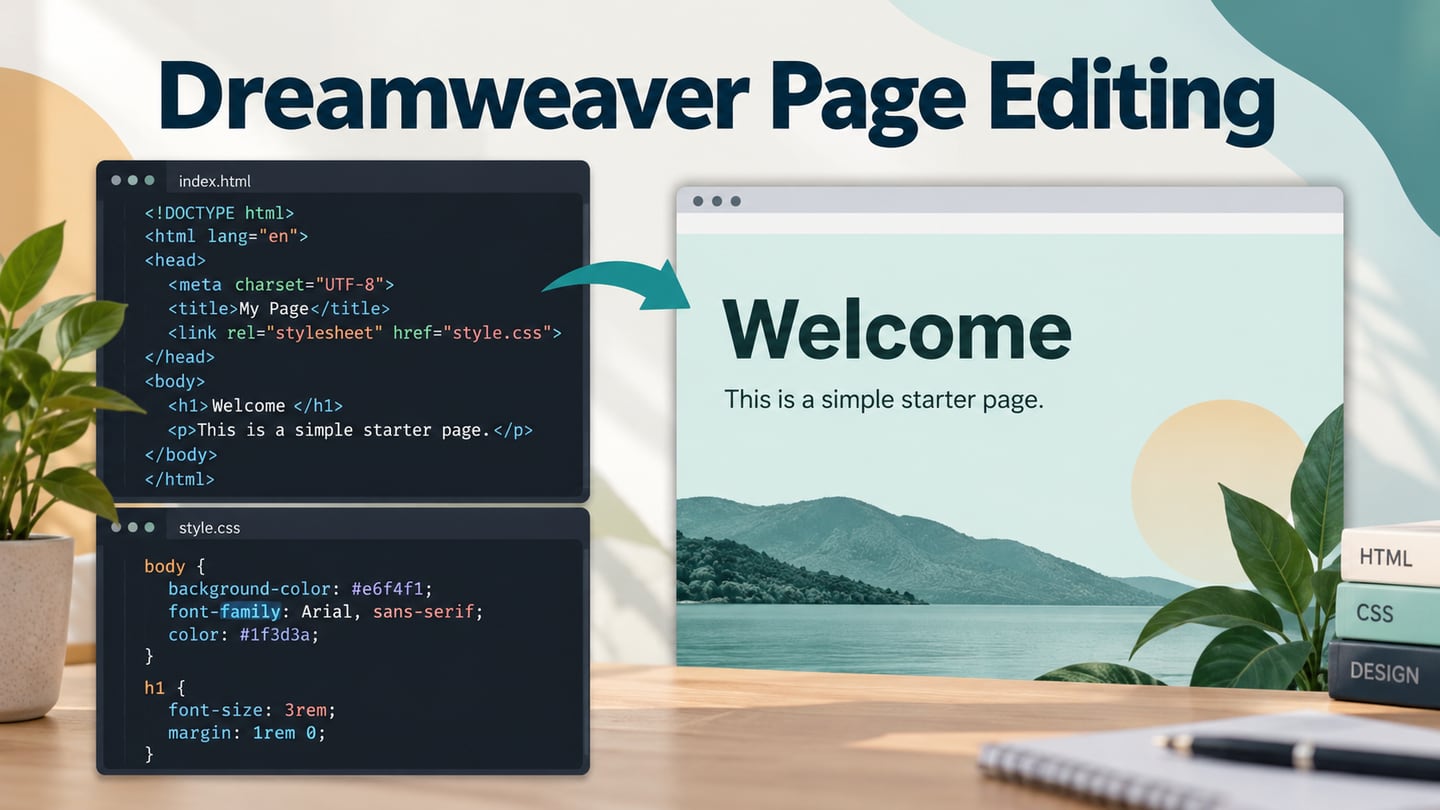
Dreamweaver lets you work with a web page's HTML and CSS while inspecting its visual layout. A small starter page is a useful place to learn how a heading, navigation area and background style fit together. If the layout is still undecided, first review it in a Mockitt design workspace before making the corresponding implementation changes.
This walkthrough keeps the task deliberately small: start with a single-page template, change its heading and tagline, then adjust the hero background. You will need to understand the code and selectors you are changing. Visual editing can make that relationship easier to see, but it does not remove the need to check the resulting HTML, CSS and browser behavior. The screenshots below show an earlier Dreamweaver interface; available templates and panel positions can vary by version.
Edit a Starter Page in Dreamweaver
1. Select a Starter Template
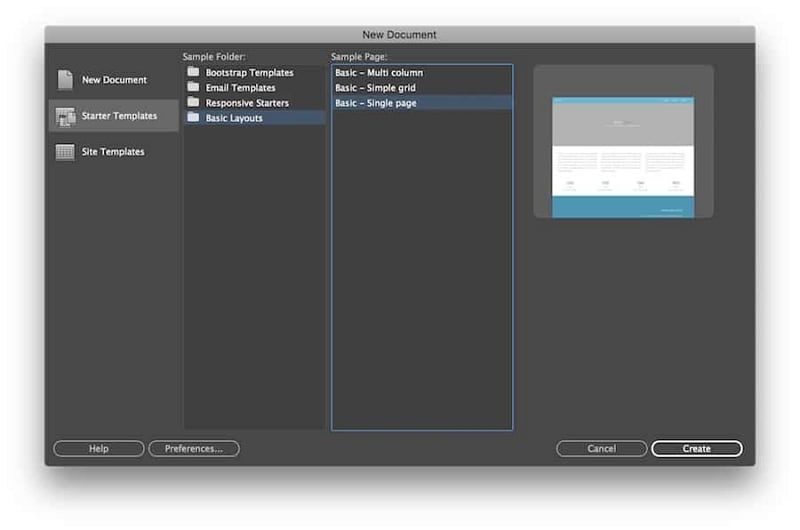
Choose File > New, then look for Starter Templates. In the illustrated version, Basic Layouts > Basic – Single page provides the starting document. Choose Create and save the new file in your project folder. Adobe's document creation guide describes the supported document and template options.
Inspect the starter document before replacing its content. Identify the navigation, hero, main content and associated stylesheet so you know which part you are editing. Keep a copy of the starting files while learning. If the tags and class names are unfamiliar, the basic HTML page walkthrough explains the underlying document structure.
The next two steps change the visible logo text, heading, tagline and hero background. They do not create a complete content strategy or a finished responsive site. After each change, check the rendered page and its source so an accidental edit is easier to locate.
2. Change the Header and Logo Text
In this template, select h4.logo in the DOM panel. Dreamweaver highlights the corresponding element in the code view. Replace the visible text between its tags while keeping the element structure intact. A different template may use another tag or class; select the actual element rather than assuming every page contains h4.logo.
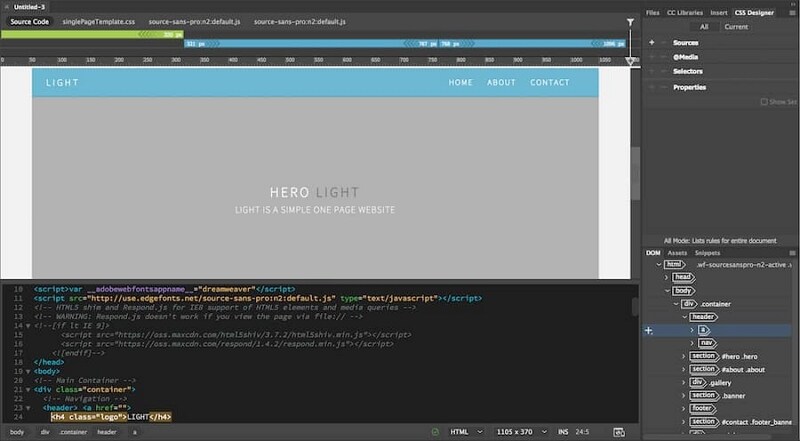
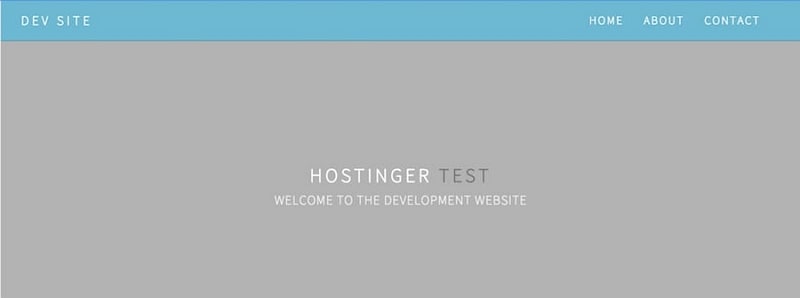
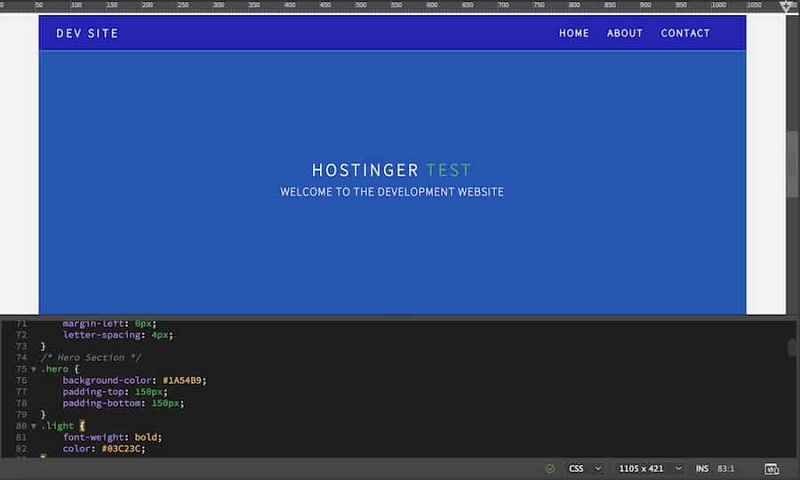
For editable content, you can also select the text in Live View and change it there. Repeat the process for the hero heading and tagline. Adobe documents Live View editing and its restrictions; dynamically generated content and some locked template regions need a different editing route. The retained example shows the resulting DEV SITE and HOSTINGER TEST text.
3. Change the Hero Background Color
Open the stylesheet associated with the page and locate the selector that controls the hero. In this example it is .hero. Find its background-color declaration and note the existing value before changing it. Check the selected element and applied rules if the visible background does not update: another selector or background image may also affect it.
A hexadecimal value is one way CSS represents a color. Keep the leading # and use a valid value, or use the editor's available color controls. You do not need to guess a color from its code; compare the visible result against the text and surrounding navigation.
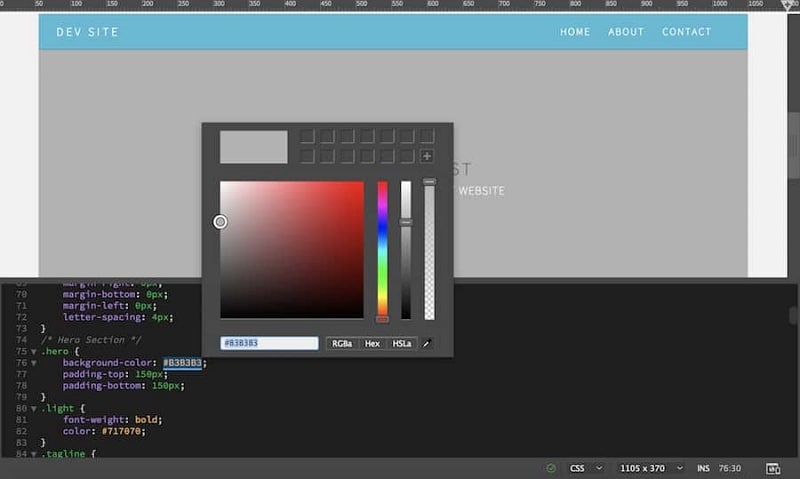
The illustrated editor exposes a color picker when editing the CSS color value. Select a replacement, save the stylesheet and inspect the result in the page. The final screenshot shows the hero changing from gray to blue. Check whether the heading remains readable and whether the new color belongs with the rest of the page.
You can continue adjusting content and styles once these basic relationships are clear. Preview the implemented page at different browser widths and check its links before publishing it through your chosen hosting workflow. If your task involves visual HTML authoring with event-driven content, the Google Web Designer document guide explains that separate tool and its outputs.
Review the Layout Before Coding
Mockitt supports the design decisions that precede these implementation edits. Create a layout, connect the intended screens and share a preview to discuss the content hierarchy. Dreamweaver edits web documents; a Mockitt prototype lets reviewers inspect a proposed experience. Choose the output you need at that stage of the work.

Use a website-sized or custom canvas and arrange the actual heading, content and controls. Reuse components where the same navigation or call to action appears on several screens. The earlier product screenshot shows a mobile example, but the design task here is a website layout. The useful pattern is arranging and connecting screens, not copying its travel content.
Share the prototype with appropriate access and ask reviewers to follow a defined task. A preview can reveal an unclear label or missing destination before implementation. It does not establish the performance, accessibility or responsive behavior of the final coded website; those checks belong in the implemented page as well.
Create a Website Prototype in Mockitt
For a small example, use a fictional astronomy club page with a clear event heading, a short introduction and a route to the programme. Keep the content stable while comparing visual treatments so reviewers can identify what each change contributes.
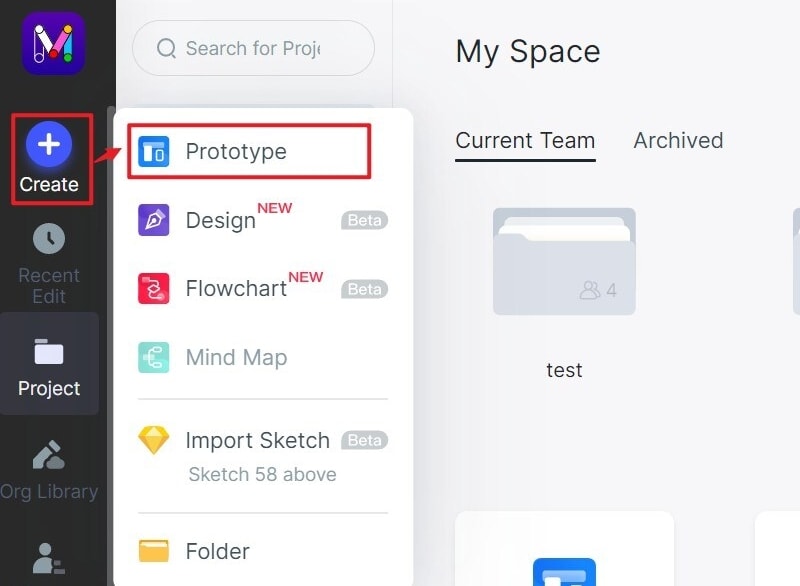
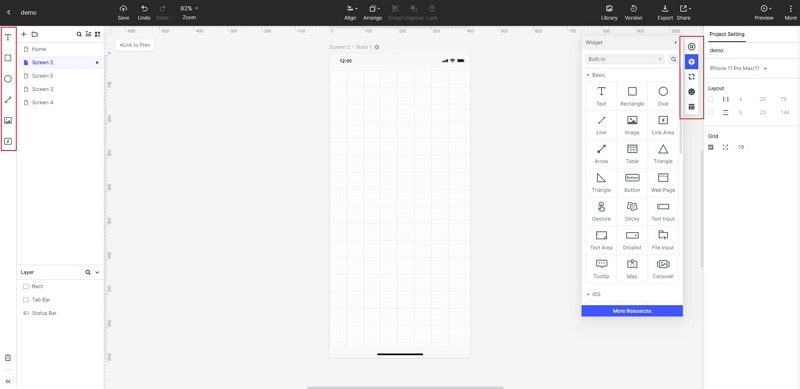
1. Create the project. Start a blank prototype and choose dimensions suited to the website page. Name the project and its screens clearly. The retained Create > Prototype screenshot shows an earlier workspace; use the corresponding creation route in your current account.
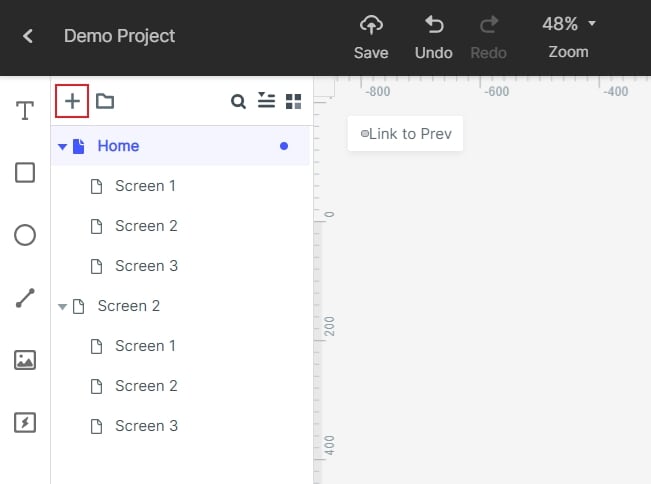
2. Add screens and widgets. Create a homepage and a programme screen, then place text, shapes and buttons from the available library. Use the actual words people need to understand the event instead of relying on empty boxes. The earlier screen-tree and library captures illustrate where these controls were located.
3. Adjust the properties. Select a widget and edit the relevant size, position, text and appearance properties. Compare the hero at the intended reading size rather than judging it only while zoomed into the editor.
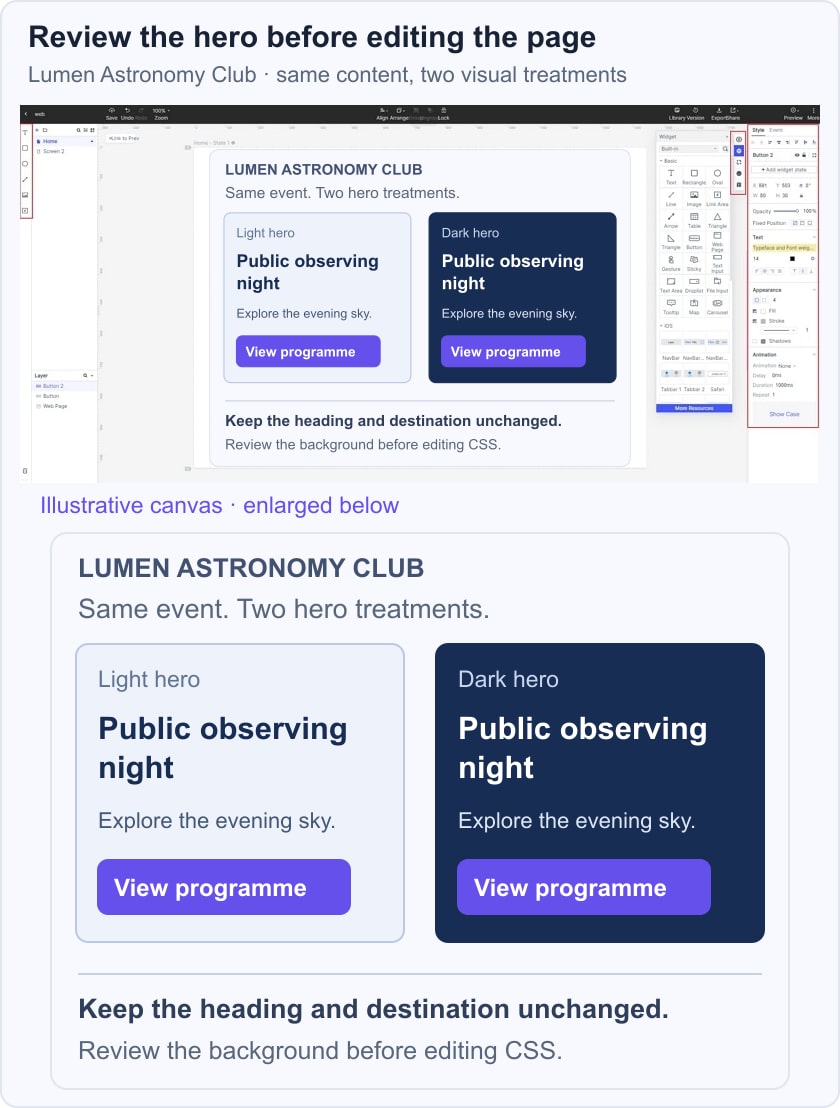
In the fictional Lumen Astronomy Club example, the page says “Public observing night” and offers “View programme.” Compare a light hero with a dark hero while keeping that wording and destination unchanged. The review asks which treatment makes the event and next step clearer; it is not a claim that either version has been tested with real visitors.
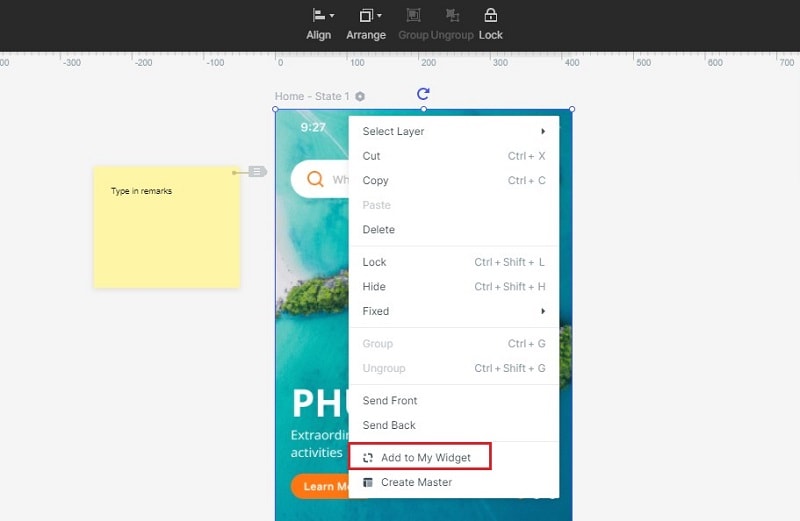
4. Reuse the agreed elements. Save a navigation or button component through the available reusable-widget or asset workflow. The original context-menu capture highlights Add to My Widget. Reuse should keep repeated elements coherent without making unrelated screens identical.
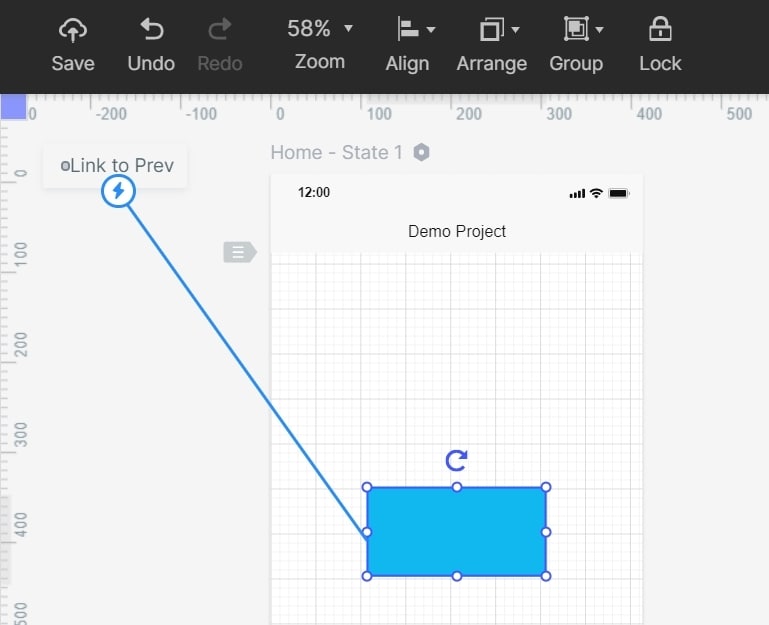
5. Connect the intended action. Select View programme and connect it to the programme screen. Set the available trigger and destination, then preview the connection. The illustrated link controls belong to an earlier editor, so confirm the equivalent settings in the workspace you are using.
The retained lightning-link image demonstrates connecting a selected object to a destination. Follow the complete route in preview and include a way back where the task needs one. A connection drawn in the editor should match the destination its label promises.
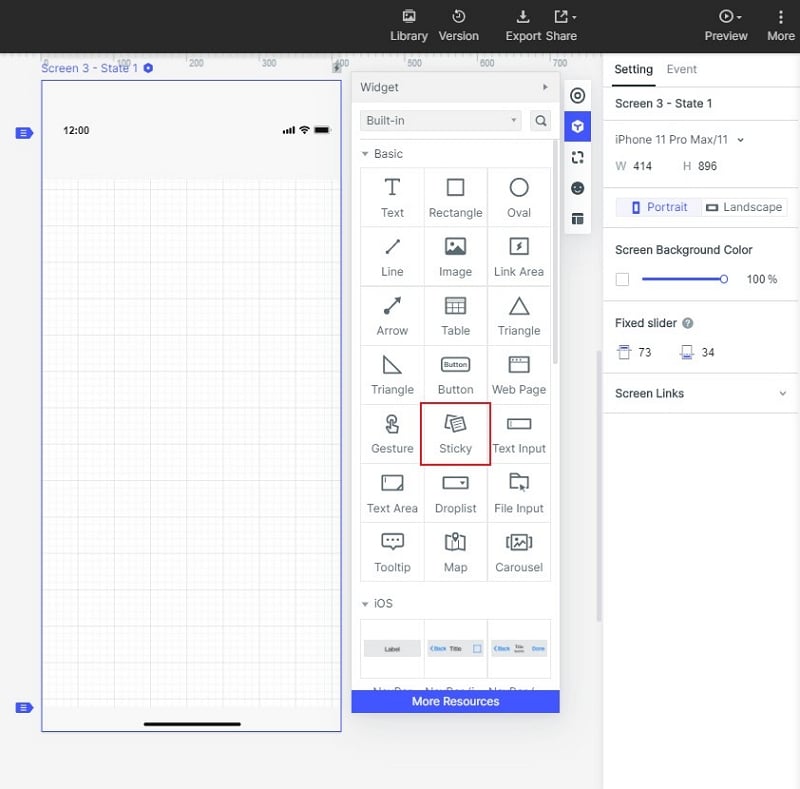
6. Add review notes. Use an available note or annotation widget to record why a treatment was chosen and what still needs implementation. The original Sticky-library capture illustrates this workflow; another retained capture also shows a note on the editing canvas.
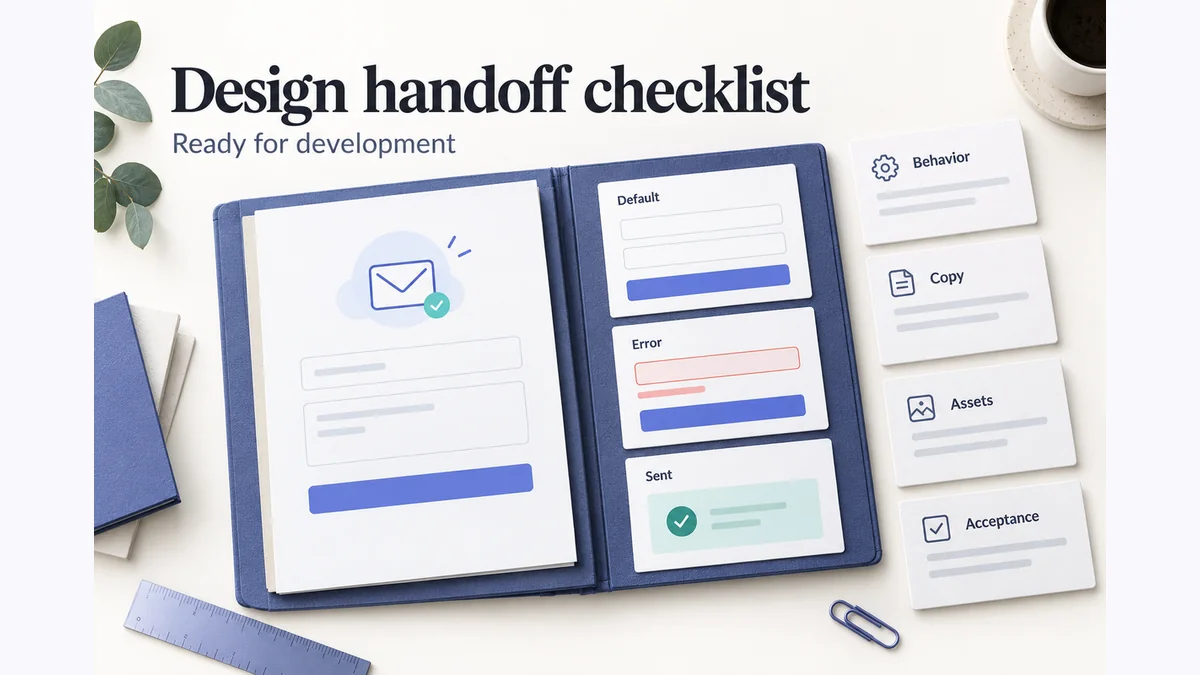
Keep review notes distinct from the website's reader-facing content. Before handing the design over, confirm the heading, color choice, destination and unresolved questions. The prototype provides a reviewable design decision; the Dreamweaver document still needs its own code, browser and release checks.