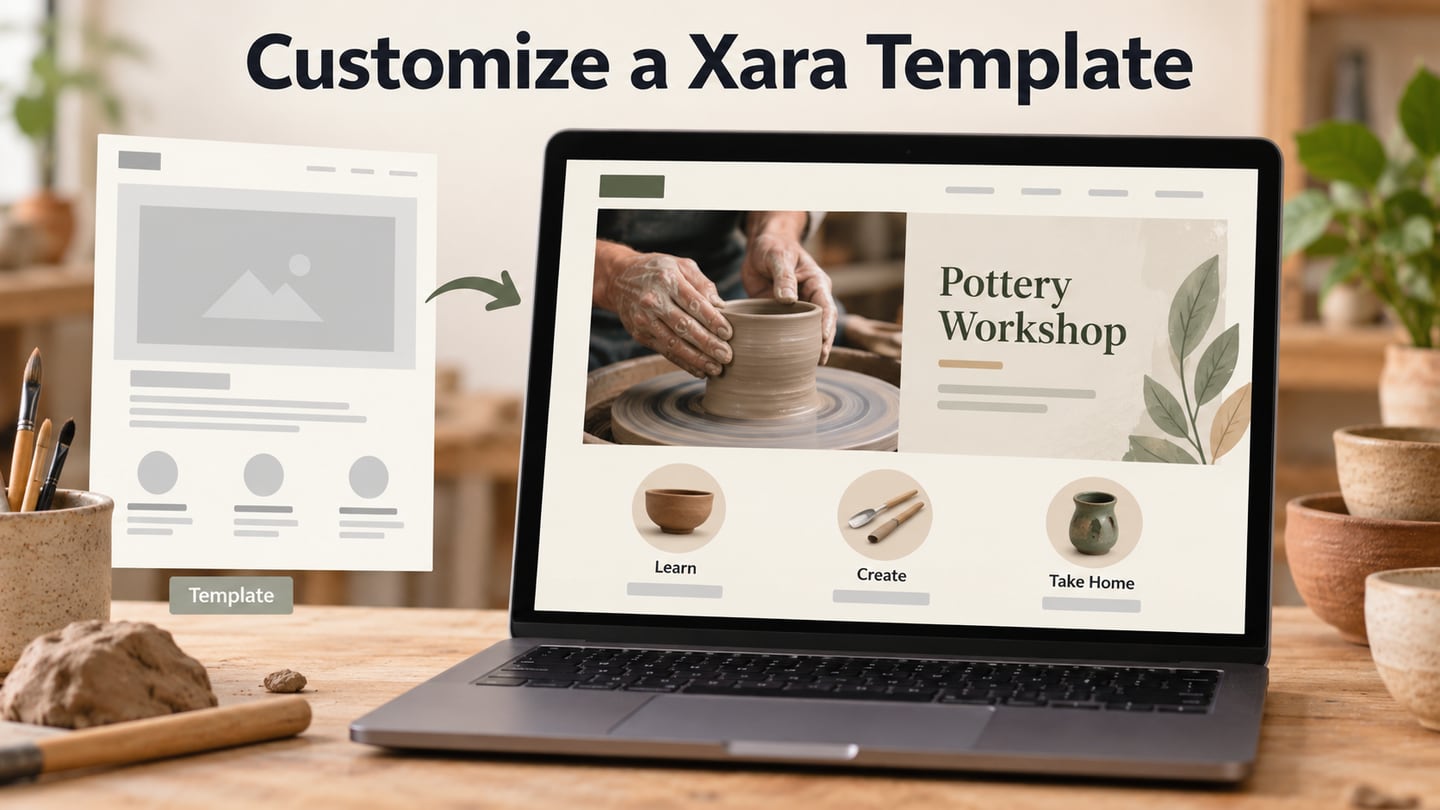
Xara Web Designer lets you customize a website template by replacing its content and adjusting the layout. This walkthrough keeps the task concrete: open a template, change photos and text, remove unwanted elements and save the result. If the content is undecided, a Mockitt layout review can help you settle it before making the changes in the site-authoring tool.
Customize a Website Template in Xara
The screenshots show an earlier Xara Web Designer Premium interface. They remain useful for following a template-editing workflow, but template names and panel locations can differ in your installed version. The Premium 16 manual documents the historical controls pictured here.
Current Web Designer+ release notes describe modular Web Blocks as well as freeform website editing. Choose the editing model that fits the project, then check its own controls. The steps below follow the illustrated freeform template rather than assuming every current template opens in exactly the same way.
Start with the content the site needs: its main message, supporting images and the action a visitor should take. Select a template whose structure can accommodate that content, rather than forcing an unrelated layout to fit. Keep a copy of the starting design while learning.
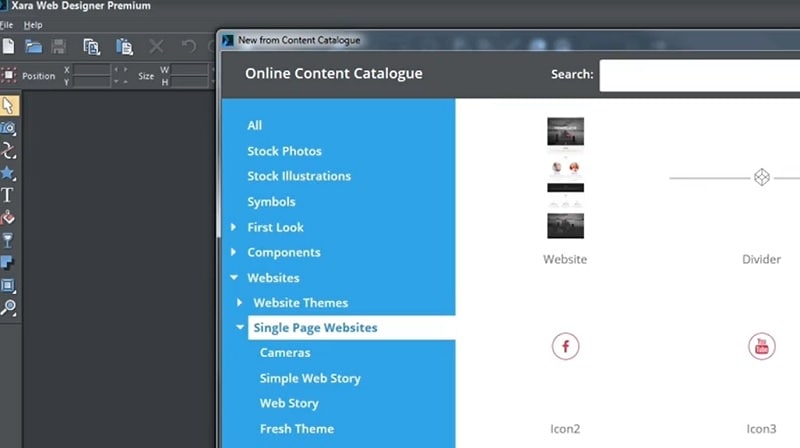
Step 1: Find a template. Open the installed Xara application. In the illustrated version, choose File > New from Content Catalogue, then browse Websites > Single Page Websites > Simple Web Story. This is the path shown in the capture; use the corresponding catalogue or design gallery in your version.
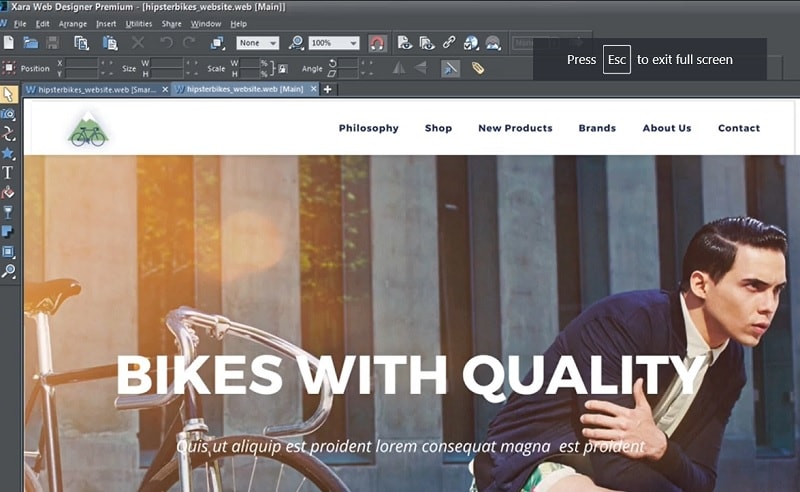
Step 2: Open and inspect it. Select a suitable template and choose Open where offered. Identify its header, navigation, main image and text areas before editing. The screenshot below shows a bicycle-themed layout in the editor; it is a template example, not a requirement to use the same content.
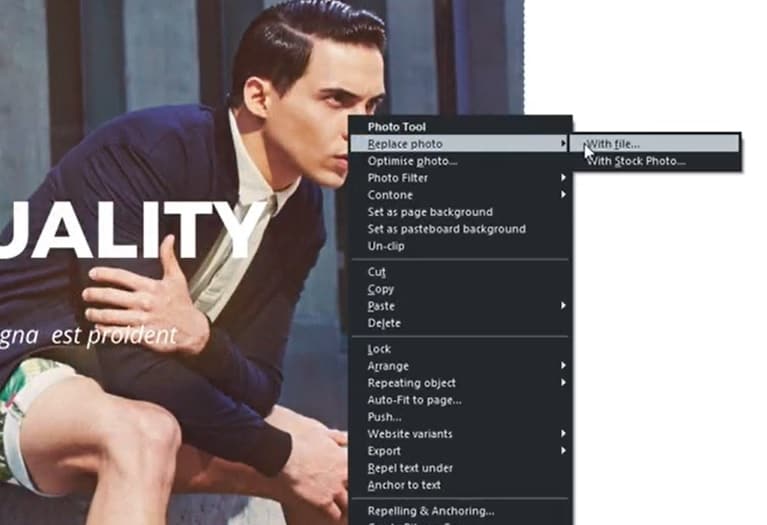
Step 3: Replace the photos. The pictured context menu offers Replace photo and a file or stock-photo route. Choose an image you have permission to use, then check its crop and focal point in the template. Xara’s photo guidance also describes dragging a photo file onto an existing photo to replace it.
A replacement should support the page’s message, not merely fill the same rectangle. Check whether faces, products or other important details remain visible at the intended page width. If you use stock assets, review the license for your project rather than assuming catalogue access settles every usage condition.
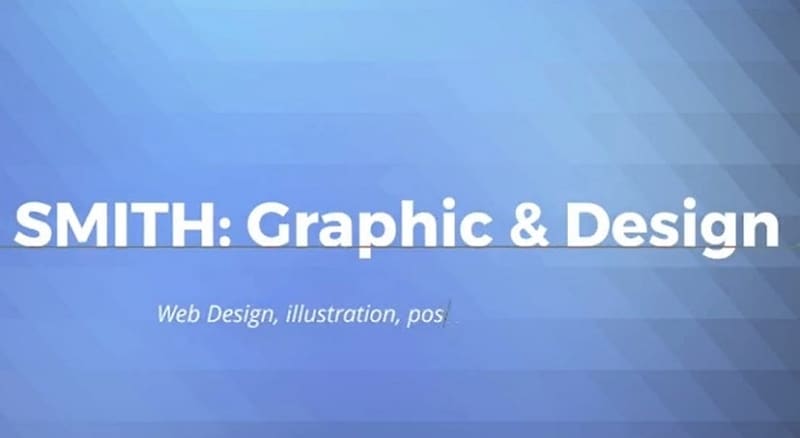
Step 4: Edit the text. Select the Text tool, shown as T, and replace the template wording. Use the actual title and supporting copy early: a longer heading may need different line breaks or spacing. The retained SMITH heading illustrates text replacement; it is not a typography preset you must reproduce.
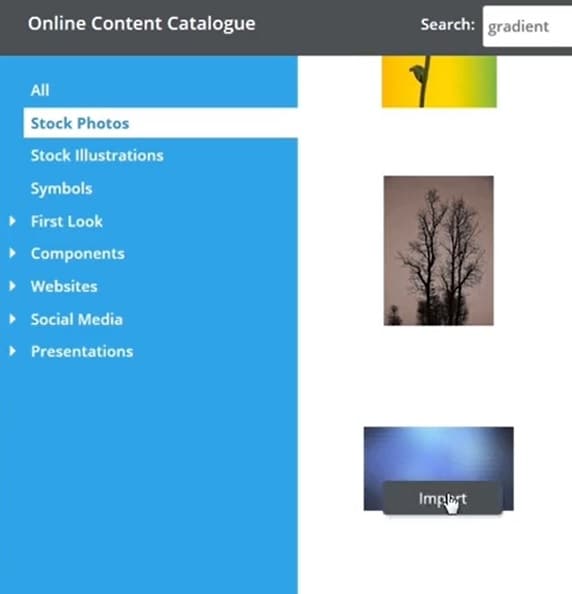
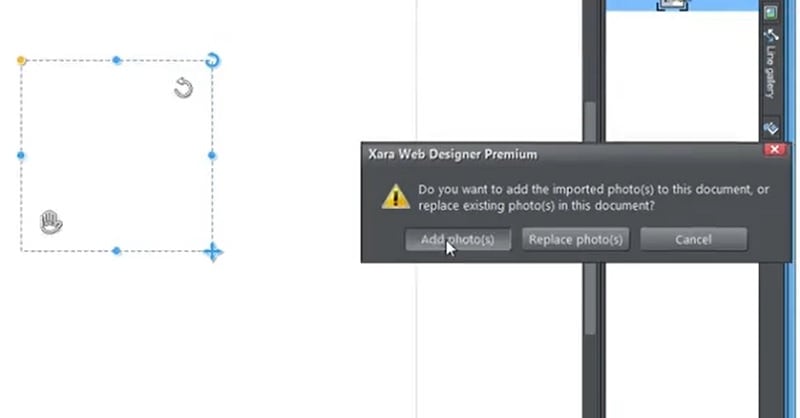
Step 5: Remove or add content deliberately. Select an unwanted object and delete it, checking first whether it belongs to a larger group. Import a local image when the page needs one. In the pictured dialog, distinguish adding a new photo from replacing an existing photo so the operation matches your intention.
Save the design and review the whole page after the individual changes. Check the navigation, text wrapping, image crops and available preview widths before publishing through Xara’s supported workflow. A one-page layout also needs a clear reading order and a useful route between its sections.
Use Mockitt for a Separate Layout Review
Xara website authoring and Mockitt prototyping serve different stages of the work. In Mockitt, arrange the proposed content and connect the actions needed for a review. Use that draft to discuss the message and destinations before returning to the site-authoring application. The historical editor screenshots below show the controls used in this kind of visual planning.

Useful prototype tasks include:
- Use available resources and widgets to represent the page’s actual content.
- Adjust selected elements through the available style and property controls.
- Arrange text, images and controls so their relationships can be reviewed together.
- Connect the intended action to its destination and preview the route.
- Share the draft and record what still needs implementation; a prototype is not a published website.
Create the Reviewable Page Design
Choose one content question for the prototype. For example, determine whether a workshop page makes its subject, time and next step clear. The website layout guide can help with reading order, while the following three steps create the focused draft.
Step 1: Enter the Design Workspace
Open the Mockitt workspace using your account. Decide who will review the design and what they need to learn from it before inviting them. Keep access appropriate to the project; the task does not depend on a particular old sign-in page.
Step 2: Create and Name the Project
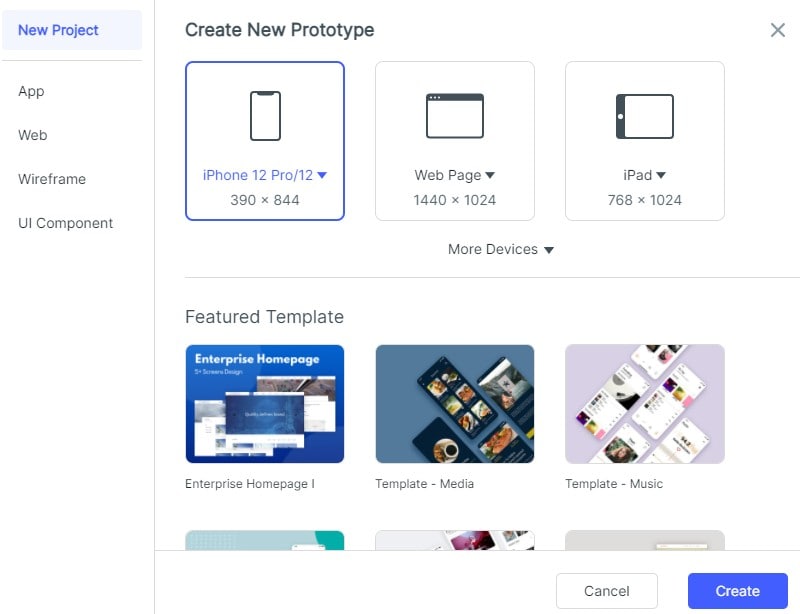
Create a prototype project and choose a website-sized or custom canvas suited to the review. Name the project and screens by purpose. The retained dialog shows earlier device presets; those dimensions are a starting point, not automatic responsive behavior.
Step 3: Arrange and Review the Content
Add the needed text, image areas and controls from the available library. Adjust their dimensions and spacing, and reuse common elements where appropriate. Start with meaningful content rather than polishing placeholder text that will later change length.
For a fictional Northlight Pottery page, replace a generic template headline with “Saturday clay workshop,” show “10:00,” and give “View workshop details” a clear place below the introduction. Use a pottery image area that supports the subject. Compare the placeholder layout and the edited content together so the team can see what the real wording changes.
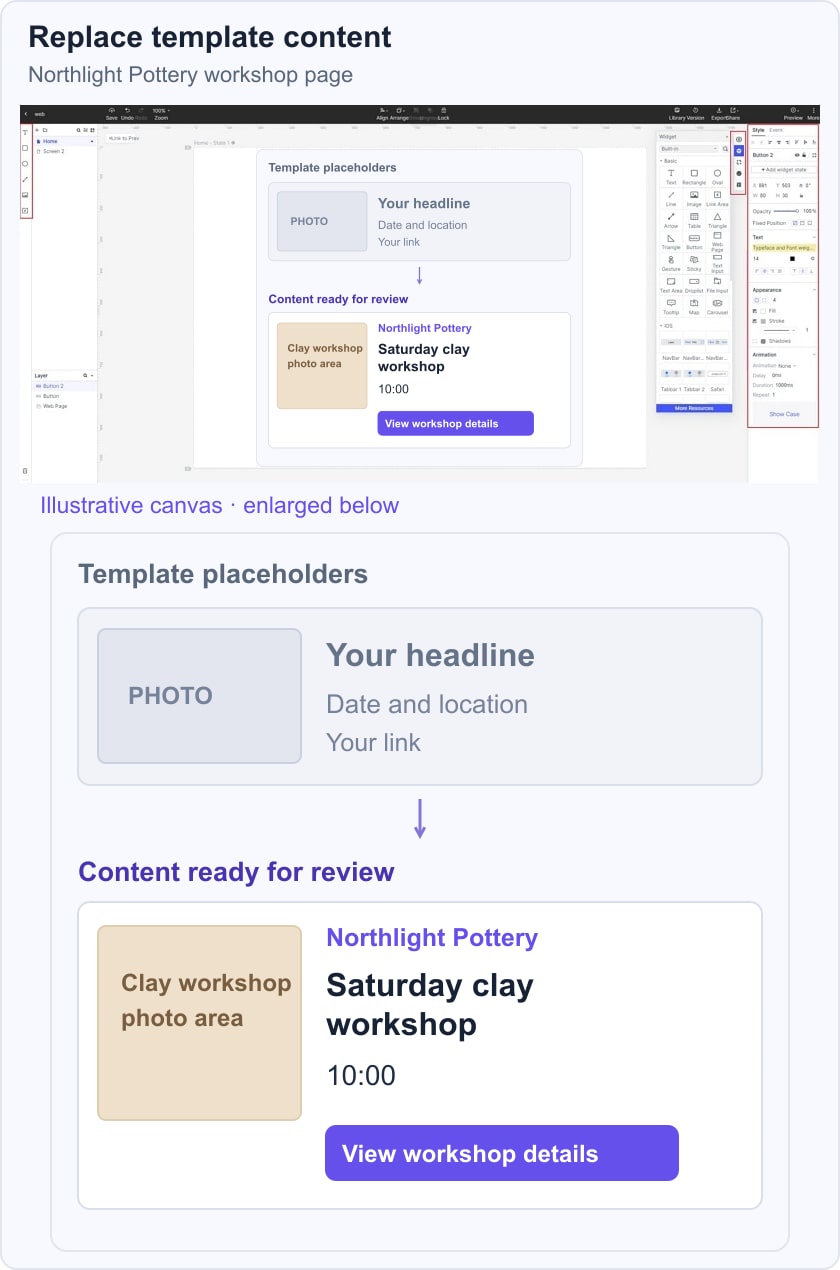
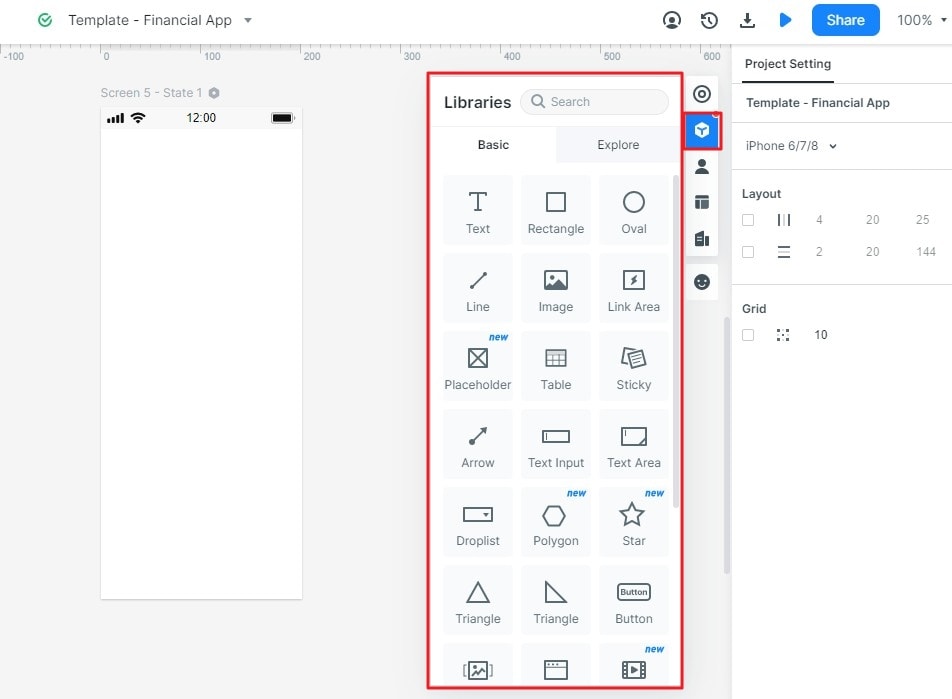
Connect View workshop details to the relevant screen, then preview the route. Ask a reviewer to identify the workshop, its time and the next action without extra explanation. Record any content or spacing changes before applying the agreed version to the website template.
Take the Agreed Content Back to the Website
Template editing works best when every replacement has a purpose. Xara handles the website document and its authoring workflow; a Mockitt draft can support an earlier discussion about the content and intended interaction. Keep the agreed text, images and destinations together, then check the implemented page at the widths and in the browsers it needs to support.