01Activity tracking
During a run, show right now.
Prioritize distance, elapsed time, and pause. Show the summary after the workout; let the phone handle routes and detailed history.
Smartwatch and wearable prototyping
Turn smartwatch, fitness band, and companion app ideas into a clickable prototype. Use Mockitt to arrange small-screen layouts, reuse components, and connect the moments that make a wearable useful.
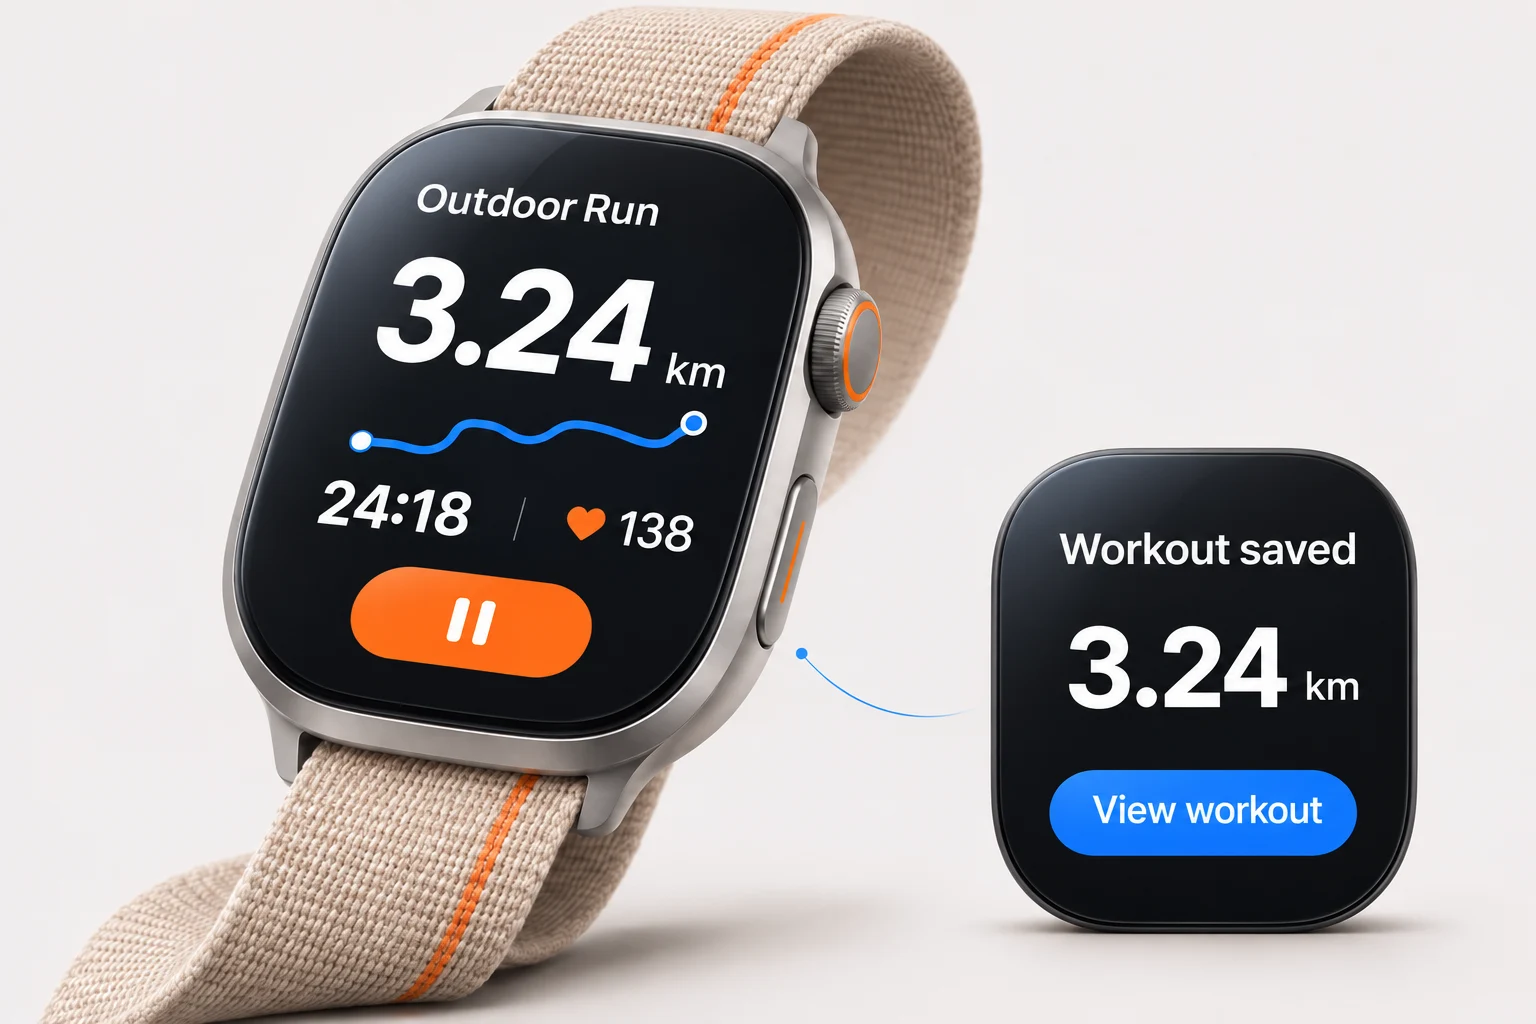
Start with the moment of use
A wearable interface often has only a glance to communicate something useful. Choose the information and action that matter in that moment, then move the longer reading and detailed settings to the right place.
Prioritize distance, elapsed time, and pause. Show the summary after the workout; let the phone handle routes and detailed history.
Explain what happened and offer a direct action: view, remind later, or dismiss. Make the outcome visible after the person responds.
Separate quick checks from setup, history, and troubleshooting. Then design how the two devices connect and recover.
01 / Design for the screen shape
Choose the target screen's shape, dimensions, and usable area before arranging the page. A circular watch, rectangular watch, and narrow band need their own layout decisions—not a scaled-down copy of the same screen.
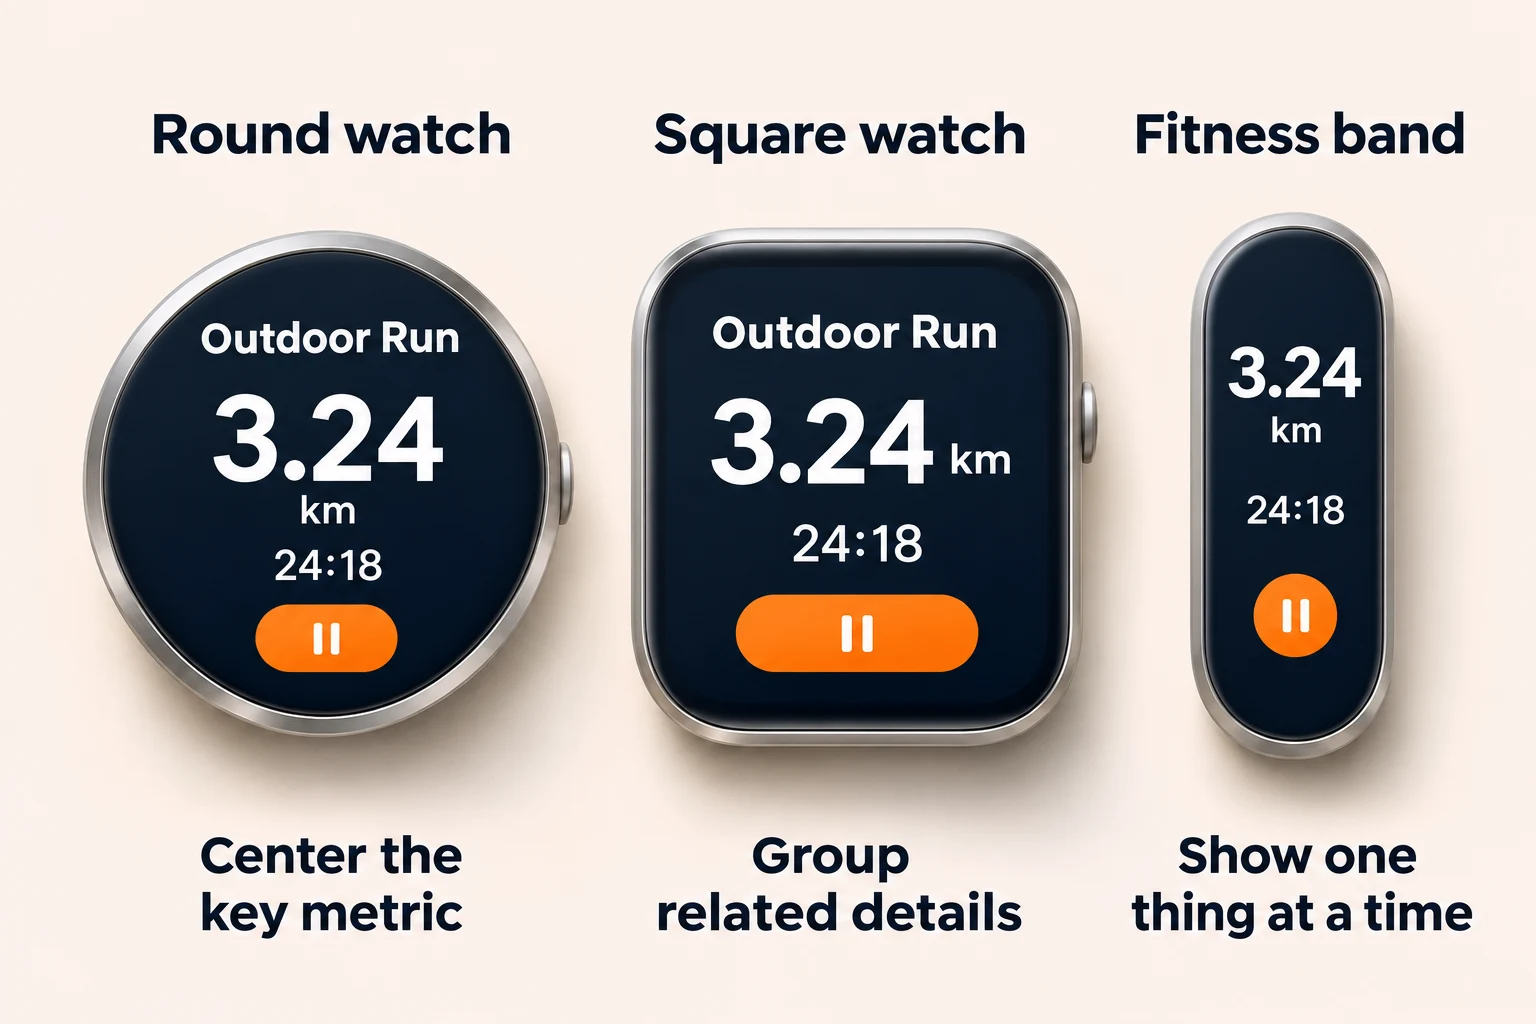
Keep essential information readable inside the curved screen. Check longer labels, large values, and the placement of touch controls.
Give the main metric, secondary information, and action their own space. Respect rounded corners and system areas.
Stack values and units, simplify secondary information, and make the next action recognizable without a dense row of icons.
Use the target platform's guidance for touch areas, type, and safe regions, then check the design on the intended device.
02 / Make the interaction tangible
A running prototype should show the whole experience: prepare, start, pause, continue, and finish. Try the sample states below to see how the information and available actions change.
Interactive concept with fixed example data.
Ready to begin
Give the start control a clear position. If a required permission or location is unavailable, explain what is missing before the person begins.
During a workout, pause should be easy to find. Keep it distinct from ending the session.
Pausing retains the workout. Resuming returns to the active state. Saving gives a result the person can recognize.
Plan failed saves, lost connections, and retries, including where the existing record is stored.
03 / Build it in Mockitt
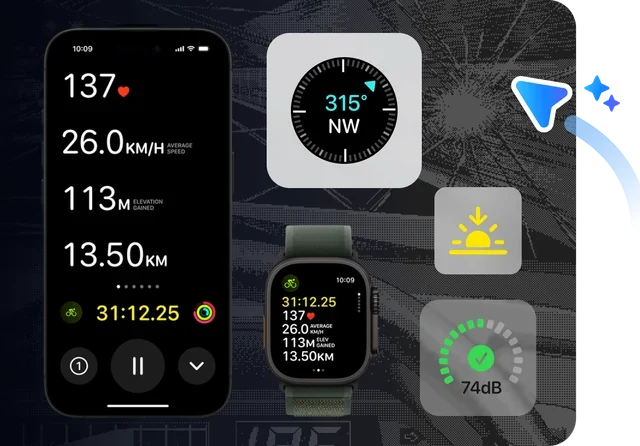
Arrange text, shapes, icons, and components, then connect the screens and states. Build enough of the journey for the team to understand the behavior, not just the appearance.
Start with the device dimensions. Place the main metric, unit, and action before adding secondary information.
Keep metrics, buttons, alerts, and lists consistent across the workout and settings screens.
Use screen links, overlays, and state changes to review starting, returning, and leaving the task.
04 / Connect the wrist and the phone
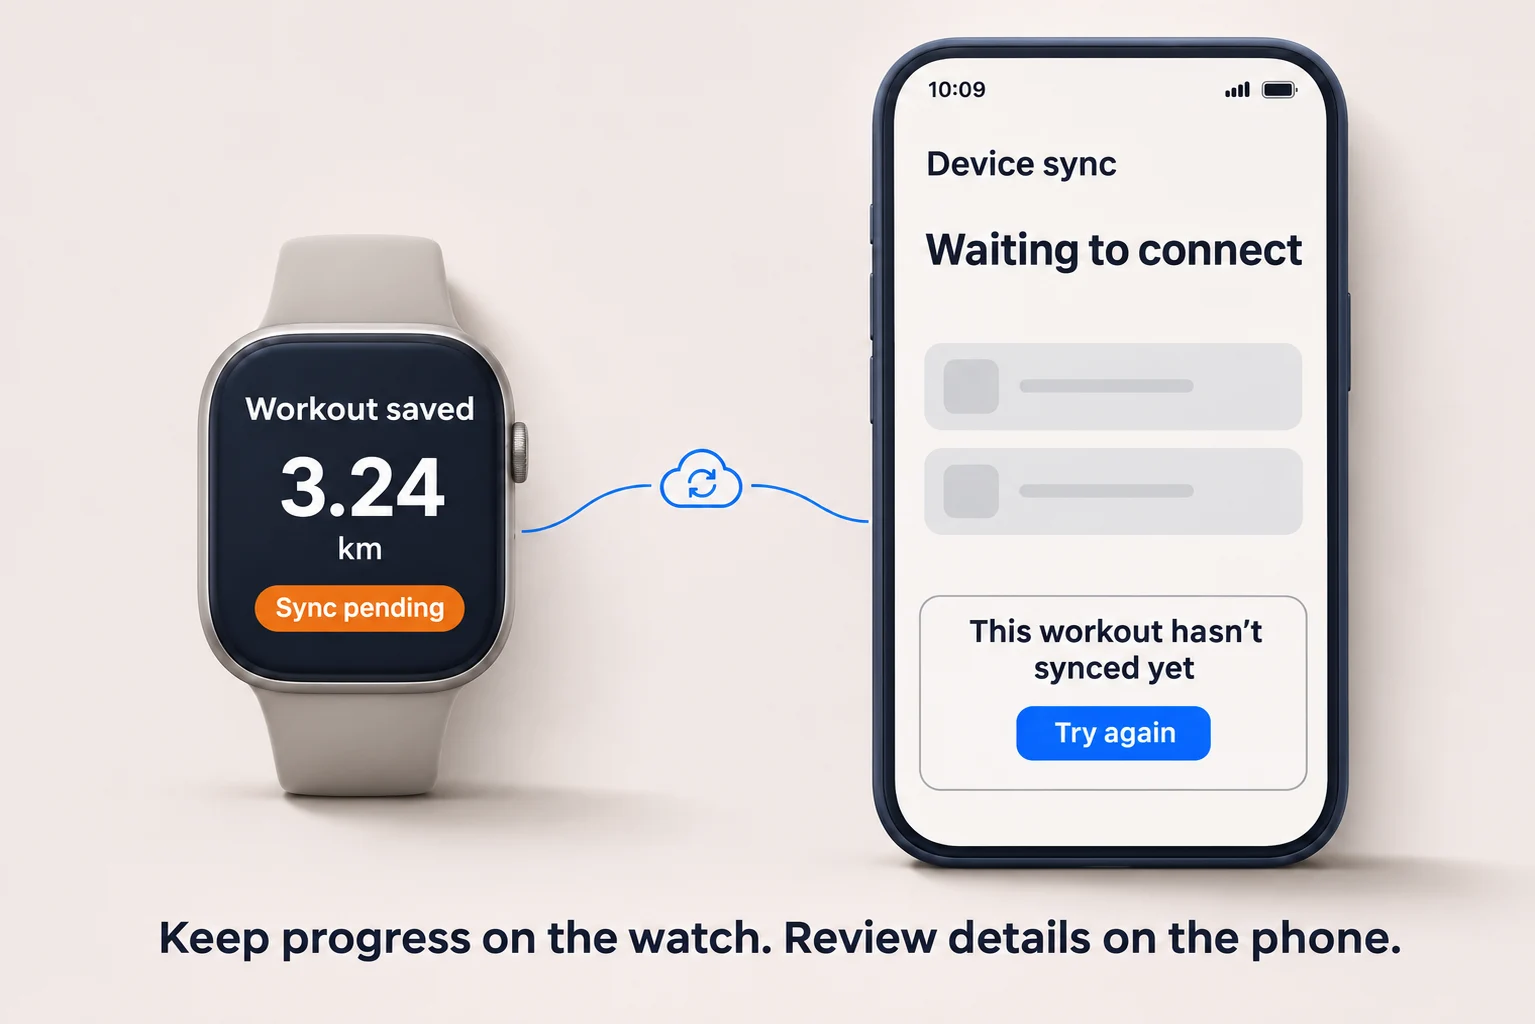
Those are different states. Put the device and companion app in the same prototype so the team can discuss saving, transferring, and viewing a record without confusing one step with another.
A saved workout waiting to sync should still look saved. Do not make the person wonder whether it disappeared.
Show connecting, syncing, and failed states separately. Offer a retry where it can help.
Let the person find the workout time and summary after syncing, rather than relying on a message that quickly disappears.
05 / Review the behavior with your team
Share the same prototype with product, design, and engineering. Connect each screen to the state, rule, and implementation requirement it represents.
Start the workout, pause, resume, and save. Check long labels, large numbers, empty states, and the way back.
Discuss labels, hierarchy, and controls on the screen they affect. Share access appropriate to the project and its reviewers.
Provide dimensions, assets, and state behavior. Document crown input, physical buttons, haptics, and permissions for implementation on the actual device.
A concrete starting point
Choose a use case and screen shape to prepare a prototype brief. Share it with your team or copy it into Mockitt AI to explore the first screens.
Questions before you start
Yes. You can design layouts, reusable components, and clickable interactions, then review the wearable and companion app together. Set up the canvas for the intended device and validate the implemented experience against the platform's requirements.
The information may be shared, but its arrangement often needs to change. Review curved edges, corners, available space, and action placement for each shape rather than resizing the whole screen.
A prototype can show the interface and example states for those features. Actual sensor readings, Bluetooth connections, storage, and synchronization require implementation and testing with the device.
Start with one task and its complete flow. For a running watch, include ready, active, paused, resumed, and saved states. Then add the failures or permissions that could stop that task.
Include it when the experience depends on the phone for setup, history, syncing, or detailed information. Showing both sides helps reviewers identify which device owns each action and what should happen when the connection is unavailable.
Keep the experience connected
Explore screen links, states, and the paths that keep a task moving.
Explore prototyping →Choose a workflow for planning device management, workout history, and settings.
Compare app design workflows →Choose a useful starting structure and adapt it to the task you want to review.
Explore starters and resources →From a glance to a complete experience
Make your wearable idea something the team can try.