To make a useful mind map, put one topic or question at the center, choose a consistent set of main branches, and add details as subtopics. Then check that every item belongs under its parent. In Mockitt Whiteboard, a mind map can sit beside the notes and reference material you are organizing.
This walkthrough uses a new-hire onboarding plan. The same method works for a project brief, a research summary, or a study topic: organize the relationships first, then use color and images to make them easier to scan.
1. Choose the central topic and main branches
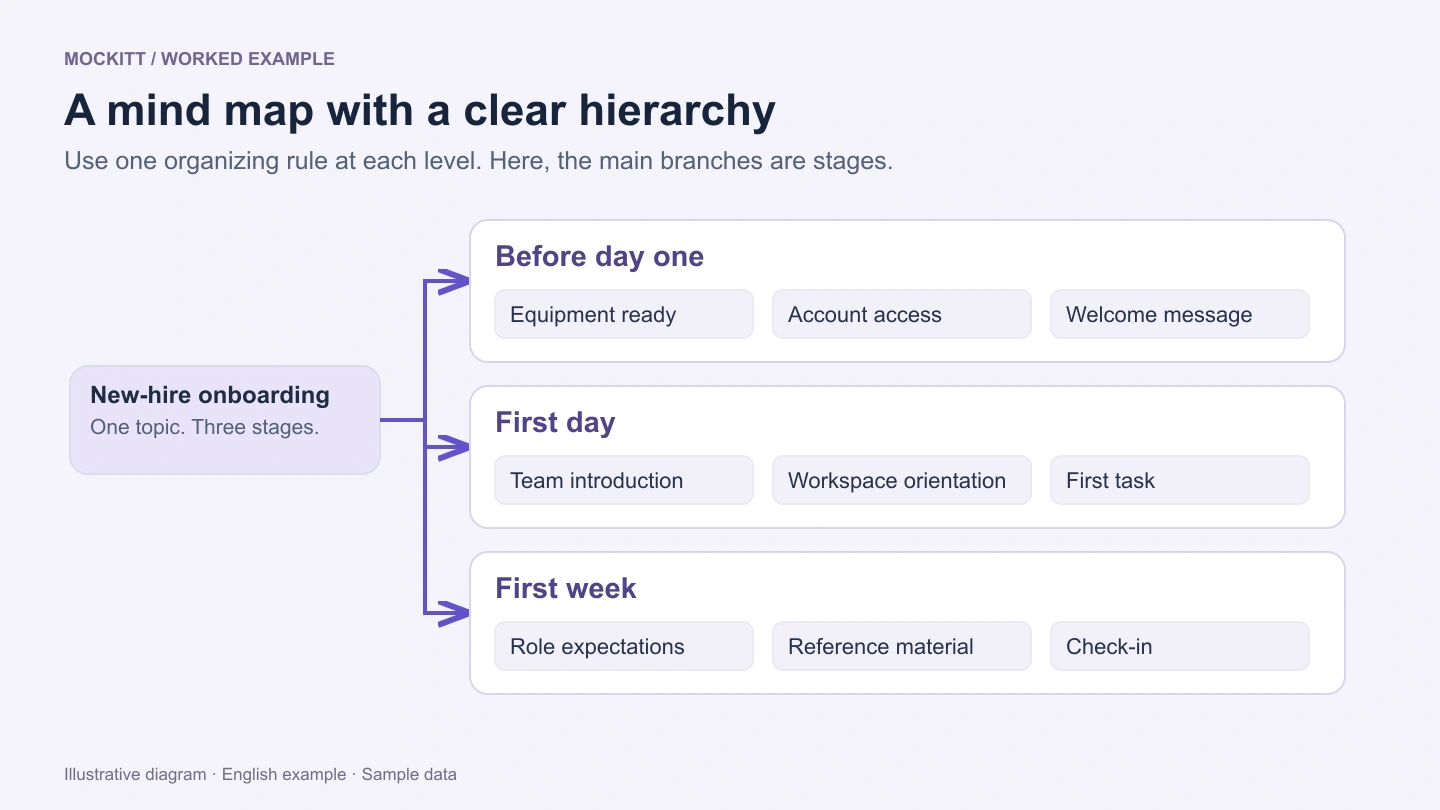
Start with a clear topic, such as New-hire onboarding. “Everything about our team” is too broad: it mixes a welcome plan, operating procedures, and an organization chart. Decide what the map should help someone do before you fill it with details.
For this example, use three main branches: Before day one, First day, and First week. Add concrete items beneath them. “Laptop ready” belongs under Before day one; “Meet the team” belongs under First day. Assign account setup and the first check-in to the appropriate stage for your team.
| Main branch | Example subtopics | Question to resolve |
|---|---|---|
| Before day one | Equipment, account access, welcome message | Who confirms that everything is ready? |
| First day | Team introduction, workspace orientation, first task | What does the new teammate need before starting? |
| First week | Role expectations, reference material, check-in | Which questions should the check-in cover? |
Avoid mixing stages, people, and objects at the same level: “First day,” “Manager,” and “Laptop” are different kinds of categories. If responsibilities matter more than timing, use owners as the main branches instead. Choose one organizing rule for each level.
2. Create the map and add topics
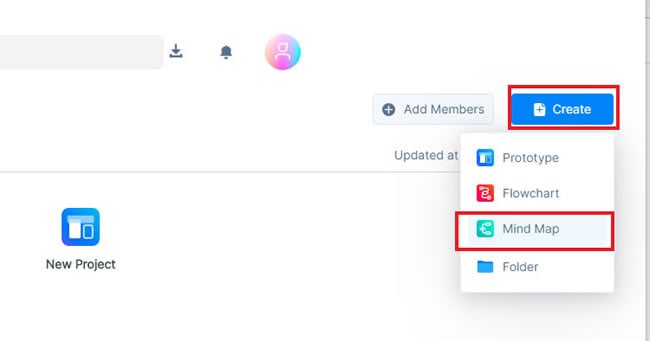
Open a mind-map file in Mockitt. In the creation view shown below, choose Create > Mind Map. Give the map a name that identifies the task, such as “Onboarding plan — design team.”
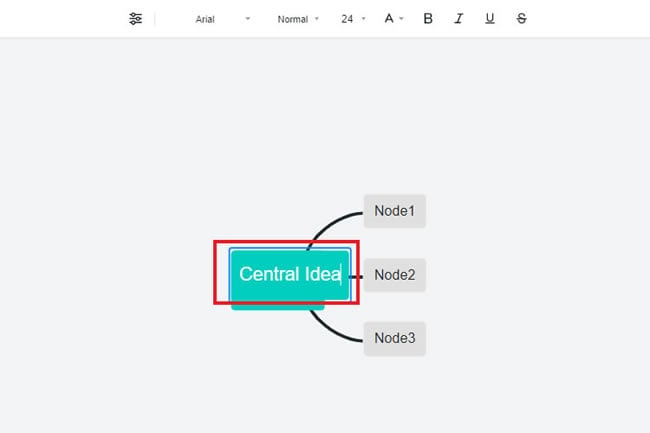
Replace the central placeholder with your topic. Keep it short enough to understand at a glance; put the purpose and any scope notes beside the map rather than inside a very large central label.
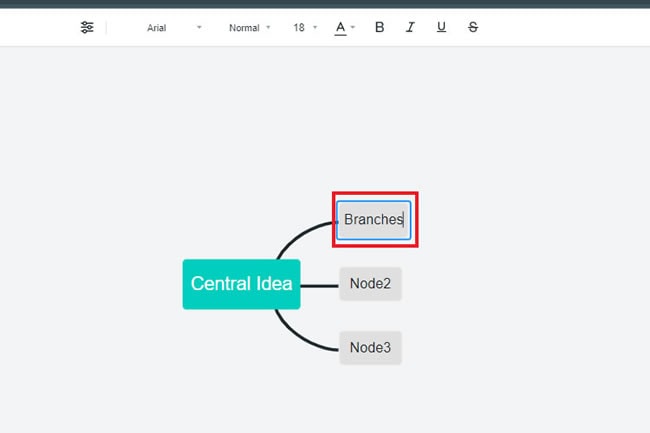
Add the main branches before filling in the smaller details. Read the branches together: could someone predict what kind of information belongs in each one? If two branches overlap, rename them or combine them before adding more levels.
Add a subtopic or a sibling topic
A subtopic adds detail beneath the selected topic. A sibling topic sits at the same level; the illustrated toolbar calls this a “Peer Topic.” Under First day, Orientation and Meet the team are siblings. Building access is a subtopic of Orientation.
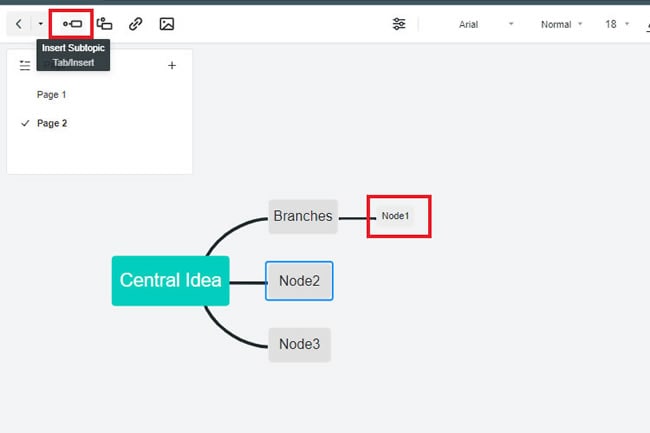
Use the parent-child relationship to express meaning. If an item belongs in two places, choose its main home and add a reference rather than copying the entire branch. Duplicate branches quickly become inconsistent when one is updated and the other is missed.
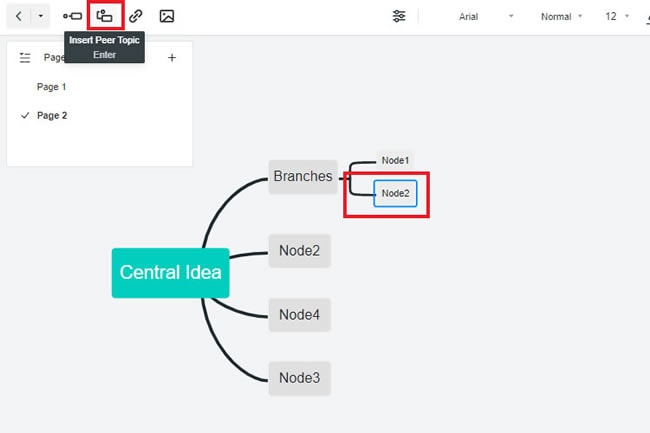
3. Add useful references and a readable theme
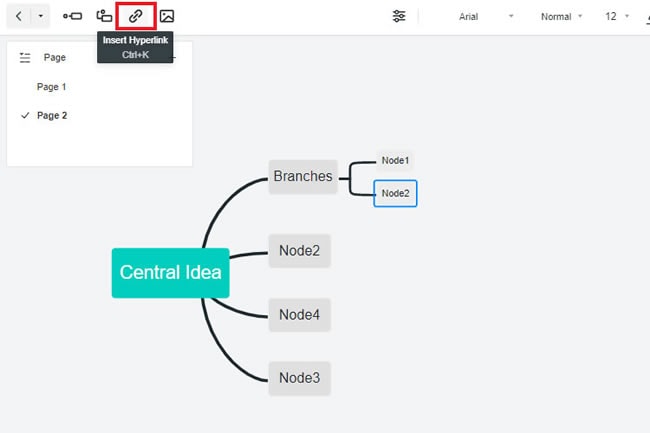
Use short labels for the map itself and links for supporting detail. A branch labeled Account setup can point to the team's setup instructions. Link directly to the relevant document, and check that the people using the map can access it.
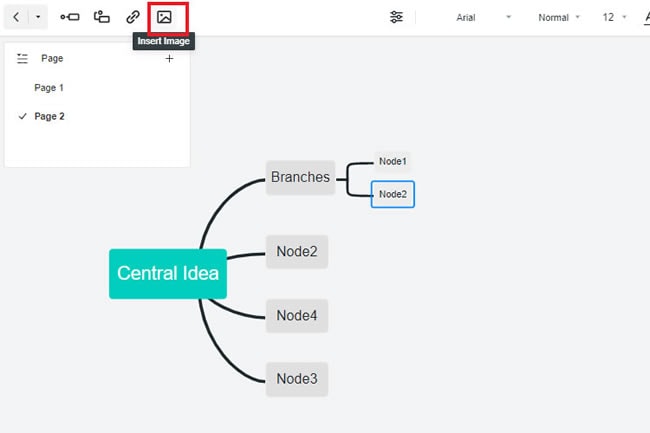
Add an image when it conveys something a short label cannot: an equipment photo, an annotated reference, or an example of the expected output. Keep decorative pictures out of tightly packed branches. They make the map larger without necessarily helping someone understand it.
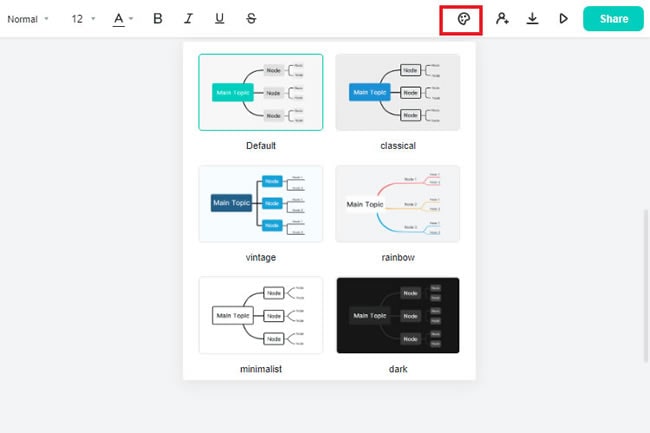
Choose a theme that keeps labels legible. Use color consistently—for example, one color per main branch—and keep the meaning in text as well. A reviewer should still understand which item needs attention if they cannot distinguish the colors.
4. Review the map, then share or export it
Before sharing, read one branch from the center to its last item. Remove repeated points, move misplaced details, and replace labels such as “Other” with something more specific. If a branch needs a long paragraph of explanation, consider linking to a document instead.
For the onboarding example, ask the people responsible for equipment, access, and team orientation to check their branches. A useful review question is “What would a new teammate still be unable to do?” It exposes missing steps more effectively than asking whether the map looks complete.
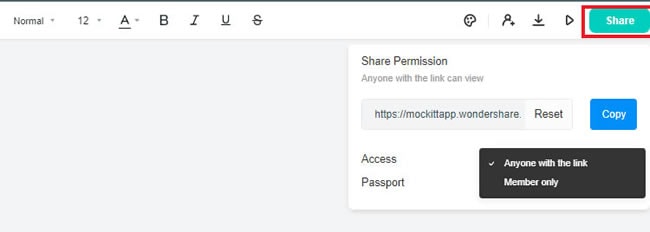
Use the sharing controls to send a link and choose the access appropriate for your collaborators. Keep editing access for people maintaining the plan. Confirm that an intended reviewer can open the map before using it in a meeting.
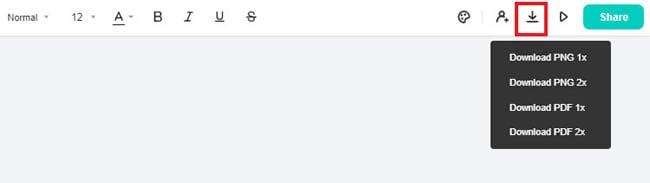
For a slide or a document, use the export controls and inspect the result at its final display size. The illustrated export menu includes PNG and PDF options. A larger export does not fix tiny labels or an overcrowded map; simplify the branch or split a large subject into linked maps first.
When should you use a different format?
A mind map works well for a topic and its related ideas. Use a business process map when the important question is who does what next, including decisions and exceptions. Use a product roadmap when you need to discuss outcomes, priorities, and planning horizons.
If you already have a long set of notes, the AI mind map generator can help produce an initial structure. Review its categories against the original material before using them. A tidy hierarchy is only useful when the relationships are correct.