Start with a topic, a few notes, or a meeting recap. Use Mockitt AI to organize the main idea and its branches, then adjust nodes and add supporting material in Mockitt Whiteboard. You’ll have a map your team can build on together.
Explore ideasOrganize informationEdit on a whiteboard
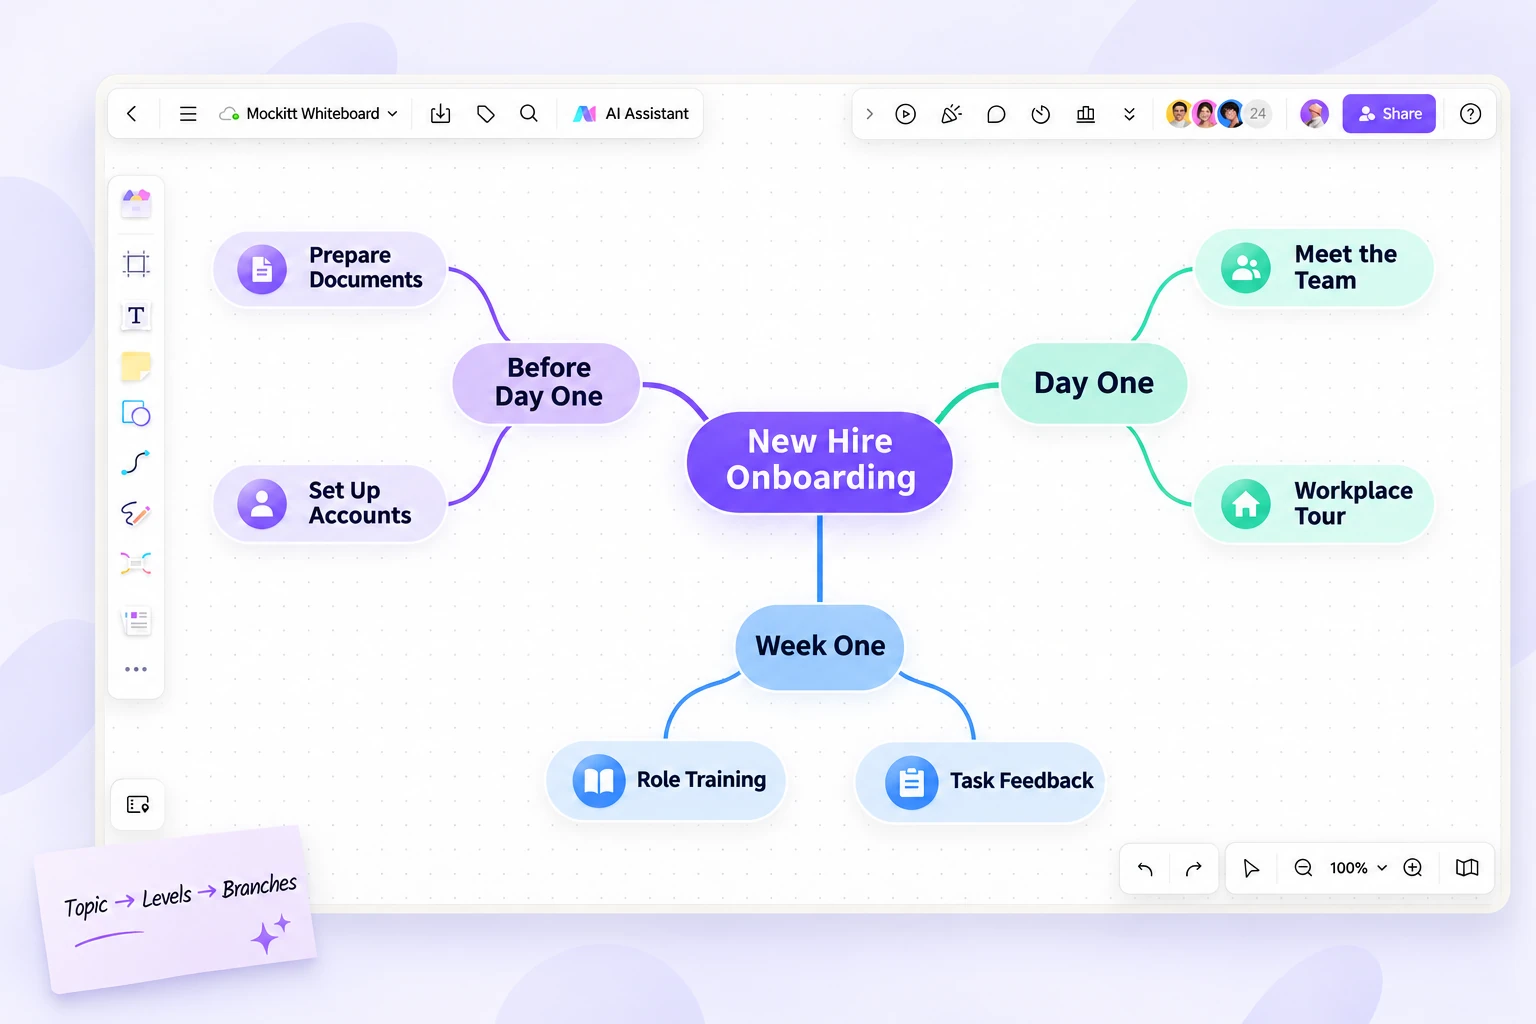
Break new employee onboarding into three stages. Start with the big picture, then add the details.
Start with Your Task
Choose a starting point. Give AI a clear direction.
Exploring a new topic and summarizing existing material are different tasks. Explain the purpose and scope so the structure fits the question you’re trying to answer.
01
Explore a Topic
Provide a central topic, an audience, and the scope you want to cover. For an onboarding guide, for example, organize the map by stage before adding the tasks a new teammate needs to complete.
Create a three-level mind map for new employee onboarding. Organize it into Before Day One, Day One, and Week One, with two main tasks under each branch.
02
Organize Existing Material
Paste meeting notes or key points from your reading, then tell AI how to group them. If the map must stay faithful to the source, ask it not to add information the material doesn’t contain.
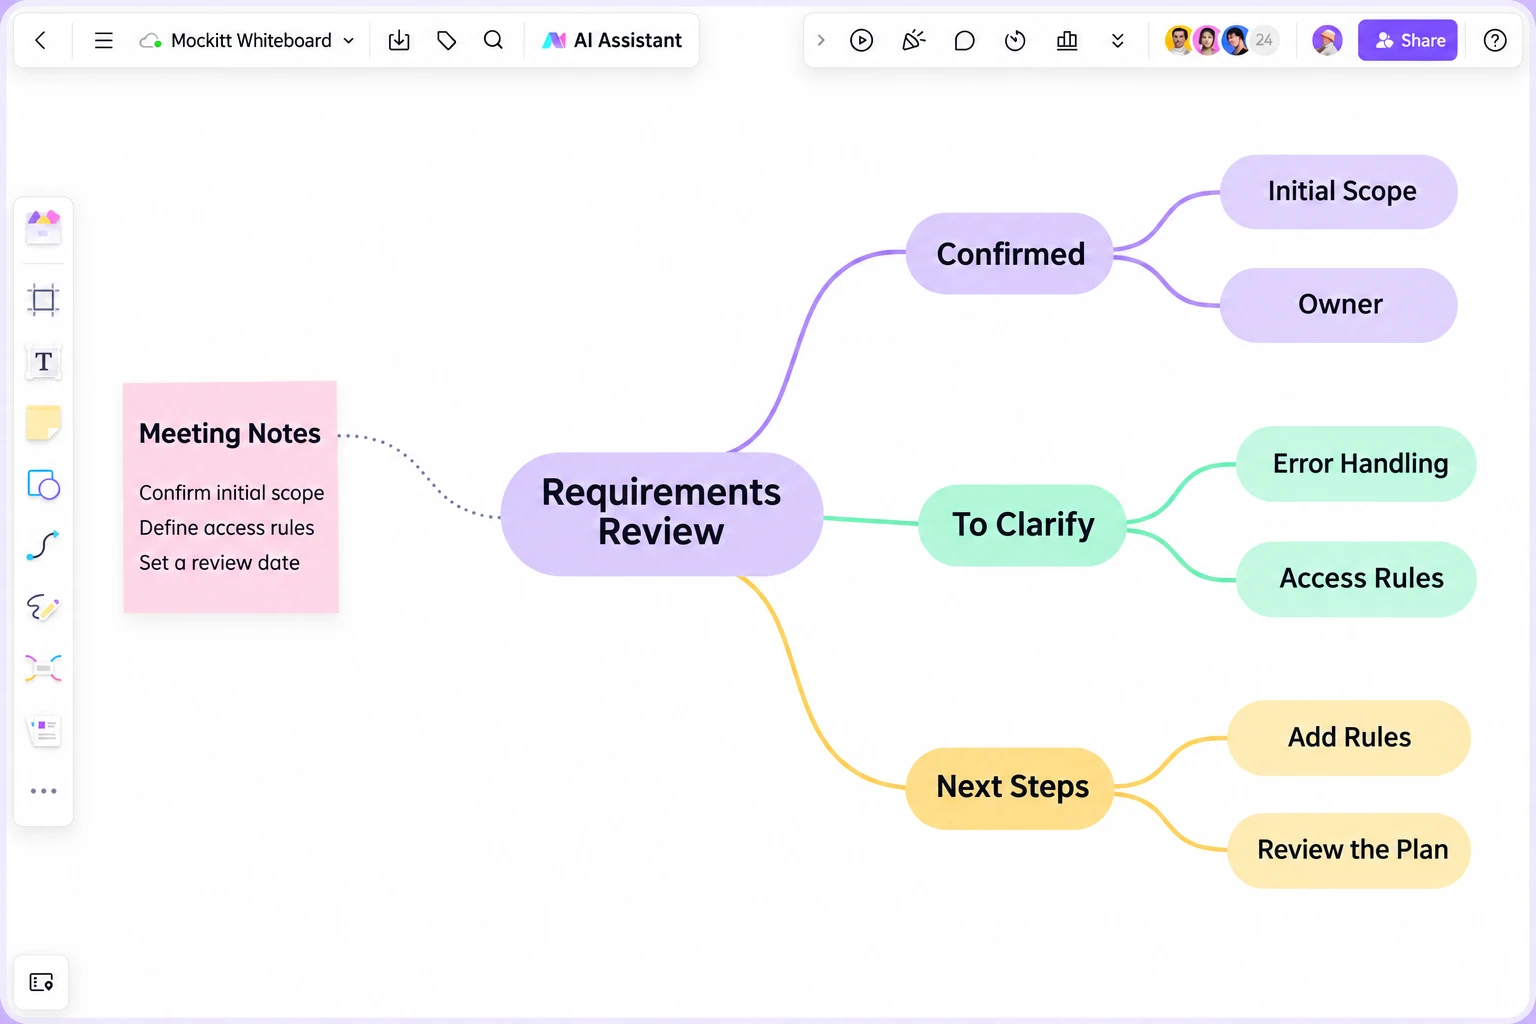
Organize the meeting notes below into Confirmed, Open Questions, and Next Steps. Put anything unresolved under Open Questions. Do not turn an undecided point into a conclusion.
03
Expand One Branch
Once the overall structure is right, add detail to a specific branch. This helps you keep the content you’ve already agreed on instead of rebuilding the entire map each time.
Keep the other branches unchanged. Under Week One, break Role Training into materials to read and small tasks to complete.
From Notes to Next Steps
Map the discussion. Make the next step clear.
When confirmed decisions and open questions sit together, a suggestion can look like an agreement. Separate them first, then identify the rules that still need work and who will clarify them. The map becomes a useful starting point for the next conversation.
Keep the original notes beside the map so teammates can check the structure against the discussion.
Use Consistent Categories
Use one organizing principle for the first level. Avoid mixing time periods, departments, and tasks as equivalent branches.
Put Details Where They Belong
Merge nodes that mean the same thing and move details under the right branch. Keep important wording from the original notes nearby when it adds context.
Add the Next Actions
Separate questions that need an answer from actions the team can take next. Invite teammates to keep editing and discussing the map.
Meeting Notes · Copyable Outline
Separate Decisions from Open Questions
In this review meeting, the team has agreed on how users will register but has not decided when they can request another verification code. Keep unresolved points separate so AI doesn’t turn a suggestion into a settled rule.
Open the Meeting Outline to Copy or Download
# Account Registration Review

## Confirmed
- Users register with a phone number.
- Successful registration leads to the profile setup page.

## Open Questions
- Verification code resend interval: product and engineering need to confirm.
- Phone number already registered: should users sign in or follow an account recovery path? Decision pending.

## Next Steps
- Product: add screen states for an incorrect code, an expired code, and an already-registered phone number.
- Engineering: confirm API responses and retry rules.
- QA: add registration and sign-in paths based on the agreed rules.

Organizing instructions: Use only Confirmed, Open Questions, and Next Steps as first-level branches. Do not invent a default interval for verification codes. Support each branch with the original notes.
This Markdown outline helps organize the content of your map. Copy it into a prompt or use it to build the map manually; downloading it does not create a native whiteboard project.
Bring Your Ideas into the Workspace
Build Your First Mind Map in Three Steps
Describe the Topic and Purpose
Say whether you’re brainstorming, reviewing study material, or organizing a meeting. Include the points you already have.
Generate and Review the Structure
Check that the central topic is accurate and the main branches cover what matters. Remove ideas that fall outside the task.
Edit and Work Together
Add or remove nodes, adjust the hierarchy, and include supporting notes on the whiteboard. Share the map to invite your team to collaborate.
A Prompt to Get Started
Create a three-level mind map for new employee onboarding.
Audience: new members of the product team.
First-level branches: Before Day One, Day One, and Week One.
Start with two main tasks per branch. Use short action phrases for node labels.
Do not invent company policies. Mark any policy details that need to be supplied as To Be Confirmed.
AI Mind Map FAQs
What can I use an AI mind map for?
Use an AI mind map to explore ideas, organize knowledge, summarize meetings, or break down product features. If you need to show approval conditions, a sequence of steps, or recovery after a failure, a flowchart is usually a better fit.
Can I edit the map after it’s generated?
Yes. You can keep organizing nodes and levels, add supporting material, and collaborate in Mockitt Whiteboard. Review the generated draft against your actual task before treating it as complete.
How do I keep the map focused?
Specify the audience, first-level categories, and number of levels. When summarizing material, ask AI to use only information from the source. Agree on the main structure before expanding individual branches.
How is AI generation different from a mind map editor?
AI helps produce a first draft of the content and structure. A mind map editor gives you the tools to refine it, present it, and work with others. Mockitt connects these steps in one whiteboard workspace.