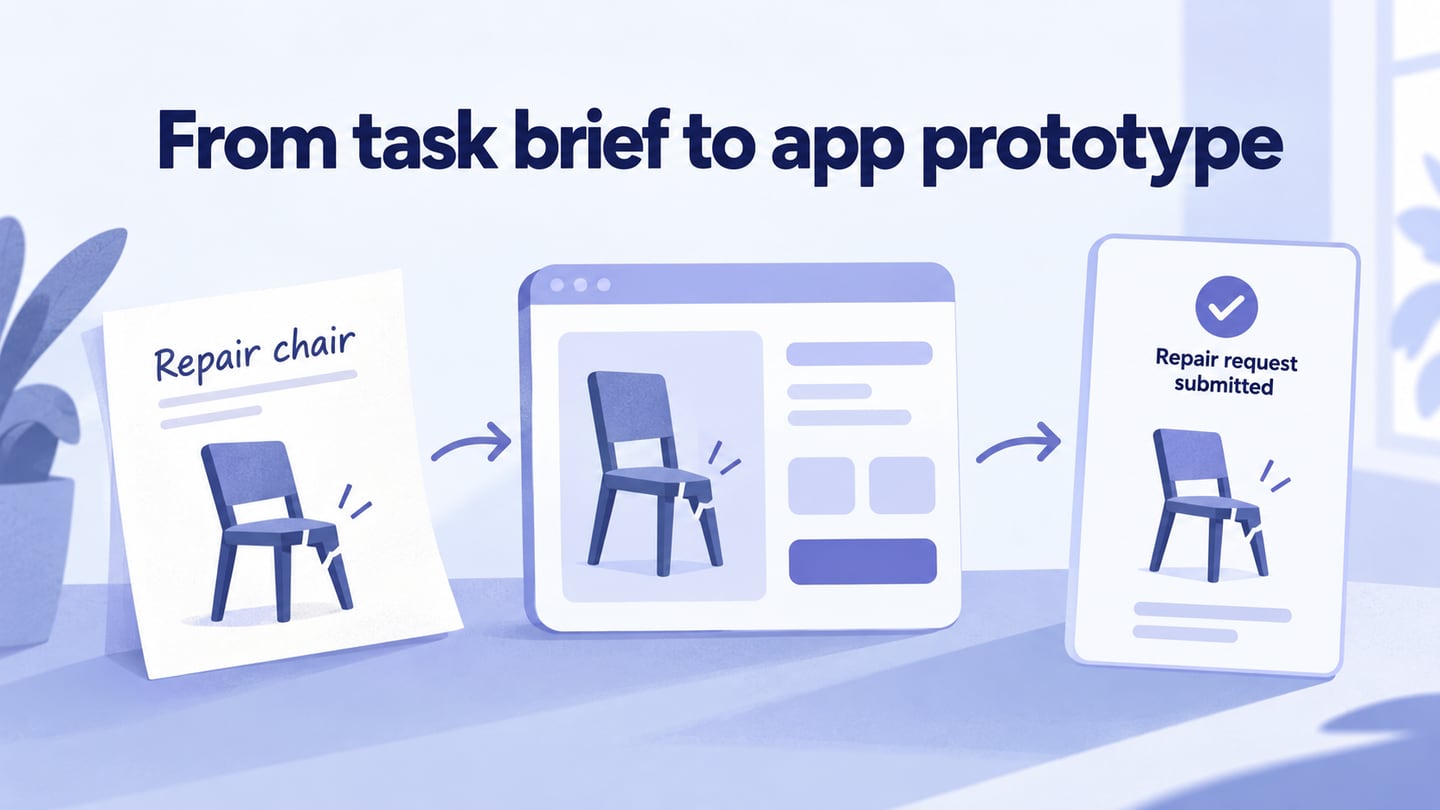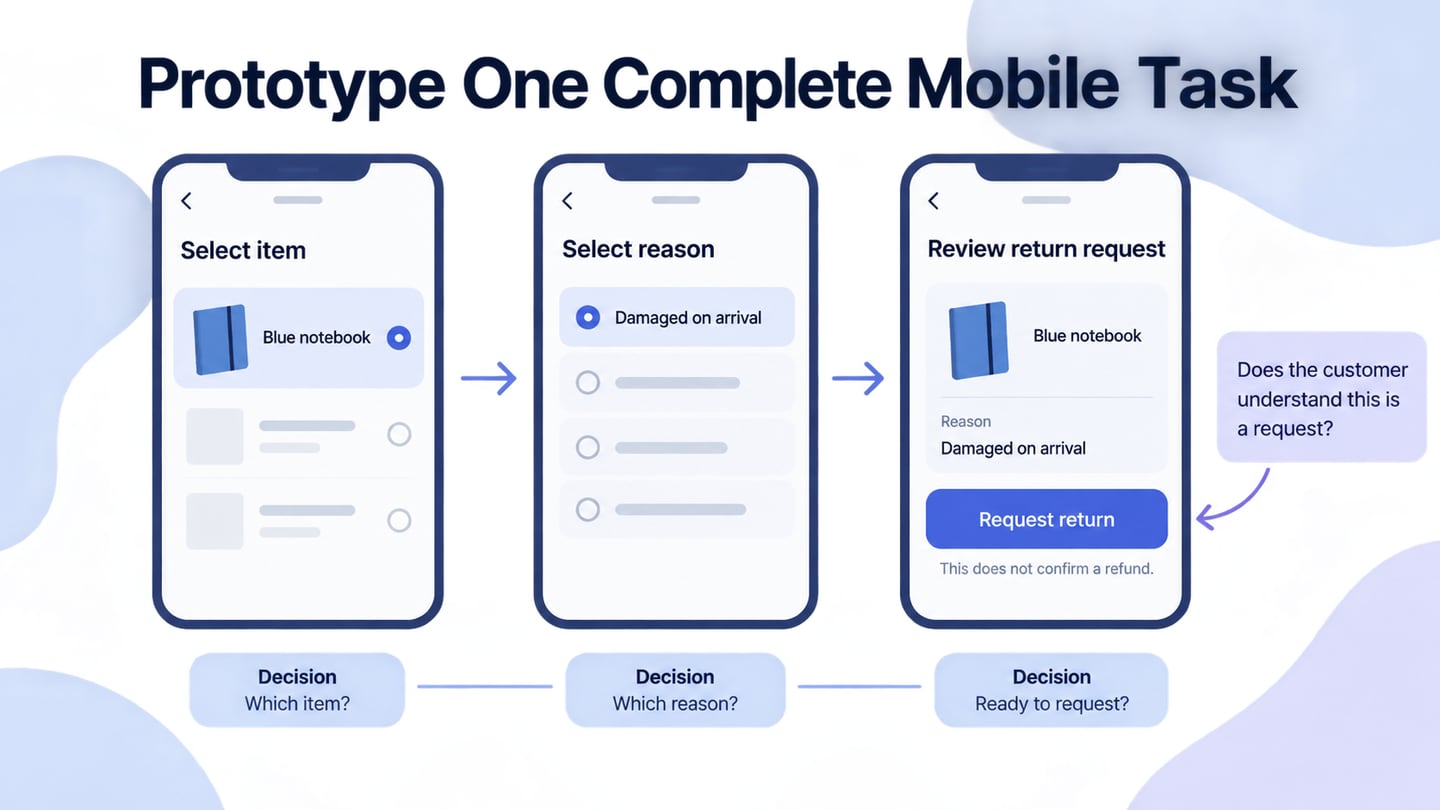
An Android prototype makes a planned app flow clickable so reviewers can inspect it before implementation. Use an online prototyping tool to arrange the screens, connect the intended actions, and test return navigation. Follow the four-step Mockitt workflow, then check a concrete task from its first screen to its outcome.
Choose a Tool for the Android Prototype
Mockitt supports arranging screens and reusable interface elements, then connecting them for review. Start from an appropriate available template or a blank project. Choose the scope and account capabilities needed for the task instead of assuming one tool is the best fit for every project.
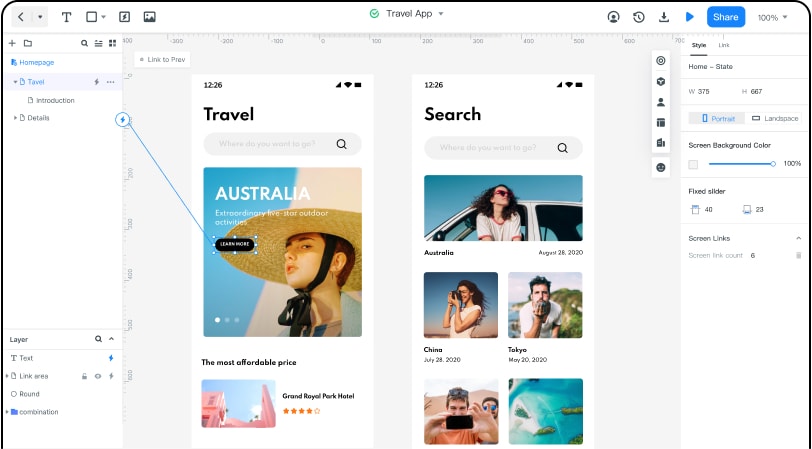
A prototype can demonstrate screen transitions and selected states without implementing the complete Android app. Use comments and design handoff to explain decisions, but verify native navigation, permissions, data handling, and device behavior during implementation.
Features
- Use reusable widgets and icons where they fit the interface.
- Adapt available assets to the actual screen content and task.
- Review the prototype with collaborators using the available access controls.
- Maintain a clear version for review rather than assuming every viewer sees the same state.
- Open the preview on relevant screen sizes and devices.
How to Make Android Prototype Online
The steps below describe the original drawing and connection workflow. The retained screenshots show an earlier Mockitt interface; current controls may be in different positions.
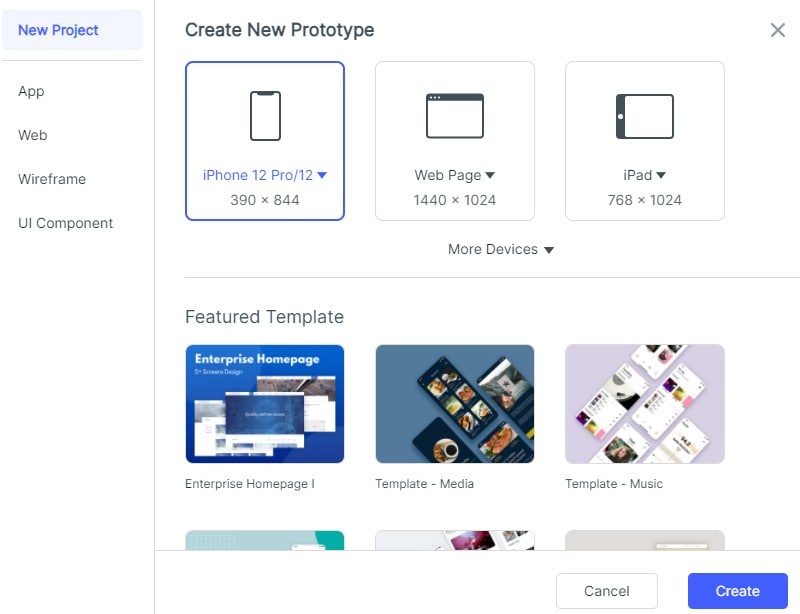
Step 1. Create a Project for Android Prototype
Sign in to the current workspace, create a prototype project, and choose or enter the intended Android viewport size. Name the project and screens for the task. The archived screenshot includes an iPhone preset; select the size and interface conventions relevant to your Android design.
Step 2. Add Widgets and Icons for Your Android Prototype
Add the widgets and icons needed for each screen. Use Android-appropriate components and labels rather than copying an iOS template unchanged.
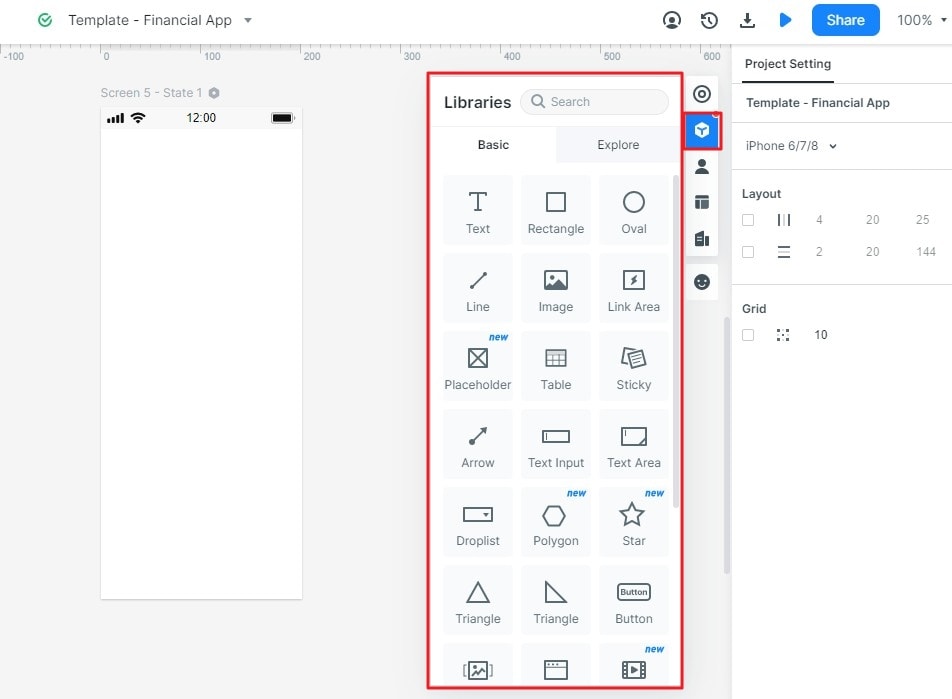
Customize spacing, content, and states across the screens. The Android UI design guide addresses platform-specific choices separately from this prototyping sequence.
Step 3. Create Screen Connections for Prototype Android
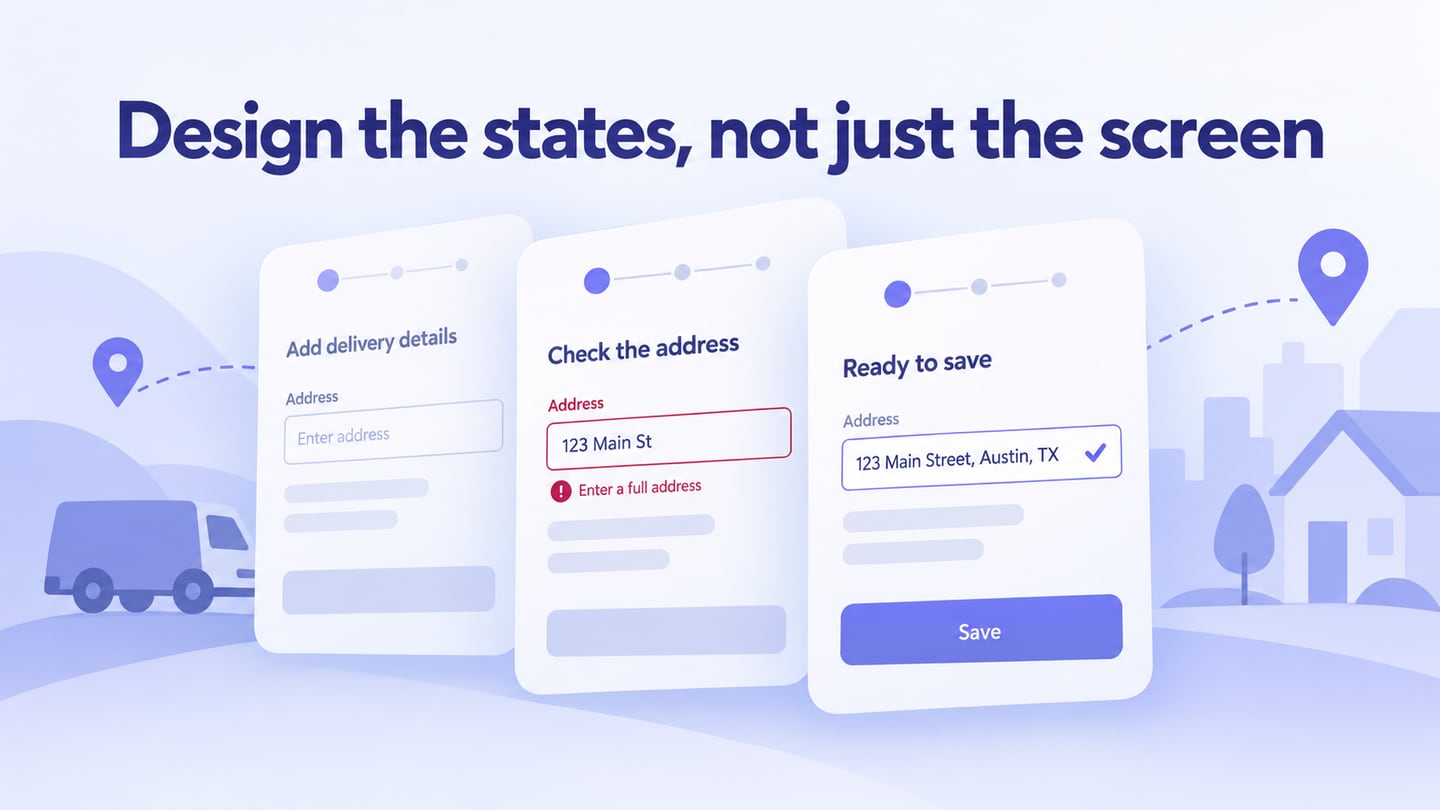
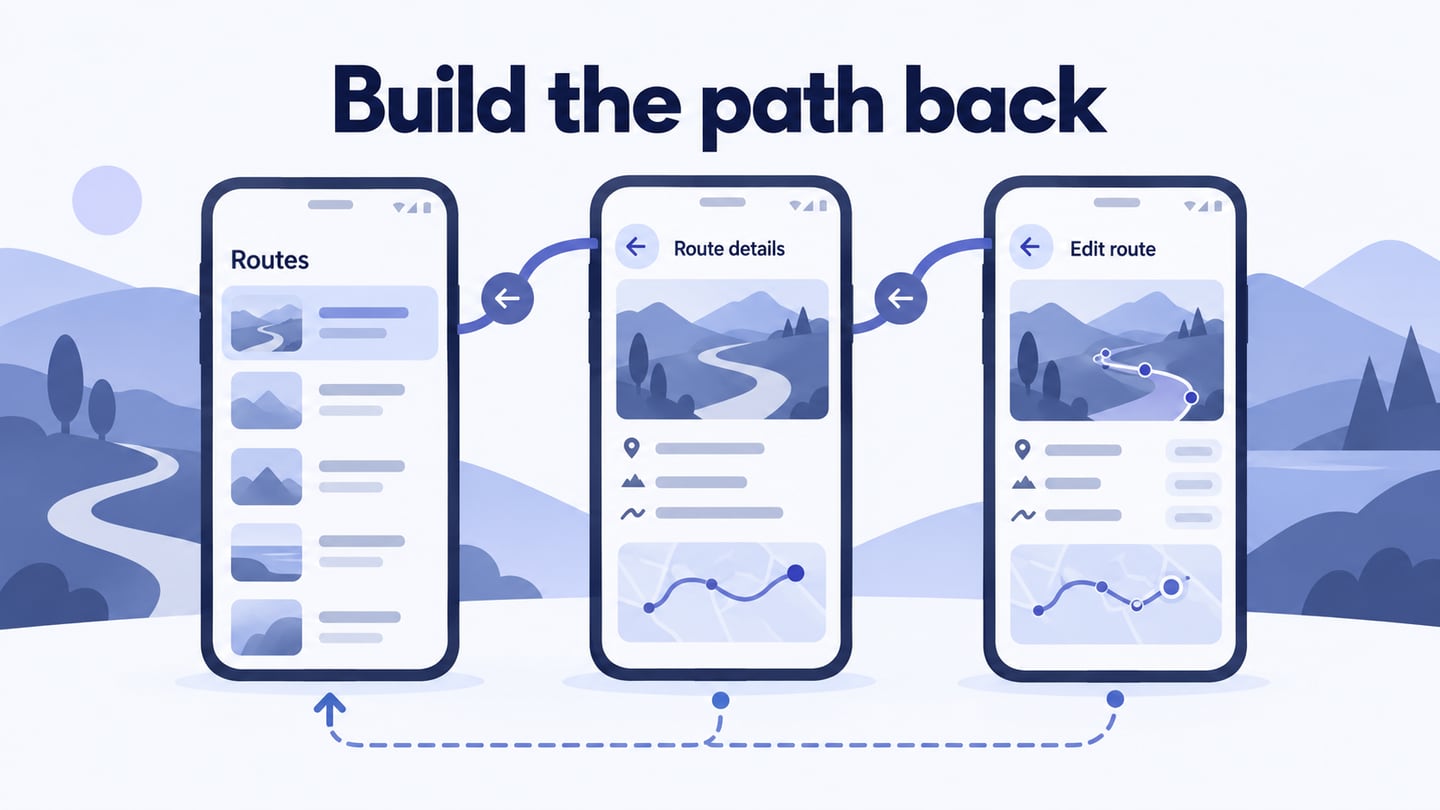
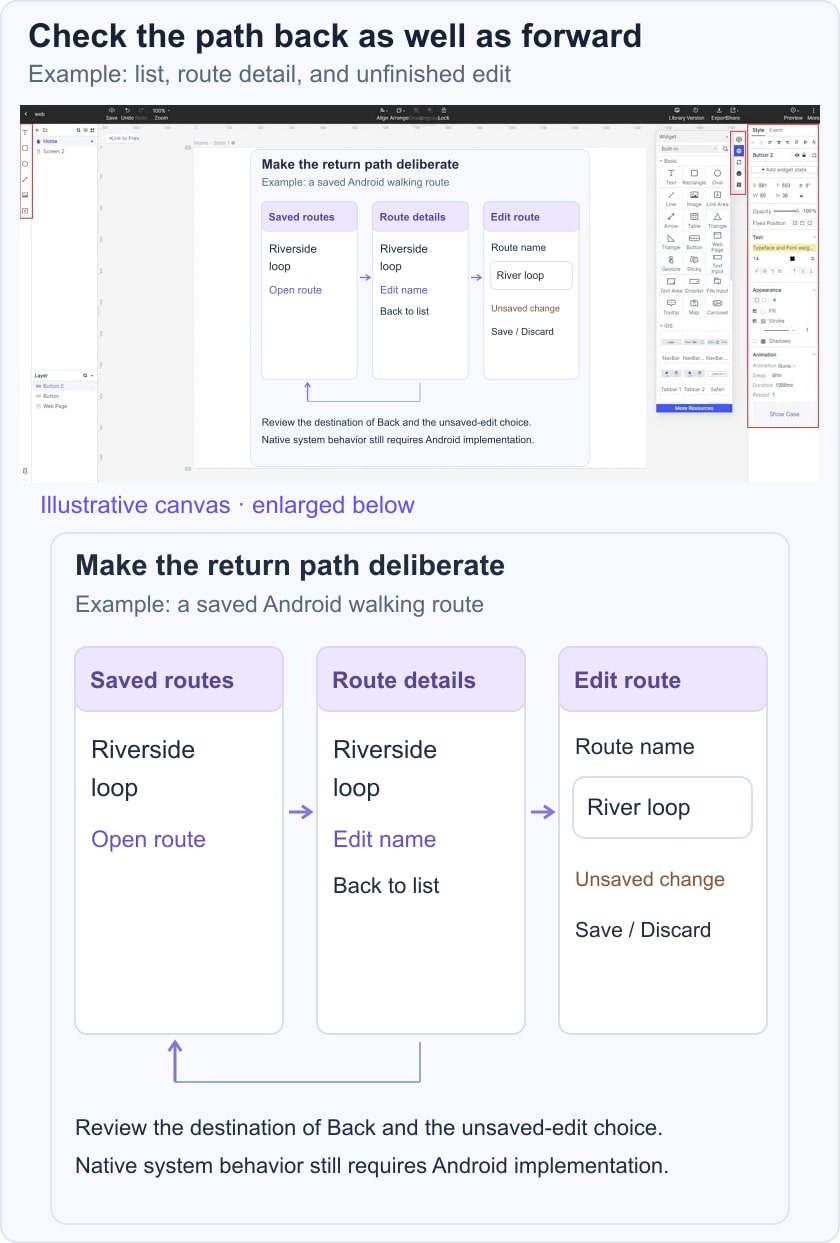
Connect the controls to their intended destination screens and define the important state changes. Decide what happens when the user returns as well as when they move forward.
For example, prototype a saved walking-route flow. Open Riverside loop from a saved-route list, inspect its details, and edit its name. Test returning from details to the same list and leaving an unfinished edit. Make the intended save or discard behavior explicit; the prototype does not implement the Android operating system’s Back behavior.
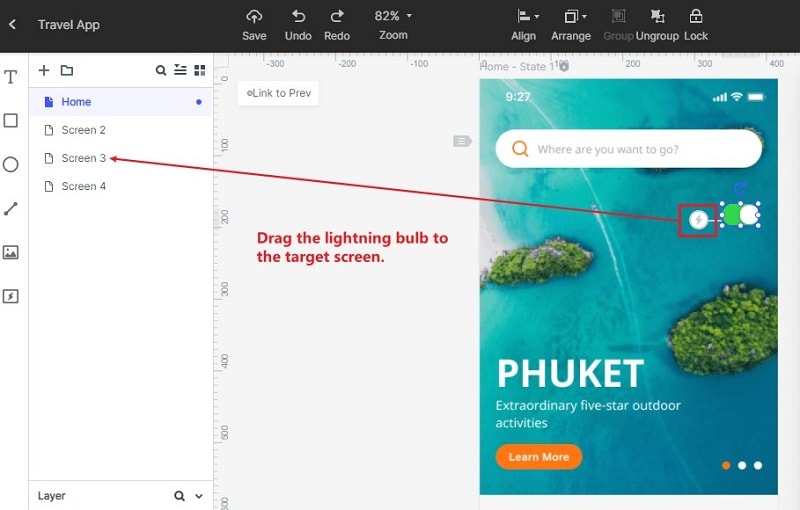
Select a control and connect it to the destination using the current interaction controls. Preview each connection after creating it. Consult Android’s navigation guidance when distinguishing hierarchical Up navigation from the system Back action.
Step 4. Preview and Share Your Android Prototype Online
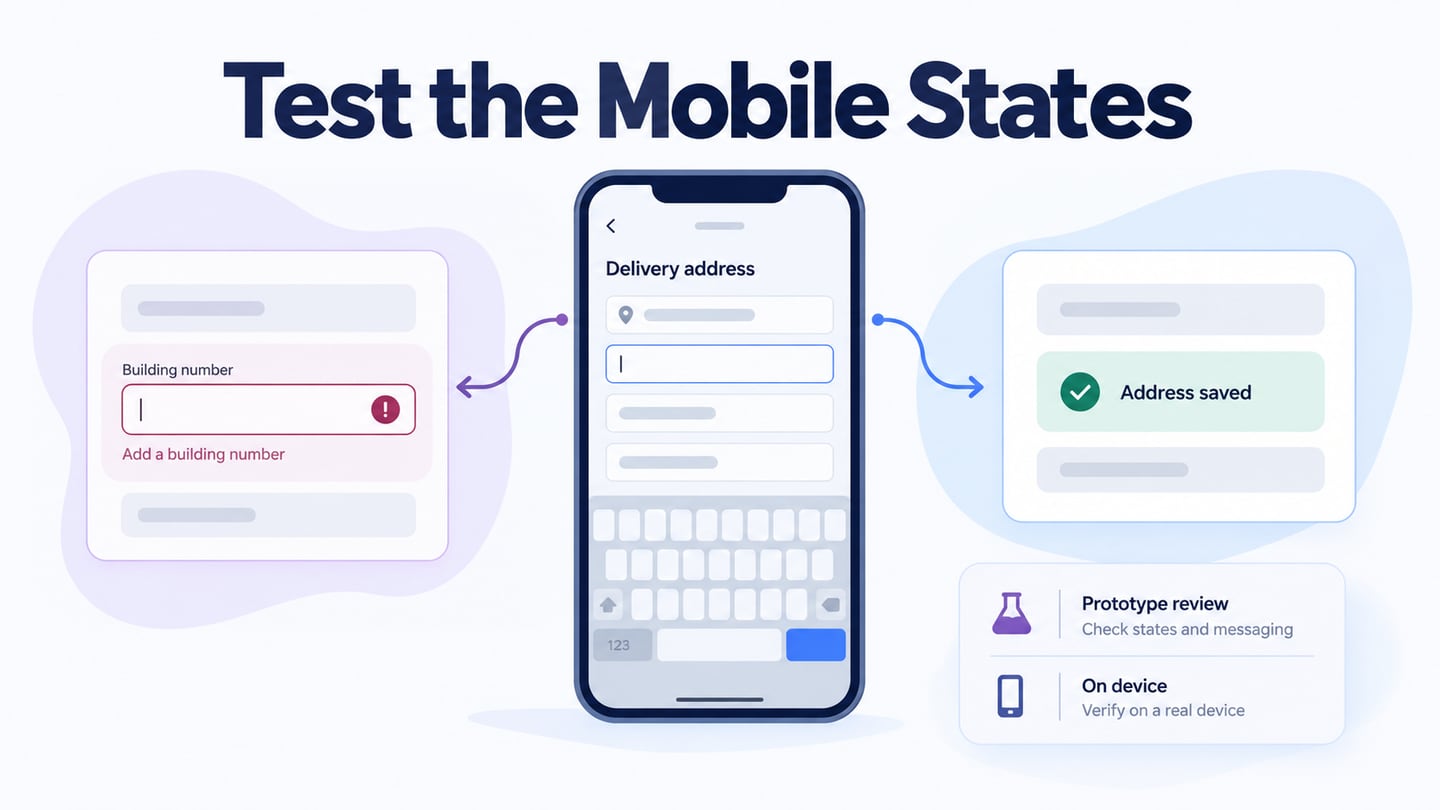
Open the preview and complete the saved-route task from the start. Check selection, edit, save, cancel, and return paths. Share through the current interface with suitable permissions, and confirm that a reviewer can open the link.
Useful Tips for Making Android Prototype
Use these five practices to keep the prototype understandable and focused on the Android task:
1. Adapt Reusable UI Elements
Reuse components where they match the task, then adjust content and states. A template is a starting point, not evidence that its platform conventions or interactions are correct.
2. Choose Features for the Review
Choose a tool that supports the screens, connections, sharing, and feedback you need. A simple linked prototype may be enough for navigation, while complex gestures or native behavior may need an additional implementation-level prototype.
3. Turn Feedback into a Specific Change
Ask reviewers to complete the task. Record the screen, action, observed difficulty, and proposed change rather than collecting only preferences about appearance.
4. Test the Paths That Matter
Repeat the task after a change and inspect the exceptional states you represented. Passing a prototype review does not mean the implemented app has passed device or accessibility testing.
5. Organize Reusable Assets
Keep names and reusable assets consistent so a revised screen does not diverge from the rest of the flow. Separate temporary exploration from the version sent for review.
For a broader view of app structure before building the prototype, review the app design planning process.