Choosing an Android app design tool is easier when you know what you need to produce. A screen prototype, a navigation diagram, and a vector icon are different deliverables. This guide compares five tools from the original shortlist by those tasks, then shows how to build an Android screen prototype in Mockitt. These are tools for designing Android interfaces; they do not all run on an Android phone.
Five Tools for Different Android Design Tasks
Use the shortlist to identify a fit for your workflow, not a universal ranking. Check the current plan, platform requirements, sharing options, and export limitations with the vendor before choosing. The retained screenshots show earlier interfaces and illustrate the type of work each tool supports.
1. Mockitt
Mockitt combines interface layout, screen interactions, and team review. It suits a project where you want to arrange mobile screens, make a flow clickable, and share it with reviewers. Start with components or a suitable template, then replace sample content with realistic Android app tasks.
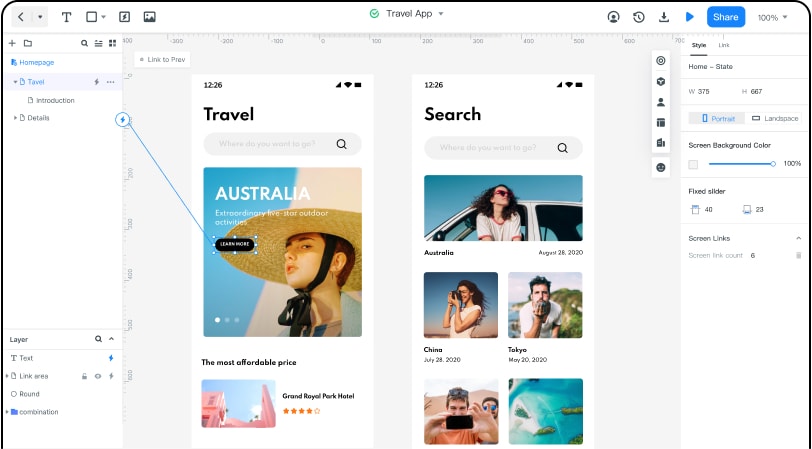
Cloud-based editing and collaboration let a team work on the same prototype and discuss changes. Preview the flow at the intended mobile size. The prototype demonstrates behavior for review; it is not an Android application package and does not establish that native permissions, networking, or device performance work.
Pros
- Screen layout and interaction editing in one workflow.
- Reusable components for repeated interface elements.
- Review the current plan’s file, sharing, and collaboration limits.
- It supports real-time collaboration and co-editing.
- Shared projects remain subject to account access and permissions.
Cons
- Native Android behavior and a production backend still need implementation and device testing.
2. OmniGraffle
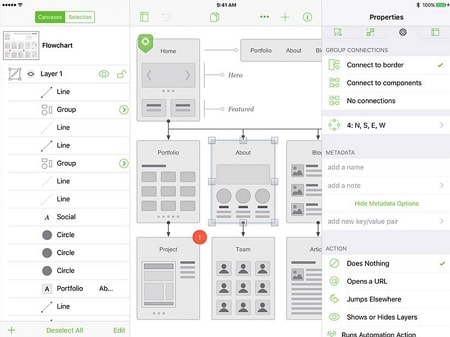
OmniGraffle focuses on diagrams, wireframes, and vector graphics. Its grouping, snapping, and alignment tools can help communicate an Android app’s structure. The authoring apps run on Mac, iPad, and iPhone, not Android; the intended output can still describe an Android interface.
Pros
- Useful for diagramming screen relationships and precise wireframe layouts.
- Check the edition-specific export formats needed for your handoff.
- The vendor offers a trial for evaluating the workflow.
Cons
- Its Apple-device requirements matter if your team works on Windows or Android hardware.
- A diagram or wireframe is not a substitute for testing the app’s interaction flow.
- Assess the required editing and export features against the current edition.
3. Fluid UI
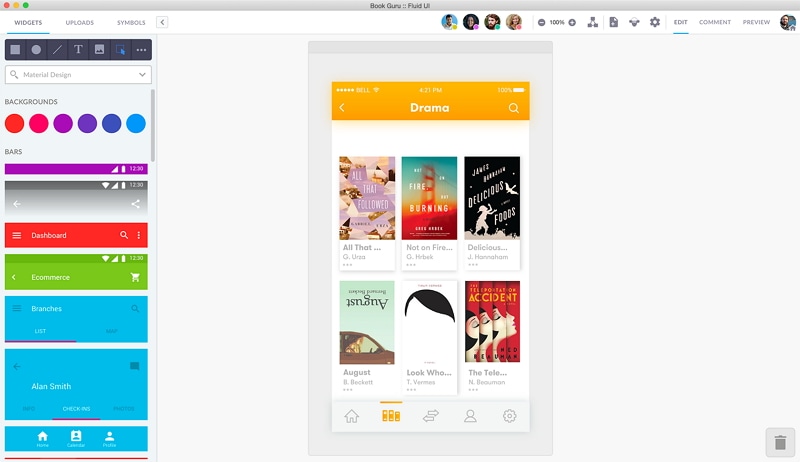
Fluid UI offers mobile and web prototyping with interface kits, linked previews, and collaboration. It is relevant when a team wants a screen-based prototype with shared feedback. Check the kit and preview workflow against the Android experience you intend to test.
Pros
- Real-time collaboration supports working on the same prototype.
- Linked screens support interactive previews.
- The vendor provides UI kits for mobile and wireframing tasks.
Cons
- Verify current project limits and the review setup you need before choosing a plan.
4. UXPin
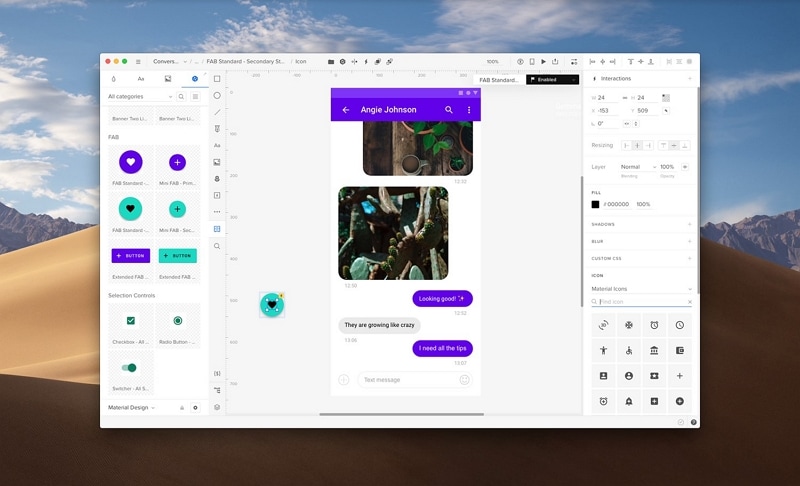
UXPin supports advanced prototypes and code-backed component workflows. It can be useful when realistic states, conditional behavior, or a shared component library are central to the review. Evaluate its Android use case carefully: a web or React component workflow is not automatically a native Android implementation.
Pros
- Advanced interactions and states can represent detailed behavior.
- Reusable components can connect design decisions to an established library.
- Choose the fidelity needed for the question under review.
Cons
- Check which component integrations and collaboration features your plan includes.
- More detailed interaction logic requires additional setup and maintenance.
5. Vectr
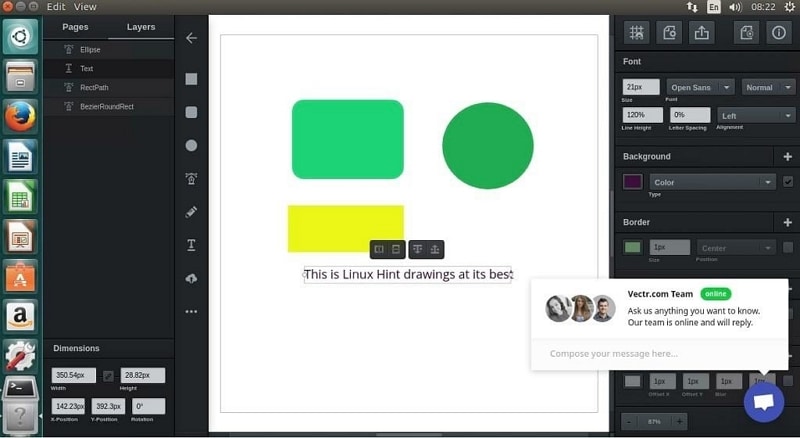
Vectr is a vector graphics editor. It is a candidate for creating icons or other graphic assets used in an Android interface, rather than the main tool for reviewing a multi-screen app flow. The original screenshot illustrates vector editing; current features and plans should be checked on the vendor site.
Pros
- Vector editing can support scalable graphic assets.
- Check current export and account limits rather than assuming every feature is free.
- A focused asset workflow can complement a separate prototyping tool.
Cons
- Plan a separate way to connect screens and review the app’s behavior.
- Test exported assets at their actual interface size.
- Do not select an asset editor solely because it appears in an app-design tool list.
How to Design an Android App Prototype Online
Step 1. Log In
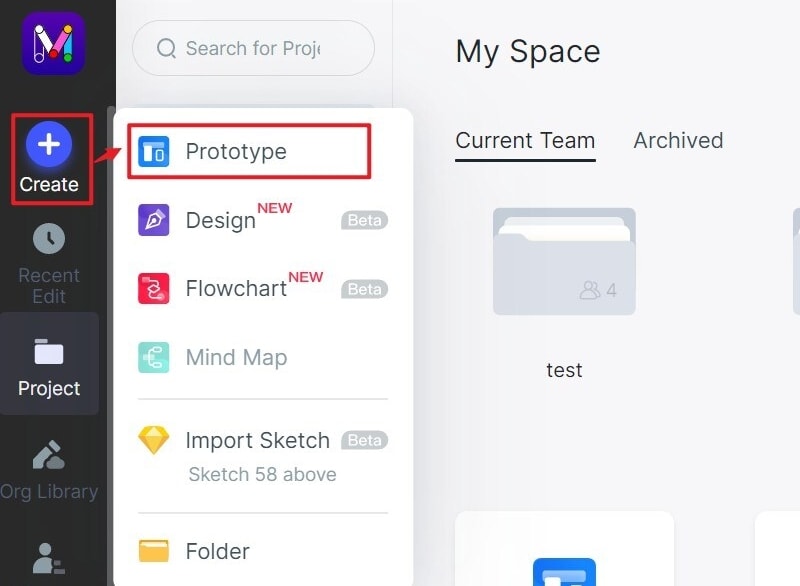
Sign in to Mockitt, create a prototype project, and choose an appropriate mobile screen size. Give the project a descriptive name. The archived Create-menu screenshot below illustrates the project step; use the equivalent action in the current workspace.
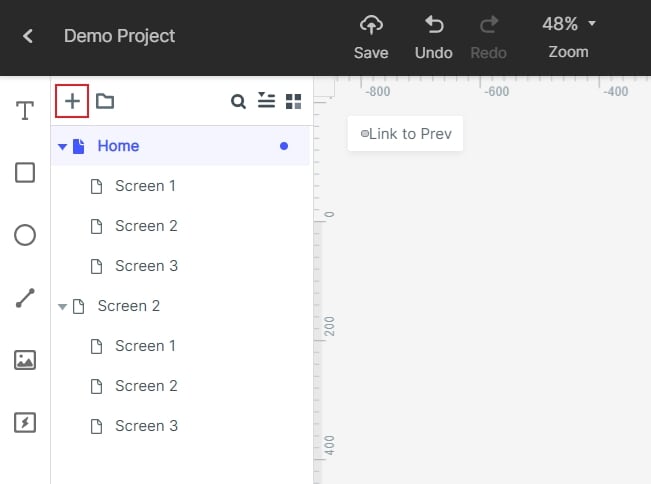
Step 2: Add Screens to Your Android Application Design
Add the screens needed for the task and name each clearly. Begin with the main path and one changed or empty state, then add complexity only when the review requires it.
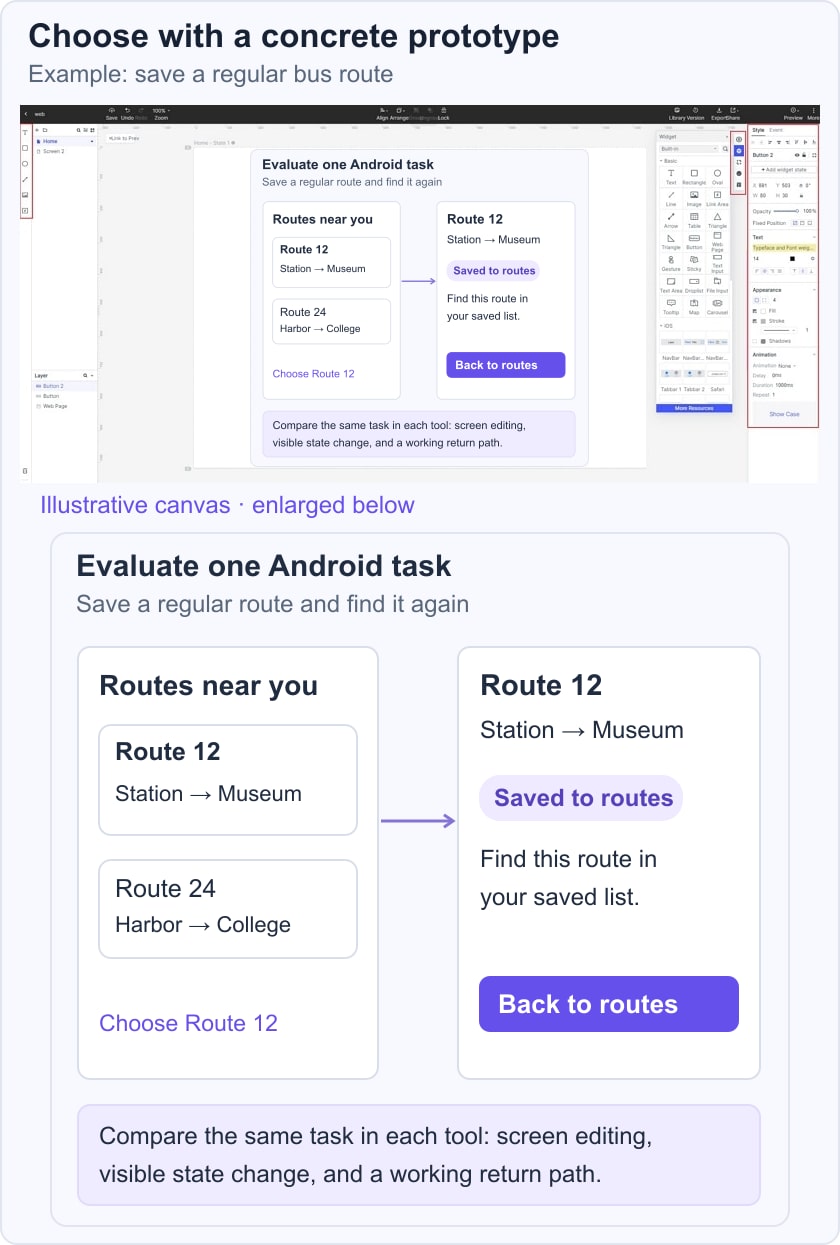
Use the same small task to compare tools: let a rider save a regular bus route. Create a route list, a route detail screen, and a saved-route state. The rider should see confirmation after tapping “Save route” and find the route again after returning to the list. This exposes whether a tool supports the interaction you need instead of merely producing a polished static screen.
Step 3. Design Your Android App Online
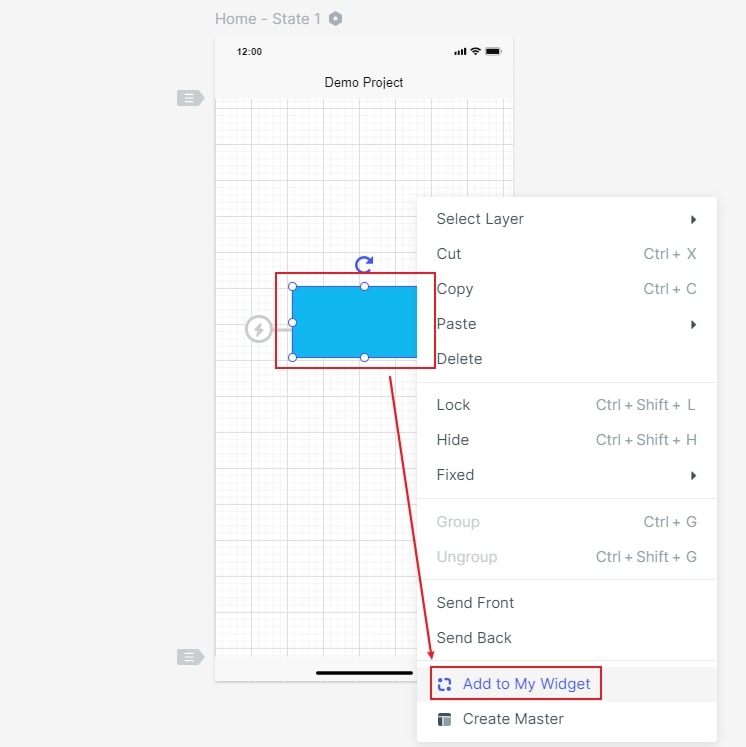
Drag components onto the canvas and edit their text, size, and appearance. Reuse route rows and buttons so later changes remain consistent. Keep meaningful labels such as route number and destination; placeholder text can hide layout problems. For platform-specific components, consult the Android UI design guide.
Step 4. Create Connections
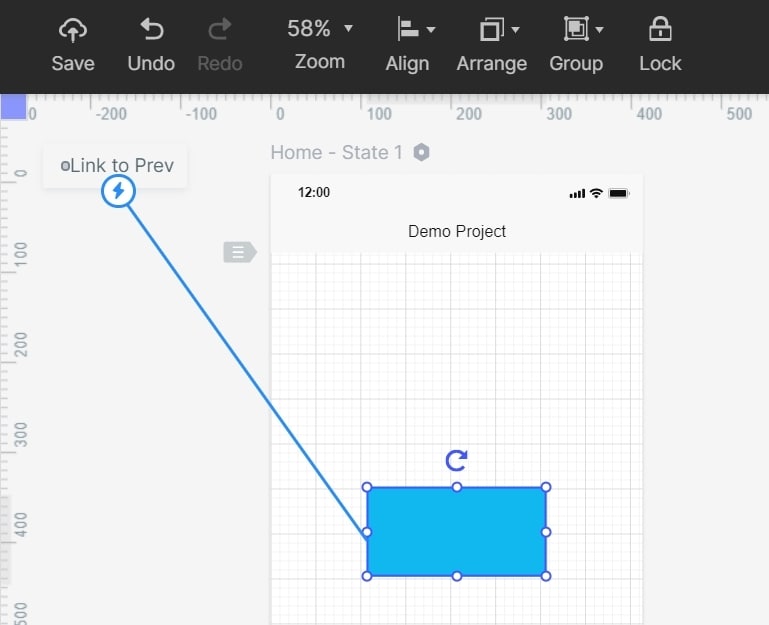
Connect an element to its destination screen or state and define the trigger. Link the route row to its details, the save action to confirmation, and the back action to a list that reflects the saved state. Review both the action and its visible result.
Step 5. Preview and Share Your Android App Design
Open Preview and complete the route-saving task without describing the intended path to the reviewer. Share the preview with the team and record unclear labels or missing states. Use the Android prototyping workflow for a more focused review of the prototype itself.