A mobile app prototyping process turns an uncertain design decision into something the team can inspect and test. Start with the question, create the relevant flow, gather evidence, and revise the part that needs it. Use a mobile app prototype when linked screens and states are an appropriate way to investigate that question.
The process can improve clarity between designers, developers, and stakeholders, but those benefits depend on what is built and how it is reviewed. A demo with no research question may collect opinions without resolving uncertainty.
Compare low- and high-fidelity approaches, then follow the five stages through a mobile return-request example. Define what the prototype needs to demonstrate at each stage.
What is a mobile app prototype?

A mobile app prototype represents selected screens, states, or behaviours before or alongside implementation. It may use paper, linked wireframes, detailed UI, or code. It is not necessarily a complete app and does not require every feature.
For example, a team may need to know whether customers understand a return-request flow. That question is more specific than asking whether they like the entire app’s colors or icons.
Prototyping can happen repeatedly throughout design and development; it is not universally a single fourth step. Use it where it helps investigate a decision, and choose other methods for questions that a visual model cannot answer.
Begin with the least detail needed to make the task understandable. The GOV.UK guidance on making prototypes describes a range from sketches to code; higher realism should serve a clear purpose, not become an automatic goal.
Purpose of the prototyping process
- Clarify what users need to accomplish and which assumption the design must investigate.
- Observe people attempting a relevant task. Explain the research context and the prototype’s limits, but avoid giving away the route through the interface.
- Use findings to refine the flow and communicate decisions. A presentation for stakeholders and a usability test serve different purposes, even if they use the same prototype.
Prototyping steps

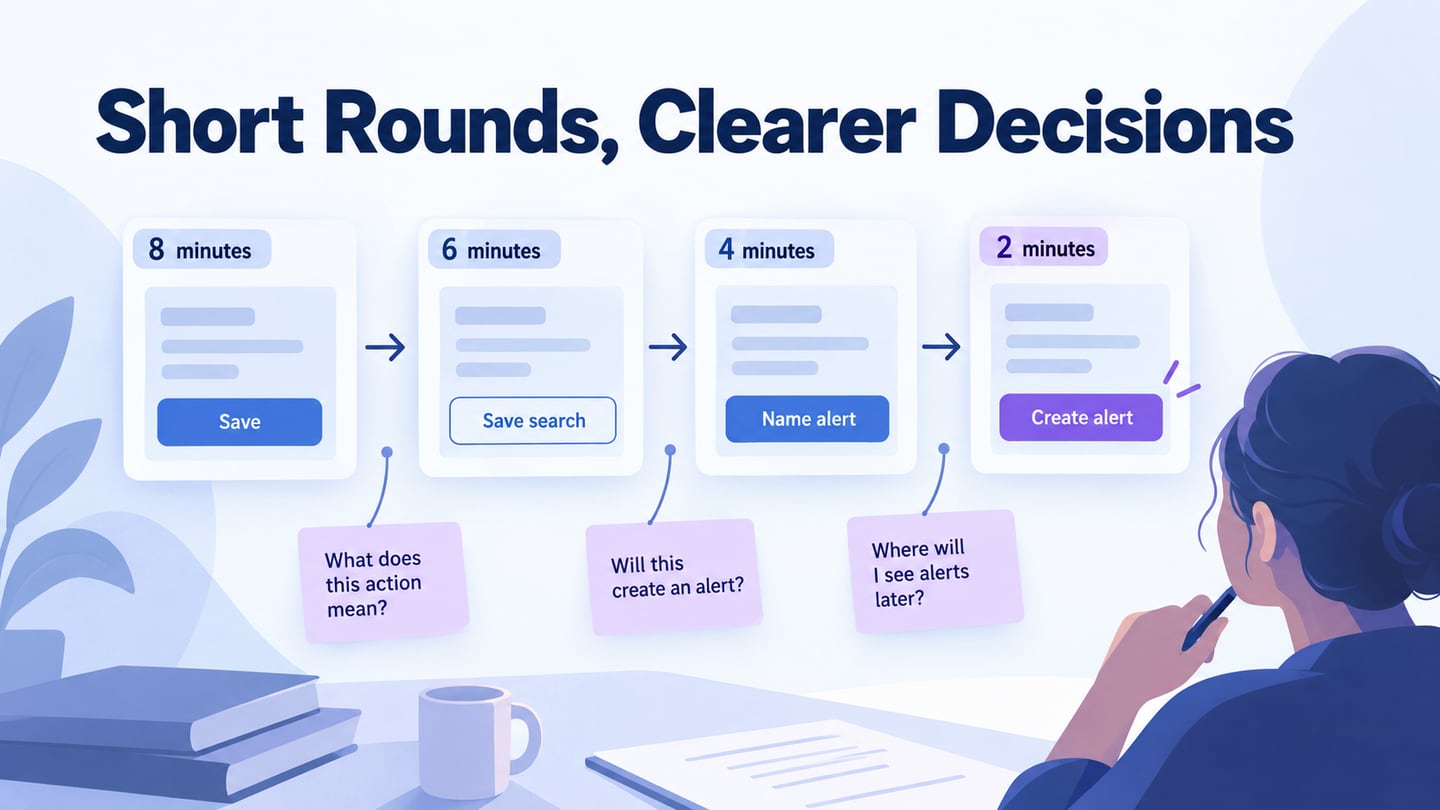
Use these stages as an iterative sequence. You do not need to identify every possible problem before beginning, but the first question and the scope should be explicit.
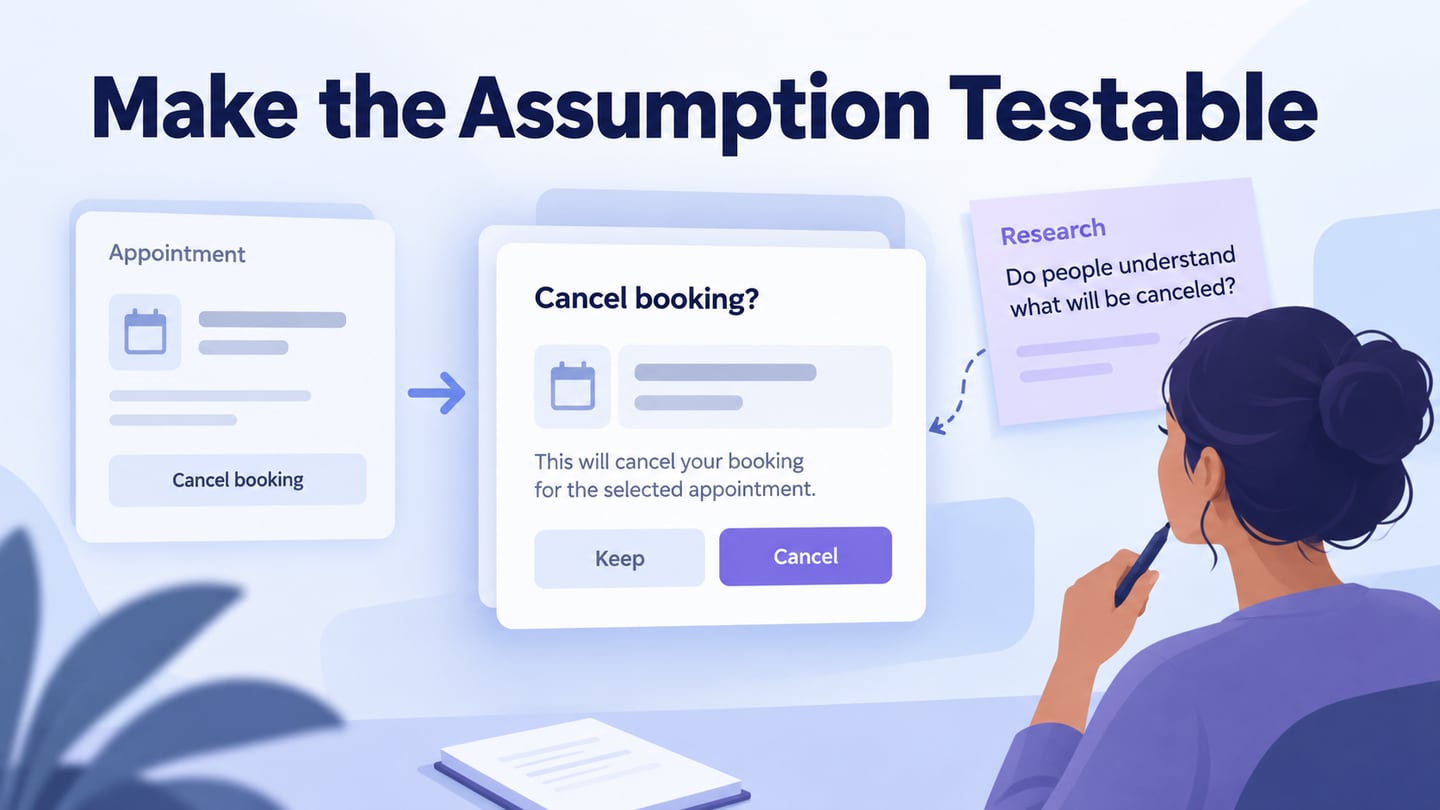
1. Identify the Risky Assumption
Review the task with the team and name the uncertainty. For example: “Will a customer understand that submitting a return request is not the same as receiving a refund?” Record relevant business rules and open technical questions.
2. Select the Necessary Features and States
Include the screens and states needed to investigate the question, not an arbitrary one- or two-feature limit. For a return request, the item, reason, review, and result may all matter; account settings may not.
3. Sketch and Connect the Design
Sketch the sequence and put realistic content into the important decisions. Use paper for early structure or a digital prototype when the interaction requires it. Ensure a reviewer can reach the state you want to investigate.
Choose the tool according to fidelity, interaction needs, and team access. Mockitt can support linked visual flows; a code prototype may be more appropriate when browser or native behaviour itself is the subject. Avoid selecting a tool only because it appeared in an older recommendation list.
4. Review With the Right Participants
Give likely users a relevant, neutral task and observe what they do. Ask stakeholders separately to verify rules and scope. The moderated testing guidance is useful for planning the task and discussion; do not count facilitator instructions as successful independent use.
When stakeholders need to agree on scope or an unresolved rule, a design review meeting agenda helps separate the decision from open-ended design opinions.
5. Refine and Record the Decision
Separate observed issues from preferences. Change the part connected to the evidence, record the reason, and retest the unresolved question. If the problem comes from a business rule or missing service step, changing the screen alone may not solve it.
If the next round must compare performance with an earlier version, prepare a usability benchmarking plan that keeps the task, participant criteria, and success definition comparable.
Apply the process to a return request
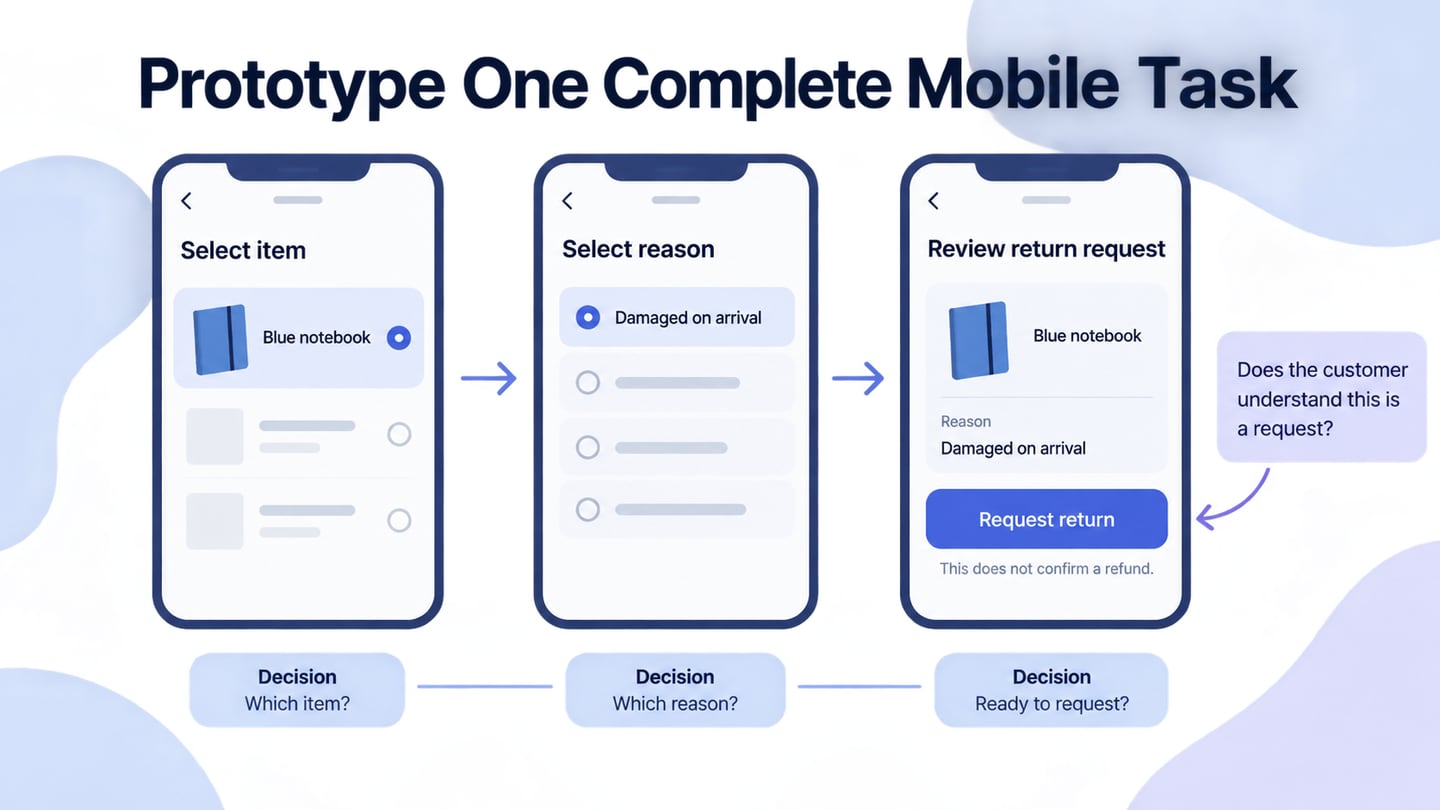
For an illustrative retail app, prototype a return request for a Blue notebook with Damaged on arrival as the reason. The review screen repeats both details and uses Request return. Explain that submitting the request does not confirm a refund. These are fictional records for the exercise, not a retailer’s policy.
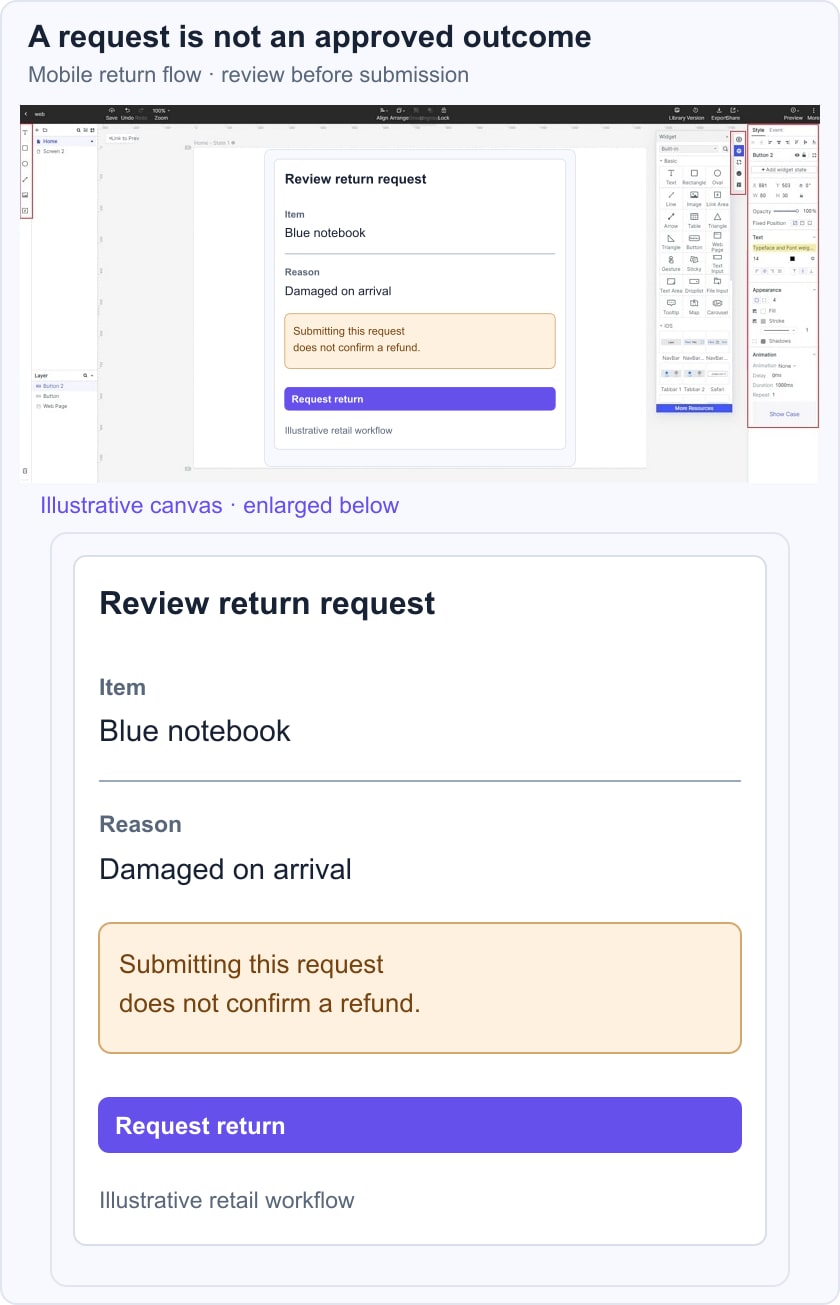
Ask a participant to request a return for the damaged item and then explain what they believe has happened. Record whether they can choose the correct item, review the reason, and distinguish a request from an approved refund. A misunderstanding at the final step gives the next iteration a specific target; it does not establish that every return scenario is covered.
Before handoff, add the unresolved cases: ineligible item, missing reason, interrupted submission, and repeat submission. Connect those cases to functional requirements so the implementation does not depend on the prototype’s successful path alone.
Types of mobile app prototypes
Low and high fidelity describe different levels of representation, not two rigid processes. A prototype can have detailed content but rough visuals, or a polished screen with very limited behaviour.
Choose the combination that lets participants address the question without being distracted or misled.
Low-Fidelity Prototypes
Low-fidelity prototypes use limited visual detail to explore structure, labels, and sequence. They can be paper-based or digital. They are useful when the key question does not depend on polished visuals or realistic system behaviour.

Benefits of Low-Fidelity Prototypes
- They can be relatively inexpensive to change; preparation time depends on the task rather than a universal five-minute promise.
- They make it practical for different team members to contribute alternative structures.
- They expose assumptions early without implying the design is finalized.
- They allow feedback to be incorporated while the scope is still flexible.
Low fidelity prototyping techniques
Possible techniques include:
- Paper Prototyping
- Paper screen changes or simple state sequences
- Clickable wireframes
- Diagrams
High-Fidelity Prototypes
Higher-fidelity prototypes represent the relevant content, visual detail, or behaviour more closely. Use them when those details affect the question, while explaining what remains simulated. A realistic appearance alone does not validate functionality.
Benefits of Higher-Fidelity Prototypes
- They can show specific interactions, feedback, and meaningful transitions.
- They can reduce ambiguity about content and behaviour that a rough sketch cannot express.
- They can help communicate a proposed design, provided simulated rules and untested assumptions remain visible.
Methods
- Detailed interactive screen flows
- Interactive UI mockups
Define evidence before connecting screens
A useful mobile prototype has a question, a bounded route, and an observation plan. Before drawing the first screen, write down what would count as evidence that the assumption is clearer or safer.
| Stage | Deliverable | Stop condition |
|---|---|---|
| Frame | Task, user context, and risky assumption | The team can explain what is being tested |
| Model | Relevant screens, states, and content | A reviewer can reach the decision point |
| Try | Short task script and observation notes | Evidence is separated from preference |
| Revise | Changed flow plus decision log | The next uncertainty is named |
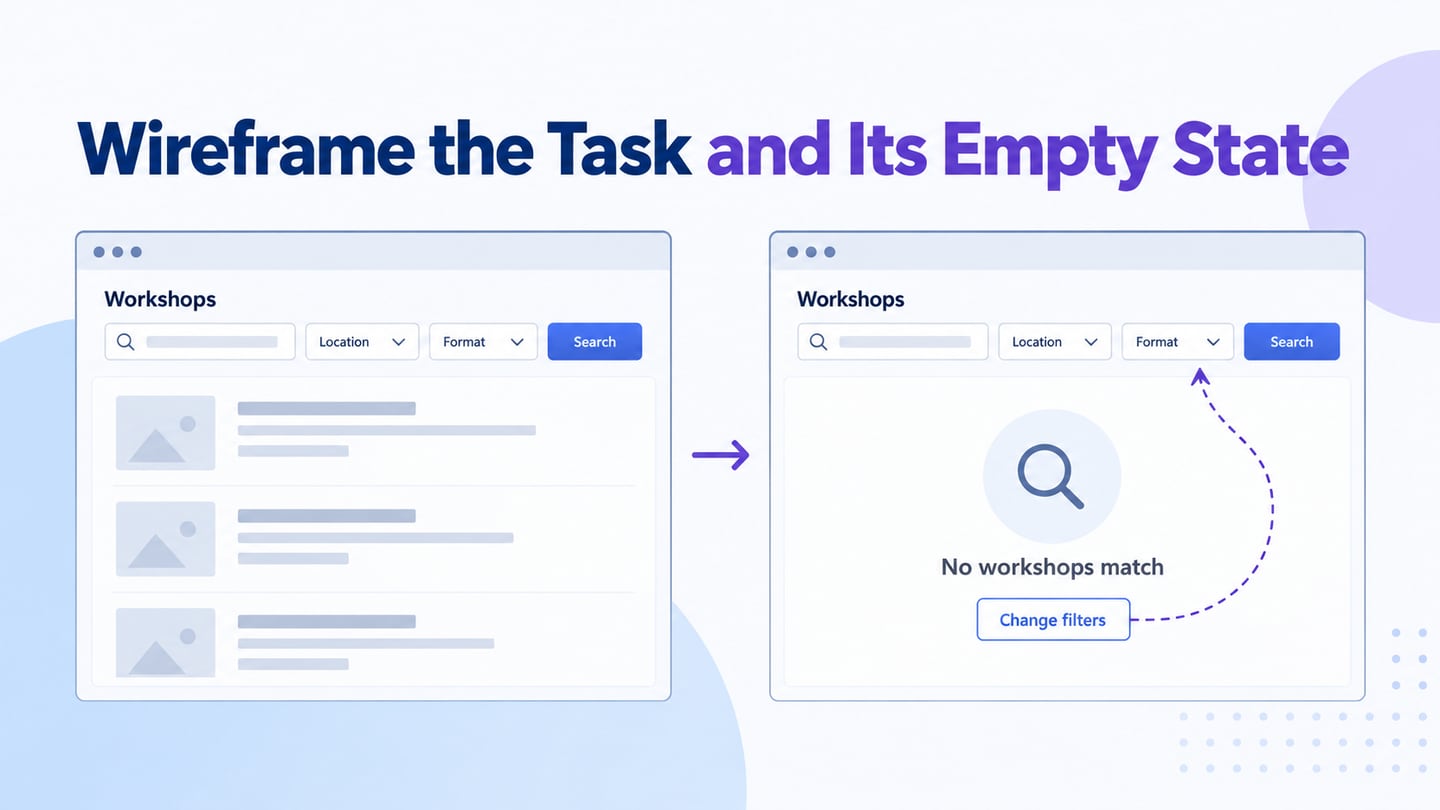
Use Mockitt to connect the smallest complete journey. Add validation, empty, loading, error, and recovery states only when they affect the question. A prototype that shows only the happy path can create false confidence.
Mobile states worth modelling
- First-use and permission states where the user has no previous context.
- Slow or failed network responses that change the next action.
- Back navigation that returns to the correct task rather than resetting it.
- Keyboard, focus, and touch targets on the device size being reviewed.
At the end of the session, capture the route, observed issue, owner, and next experiment. The process is complete when the team knows what to change or what evidence is still missing.
Conclusion
A useful process ends with a clearer decision and a record of what remains unknown. Choose fidelity for the task, observe relevant behaviour, refine the demonstrated issue, and carry unresolved rules into implementation and testing. A prototype is evidence about a design question, not a promise of a flawless mobile app.