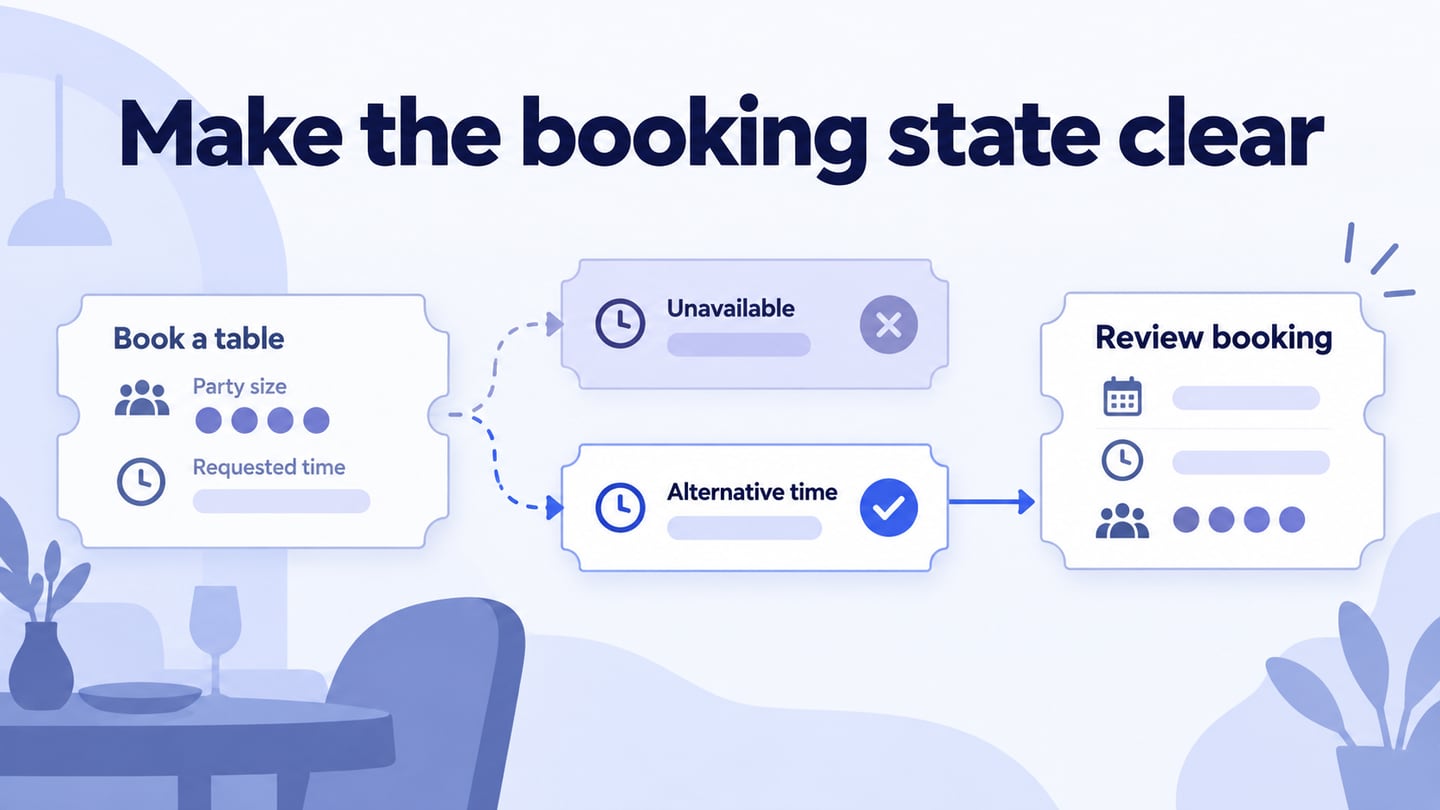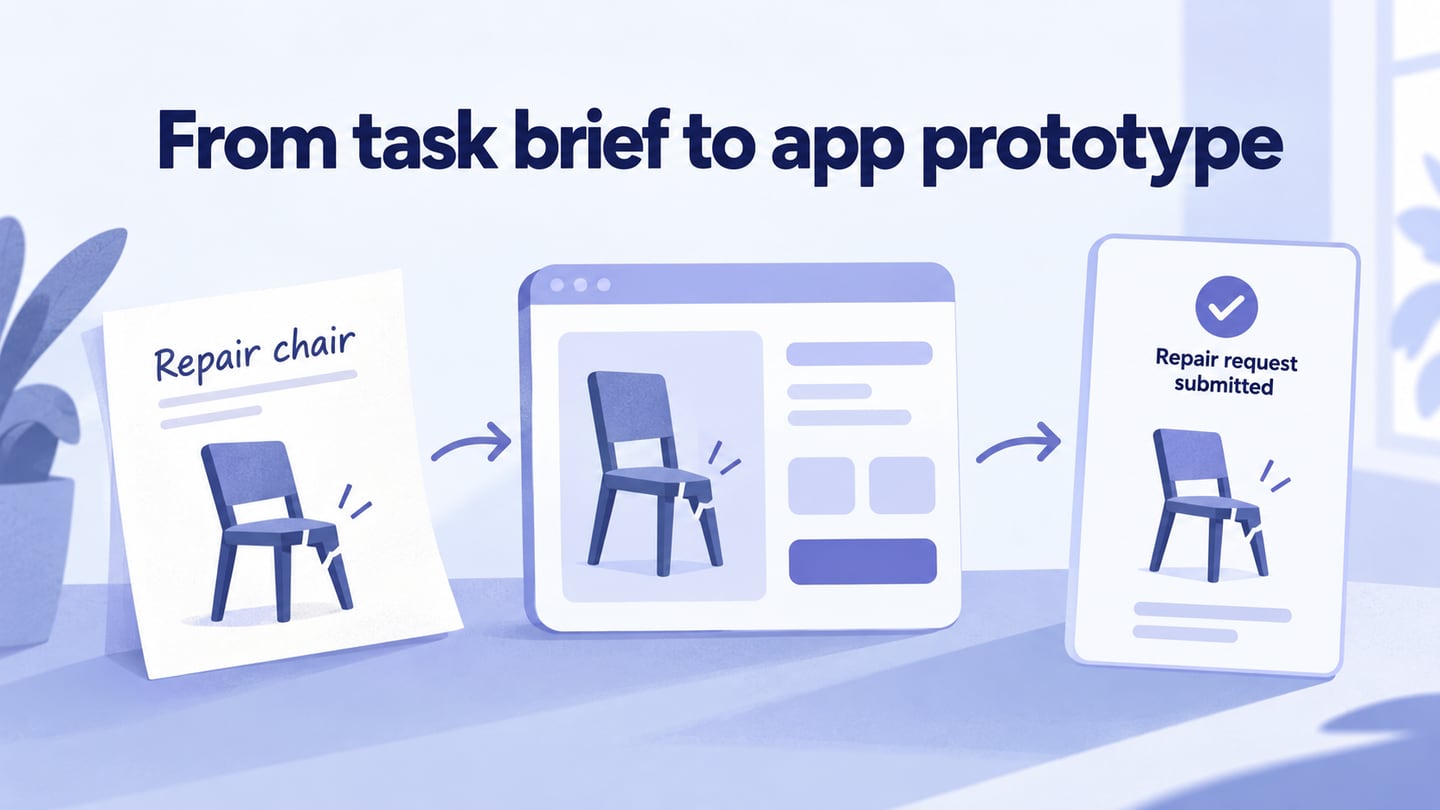
To design an app, start with a user task, understand its constraints, and turn the proposed solution into screens that people can review. An interactive app prototype makes the flow visible before development. This guide follows a planning-to-launch sequence, then explains how to build the reviewable design in Mockitt.
Plan the App Design Process
Creating an app includes more than designing its screens. Define the task and the evidence needed at each stage before choosing a tool.
1. Sketching an Idea:
Write down who the app serves, what they need to do, and what a successful result means. Separate the essential task from possible future features. A short task statement is more useful than a long list of controls without a purpose.
2. Market Research:
Look at existing ways people complete the task, including manual workarounds and competing products. Talk to likely users about recent experiences. Market research can inform the opportunity, but it cannot establish demand merely because similar apps exist.
3. Wireframe and Mockup:
A wireframe organizes information and controls with limited visual detail. A mockup can show the intended appearance more fully, while a prototype adds behavior for review. These artifacts serve different questions; see the wireframe and mockup comparison when deciding what to make first.
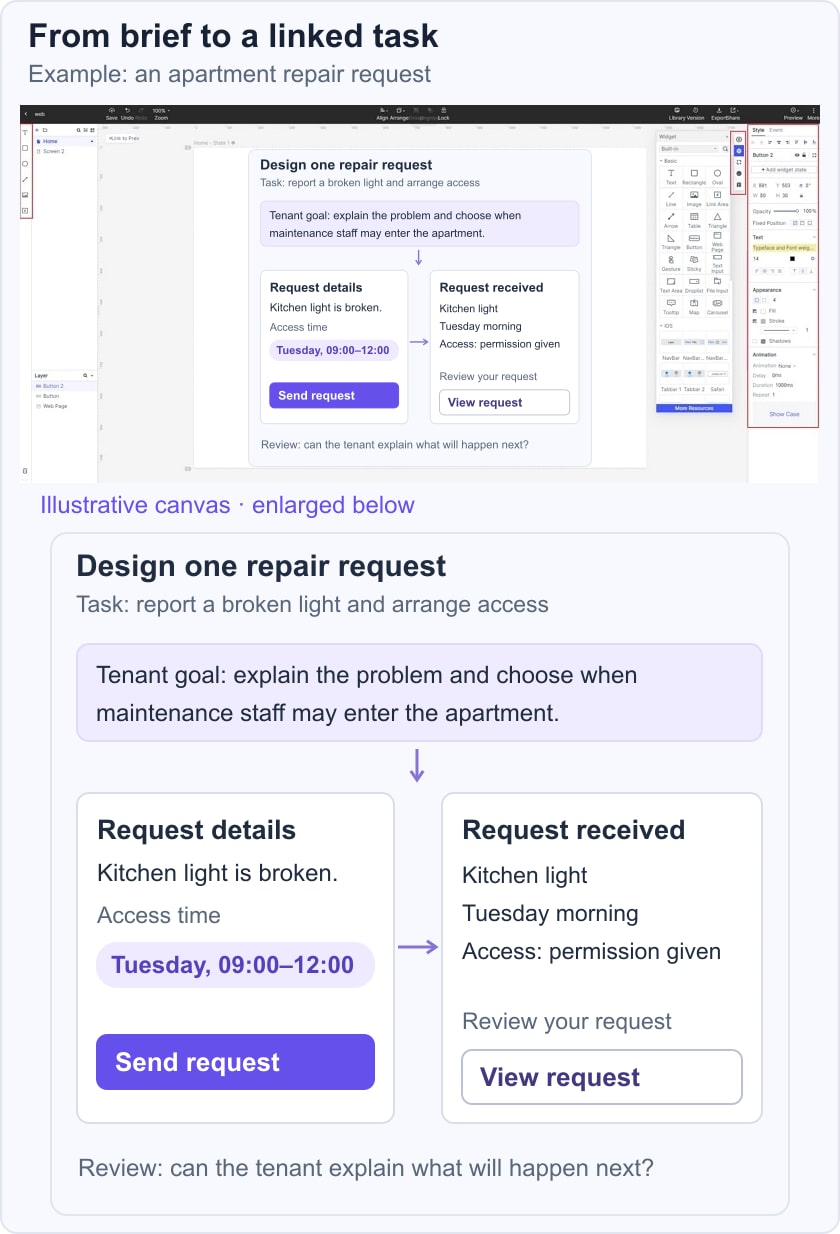
Use a simple repair-request app as a worked example: a tenant describes a broken light and selects access times. Sketch the problem description, the permission and access choices, and the confirmation. Leave out a community feed or rewards system until the team knows the repair task works.

4. Graphic Design:-
Refine typography, color, spacing, and imagery after the structure is understandable. Use consistent components and readable labels. Visual polish should clarify the task rather than obscure missing information.
5. Landing page:
A landing page can explain the app and invite interested people to a beta or research session. It is optional for the design process and should accurately state what is available. Interest in a landing page does not by itself validate the full app.
6. Coding:
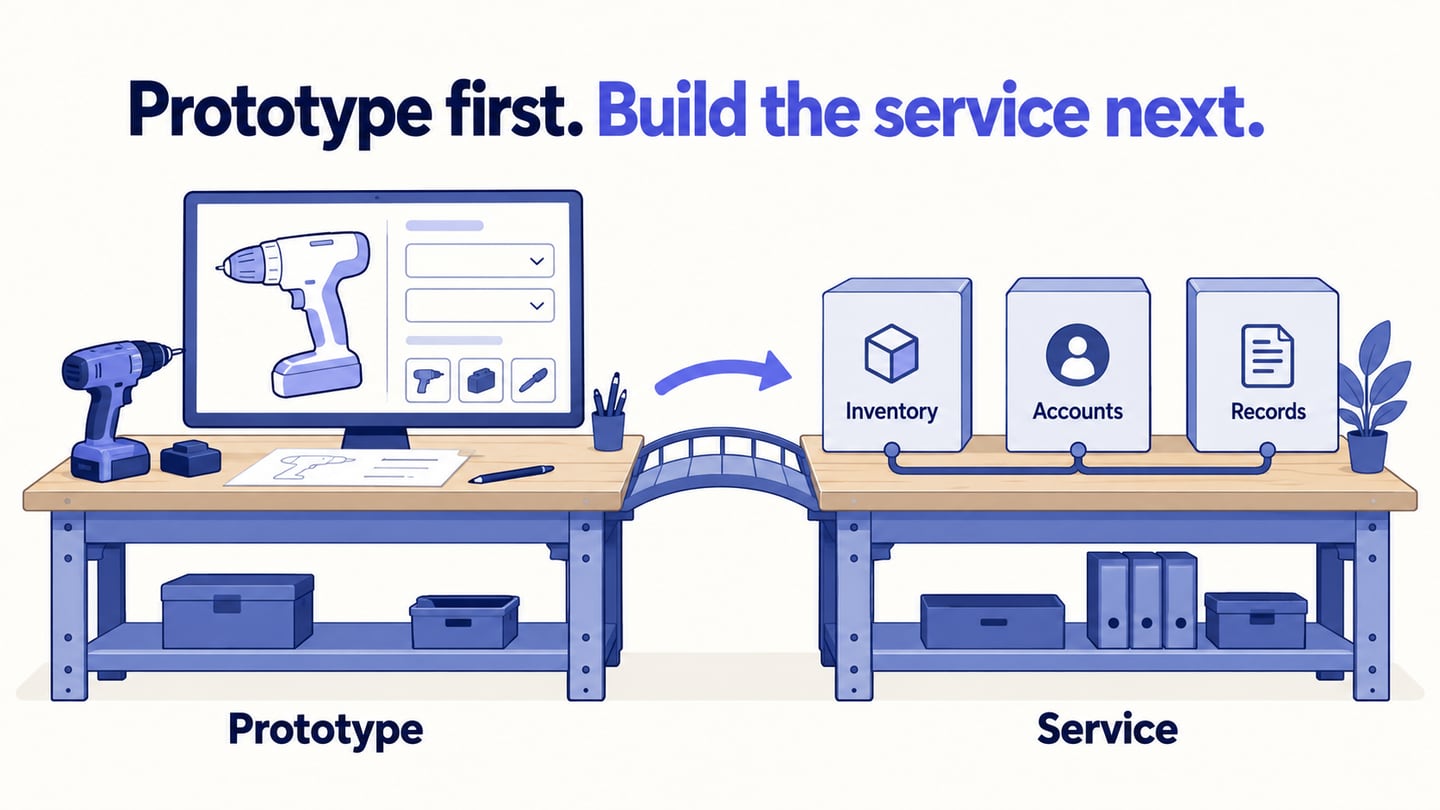
Developers implement the interface and any services it needs. Front-end work handles presentation and interaction; backend services may manage records, permissions, and other business logic. Agree on the rules and failure states rather than treating the prototype as production code.
7. Launching the App:
Release only after the application has been built and tested for its intended platform and distribution method. App-store submission, permissions, and operational readiness are separate from finishing the design. Reach the audience through channels relevant to the actual task.
8. Feedback:
Continue collecting feedback after launch. Track the task people were trying to complete, the difficulty they encountered, and what changed after a revision. Not every suggestion should become a feature.
How to design an App with Mockitt?
Mockitt supports the design and prototype stages of this process. Use the following workflow to make the repair request concrete enough for a review; the original screenshots show an earlier interface, so use the equivalent controls in the current workspace.
The steps below create a prototype, not a deployed application:
1. Create Project:
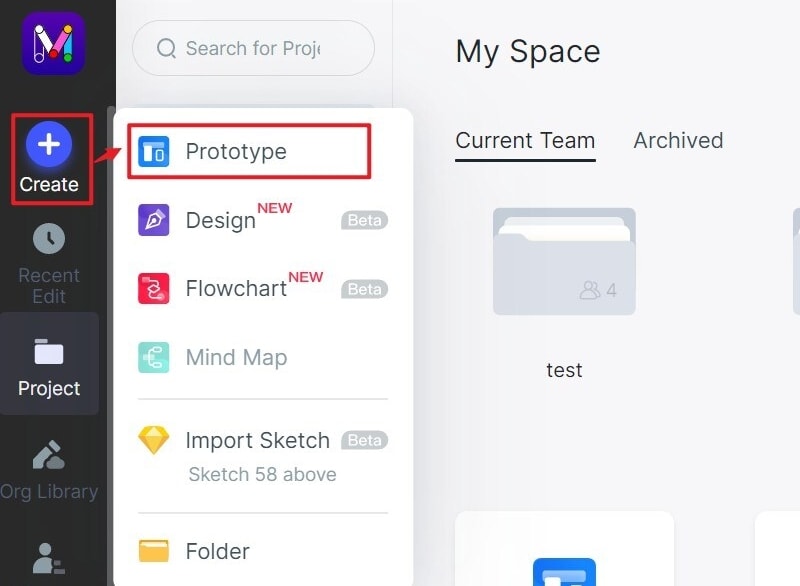
Create a prototype project and select a mobile size representative of your users. Begin with a blank screen or adapt an appropriate template. Name the project and screens for the task.
Set or revise the screen dimensions in the project settings. Check text and controls after a resize instead of assuming the original layout will remain usable.
2. Add Widgets and Icons:
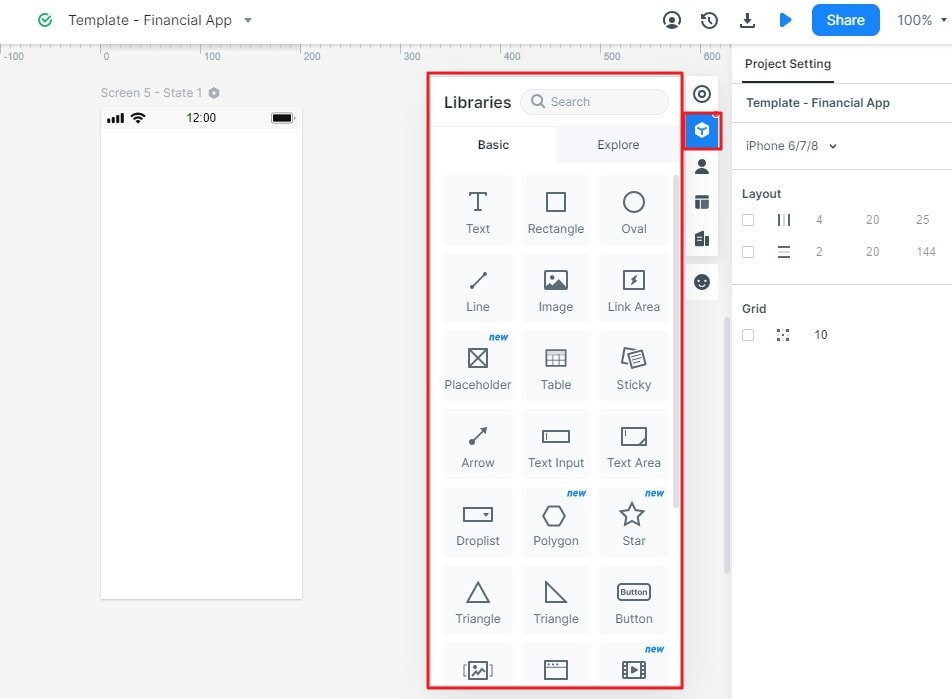
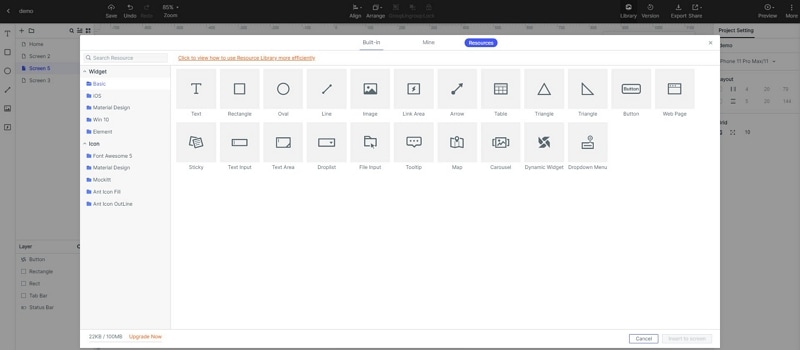
Drag widgets and icons from the available libraries onto the canvas. Start with the description field, access choice, and primary button needed by the repair task.
Edit the selected component’s properties, including its text and dimensions. Use meaningful labels such as “Describe the problem” rather than a generic placeholder.
Save repeated elements as reusable components or widgets so the request screens remain consistent.
3. Links between Screens:
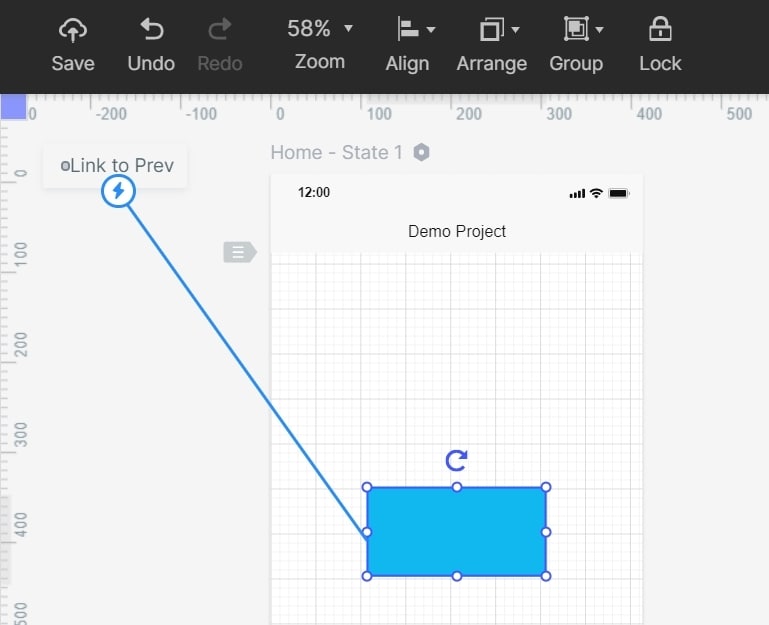
Connect an interactive element to its target screen or state and choose the appropriate trigger. For this example, connect request details to access times, then to a confirmation that repeats the selected arrangements.
4. Reuse Components
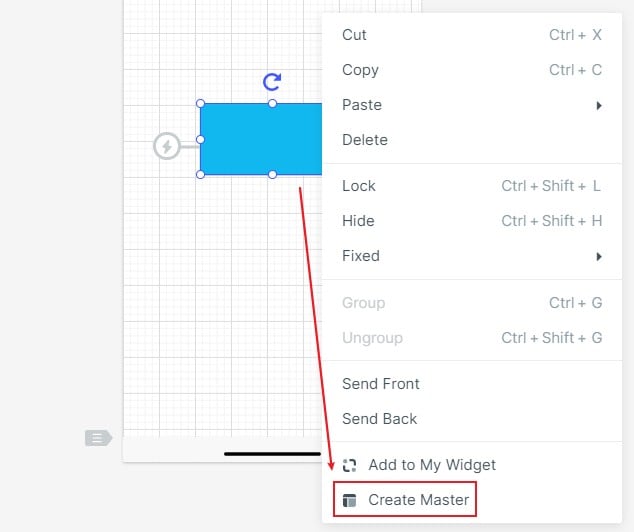
Use reusable components for controls that should remain consistent, such as the primary button or field labels. The original screenshot uses the earlier “Master” terminology. Confirm how shared changes affect instances before editing a component used throughout the project.
5. Screens and templates:
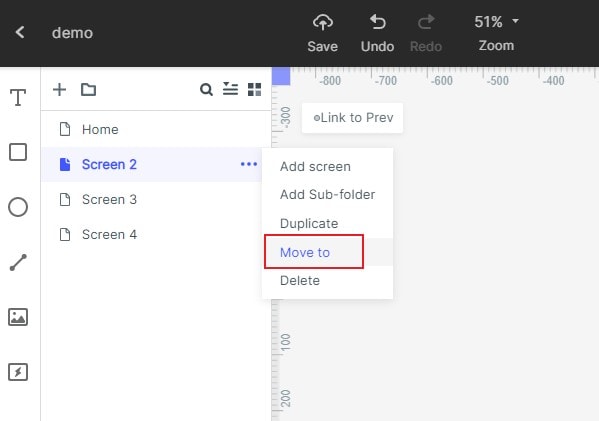
A template can supply useful structure, but its sample flow may not match your task. Keep only the screens and controls the review needs. Duplicate or reorganize screens deliberately so obsolete versions do not confuse reviewers.
6. Manage Asset library:
Organize the assets and components used in the project. Name them by purpose, keep reusable items easy to find, and use supported image formats without distorting their proportions.
7. Dynamic Widgets to Create Interaction Animation:
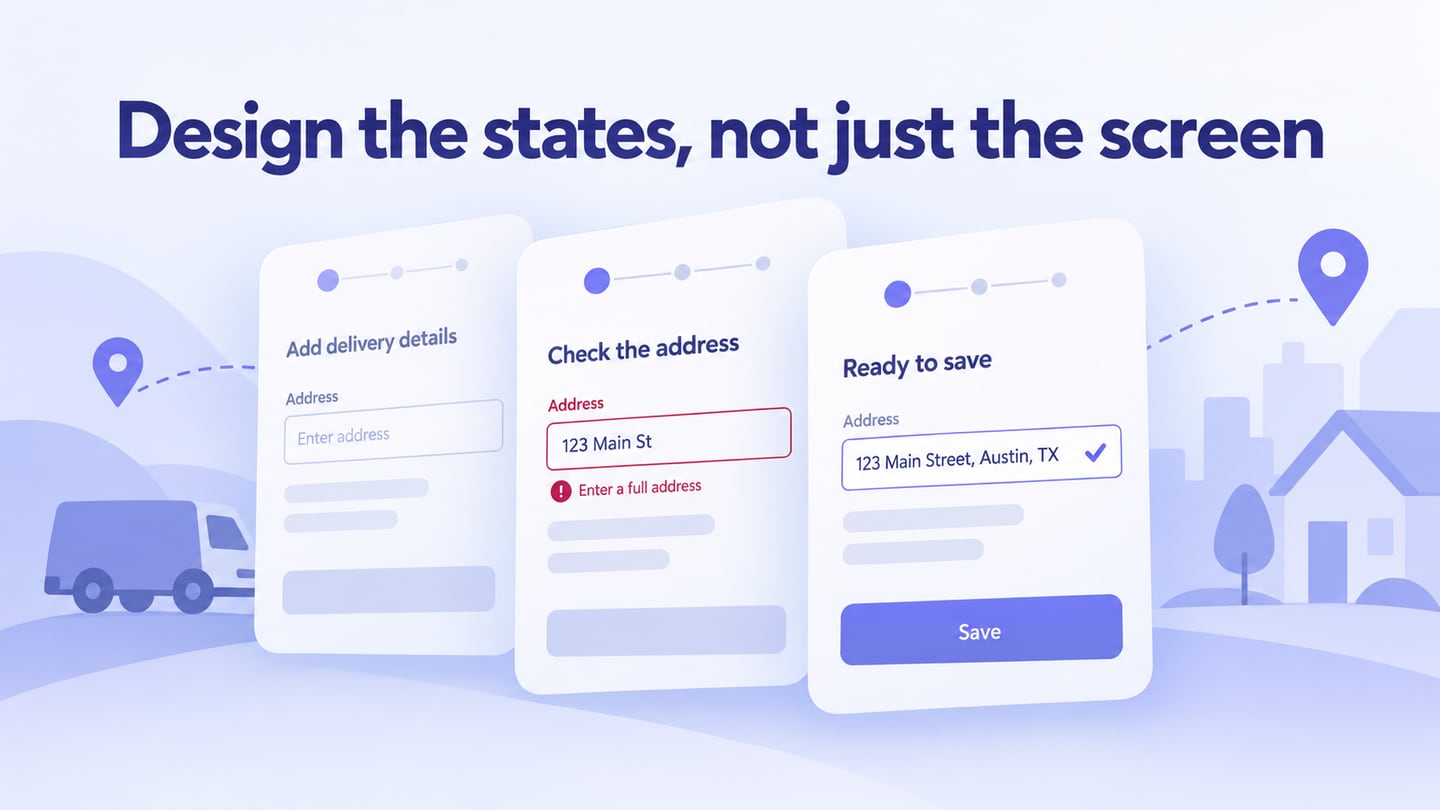
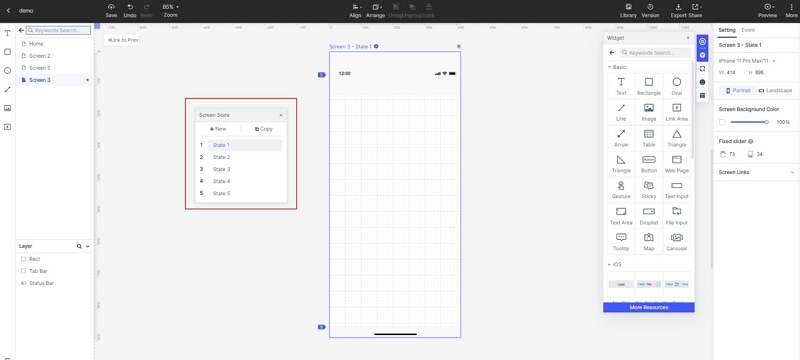
Use screen or component states to demonstrate meaningful changes, such as a required description or an unavailable access slot. Avoid building animation that does not help answer a review question.
Add media only when it is part of the task. For a repair request, a photo placeholder can explain where an attachment belongs without pretending that file upload and storage are already implemented.
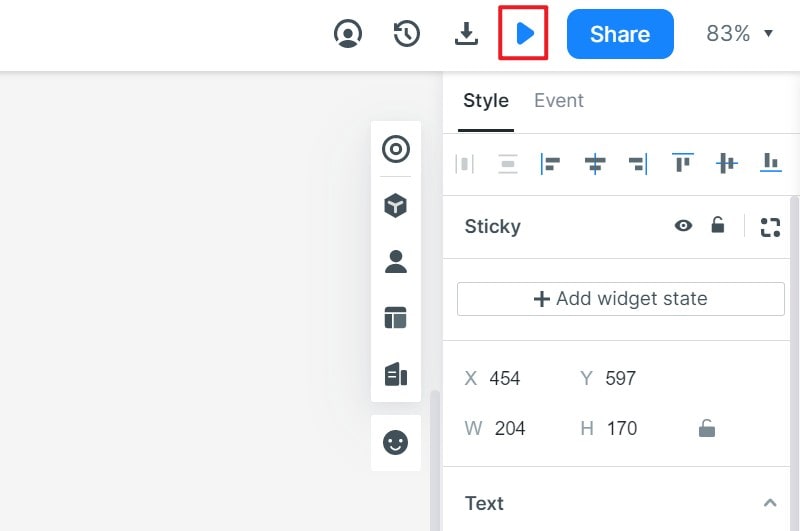
8. Preview Prototypes:
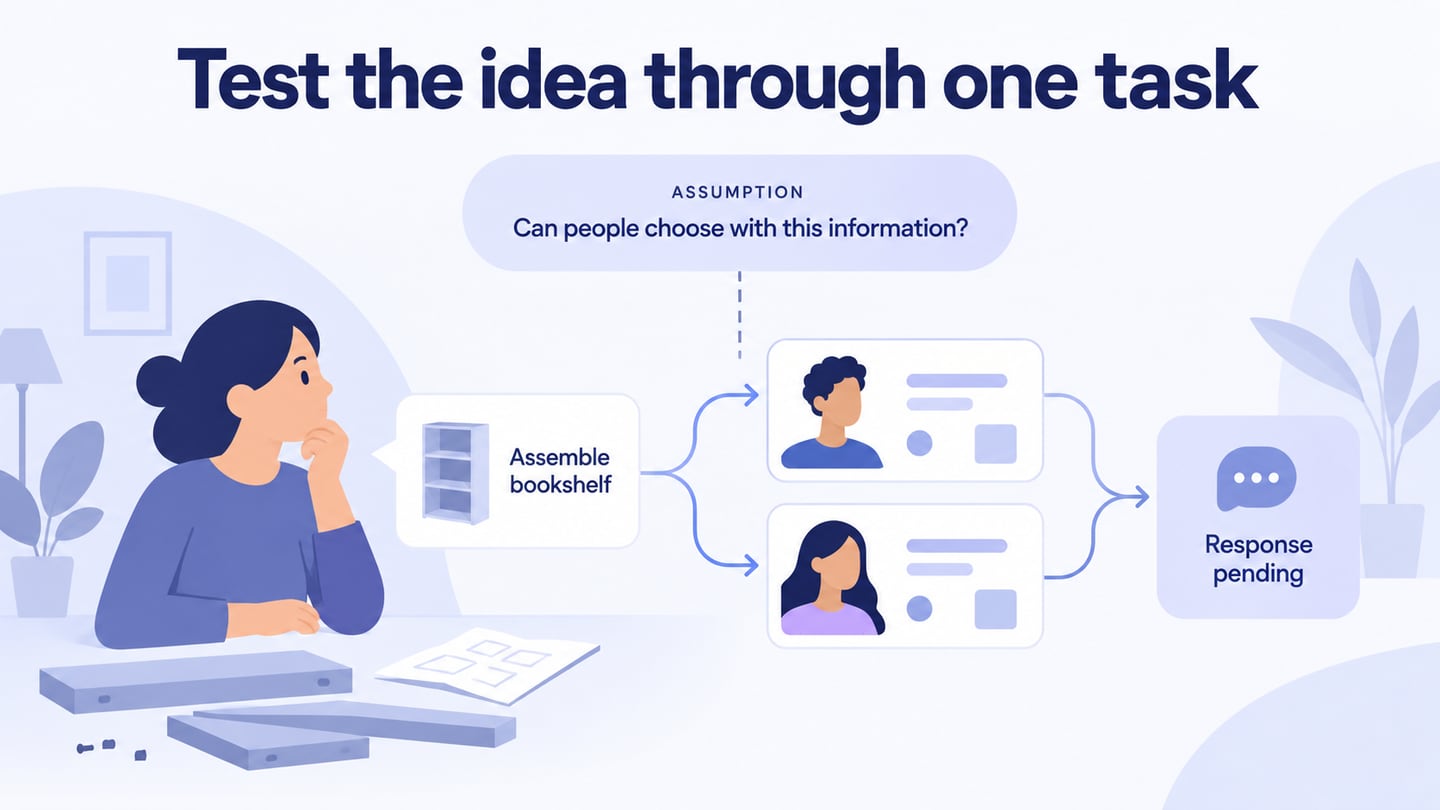
Preview the main path and an exception. Ask a reviewer to report the light problem and choose access times without telling them where to tap. Check that the confirmation preserves the description and access choice.
Record the uncertain parts of the interaction, then revise and repeat the review. The UX workflow guide explains how to connect design iterations with research and testing.
Share the prototype with the people responsible for implementation. Include field rules, permission assumptions, attachment behavior, and unanswered questions. A clear handoff is a starting point for building and testing the application.