An AI prototype generator can turn a description into a starting set of screens. To make that output useful, you still need to edit the content, connect the right interactions, and test whether someone can complete the intended task. A convincing picture of an app is not the same as a working prototype or a deployed service.
This guide explains website prototypes, the role AI can play, and five approaches to evaluate: Mockitt, Uizard, Galileo AI's historical workflow, Prototyper for Figma, and ProtoPie. It also walks through a real Mockitt example so the comparison leads to a practical way of judging the output.
Part 1: What a website prototype should help you learn
A website prototype represents a proposed experience before the full site is built. It can be as simple as linked wireframes or detailed enough to test specific interactions. Its level of detail should match the question: page structure, navigation, content hierarchy, or a more complex state change.
For a small information site, you might test whether readers can find an item, understand its detail page, and return to the list. For a team workspace, you might test an invitation flow with valid, expired, and already-used links. Each example needs more than the attractive default state.
A useful prototype makes the intended path and important alternatives visible. It also makes assumptions easier to discuss. If a screen implies that payment succeeded or an account was created, the team should know whether that is simulated behavior or a real integration. Most early design reviews should treat it as simulation.
Part 2: How AI can assist prototyping
AI can help create an initial screen layout, suggest content, or organize a flow from a written brief. The output becomes more useful when the brief specifies the user, task, target device, and relevant states. A prompt that asks for “a modern app” gives little basis for judging the result.
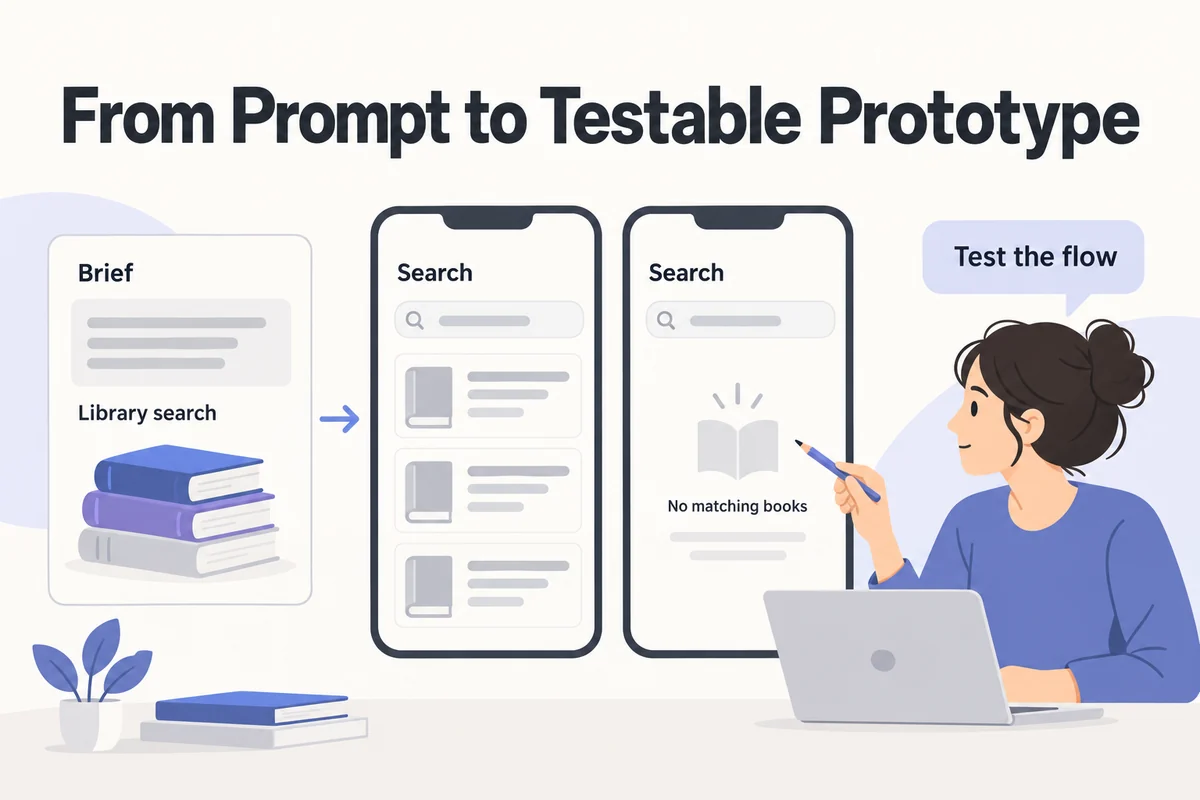
For example: “Create a mobile library search prototype. Include a results list, a book detail screen, a no-results state, and a request-unavailable state. Let readers return to their previous search. Use fictional titles and clearly marked sample availability.” This is a design exercise, not a claim that the generated screens connect to a library database.
AI may also suggest improvements to copy or flow, but suggestions are not the same as validated usability or accessibility findings. Inspect the actual design, check the interaction requirements, and use appropriate testing for accessibility and user experience. Do not infer automated research or compliance from a generation feature.
Part 3: Five prototyping approaches to compare
| Tool or historical approach | What to evaluate | Important distinction |
|---|---|---|
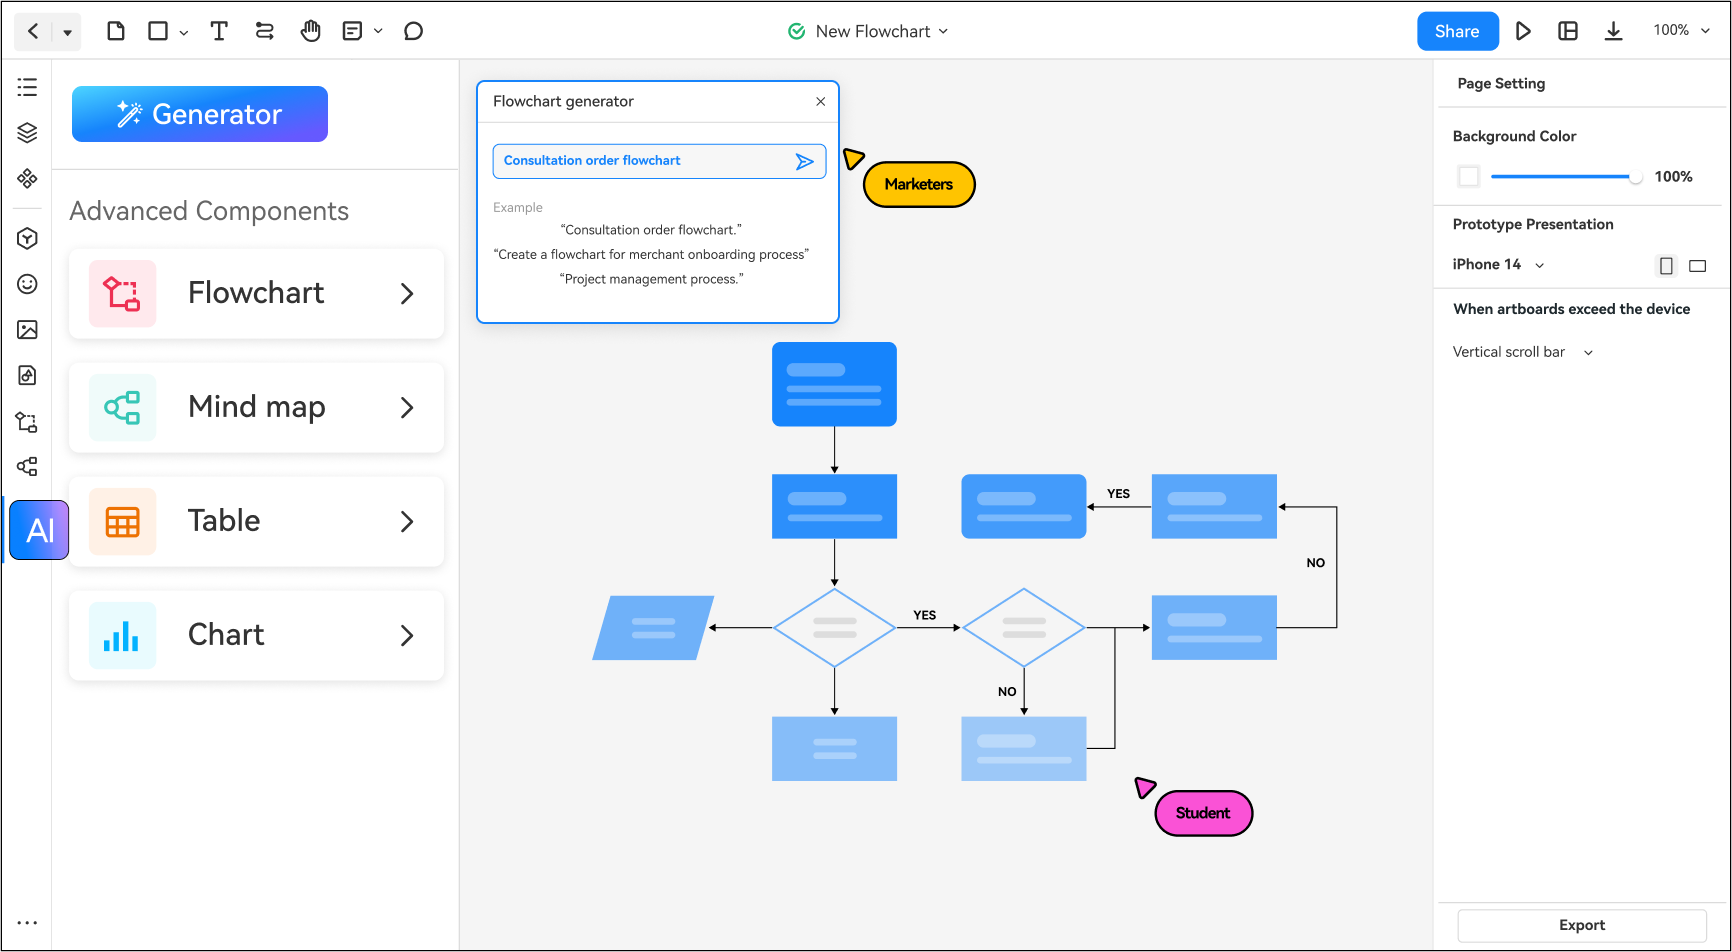
| Mockitt | Generate and refine editable UI for a defined flow | Review screen states and interactions after generation |
| Uizard | Create and modify multi-screen mockups | Check the relevant Autodesigner access and limits |
| Galileo AI | Understand the earlier prompt-to-UI approach | The product history now connects to Google Stitch |
| Prototyper for Figma | Historical code-based interaction workflow | Do not label it an AI generator without evidence |
| ProtoPie | Generate and refine interaction logic | Interaction generation differs from whole-screen generation |
1. Mockitt: turn a brief into editable screens
Mockitt's AI prototype generator is a relevant starting point when the task is to create and revise a UI concept. Evaluate it by what you can inspect and change after generation: screen content, structure, interactions, and missing states. Check the current plan details for your required access instead of relying on historical prices or quotas.
Step 1: Start a project for one flow
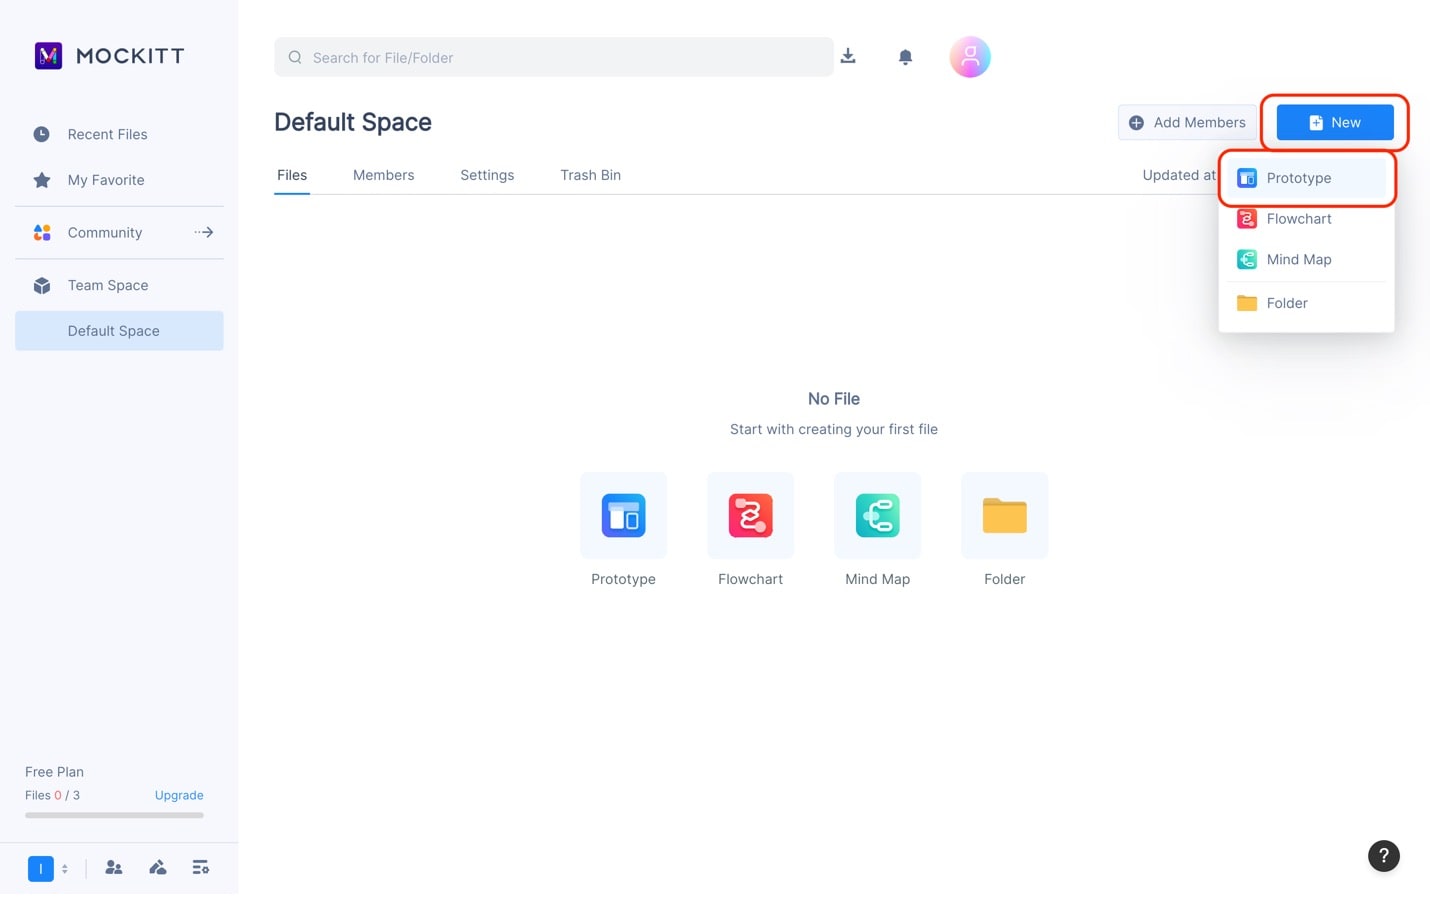
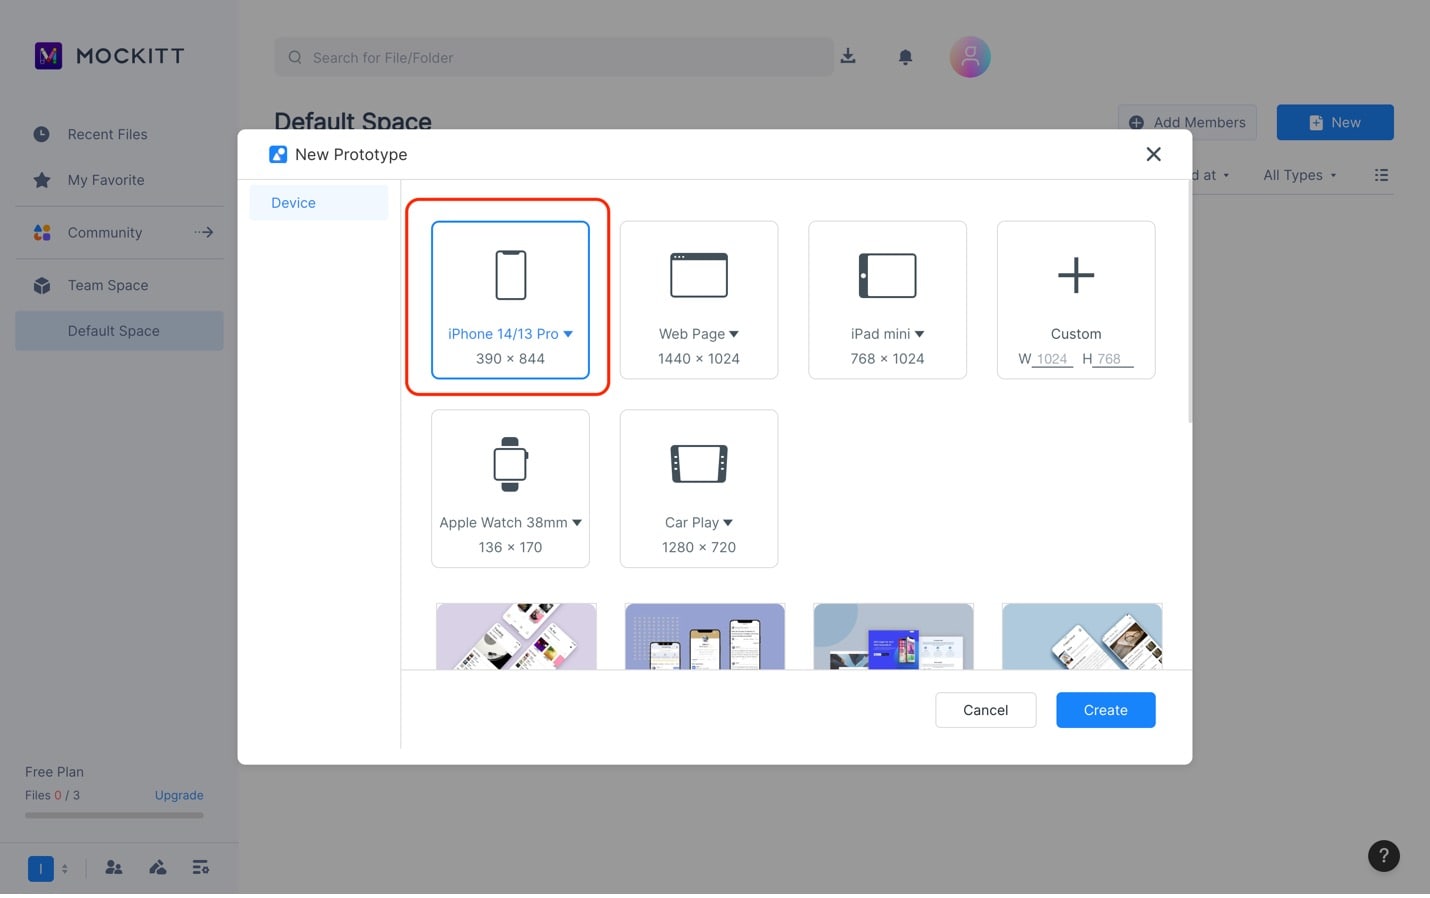
Choose a task and device before generating. The captured example begins with a prototype project for a fan-information concept. The screenshots below use a legacy editor; current entry points and labels may differ.
Step 2: Select the screen size
The example chooses an iPhone-sized canvas. A mobile screen forces a useful question: which information is needed first, and which can sit on a detail screen? Avoid shrinking a desktop composition without reconsidering its hierarchy.
Step 3: Generate a scoped first draft
The historical example requests a Dragon Ball character site and produces a phone-screen concept. It is useful evidence of a prompt-to-screen workflow, but it is not a verified source of character information or licensed imagery. For a publishable project, use content and assets you have permission to use.
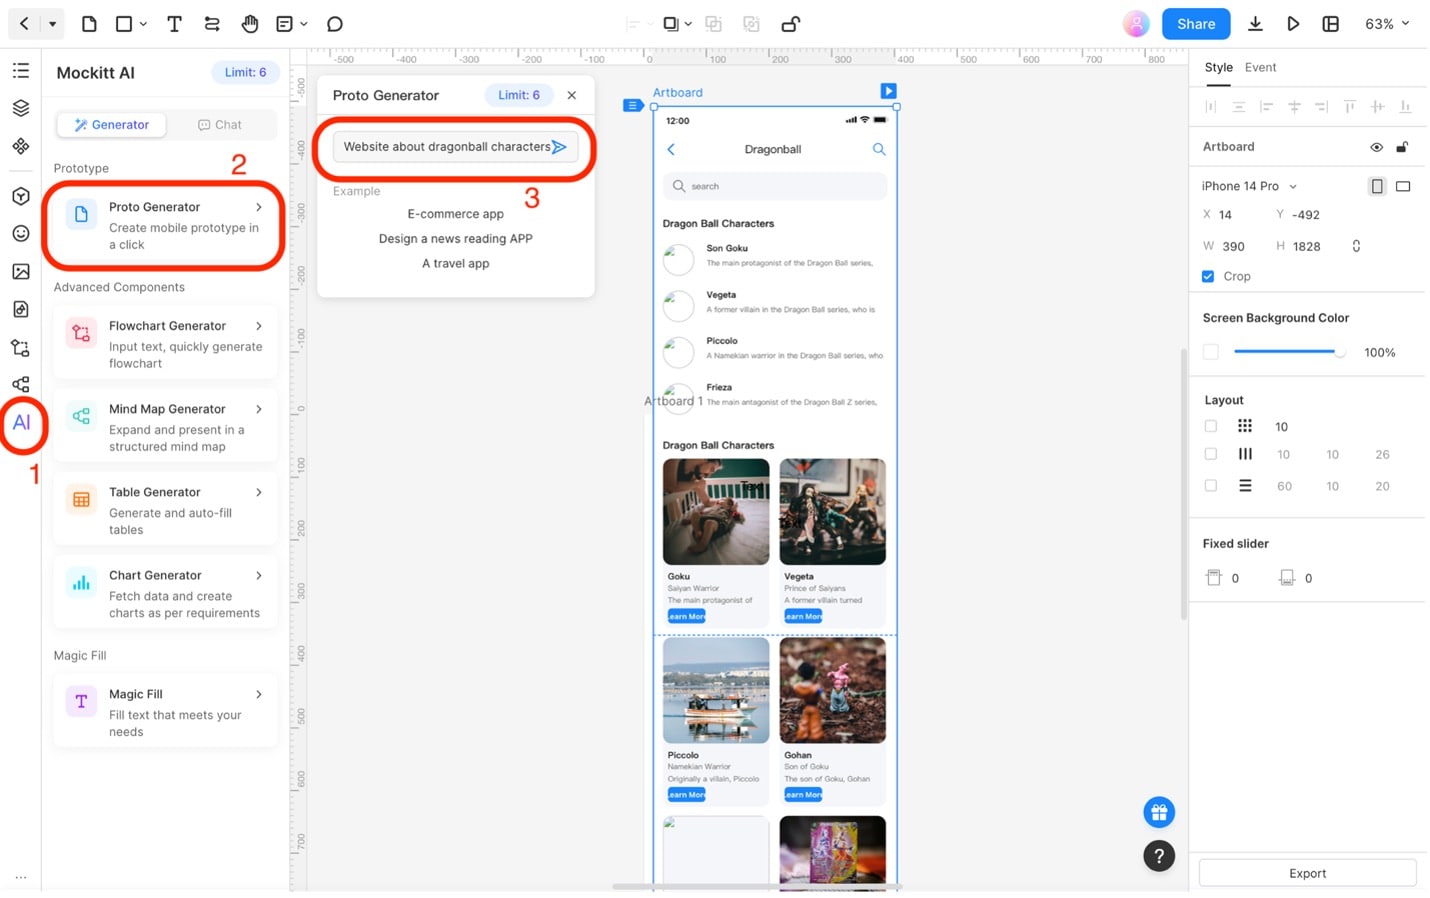
Step 4: Refine, connect, and review
Check headings, labels, and information hierarchy. Add the detail and empty states required by the task, connect the actions, and preview the route. Ask someone else to complete it without coaching. Record a specific observation—such as missing the back action—instead of asking only whether the design looks good.
The result is ready for discussion when it communicates the intended behavior and exposes important unanswered questions. It is not automatically ready for production simply because the first draft arrived quickly.
2. Uizard: inspect generated screens and later edits
Uizard's Autodesigner documentation describes generating multi-screen mockups from prompts and modifying designs. That makes it useful to compare on a small, consistent brief. Check whether the initial structure fits your task and whether later changes preserve the useful parts.
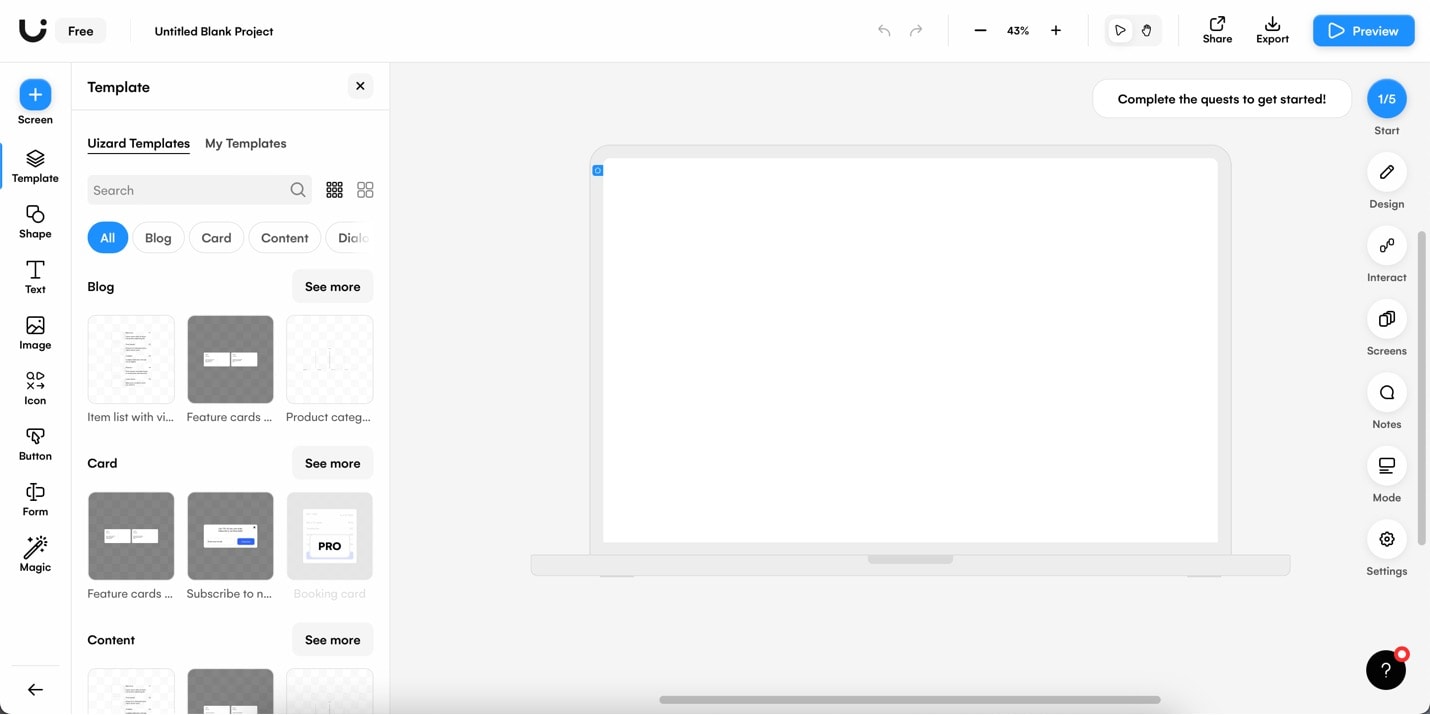
Use the official Autodesigner guide for current usage and access conditions. Compare the effort to correct text, add a missing state, and connect a route, not only the appearance of the first image.
3. Galileo AI: understand the historical entry before choosing a current tool
Galileo AI was included for its prompt-to-UI design workflow. Its founder later announced its acquisition by Google and the move into Stitch. That means an old Galileo screenshot should not be presented as an unchanged current signup experience.
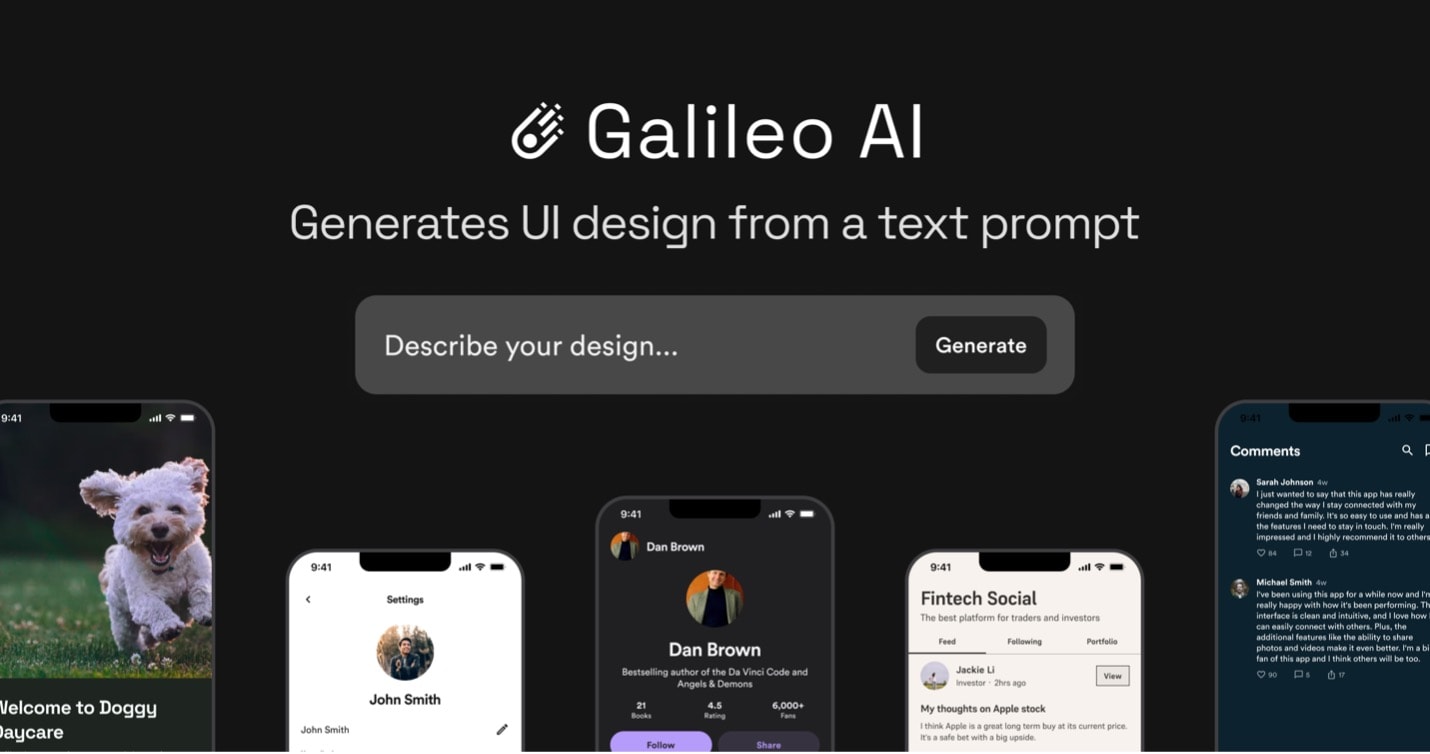
Google's Stitch update describes experimental prototyping features that connect screens into flows. Evaluate the current product on its own documented capabilities. A historical comparison is useful context, but it should not imply that an old plan, export, or account continues unchanged.
4. Prototyper for Figma: a historical code-based approach
The Prototyper for Figma capture describes prototyping with code. It does not provide evidence of an AI generation capability. Code-based behavior can be useful when a designer needs control over interactions, but it belongs to a different category from prompt-generated UI.
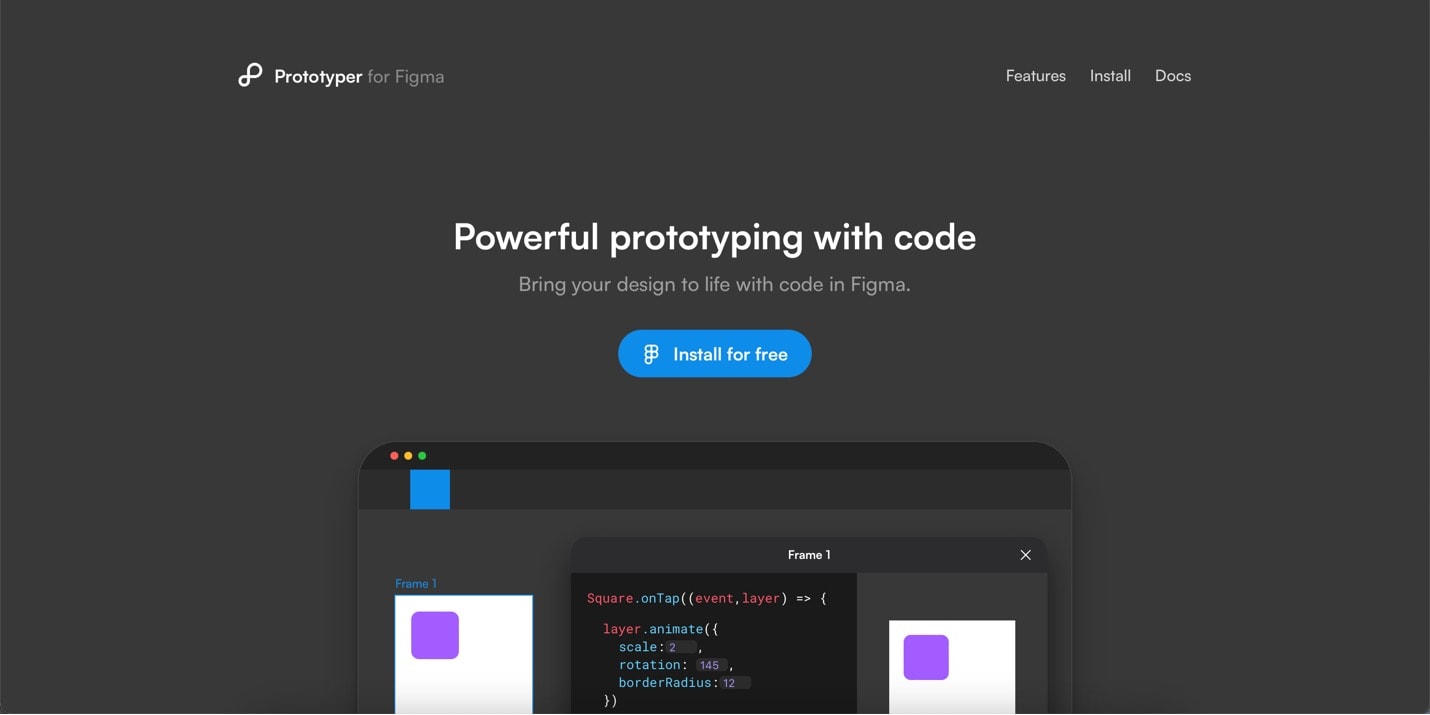
Current availability of this specific legacy product could not be confirmed from a maintained first-party source. Treat it as historical context rather than a new-project recommendation. Do not confuse similarly named products or plugins with the tool shown here; check the exact publisher and current documentation before installing anything.
5. ProtoPie: focus on interaction logic
ProtoPie's current Studio AI documentation describes using natural-language requests to create interaction logic and then refining it manually. This is a useful distinction: generating triggers and responses is not the same task as generating an entire UI layout.
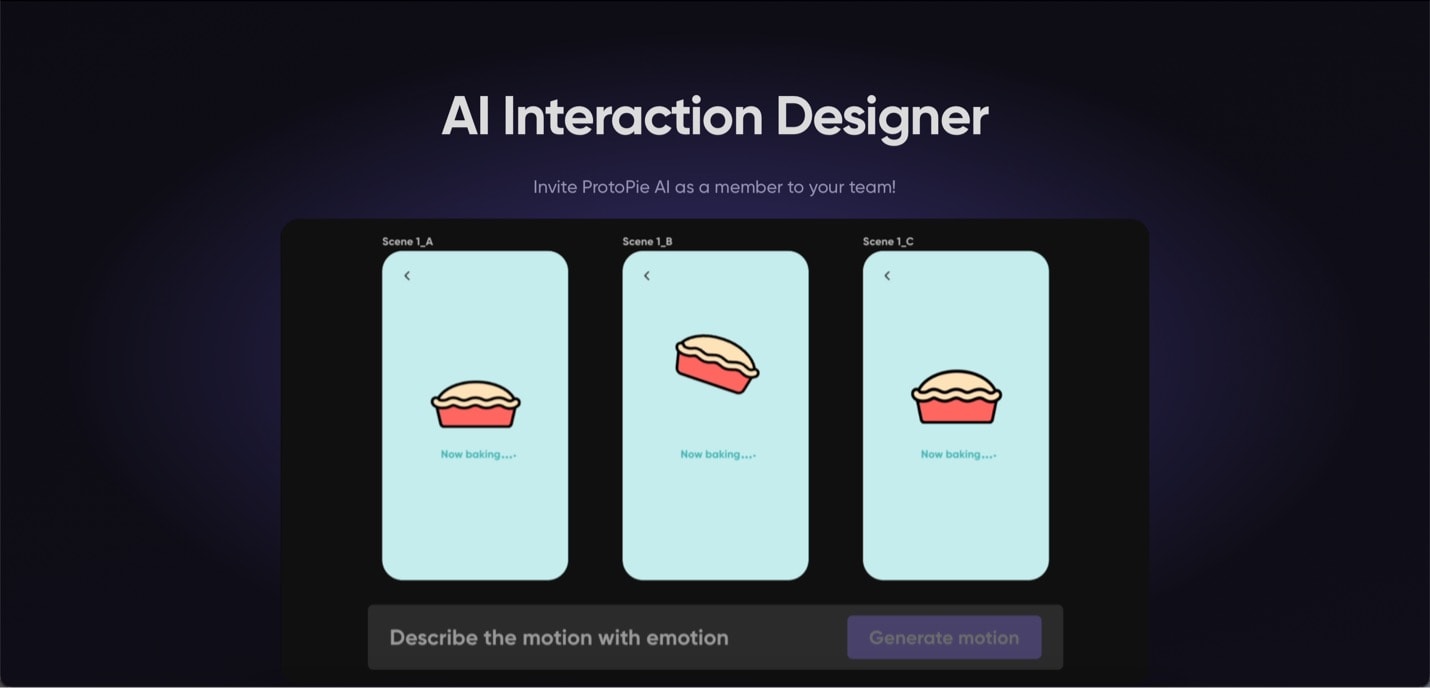
The official Studio AI guide explains the available workflow. If your project already has screens and needs richer behavior, evaluate that behavior directly: transitions, input, conditions, and the ability to correct the generated logic.
Evaluate the prototype, not the promise
Use the same task when comparing tools. Check editability, missing states, interaction fidelity, sharing, and the work needed to reach a reviewable result. A short generation time does not compensate for a prototype that cannot express the behavior you need.
Keep the first review focused: can the user start, complete, recover, and return? Once that flow is coherent, add visual refinement and broader coverage. That sequence makes AI generation useful to the design process without confusing a draft with a finished product.