WordPress website design brings together content, page structure, a theme and navigation. Before configuring those pieces, decide what visitors should find on the homepage and where the supporting information belongs. A Mockitt website layout can make those decisions visible for review before you build them in WordPress.
How to Design a Website with WordPress?
WordPress is open-source content-management software. WordPress.org provides the software and documentation; WordPress.com is a hosted service with its own plans and management experience. The steps below describe a typical WordPress installation, while the hosting controls and available features depend on your provider, permissions and plan.
Keep content and presentation separate as you work. A page contains information, a theme supplies presentation, and a template determines the structure used to display content. A WordPress development brief can establish the content, functionality and maintenance needs before you choose additional tools.
Step 1: Arrange the domain and hosting. Choose a suitable domain and an environment that supports your WordPress installation. A domain is a site address; hosting serves its files and data. The original example used Bluehost, but it is one provider rather than a requirement for this workflow. Confirm the installation and support options of the provider you actually use.
Step 2: Create the WordPress installation. Use the host's current site-creation or WordPress installation route. Older Bluehost instructions used My Sites and Create Website; the labels may now differ. Keep the installation separate from a prototype: this is the environment that will hold the real pages, posts and settings.
Step 3: Sign in to the correct dashboard. Open the WordPress administration area for the site you are editing and use an account with the necessary permissions. Confirm the site name and address before making changes, especially when a hosting account contains more than one installation.
Step 4: Create or edit the core pages. Use Pages > Add New for information such as About or Contact, then add a title and content. Save a draft while developing it and preview before publishing. The official page creation guide also explains how pages differ from dated posts.
Step 5: Organize pages and their URLs. Plan which pages belong in the navigation and whether any need a parent page. Settings > Permalinks controls URL structure; it does not create About, Products or Customer Service pages. Check the permalink settings before changing an established site's URLs, since existing links may need redirects.
Step 6: Review search visibility separately from access. In Settings > Reading, the option to discourage search engines asks them not to index the site. It does not prevent people from visiting it. Use an appropriate access restriction if an unfinished site must remain private, and review the intended visibility settings before launch.
Step 7: Set the site's identity and discussion defaults. Review the site title and tagline in Settings > General. In Settings > Discussion, choose suitable commenting defaults, then check the settings of individual posts or pages where needed. A comment policy and moderation plan matter more than simply enabling comments everywhere.
Step 8: Choose a theme that fits the content. Review available themes through Appearance > Themes and the installation route available to your account. Compare the layouts using your own headings and representative images. Note whether you are selecting a classic theme or a block theme, because their editing controls differ.
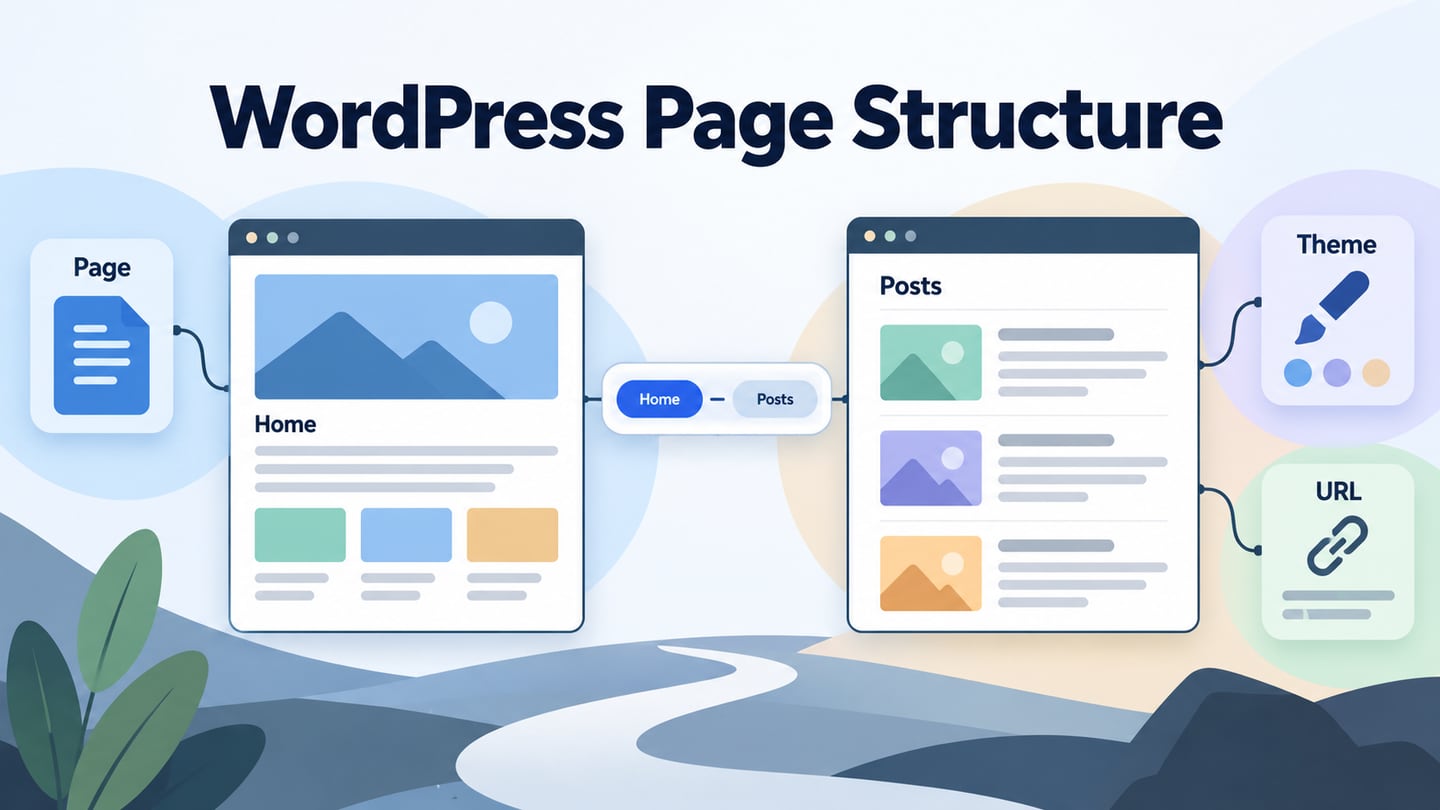
Step 9: Decide what the homepage displays. For a static homepage, create the intended page and choose it in the Reading settings; select a different posts page if the site includes a journal or blog. Alternatively, the front page can show the latest posts. WordPress documents these choices in Reading settings. Confirm the actual front-end result after saving.
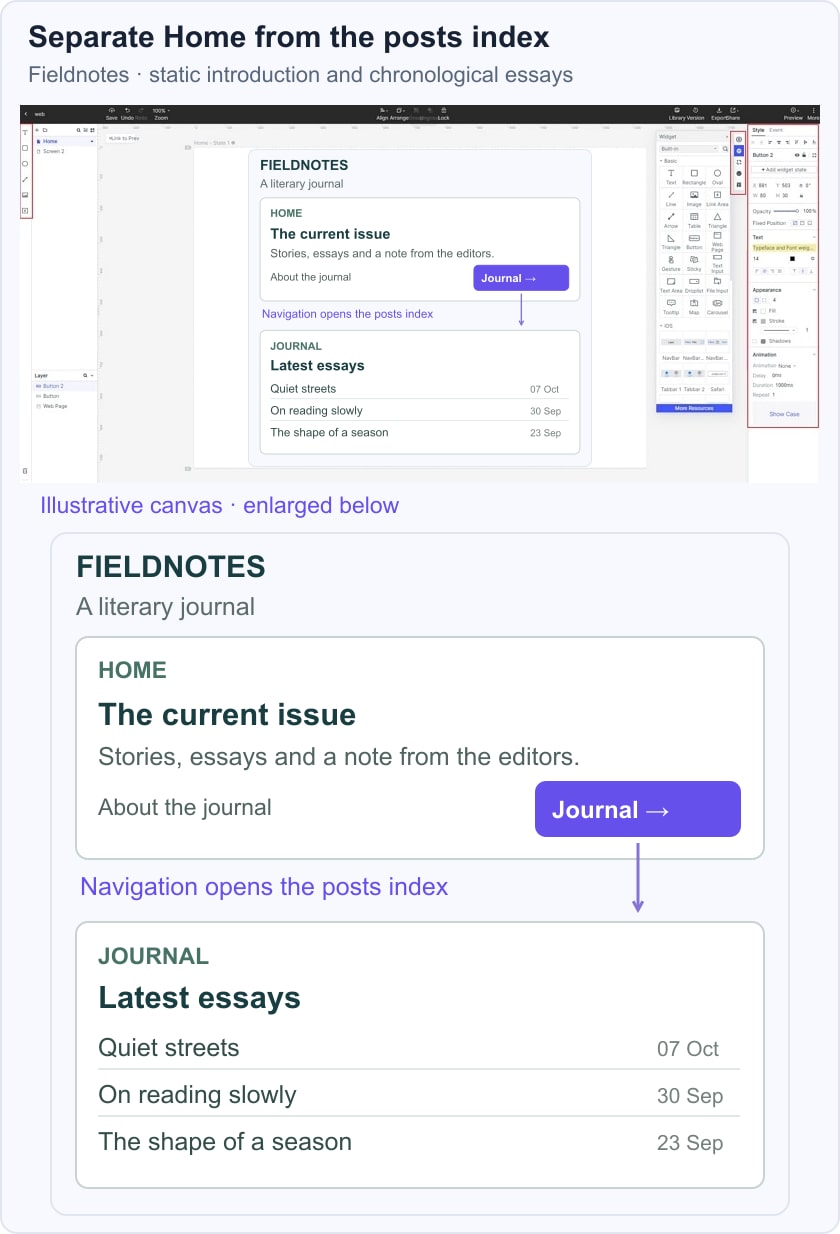
A homepage should introduce the site and lead to its most useful content. A posts index serves a different purpose: it helps readers browse dated entries. Name both routes clearly so people do not have to guess whether Home and Journal lead to the same information.
Step 10: Edit content and the appropriate template. Use the page editor for that page's content. With a block theme, the Site Editor and supported template controls can change shared structure; classic themes may expose Customizer options instead. A pencil icon, fixed collection of homepage sections or particular sidebar is theme-specific, not a universal WordPress interface. The Template Editor documentation explains that distinction. Preview the scope of a change before saving or publishing it.
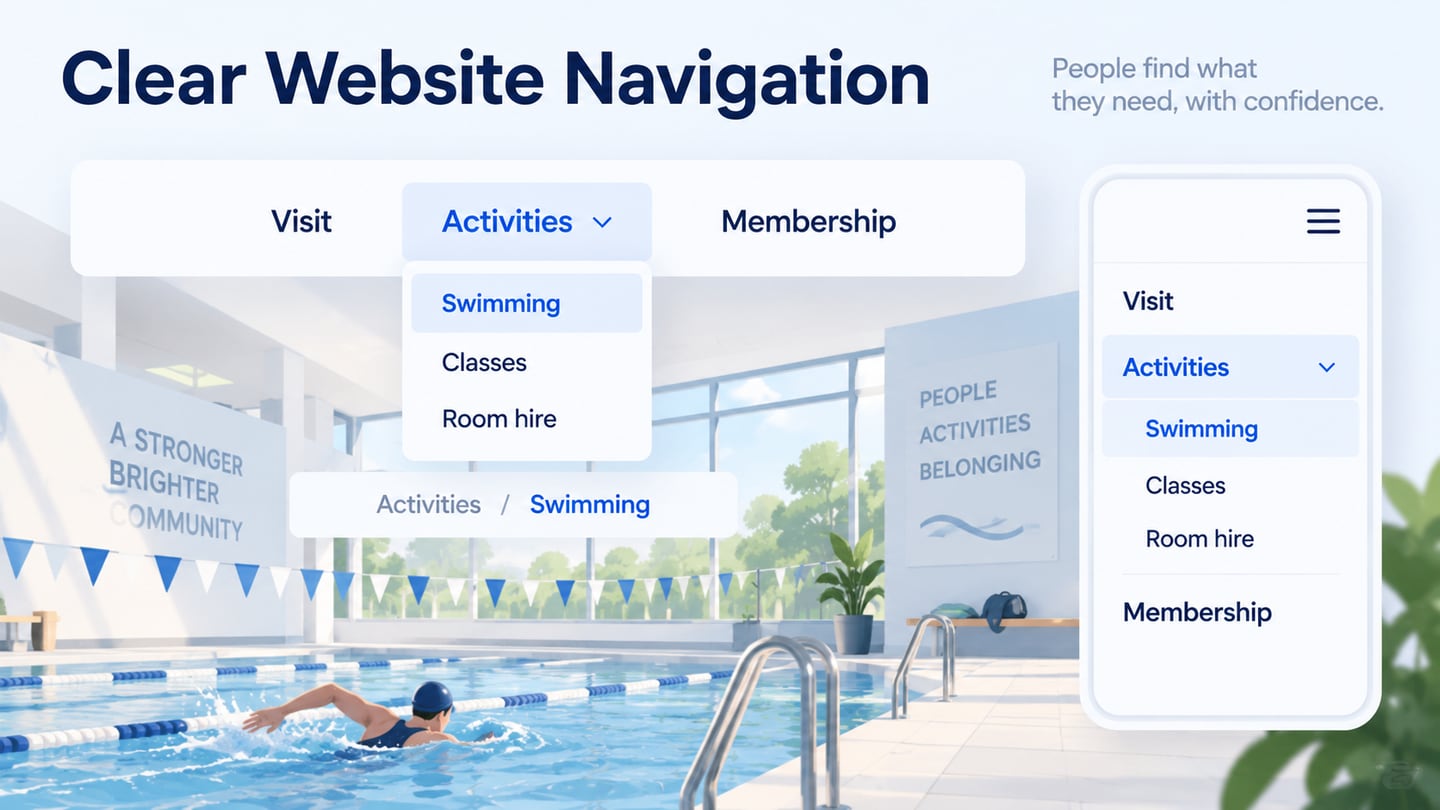
Step 11: Review typography, colors and navigation. Use the controls provided by the chosen theme. Block themes commonly use Site Editor styles and navigation blocks; classic themes may use Customizer settings and Appearance menus or widgets. Check the rendered header and links at narrow widths as well as on desktop. The website header design guide offers a focused way to review those navigation decisions.
Add extensions only for a defined need and confirm that your account permits installation. In a typical self-hosted dashboard, Plugins > Add New is the installation route. Use Posts > Add New for a dated article and Pages > Add New for non-chronological content. Creating a page does not automatically make it the homepage or place it in the desired navigation position.
Before launch, follow the important routes as a visitor: homepage to key information, navigation to the correct page, and posts index to an article. Check the implemented forms, links, media and small-screen layout. A theme preview alone cannot establish that the complete website works as intended.
Plan the Website Layout in Mockitt
Mockitt can help you review a proposed interface before configuring it in WordPress. Arrange the page content, connect the intended destinations and gather feedback on the hierarchy. The prototype is a design artifact; WordPress remains responsible for the site's content management and implemented pages.
Useful parts of the prototype workflow
- Start with a suitable canvas or available template, then adapt it to the actual content.
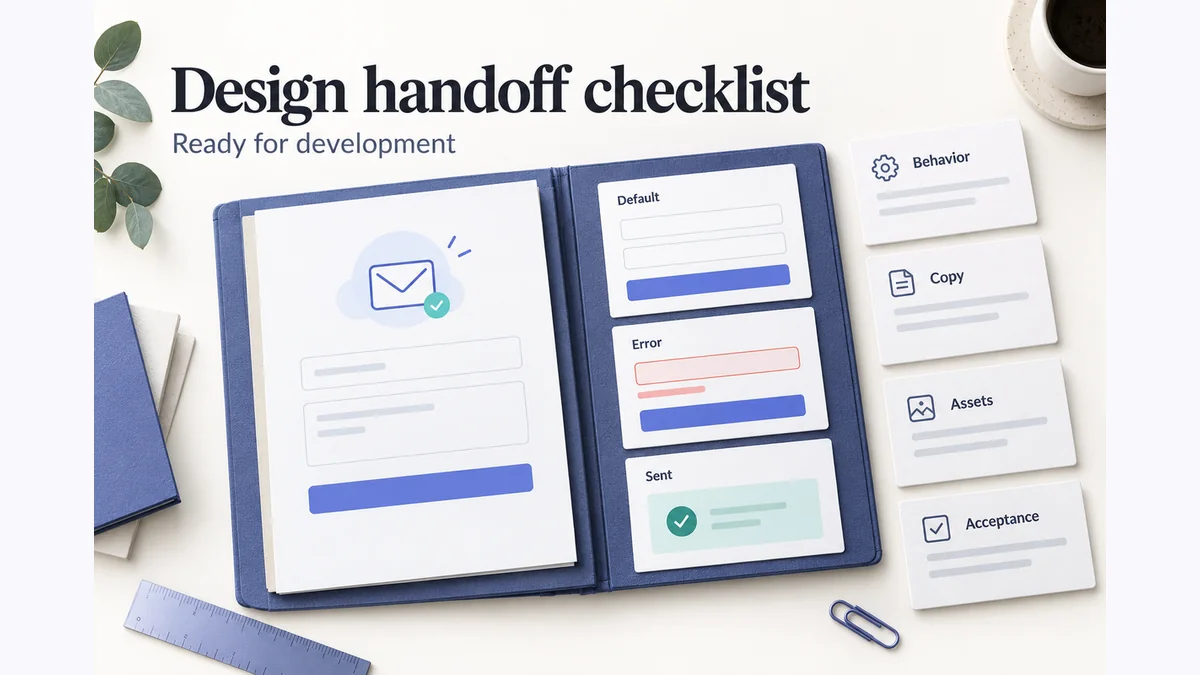
- Keep layout decisions and implementation notes together for handoff.
- Work in the shared project environment with the saving and access options available to your account.
- Share a preview with the appropriate reviewers and define the task they should follow.
- Arrange widgets and reusable elements to represent the proposed pages and navigation.
Use the prototype to settle questions such as whether a homepage needs a current-issue feature or a list of recent posts. It helps the team discuss the proposed experience before theme configuration. It does not deploy the CMS, populate a production database or guarantee a responsive implementation.
Prototype the Website Structure
The following three steps turn a small content plan into a reviewable website layout. The retained product screenshots show an earlier Mockitt account and editor, so use the equivalent controls in your current workspace.
Step 1: Create the Project
Sign in and create a blank prototype. Choose a website-sized or custom canvas and give each screen a descriptive name. For a publication, Home, Journal and Article are more useful names than Screen 1, Screen 2 and Screen 3.
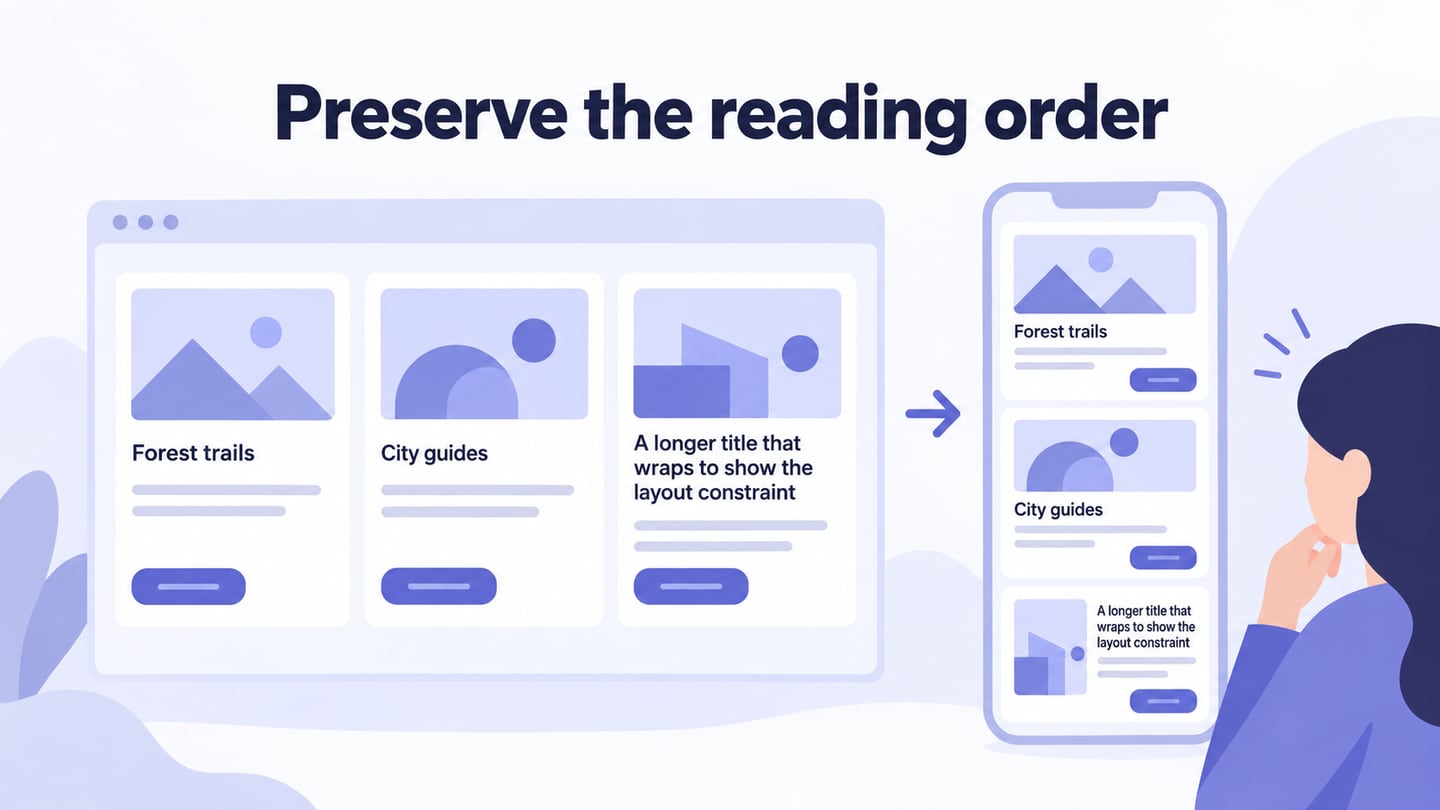
Create a separate narrow-width version where needed to review how the content should reorganize. A phone-sized canvas is a design view, not proof that a WordPress theme will automatically implement that layout. Keep the intended behavior with the design for the implementation team.
Step 2: Add Content and Navigation
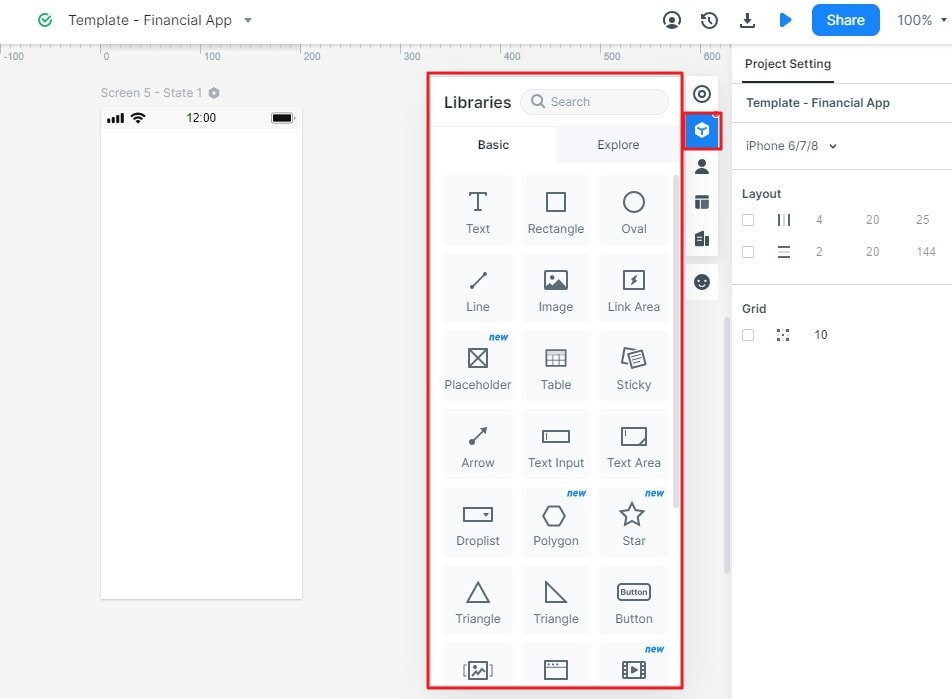
Add text, images and controls from the available widget library, then adjust their properties. Use representative content so the layout can be judged realistically. Connect navigation controls to their intended screens and preview the route rather than reviewing each page in isolation.
In the fictional Fieldnotes literary journal, Home introduces the current issue and the publication, while Journal lists three dated essays. Selecting Journal opens the posts-index design. This makes the difference between a static front page and chronological content visible before the corresponding WordPress settings are chosen.
Step 3: Review Embedded Media Where It Is Needed
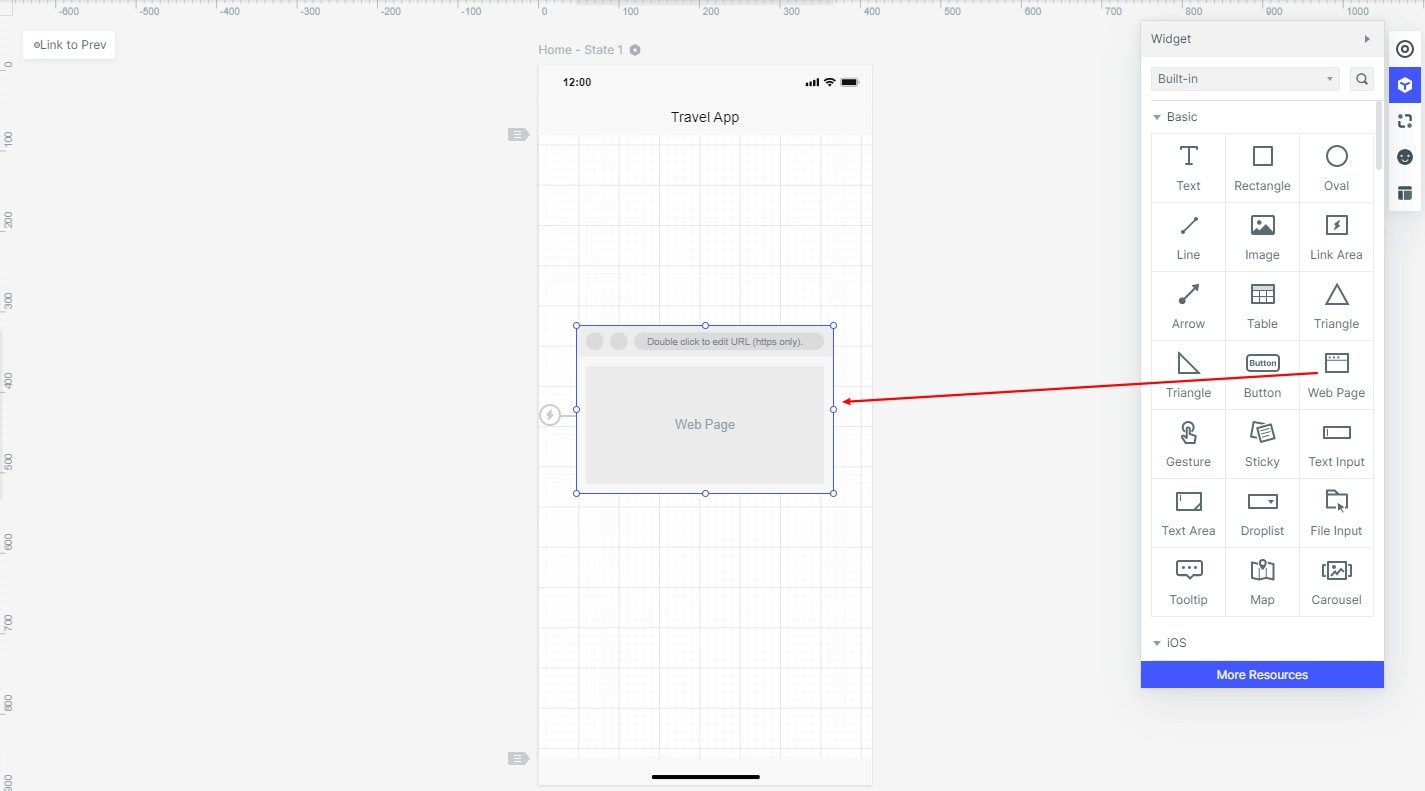
If the design includes externally hosted audio or another embedded page, the earlier Web Page widget shown below provides a way to represent that content through its supported URL field. Use material you have permission to embed, and check the result in preview. The source service, browser and embed restrictions can affect playback; pasting an arbitrary music URL is not a guarantee that audio will play. Record the intended player or a clear placeholder when a working embed is unavailable.
Check the Design Before Launch
A useful WordPress design separates content decisions from theme configuration and release checks. Agree on the homepage, posts index and navigation, review them in a prototype if helpful, then implement and test those choices in the actual site. Keep any unresolved behavior visible in the handoff so a design approval is not mistaken for a completed website.