Illustrator can create editable vector wireframes with artboards, shapes, type, and layers. It is useful when you already work in Adobe’s vector environment, but a static layout and a clickable prototype are different deliverables. This guide keeps the artboard-to-review workflow, clarifies what Outline view does, and shows when to continue in a wireframe tool with screen interactions.
How to Make a Wireframe in Illustrator: What you Need to Know
Start by choosing the task and screens you need to explain. Illustrator’s drawing and alignment tools are enough for a simple layout; you do not need to learn every illustration feature first. Use the steps below to separate interface shapes, labels, and explanatory arrows so that each can be reviewed without obscuring the others.
Step 1: Set up the Artboard perspective
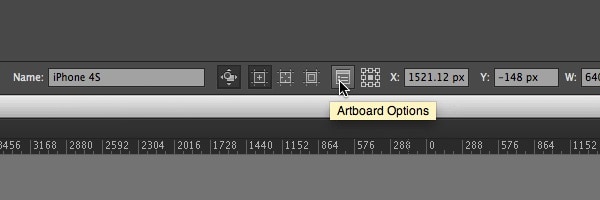
Create an artboard with dimensions appropriate for the intended layout. There is no special wireframing mode that must be enabled to begin. A preset can provide a starting size, but the device models shown in the retained historical screenshots should not determine your current audience assumptions.
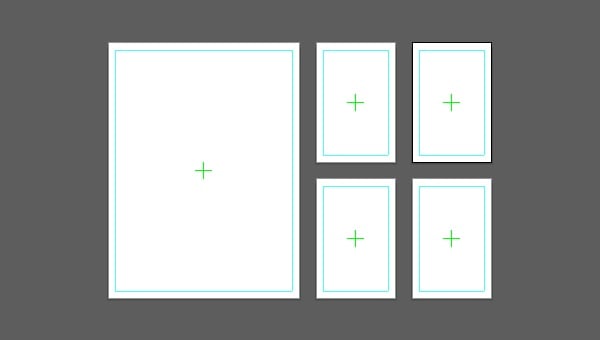
Use the Artboard tool to set or adjust the canvas dimensions. Create separate artboards for materially different screens or responsive layouts, and give them clear names such as Search, Results, and Item detail.
Step 2: Add and Edit Design Elements
Use simple rectangles, lines, and text to represent navigation, content, and actions. Reusable symbols or assets can help when several screens share the same control. Keep the components neutral enough that reviewers focus on the structure rather than final branding.
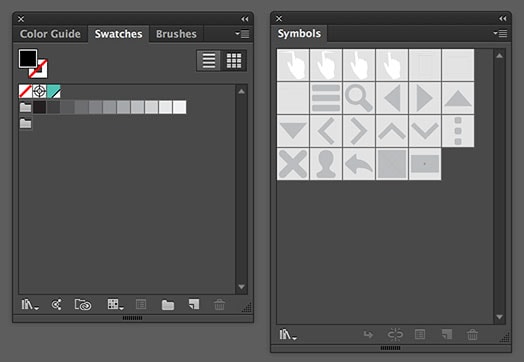
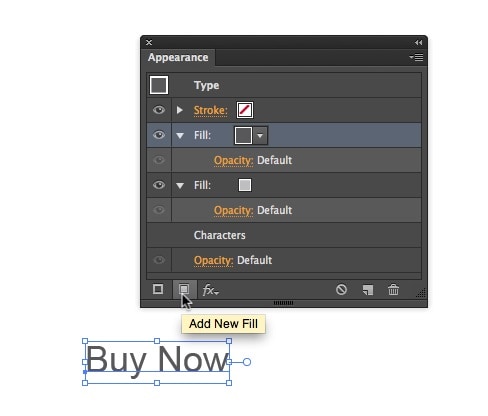
Add realistic labels with the Type tool. Adjust fills and strokes to distinguish content areas, but avoid relying on faint gray text that becomes unreadable in a review. The original Appearance-panel illustration below shows how text styling can be adjusted.
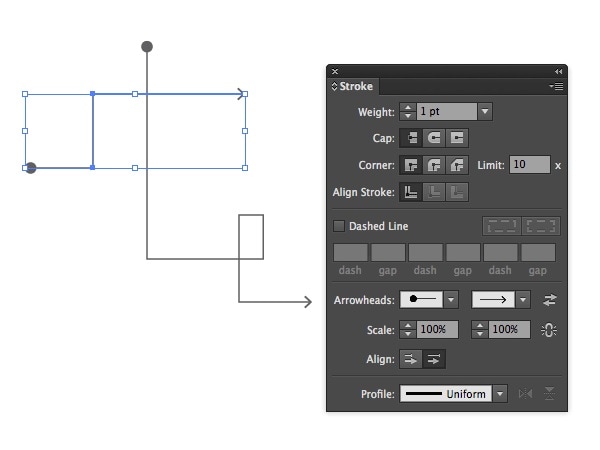
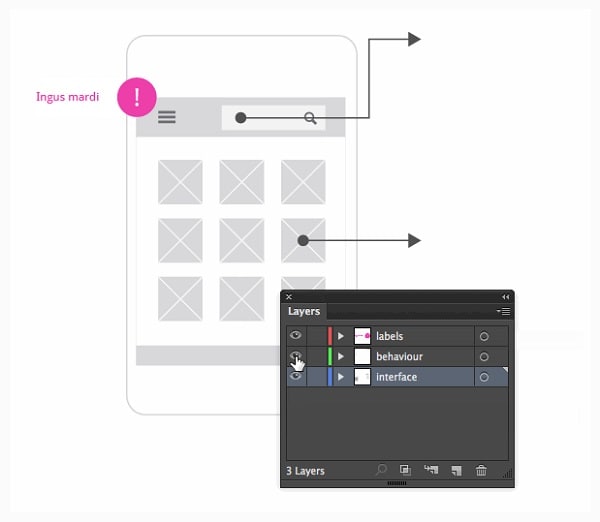
Use strokes and arrowheads to annotate transitions between artboards. Label the action that causes each transition. These arrows explain intended behavior; they do not turn the Illustrator document into a clickable application.
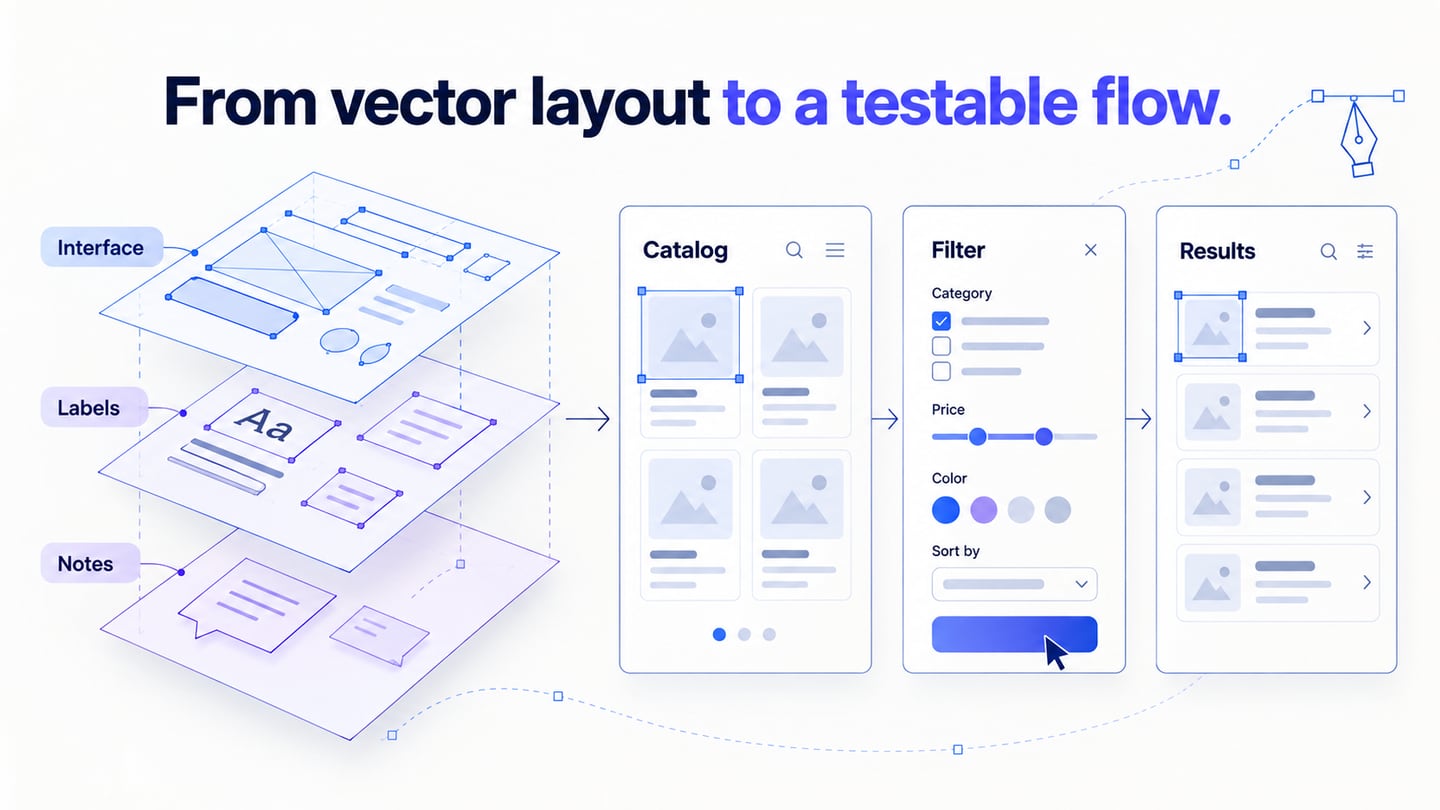
Organize layers by purpose, for example Interface, Labels, and Annotations. Lock a reference layer when necessary. Separate screen states on named artboards rather than assuming that toggling layer visibility simulates an interaction for the reviewer.
Worked example: a catalog filter
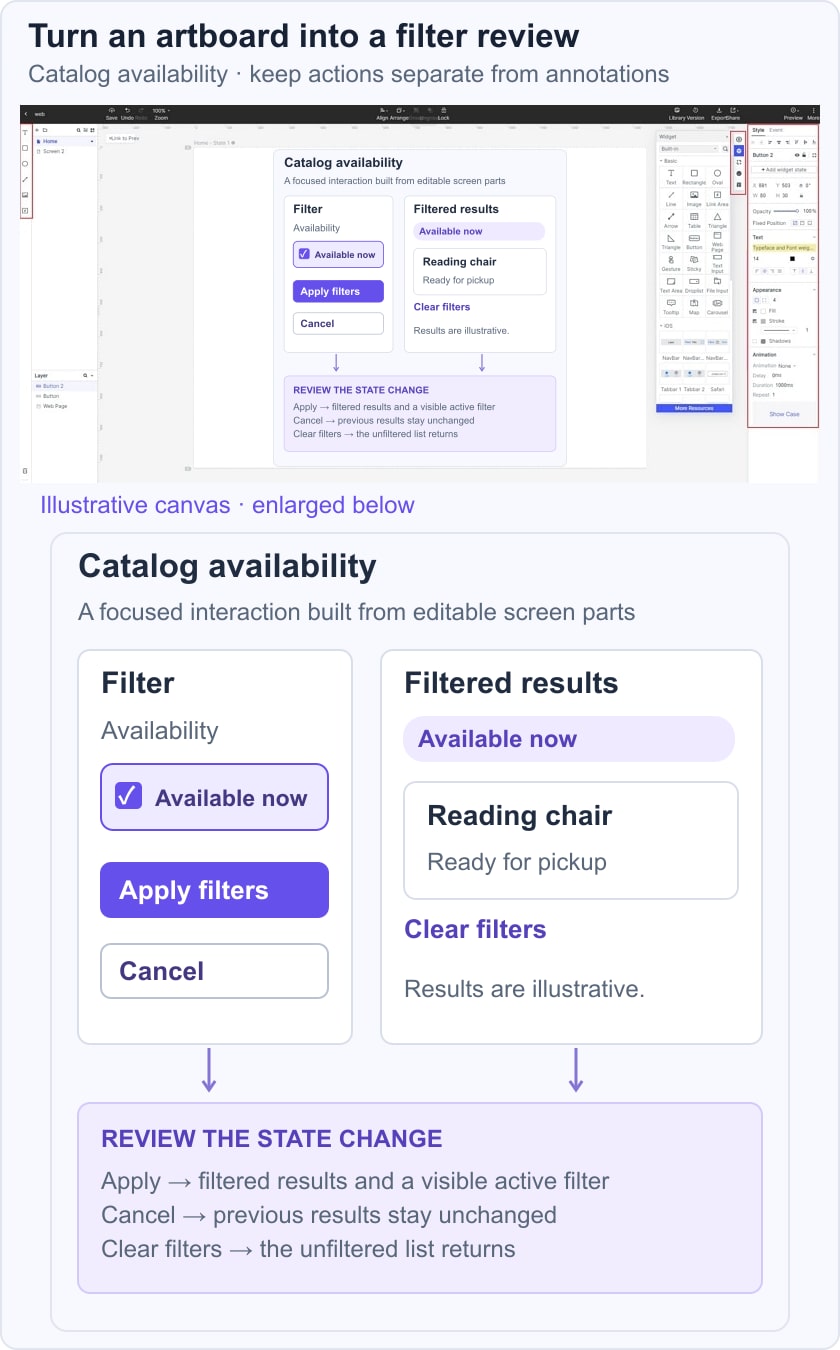
Draw three artboards: the initial catalog, an open availability filter, and the filtered list. In the initial view, show a small set of recognizable items. In the filter view, label the choice “Available now” and include Apply filters and Cancel. In the result view, show the active filter and a Clear filters action.
Place arrows on a separate annotation layer and label the trigger for each one. Ask whether canceling preserves the old list and whether clearing the filter restores it. These questions reveal missing states before the layout becomes detailed. The catalog data is illustrative; a drawn results page does not run a real filter.
Step 3: Preview and save your design
Illustrator’s Outline view displays vector paths without the normal fill and appearance treatment. It can help inspect overlapping shapes, but it is not a wireframe-generation feature or an interactive preview. Use View > Outline to inspect paths and return to the normal Preview view to review the visible layout. Menu shortcuts can vary with version and configuration.
Save the editable Illustrator document so the shapes and labels remain available for revision. Export an appropriate review copy when needed, then inspect the exported text and artboard order. Adobe’s artwork-viewing documentation explains the distinction between Outline and Preview.
How to Create Wireframes with an Illustrator Alternative
If the review question is about what happens after an action, Mockitt can help you model that screen flow. Keep the vector source as a design reference and rebuild the necessary editable controls for the prototype. Do not assume that importing a static image preserves Illustrator layers or creates interactions.

Work in the current browser workspace and check the supported import and export options before planning a handoff. The screenshots retained below come from an earlier guide interface. They illustrate creating a project, placing widgets, linking screens, and sharing rather than guaranteeing the same controls in every current workspace.
Step 1: Select the project type
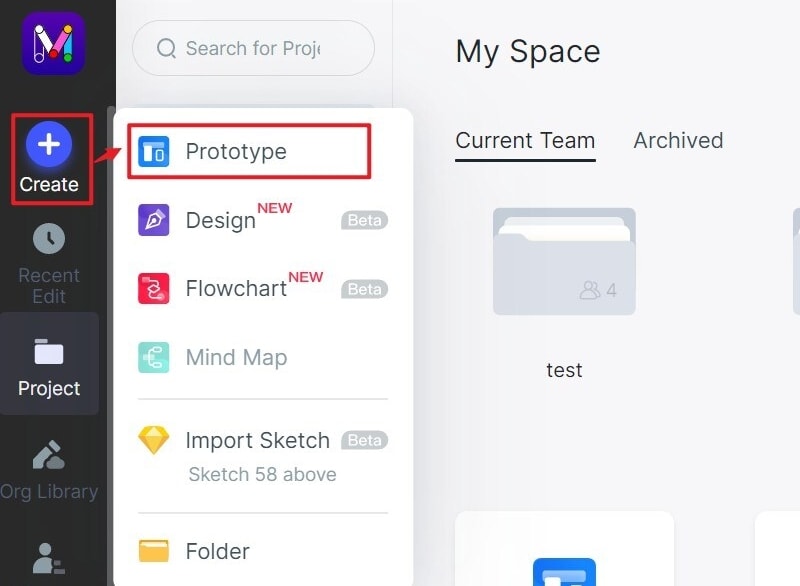
Create a prototype project for the specific interaction you need to inspect. For the example below, name it “Catalog filter review” and begin with a blank screen or a relevant template.
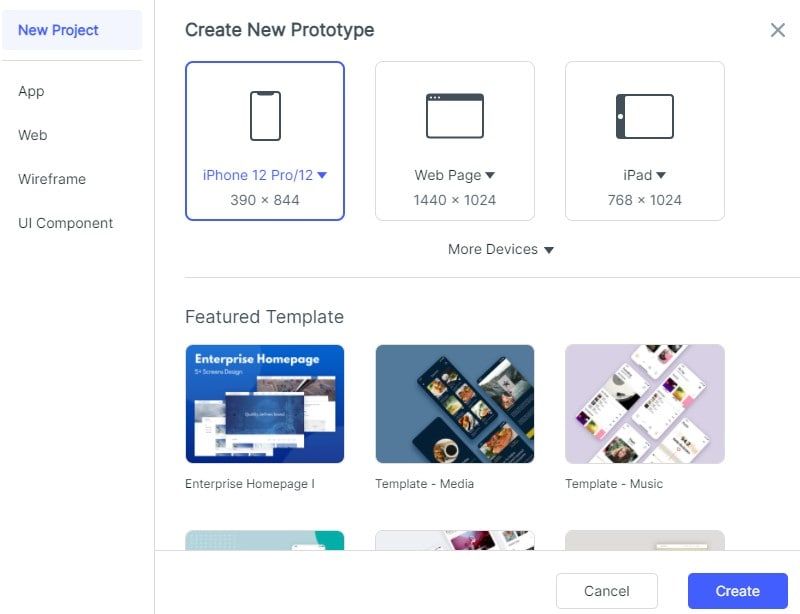
Set a target screen size and keep it consistent across the initial results, filter panel, and filtered-results states. Make a second layout when a different viewport changes the interaction.
Step 2: Design your Wireframe
Recreate the parts of the Illustrator wireframe needed for the task, keeping the same labels and information hierarchy. Do not spend time rebuilding decorative assets that do not affect the review.
- Add and edit widgets
On the sidebar of the interface, you can view all styles of widgets and vectors that you can drag and drop to your canvas.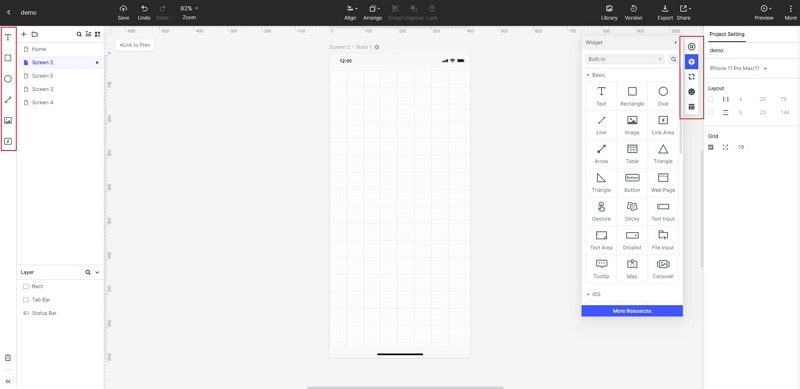
Later, you can just click on any widget and get options to edit it, change its appearance, and do overall customization. To save your time, you can mark any widget for reuse as well.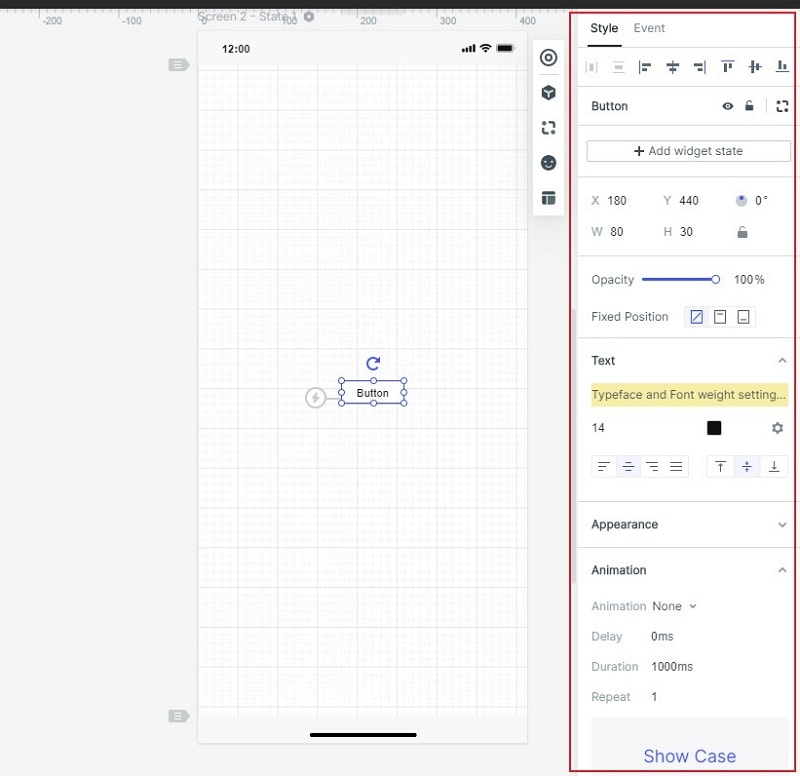
- Link screens and elements. Connect the filter action to the filter-panel state, Apply filters to the filtered results, and Clear filters to the original list. Check that the selected value remains understandable after the panel closes.
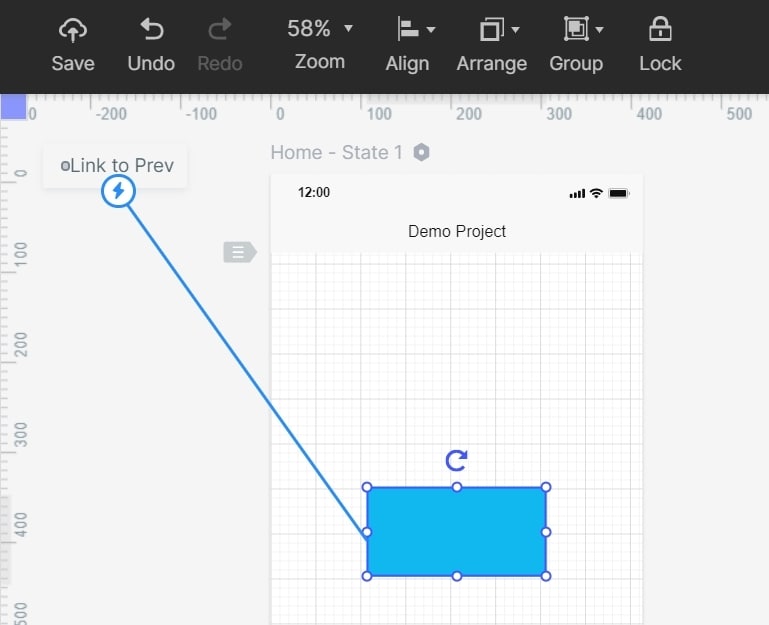
- Add notes. Record assumptions beside the relevant state, such as whether a selection is applied immediately or only after confirmation. Keep annotations visually separate from the interface so reviewers know which text a real user would see.
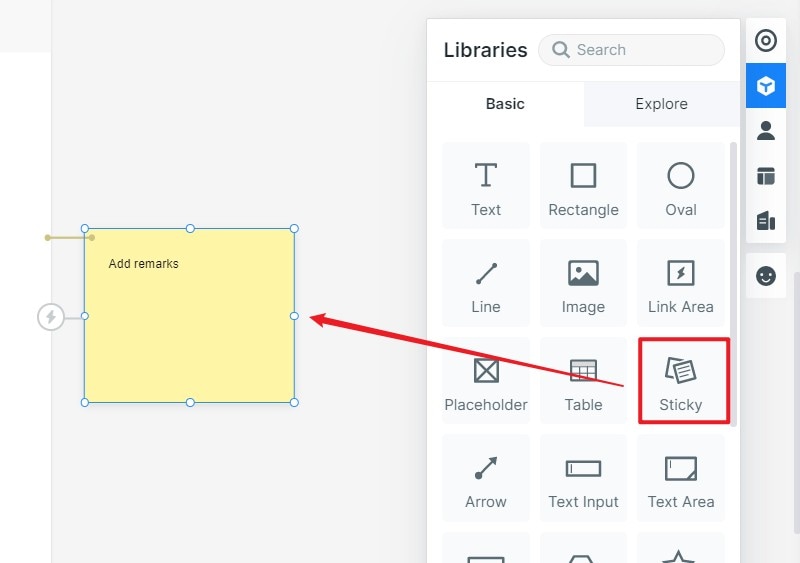
- Use interaction detail selectively. Add a state or transition only when it helps explain the task. A prototype may simulate filtering with prepared results; it does not establish that a live data query has been implemented.
Step 3: Preview your Wireframe Design
Preview the full path from the unfiltered list. Ask a reviewer to find only available items, then remove the filter. Observe whether they can tell which filter is active and recover the original list without explanation.
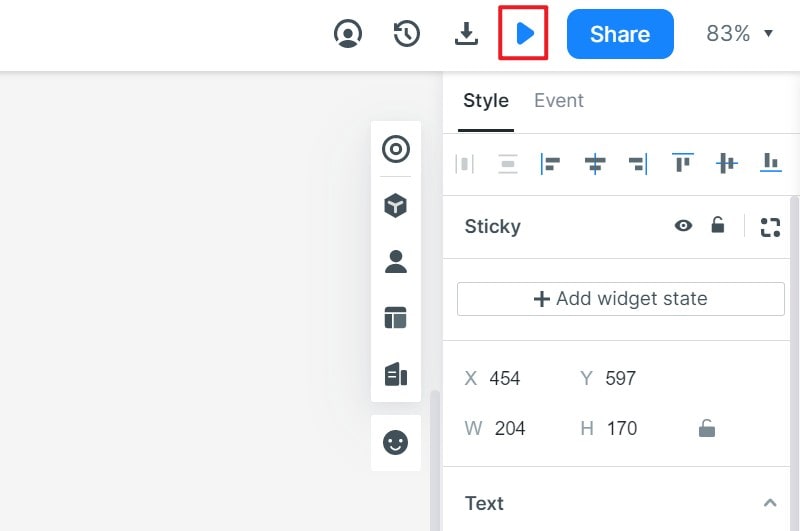
Step 4: Share and Export your Project
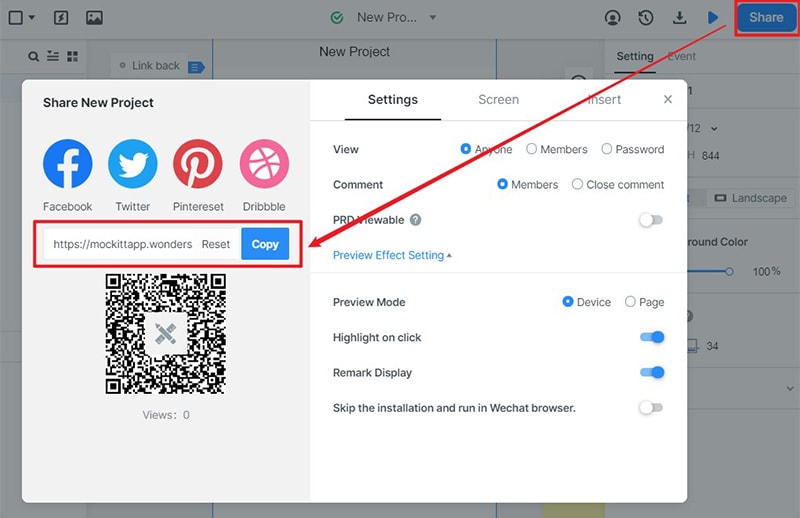
Share the prototype with the required access permissions and verify the link before the review. If a file export is needed, use the options currently available in the workspace and check that the delivered artifact retains the information the reviewers need.
Tips for Creating Wireframes in Illustrator
Besides learning how to make a wireframe in Illustrator, you can also consider the following tips to create better designs in less time.
- Try to portray a visual hierarchical view of your wireframe in Illustrator and consider starting with the basic elements.
- Although there can be too many features in Illustrator to make your designs look more realistic, try to work on a simpler approach if you are a beginner.
- Make the most of the layers in Illustrator so that you can easily depict various user actions.
- Use Outline view to inspect paths and Preview to assess the visible layout. Neither view replaces testing a modeled interaction.
- Use guides and alignment controls to keep spacing consistent. Adobe’s guide-alignment instructions explain how to create and manage guides; consistency matters more than making every layout symmetrical.
- When you need clickable screen behavior, move the relevant flow into a prototyping environment. Adding decorative animation to an illustration is not a substitute for defining interaction states.
Keep Illustrator as the editable source when precise vector work is the main need. Add a prototype only when there is a behavior to review. Compare wireframing in Photoshop for a layer-based image-editing workflow, or review wireframe diagrams and annotated flows if the immediate need is to explain structure.