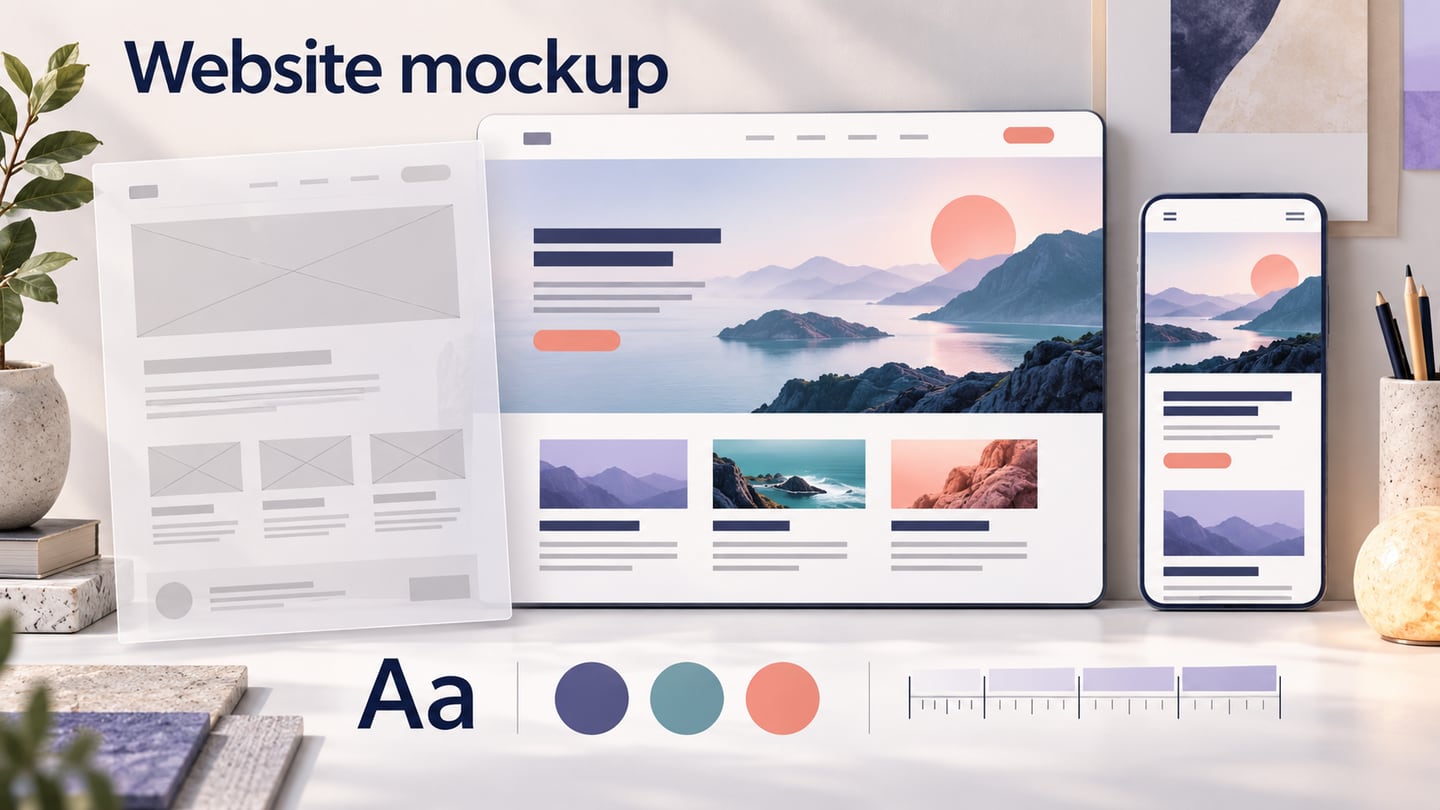
A website mockup shows how an agreed page structure will look with realistic typography, colors, spacing and content. It sits between a rough wireframe and the implementation: a detailed picture is not yet a working website, and links are a separate prototyping choice. This guide follows a consultant’s services page from a basic layout to a reviewable desktop and mobile mockup.
How to Mockup Websites
Mockitt can help you arrange page elements, reuse components and share a design for review. Start from a blank web page or a relevant template, then adapt the layout to the actual content. For the consultant example, the visitor needs to understand the service, inspect a credible project example and find the enquiry action.
- Use a template or component library as a starting point, while keeping the service’s actual content and information order.
- Place text, images and controls on the canvas, then adjust alignment, spacing and hierarchy deliberately.
- Check the current Mockitt plan for file and collaboration allowances before planning a larger project; a free account does not imply unlimited work or every export option.
- Add links if you need to review navigation or an enquiry flow. Interactivity turns the mockup into a prototype; it is not what makes its visual design high fidelity.
- Review desktop and mobile layouts, then gather comments on the design. A viewport preview helps inspect a layout but does not prove a responsive website has been implemented.
The four steps below retain the original setup, object editing, advanced changes and sharing workflow. Use a short service description and synthetic project content while exploring the layout. Replace them with approved copy and evidence before publication. The retained screenshots are from an earlier Mockitt guide interface, so current control placement may differ.
Step 1: Select a Project and Enter Its Details
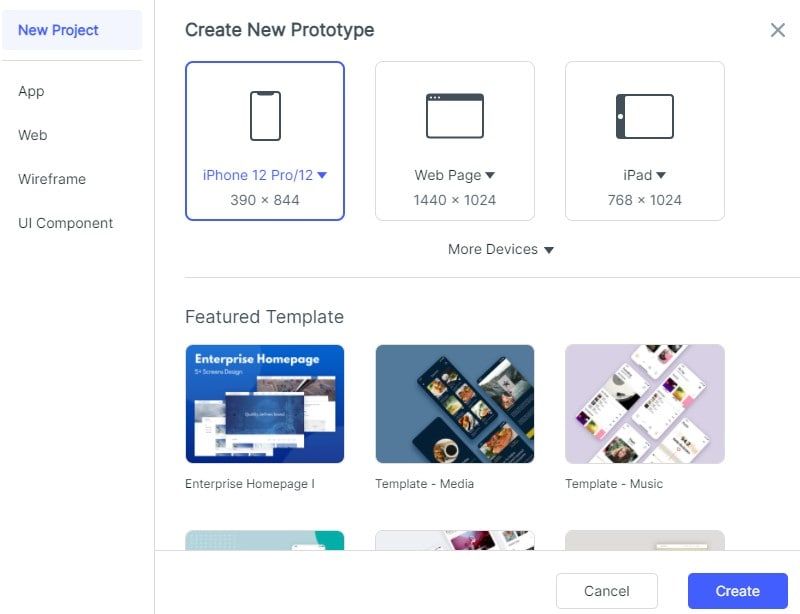
Create a project with a web-sized canvas, or choose a template close to the page structure you need. For this example, start with three sections: a service introduction, a project example and an enquiry area. Avoid adapting a commerce template simply because its photography looks polished.
Name the project and the page clearly, such as “Consulting site — services.” Add a narrow-screen companion page so you can decide how the content reorganizes on a phone. Canvas size helps you plan a view; it does not set production breakpoints automatically.
Step 2: Add and Style the Page Elements
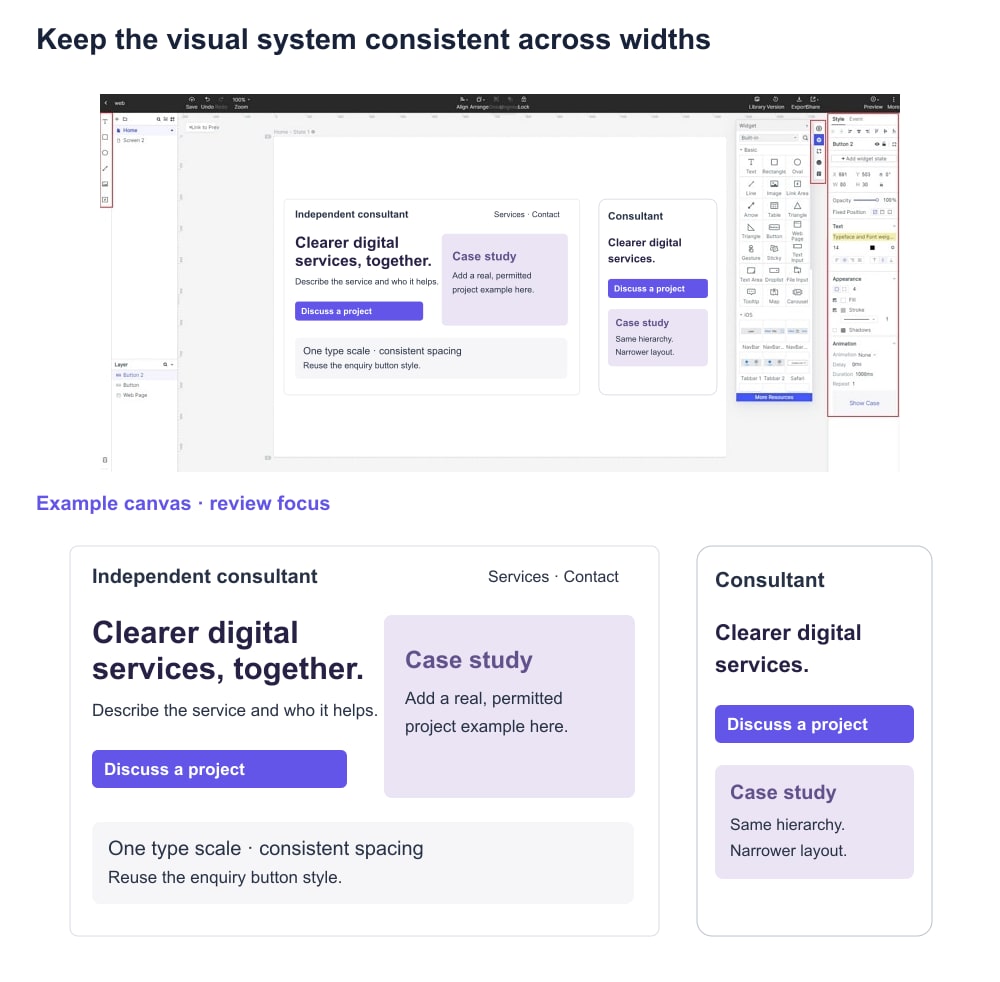
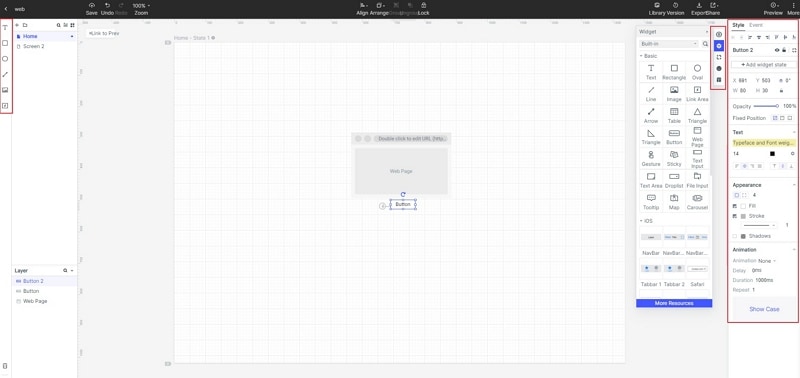
Place the navigation, service heading, introductory text, project card and enquiry button on the canvas. Use realistic text early: “Operations consulting for small teams” gives a different line length and promise from a short placeholder such as “Our services.” Reserve an image area only when you know what evidence it will show.
Refine the font sizes, line lengths, colors and spacing through the properties available for each element. Make the service heading clearly stronger than supporting text, and keep body copy readable on the narrow layout. Check long project names, multi-line links and error text; a mockup that only works with short labels is not ready for handoff.
Reuse recurring elements such as the navigation, project-card layout and enquiry button. Keep the same action label and spacing when the component appears again. Record the intended normal, focus and disabled states where they affect the design; a developer should not need to infer them from one screenshot.
Step 3: Review States, Navigation and Design Notes
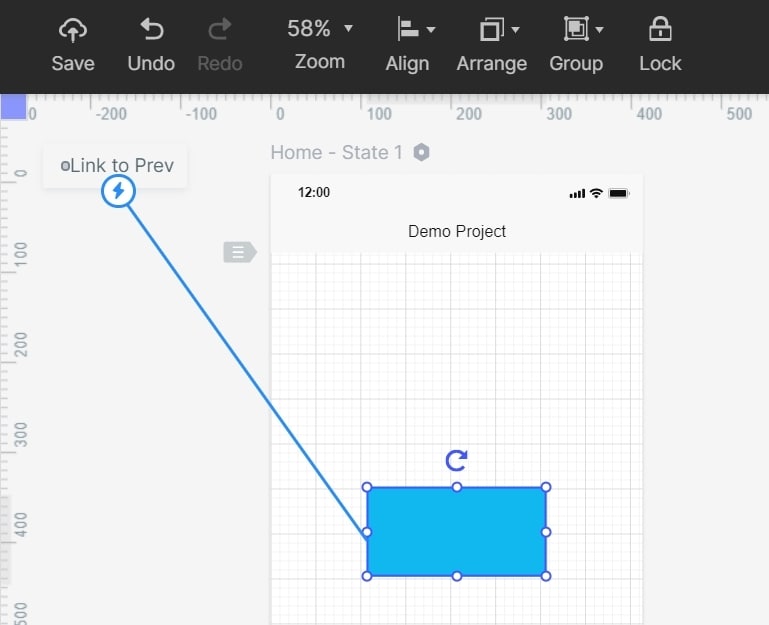
If the review includes navigation, link the service page to the project detail or enquiry state. For the enquiry form, sketch an incomplete-field error and a submitted confirmation. These states help reviewers understand the intended experience; receiving and storing an enquiry remains a development task. A website prototype extends this visual review into a connected flow.
Add notes next to the elements that need explanation. For the project example, identify which image and statement still need approval. For the enquiry area, state what happens after submission and which fields are required. A Sticky annotation can keep the note beside the design without putting internal instructions in the final page copy.
Use motion, audio or embedded material only when it supports a decision the page needs to communicate. A consultant’s service page may work better with a clear project image and readable summary than an animation. Before handing off, review hierarchy, contrast, text fit and the narrow-screen ordering; do not use added effects as a substitute for those basics.
Step 4: Save and Share Your Mockup Website
Save the design and share a current review link with the people approving the copy, visuals and implementation. Ask whether the service is clear, the project example supports it, and the enquiry action is easy to locate. Include the narrow layout and the relevant form states. Carry unresolved content approvals into the handoff instead of treating visual sign-off as approval of a functioning website.
Five Resources for Learning Website Mockup Design
Use learning material to fill a specific gap in the mockup you are making: visual hierarchy, UI components, responsive layout, accessibility or implementation. The following resources cover different parts of that work. Check the course syllabus and current access terms instead of assuming that free registration includes every lesson or certificate.
LinkedIn Learning (formerly Lynda.com)
The current LinkedIn Learning catalogue is the place to look for material formerly associated with Lynda.com. Search for the skill your mockup needs, such as layout, typography or interface design, then check the lesson preview. Review the current subscription, trial or organization-access options before choosing a course.
Coursera
Google’s UX Design programme on Coursera covers research, wireframes, mockups, prototypes and testing. It can help you connect a visual page to the user problem behind it. Review the current enrolment and certificate terms; free registration is not a guarantee of free access to all coursework and credentials.
Udemy
Udemy’s web-design catalogue offers courses with different tools and approaches. Compare the syllabus, lesson previews and update history before choosing one. Prefer a course that shows a complete page and explains its design decisions over one that only recreates a polished screenshot.
MDN Web Docs
The MDN Curriculum and its linked learning material cover HTML, CSS, accessibility and other front-end foundations. They help explain what your mockup needs to communicate to the implementation team. This is an implementation-learning resource, not a website mockup editor.
Udacity
Udacity’s Front End Web Developer programme is relevant when you want to understand how a design becomes a website. Check its current syllabus, prerequisites and pricing. It belongs later in the learning path if your immediate task is visual layout rather than writing and deploying the implementation.
A useful website mockup makes decisions visible: the content order, type hierarchy, visual treatment, repeated components and behavior at different screen sizes. Once those decisions are reviewable, refine the connected flow in the Mockitt prototyping workspace and prepare the approved copy, assets and state notes for development.
If you still need to choose an editing workflow, compare the capabilities described in the online mockup editors guide, including what remains editable and how the result can be shared.