Finding A Figma Alternative? Try This Out!
Mockitt's prototype workspace keeps linked screens, interactions and review in one place while you test a flow.

Figma is a web-based prototyping tool and vector graphics editor with an emphasis on real-time collaboration. Figma has various features and it is very user friendly. In this article, we shall learn how to add horizontal and vertical Figma scrolling using the Figma scrolling prototype and overlay Figma scroll. Follow our steps below to enable scrolling in Figma.
How to Add Horizontal and Vertical Scrolling in Figma Prototypes
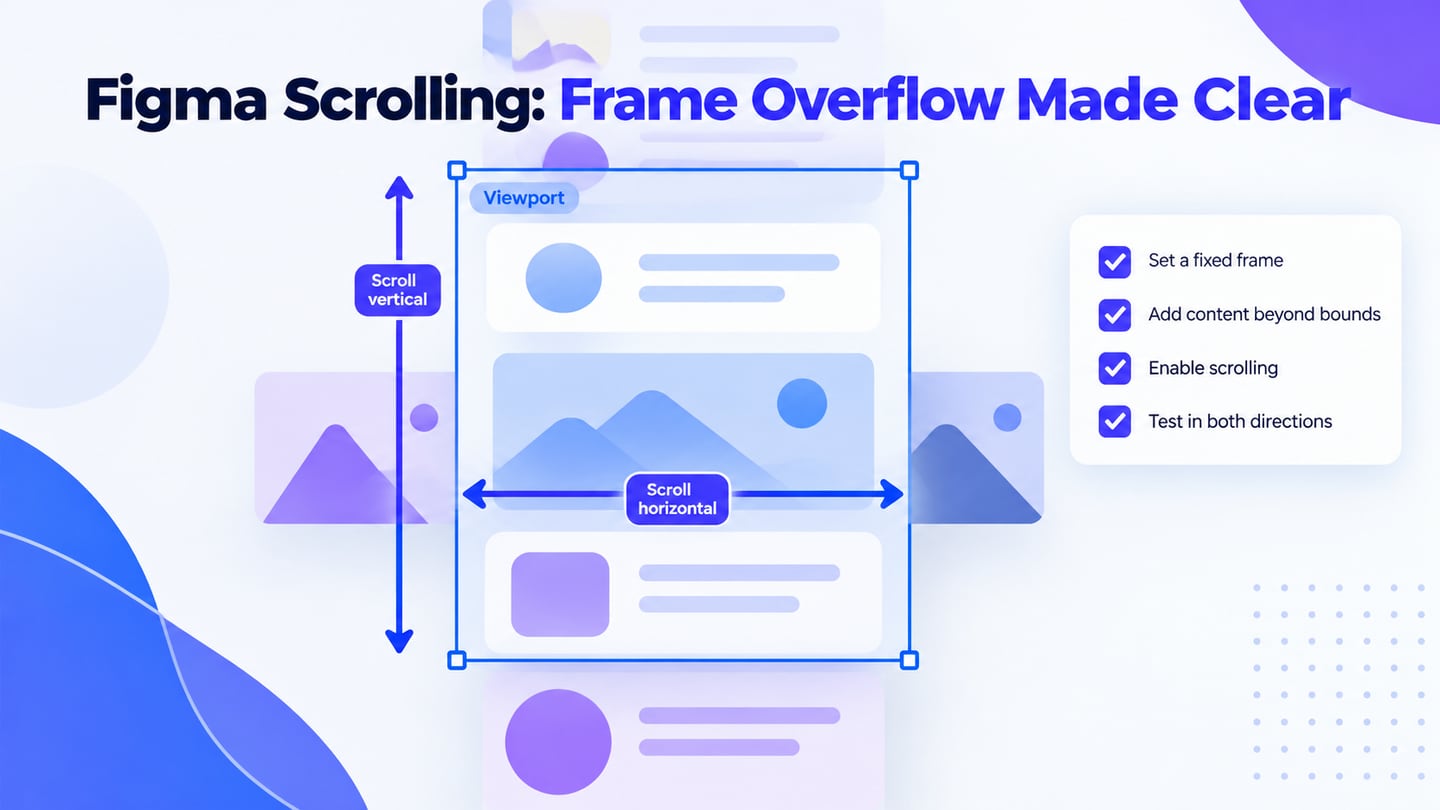
First, make sure the frame is large enough to act as a viewport and that the content extends beyond its bounds. Then choose the scrolling direction and test the preview.
Why Need to Enable Scrolling in Figma?
In Figma, scrolling is configured on a frame whose content extends beyond the frame bounds. A group alone does not create scrollable overflow: prepare the frame, enable Clip content when needed, then choose the overflow direction in the Prototype panel.
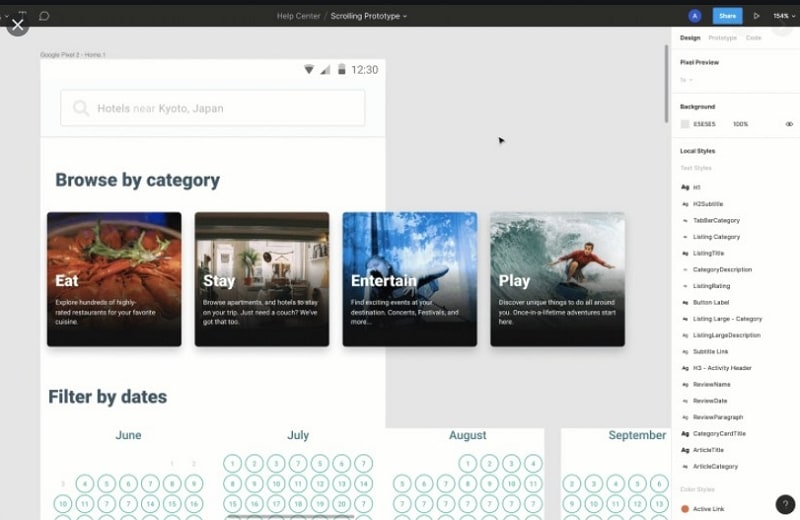
Image source: Figma
Steps to Add Horizontal and Vertical Scrolling in Figma Prototypes
Figma offers three types of overflow behaviors which are Horizontal, Vertical, and Horizontal & Vertical. To add horizontal and vertical scrolling in Figma prototypes, you can follow these steps:
Step 1. Open a new project in Figma and select your frame on the canvas.
Step 2. Create your design using templates, drag-and-drop, etc.
Step 3. Extend the content beyond the frame so the frame has something to scroll. Keep the content inside the frame hierarchy rather than relying on a group alone.
Step 4. In the Design panel, enable Clip content when the frame should hide content outside its bounds.
Step 5. Return to the Prototype tab and choose Horizontal, Vertical, or Both directions in the Overflow control. Use Horizontal for a slider-like row and Vertical for a long page.
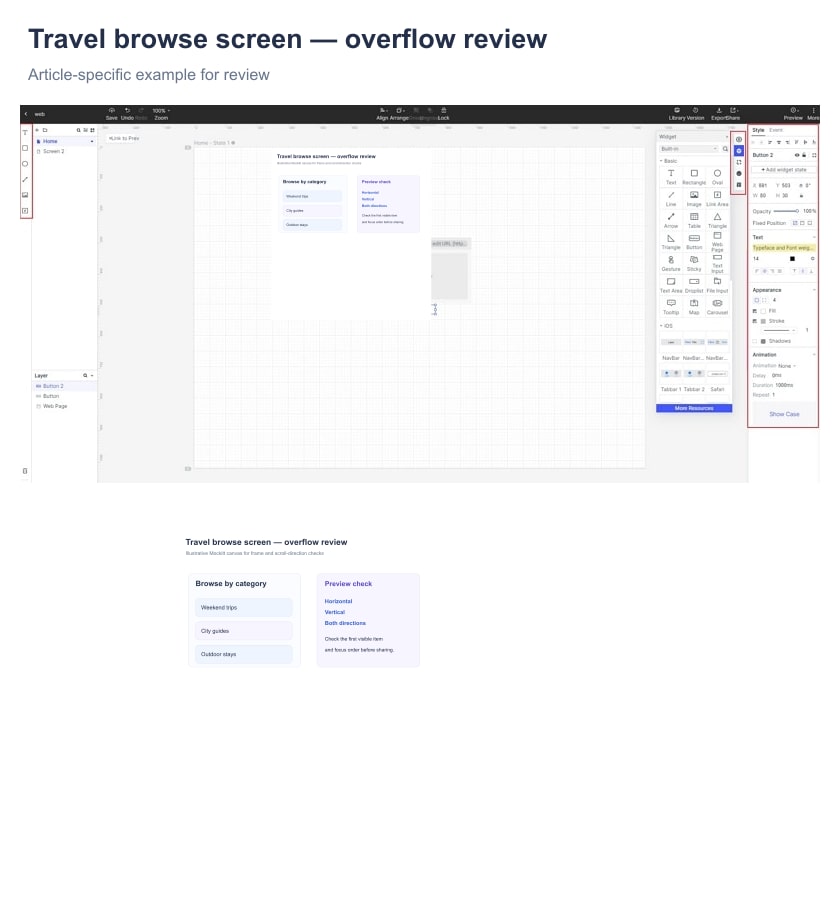
Step 6. In the prototype preview, check the scroll direction, the first visible item and the focus order before sharing the flow.
The Best Figma Alternative - Cost-Effective
If you need to review the same interaction outside Figma, compare the workflow with Figma alternatives and choose a workspace that supports linked screens and shareable preview.
Mockitt Design can be used to prepare editable screens for review; verify the current interaction and export options in the workspace before handoff.
For a product review, check the current workspace for the capabilities that matter to this flow:
- Screen structure - Keep the viewport frame and the content that should move clearly separated.
- Interaction states - Check that links, overlays and scroll direction match the intended flow.
- Review access - Share a preview with the people who need to comment and confirm the target device.
- Handoff notes - Record the expected viewport, overflow direction and any fixed elements before implementation.

A tool comparison is more useful when it names the interaction that must be tested. In Mockitt, use the preview to check the linked screens, scroll behavior and review comments against the same acceptance criteria used for the Figma flow.
FAQs: Other Useful Tips for Figma
1. How do I make sliding in Figma?
Create a frame with content wider than its bounds, then set Overflow to Horizontal in the Prototype panel. Figma provides the behavior; a visible slider track is a separate visual element you can design if the interface needs one.
2. How do I add a scroll bar in Figma?
A scrollbar is not added by the overflow setting itself. If the design needs a visible indicator, draw and style one as part of the interface, then test that the frame still scrolls when the indicator is present.
3. How do I fix scrolling in Figma?
If scrolling is disabled, check the frame hierarchy, confirm that content exceeds the frame bounds, verify Clip content and recheck Prototype > Overflow. Fixed positioning controls an element's placement; it does not enable scrolling.