
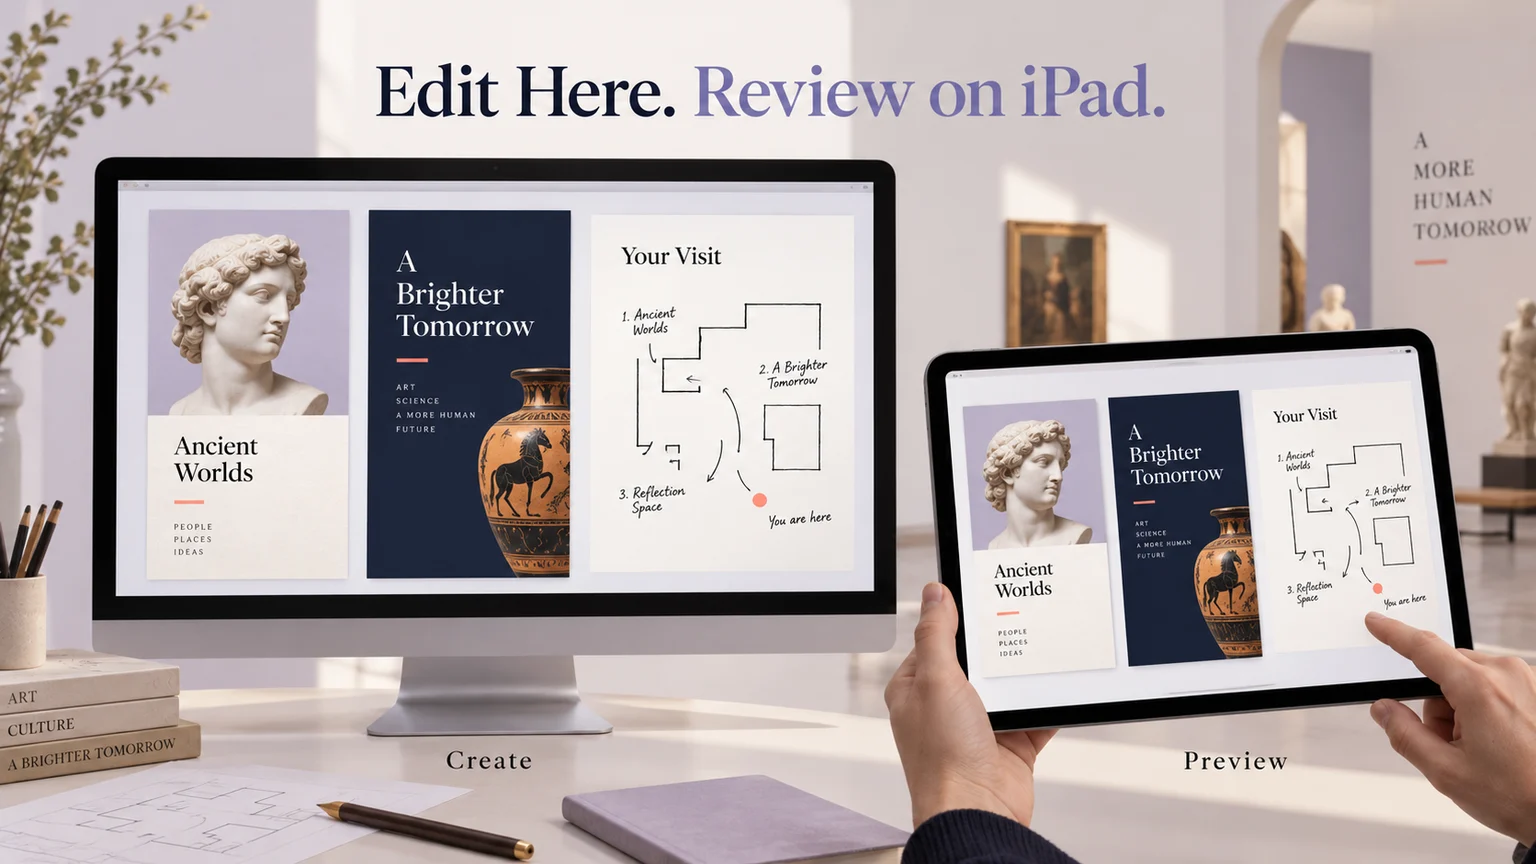
An iPad prototyping app can mean three different things: a tool you edit with on an iPad, a desktop tool for designing an iPad interface, or an app that plays a prototype on the device. Choose the wrong category and you may discover that your new iPad app is only a viewer.
This guide compares six options and explains a five-step workflow for building and reviewing an iPad prototype. If your team can author on a computer and review on a tablet, Mockitt's browser-based prototype editor is a useful starting point for arranging screens, connecting interactions, and sharing the result. This workflow uses a computer for authoring and an iPad for review.
Six Tools for iPad Prototyping Workflows
Start with the place where you must do the editing. Then check the review experience, input methods, and access requirements on the actual device you will use. An iPad-sized canvas establishes the design dimensions; it does not establish that the editor supports touch or that the prototype behaves like a native application.
| Tool | Where it fits | Important iPad distinction |
|---|---|---|
| Mockitt | Shared screen flows and team review | Author in a supported browser; check the shared preview on iPad |
| Justinmind | Detailed interactions and simulated forms | Desktop authoring with an iPhone/iPad viewer |
| Principle | Animation and interaction studies | Mac authoring; share prototypes to a browser |
| Marvel | Linked screens and lightweight mobile design | Official iOS guidance includes creating and editing designs |
| POP | Turning paper sketches into linked screens | Part of Marvel's platform; not an unrelated competing service |
| Fluid UI | Widget-based web and mobile flows | Check the mobile preview separately from editor compatibility |
1. Mockitt
Mockitt provides a workspace for wireframes, interface screens, and interactive prototypes. UI assets, templates, widgets, and icons can help you start from reusable elements. Connect the screens required for a task, preview the route, and share it with teammates for feedback.
Best fit: a team that needs to discuss a tablet interface and its navigation before development. Constraint: confirm your editor browser, account permissions, and review link on the intended devices. Cloud access does not promise offline editing, unrestricted sharing, or identical behavior in every browser. A shared prototype also does not become a native iPad application.

2. Justinmind
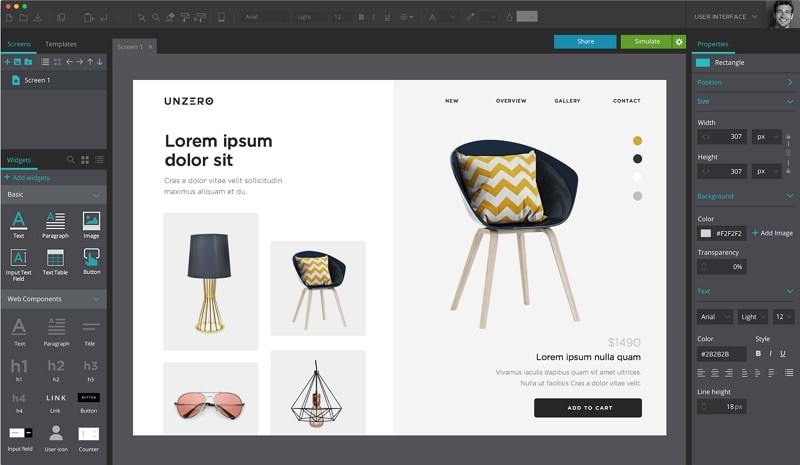
Justinmind supports detailed web and mobile prototypes, including forms, interaction events, and device-oriented UI libraries. Its official product page distinguishes creating prototypes from testing them through an emulator or viewer on an iPhone, iPad, or Android device.
Best fit: a desktop authoring workflow where the iPad is used to try a richer simulation. Constraint: do not install the viewer expecting the full authoring environment. Build a small representative form first; a detailed simulation still needs implementation and device testing before it is a production app.
3. Principle
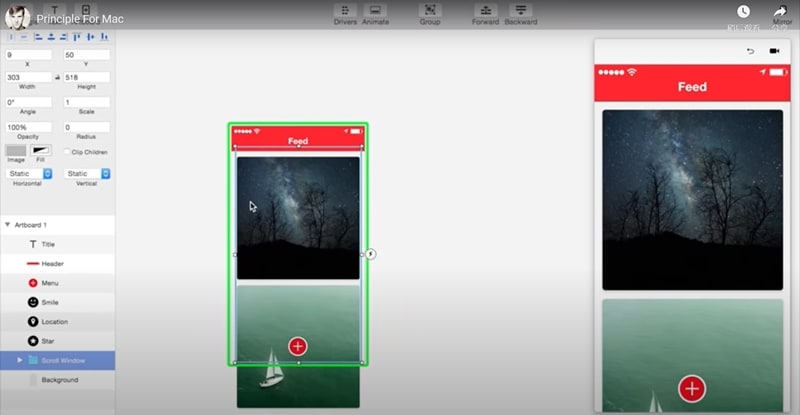
Principle is designed for animated, interactive interface prototypes on a Mac. Its sharing feature lets other people interact with a design in a browser, including on iOS. That is useful when motion, transitions, or a short interaction sequence are the main design question.
Best fit: refining how a tablet interaction feels, with a Mac available for authoring. Constraint: browser playback on an iPad does not make Principle an iPad editor. Test the particular interaction on the device rather than relying on a recording alone.
4. Marvel
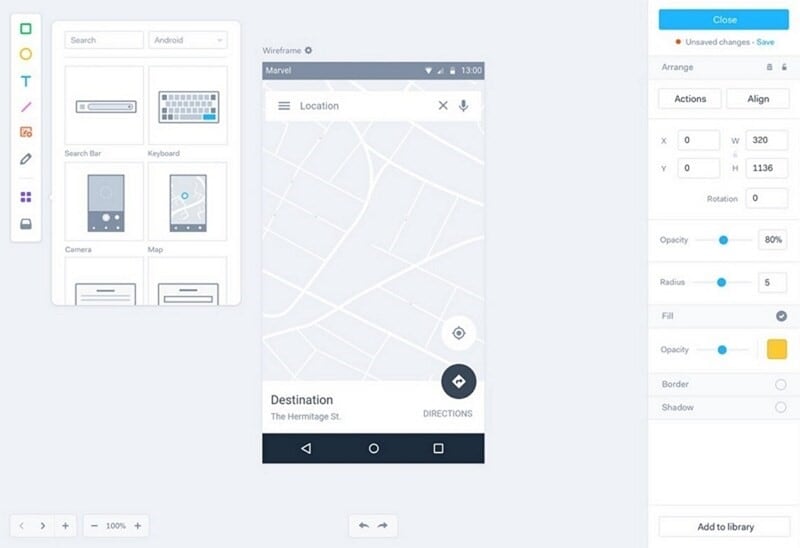
Marvel turns uploaded designs or sketches into linked prototypes and also offers design tools. Unlike a viewer-only app, its official iPhone and iPad guide describes creating screens with shapes, text, and images, connecting screens, and sharing projects.
Best fit: lightweight creation and review while working on the tablet. Constraint: check the current App Store availability and account features in your region before adopting it. Start with your hardest required interaction; linked screen images should not be assumed to reproduce complex native behavior.
5. POP
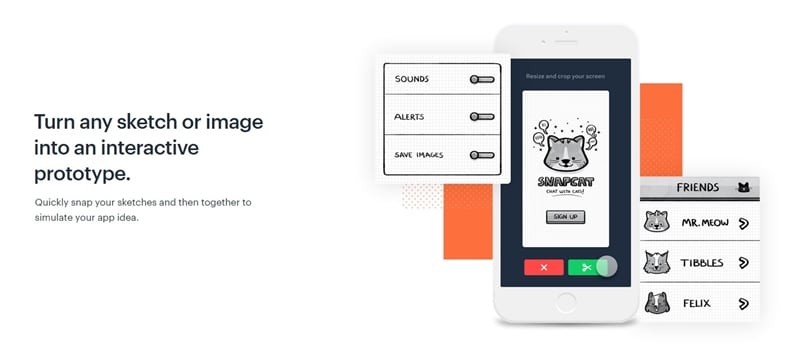
POP's useful idea is simple: draw screens on paper, photograph them, arrange the images, and add links so someone can tap through the proposed journey. It is a practical way to test the sequence before investing in a detailed interface.
Best fit: an early workshop or sketch-based flow. Constraint: Marvel acquired POP and migrated its users, so evaluate the current Marvel/POP access path rather than treating the two as independent platforms. The method can use polished images too; its limitation is the behavior represented by those images and links, not an absolute ban on high visual fidelity.
6. Fluid UI
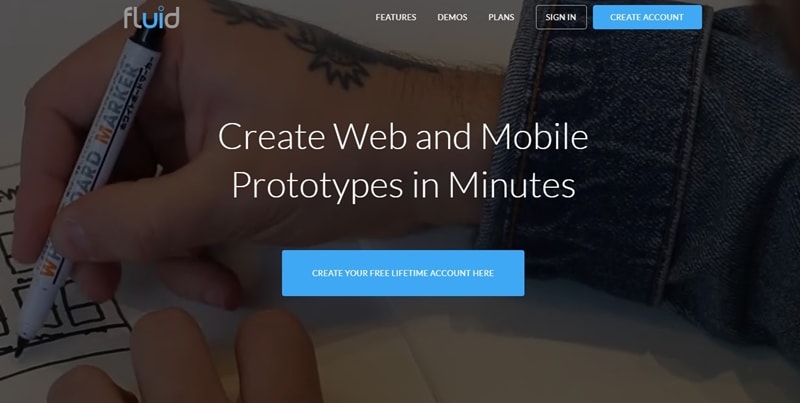
Fluid UI provides a browser editor with reusable components for web and mobile prototypes. Linking pages, adding transitions, and trying a flow on a tablet are relevant to an iPad project. Its published examples include tablet-sized designs and mobile previews.
Best fit: assembling a linked interface from reusable elements. Constraint: verify the current preview route and device support for your account. “No compatibility issues” is not a meaningful guarantee: try orientation changes, scrolling, and touch targets on the intended iPad before a review session.
What About Older iPad Tool Lists?
InVision's Prototype and DSM products were discontinued effective December 31, 2024, as recorded in Miro's announcement about the transition. They are no longer a suitable starting point for a new prototype workflow.
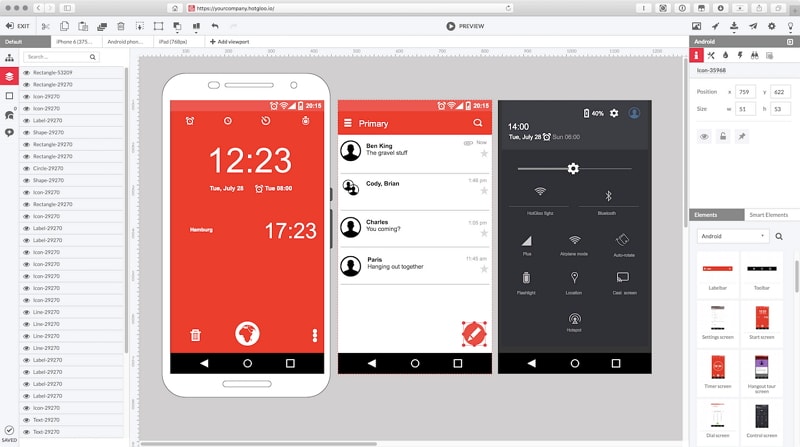
HotGloo's earlier product material described browser wireframing, reusable elements, and mobile editing. Its current service could not be reached during verification, so the old mobile-support claim should not be used to choose a new tool. Existing customers should confirm access and support before depending on it for a review.
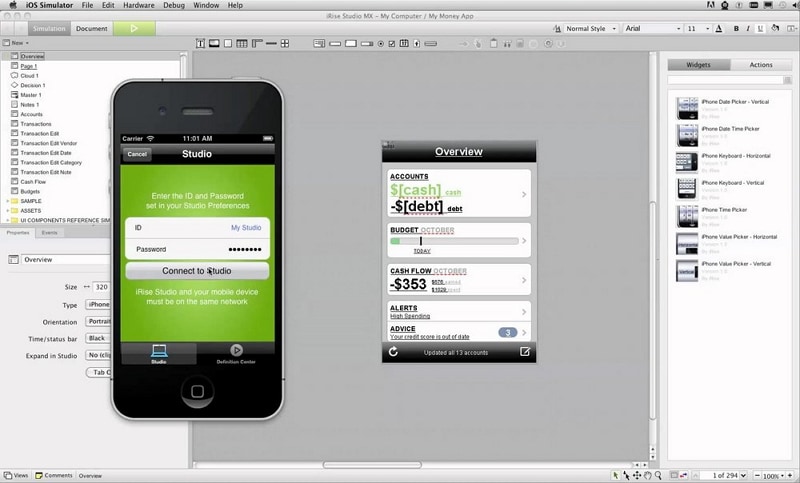
iRise previously appeared in this guide for combining requirements discussions with software simulations. Its current product availability and iPad support could not be established from accessible vendor documentation, so it is not included among the six options above. Teams with an existing deployment should confirm support and export access before extending that workflow.
How to Build an iPad App Prototype
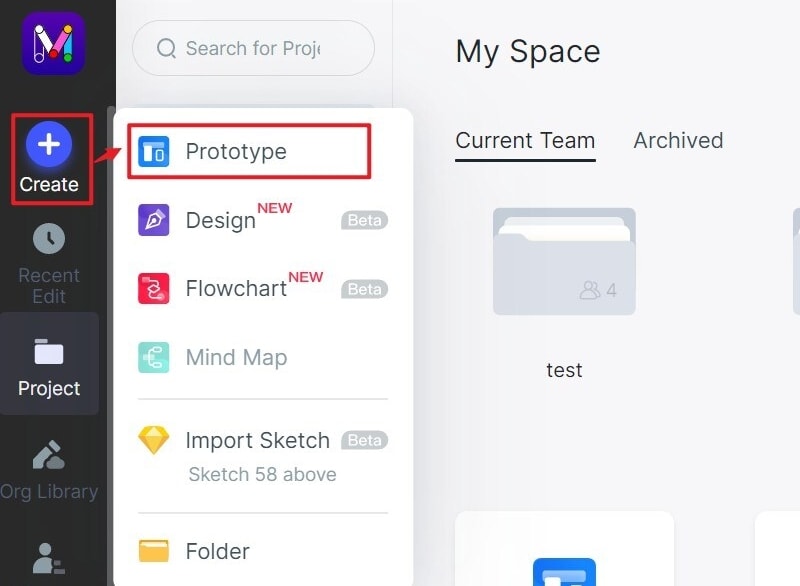
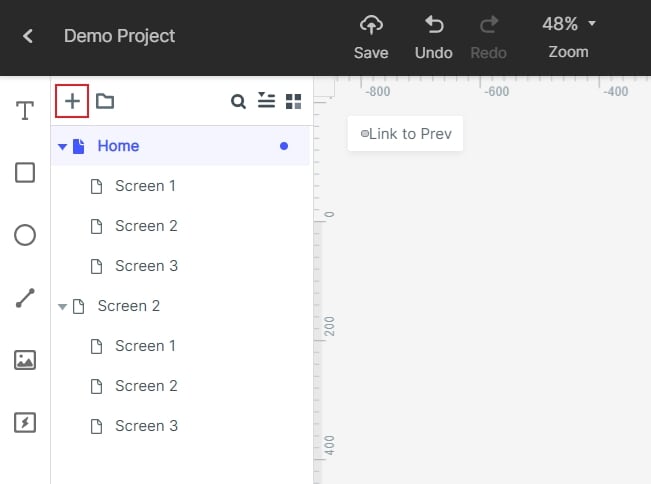
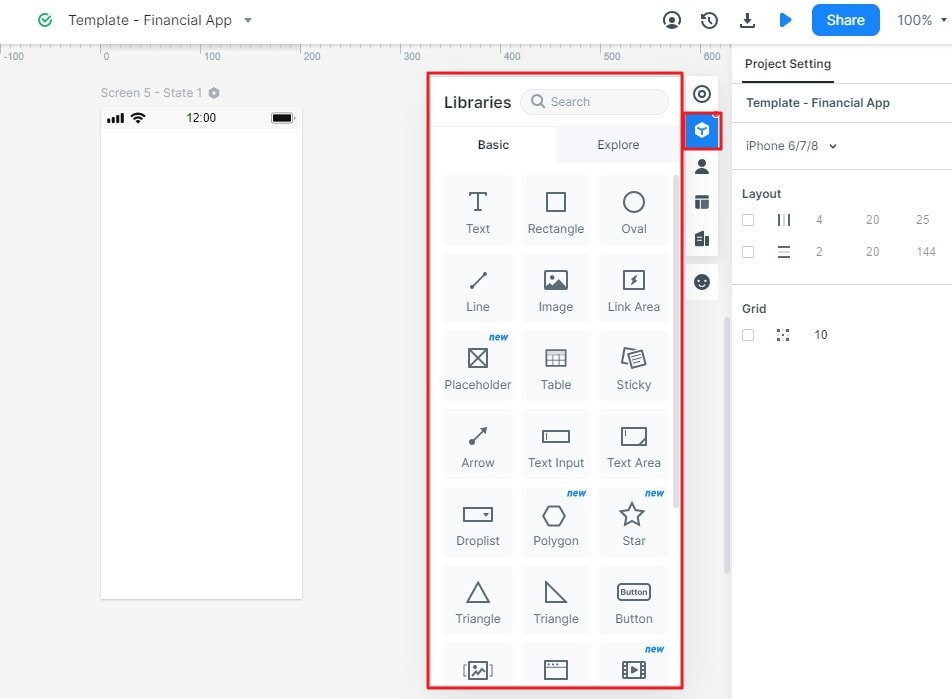
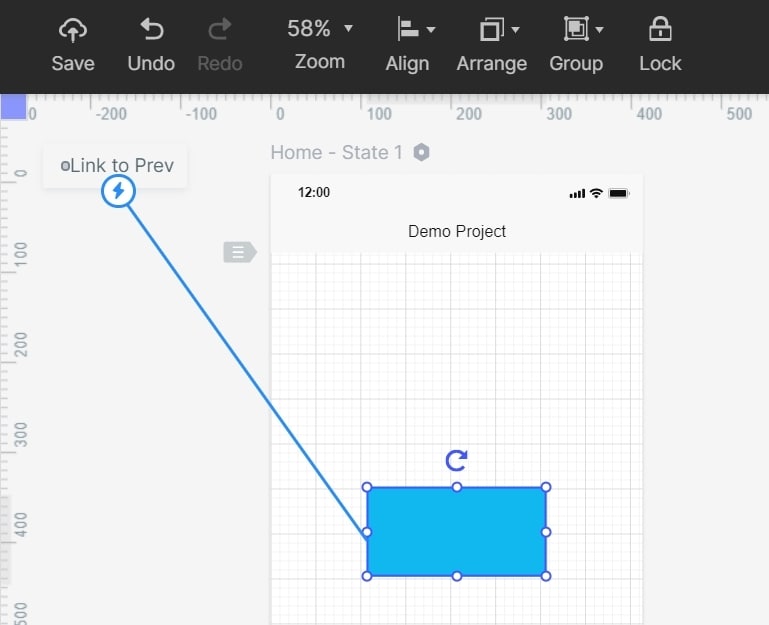
The following Mockitt workflow preserves the original sequence: create a project, add screens, place widgets, connect pages, and preview. Author in a supported computer browser, then review on the iPad. The retained screenshots show earlier versions of the editor and illustrate the concepts; current menus may differ.
Step 1. Create the Project and Set Its Scope
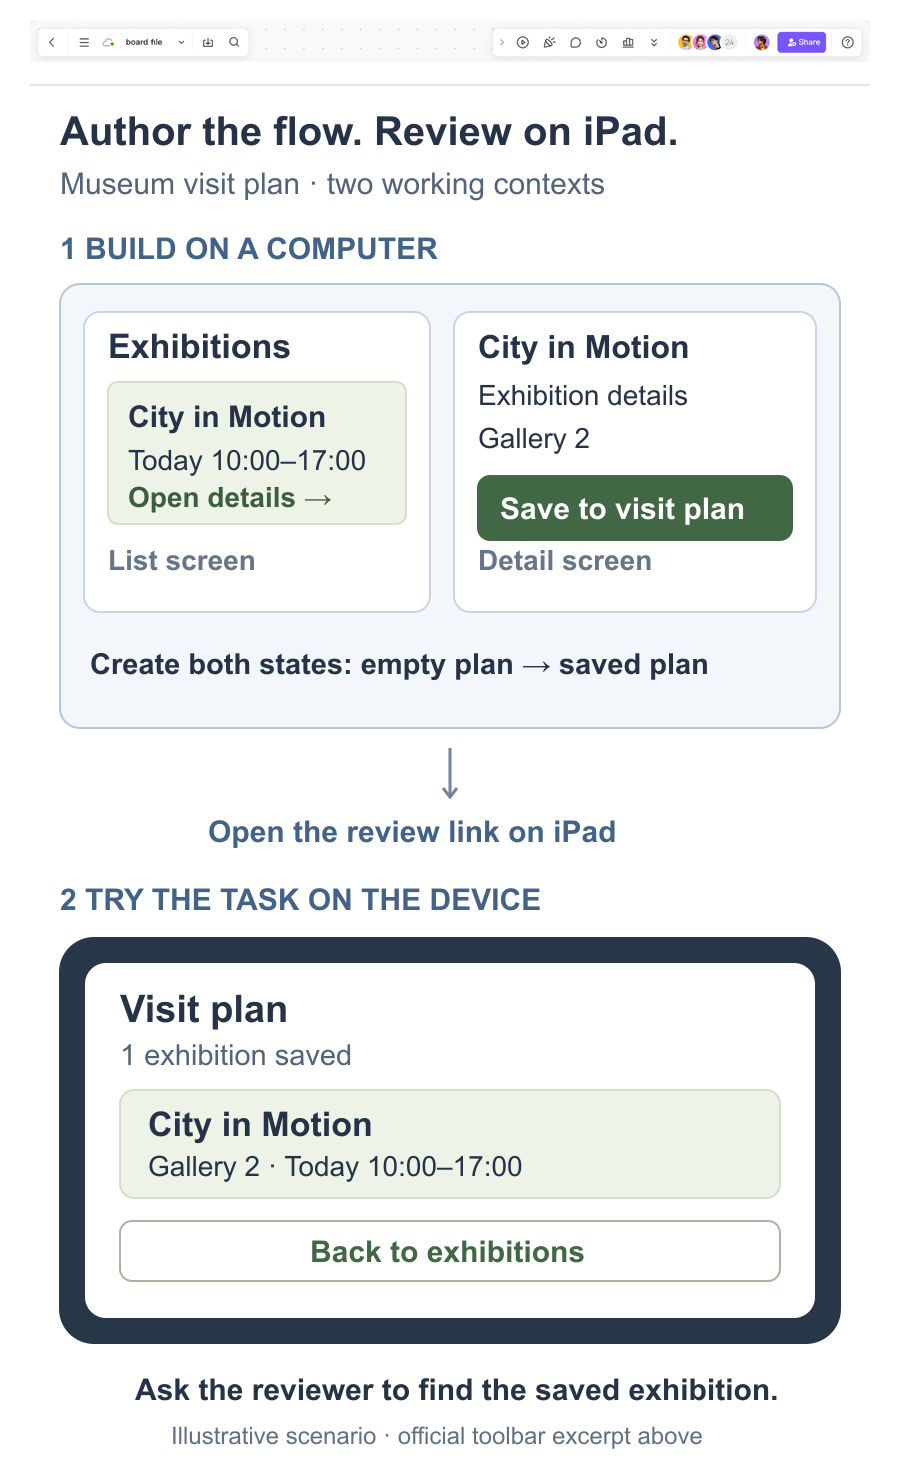
Sign in to your workspace and create a blank project or adapt an appropriate template. Choose a tablet-oriented or custom screen size for the layout you intend to review. Use a concrete task, such as a museum visitor selecting an exhibition, opening its details, and saving it to a visit plan.
Step 2. Add the Screens
Add screens for the exhibition list, exhibition details, and visit plan. Include an empty plan so the first saved item has a clear before-and-after state. Name the screens by their purpose rather than leaving them as numbered pages.
Step 3. Add Widgets and Icons
Place text, images, buttons, and other needed widgets on the canvas. Edit their properties and reuse common elements to keep navigation consistent. Use realistic exhibition titles and opening times; short placeholder labels can hide wrapping and spacing problems that appear on the tablet.
Step 4. Link Objects to Screens
Connect an exhibition card to its detail screen, the save action to the populated plan, and a back action to the list. In the editor, select the relevant object and configure its destination through the available interaction controls. Model the empty and populated plan as separate screens if you do not need data logic.
Step 5. Preview, Share, and Try It on the iPad
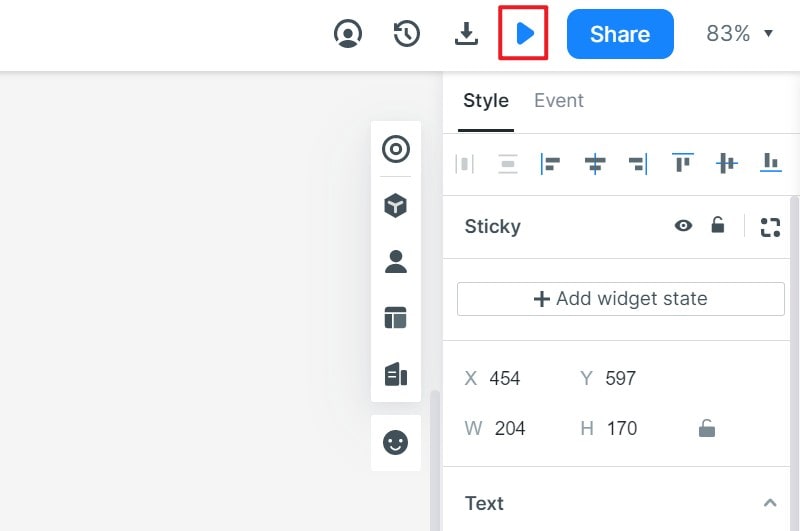
Preview the connected route before sharing. Open the current review link on the actual iPad using the recipient's access level, then try selecting an exhibition and finding the saved plan. Check that the starting screen, sharing permissions, and back navigation are correct.
Review portrait and landscape where relevant, long content, finger-sized targets, and the effect of browser controls on available space. If a keyboard, pointer, or Pencil is required, include it in the session. Note which interactions are simulated; a prototype review does not establish native performance, accessibility, or backend behavior.
For the museum example, ask the reviewer to save an exhibition, return to the list, and find the plan again without guidance. Record an observation such as “looked in the menu before finding Visit plan” instead of only asking whether the design looks good. If an important device behavior is outside the prototype's capabilities, identify the separate implementation test it needs.
Choose the tool around the work you need to do on the tablet. Direct authoring needs a usable iPad editor; testing a computer-authored design needs a reliable device preview. A small complete flow will reveal that difference more clearly than a long feature list.