
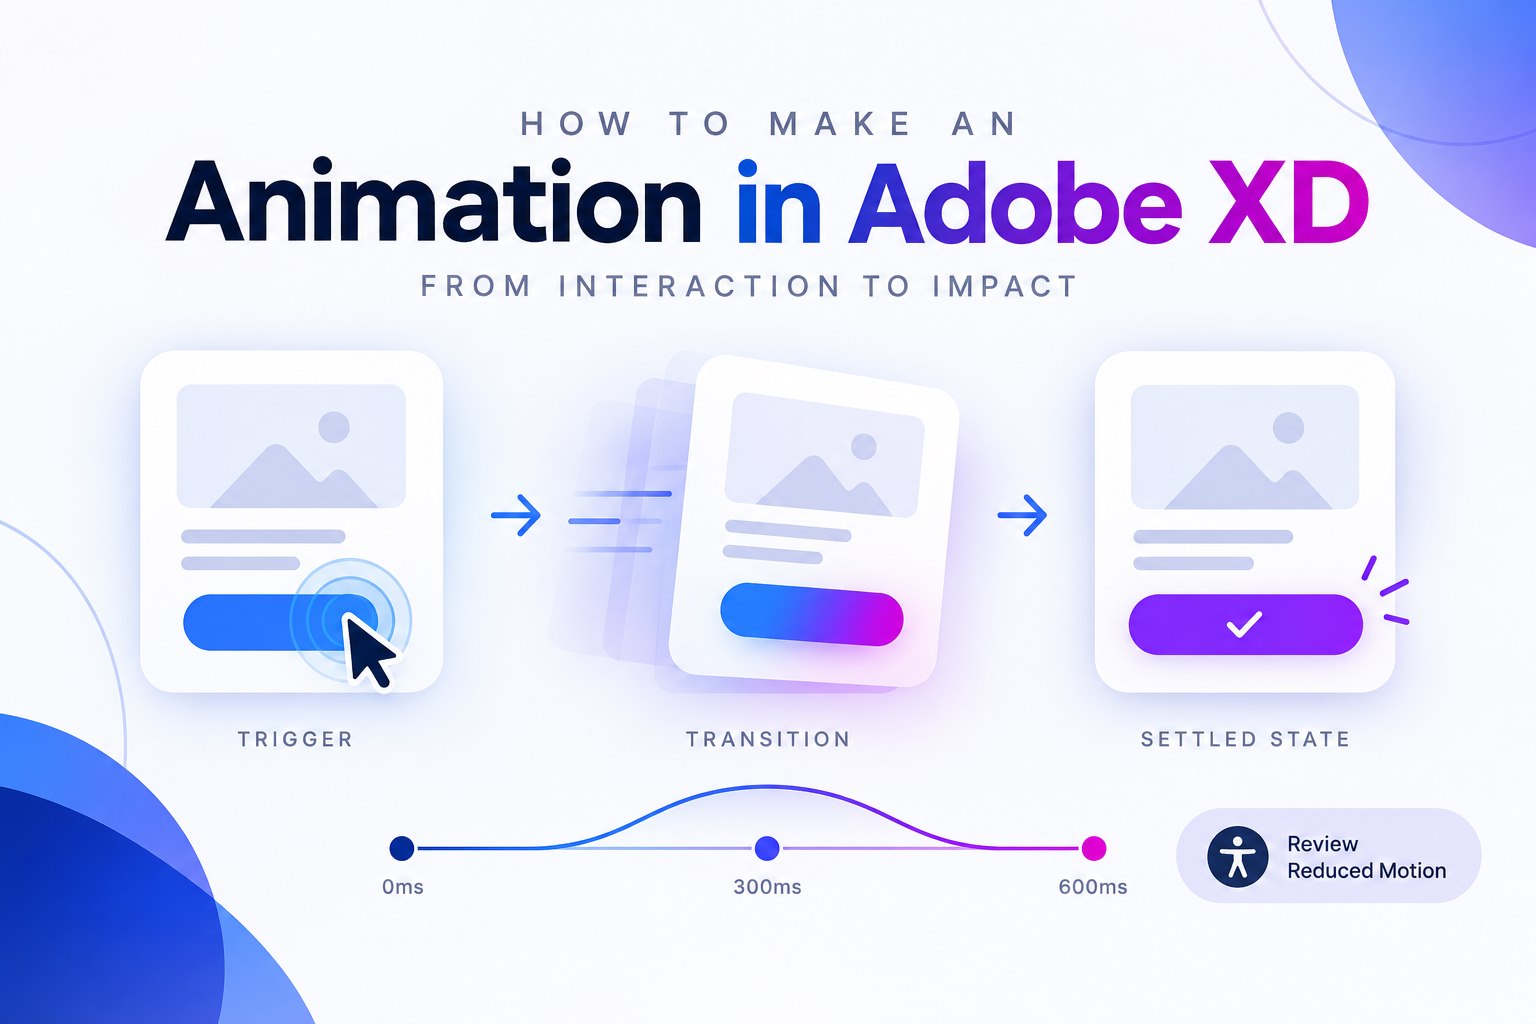
Adobe XD’s Auto-Animate can connect changes between artboards to demonstrate an interface transition. This guide preserves the original setup and preview steps for people maintaining an XD project, then explains a separate Mockitt prototype workflow.
- Part 1: How to Create Auto-Animation with Adobe XD
- Part 2: How to Create Animation with Adobe XD Alternative
How to Create Auto-Animation with Adobe XD
Adobe states that XD is in maintenance mode and is not receiving new features. The following instructions are for existing XD users; check access to your project and installed version before beginning.
Step 1. Open Adobe XD and select the "Prototype" at the top window.
Step 2. Now set the Home artboard, which shall be the starting point of your design. If your design has got multiple flows, you can set Home artboards for each of the flows.
Step 3. Now that the Home artboard is set, it is time to link various objects or artboards. Simply hit on the objects or artboards that you want to link. You should see a connecting handle with an arrow at its tip. Drag this arrow to the target artboard or object to create a connection. Repeat this process for the other objects and artboards you would like to link.
Step 4. After linking respective artboards and objects, you need to define the type of interaction. Locate and hit the "+" button on either the canvas or the Property Inspector to display the "Interaction" window. Here, you can customize interactions based on your preferences. The "Trigger" option allows you to define how you are going to trigger an animation.
A good example is the "Tap" option. Click on the "Action" drop-down menu and select the "Auto-Animate" option. Under the "Destination" tab, choose the destination artboard or object to transition the animation. The "Easing" option gives you a way to simulate the easing effects like ease out.
Step 5. Finally, choose the "preview" button and interact with your animation. You can select to preview in supported browsers.
How to Create Animation with Adobe XD Alternative
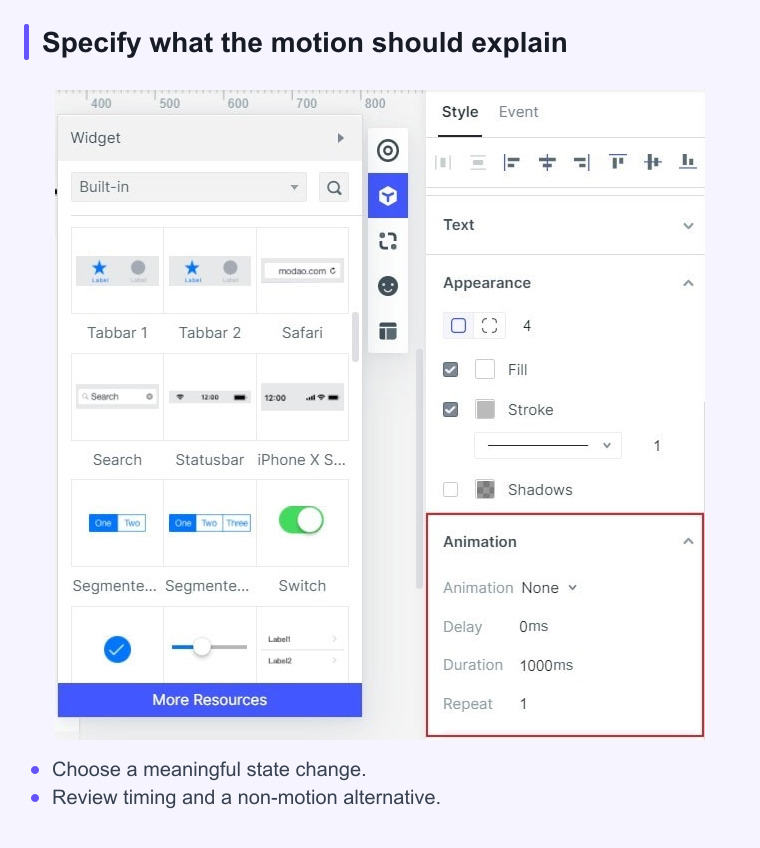
Mockitt is a browser-based design and prototyping workspace. Its widgets, screen links, and preview tools can help a team demonstrate an interaction and discuss the result. Start with the state change the prototype needs to explain, then choose the relevant controls.
- The browser workspace supports shared projects; check connectivity, access permissions, and save status during collaboration.
- It allows users to animate and prototype their websites and apps with speed.
- It offers plenty of templates to design effectively.
- It provides several widgets and icons to create beautiful interfaces.
- Users can collaborate in real-time and co-edit the project.
Step 1. Create a New Project
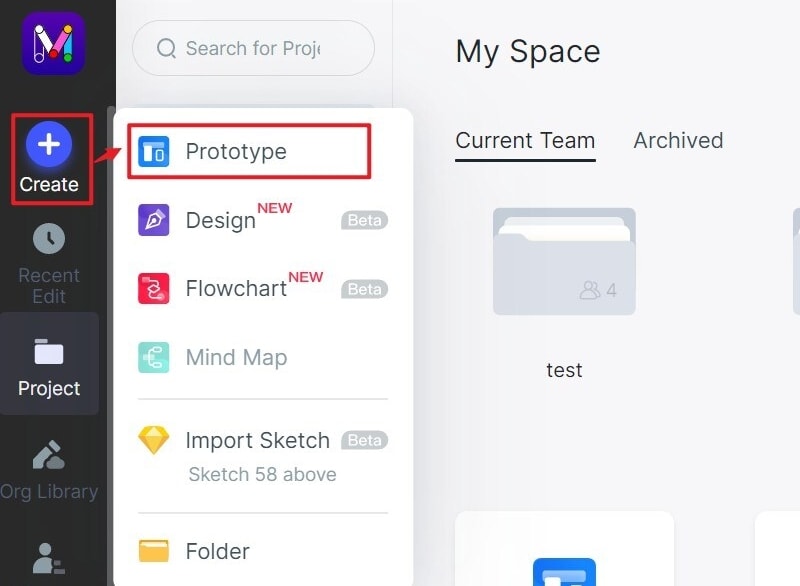
Using your browser, visit Mockitt, and log in to your account. You can select your project if you already created it or start to create a new one. To create a new project, hit the "Create" -- "Project" button, and then choose the "Blank Project" tab. Provide a suitable project name and choose the target device icon. Finally, click the "Create" tab to proceed.
Step 2. Make Animations
Here is the way to make an animation between the widget and the screen:
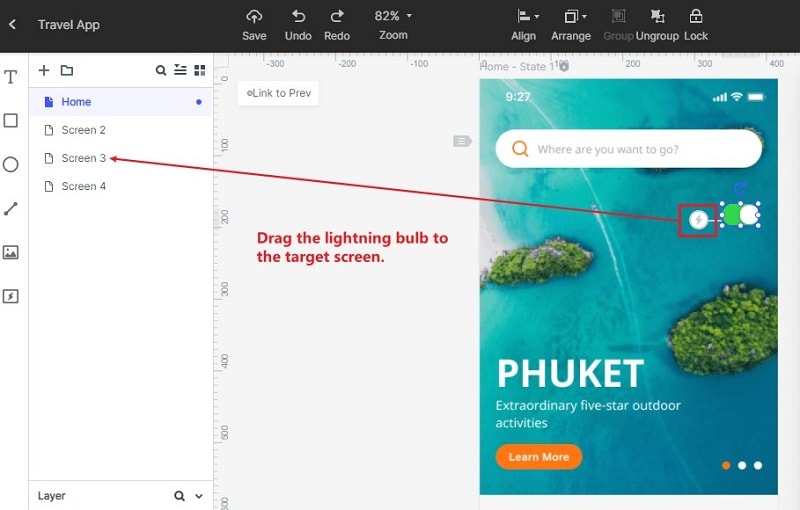
Click the "Built-in" button and drag your desired widget to the canvas, then drag the lightning bulb beside the widget to the screen you want to link.
Besides, you can also click the "State" icon to display the State Panel. From this panel, select the "New State" option to create a new state for the widget. Repeat this procedure to create several states for the widget.
Step 3. Preview the Animation
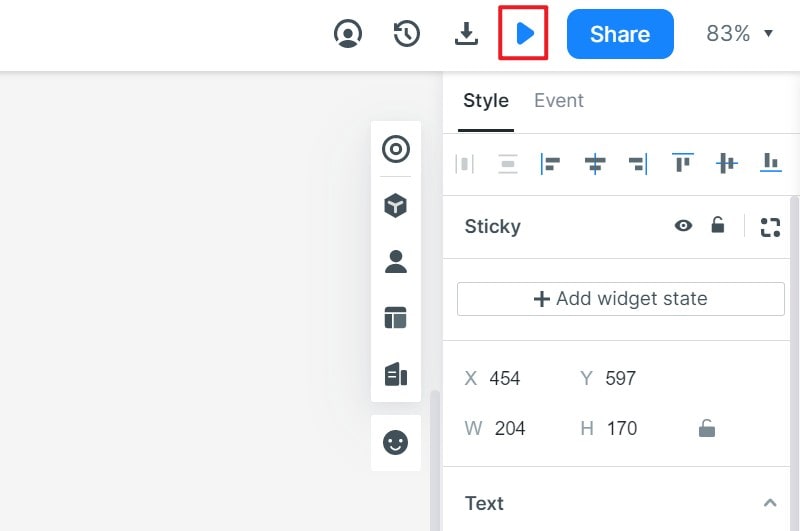
To check how your prototype works, hit the "Preview" tab on the toolbar, and interact with the prototype.
Step 4. Share Your Design
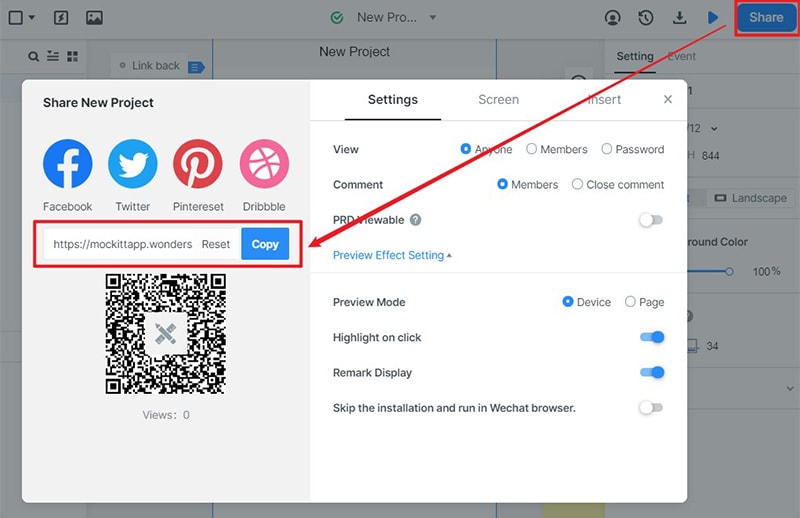
Tap the "Share" button to receive the project's QR code and the sharing link. Share these details with the people you want to share your project with so that they can access it using their devices.
Use motion to explain a change
Good interface animation makes a state change easier to follow. Define what moved, why it moved, and what the user should do next before selecting a transition.
Review motion with reduced-motion preferences and slower playback. If the interaction still makes sense without animation, the design has a stronger information structure.