Mockitt Mind Maps · Create online, organize with AI

Mind mapping software
that brings your ideas into focus

Start with a topic when your ideas feel scattered, or let AI organize a longer set of notes. In Mockitt Whiteboard, you can create and edit a mind map, then keep your research and your team's feedback on the same canvas.

Opens Mockitt Whiteboard · Sign in to create your mind map

  • Create online
  • Organize with AI
  • Keep context nearby
  • Work together
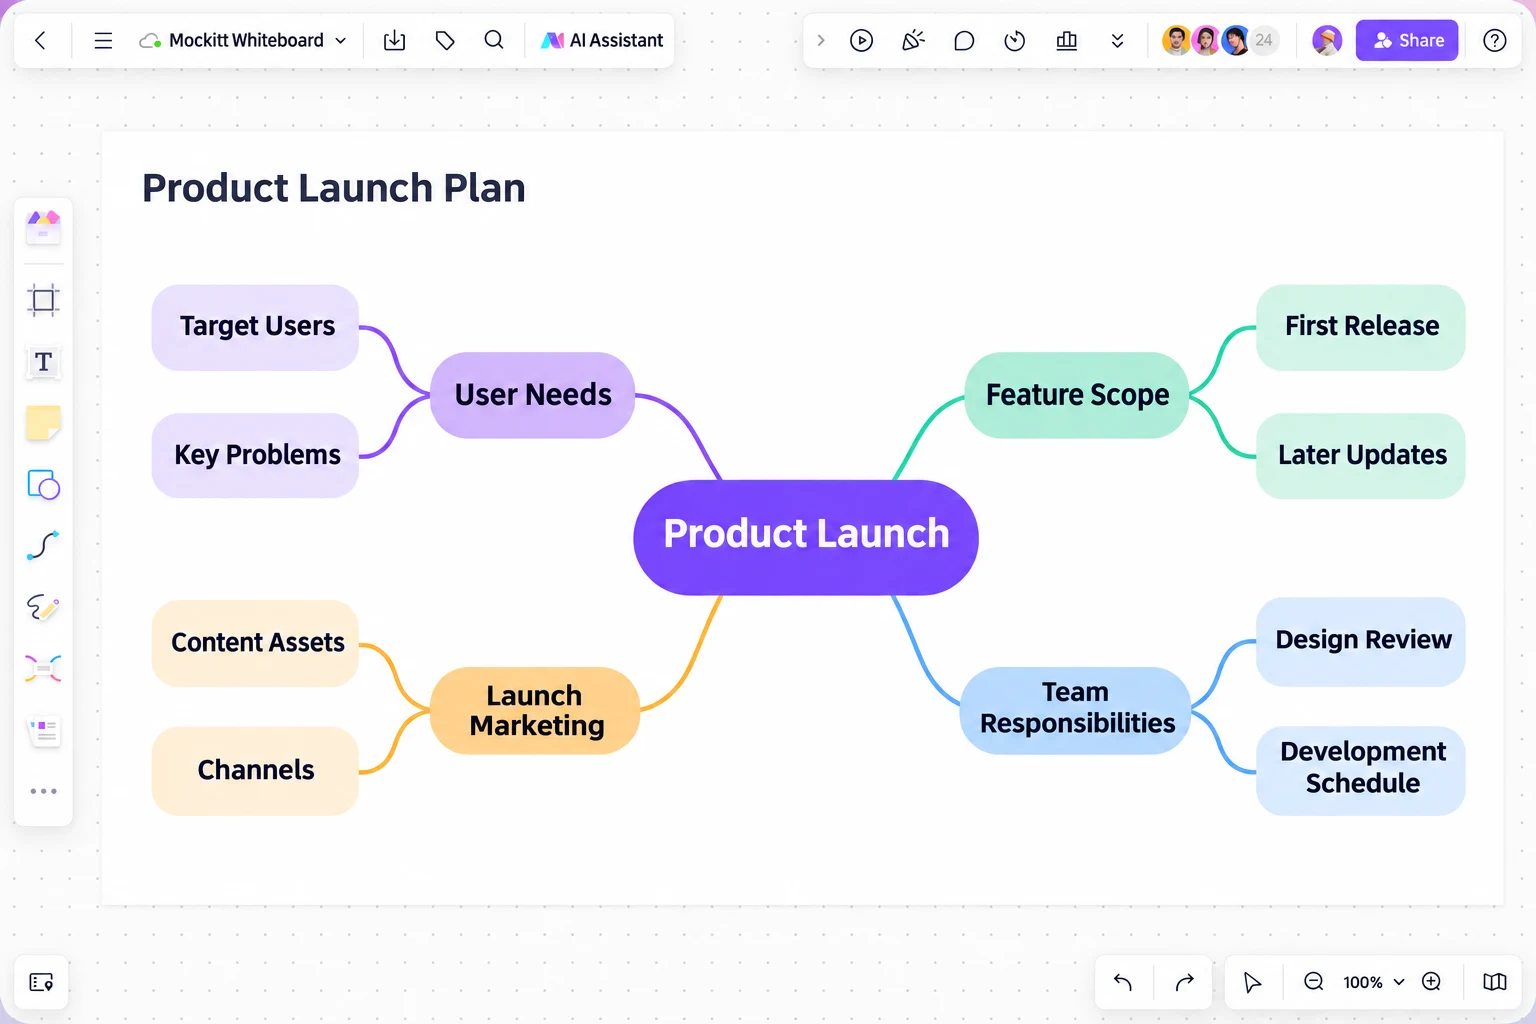
Product launch mind map with branches for user needs, feature scope, launch marketing, and team responsibilities
Start with a product launchRequirements · Features · Promotion · Responsibilities
01Start with an idea, not an empty canvas

Build out a topic yourself, or have AI organize your text first. Then spend your time refining the ideas.

02Keep your mind map and research together

Place interview excerpts, screenshots, and sticky notes beside your map, so the reasoning stays close to the discussion.

03One map your team can keep improving

Edit together, leave comments, and share a link. After the meeting, pick up where the conversation left off.

A starting point for your ideas

Give AI a topic or your notes.
Get a structure you can build on.

Enter a topic or paste meeting notes, study notes, or other text. AI identifies the key points and organizes them into branches. The draft stays on your whiteboard, where you can change categories, add information, and develop the details.

01 / Start with a few rough notes

A new teammate starts next week. What needs to happen?

“Get their computer and accounts ready. On day one, introduce the team and go over the work guidelines. Send the document checklist in advance. Schedule role-specific training during the first week, then answer any questions before the week ends.”

Try this prompt

Turn these notes into a mind map titled “New Employee Onboarding.” Group the tasks under “Before Day One,” “Day One,” and “Week One,” using short labels for each task: prepare equipment and accounts and send a document checklist in advance; introduce the team and review the work guidelines on day one; schedule role-specific training and a question-and-answer session during the first week.

02 / Add the details to each branch
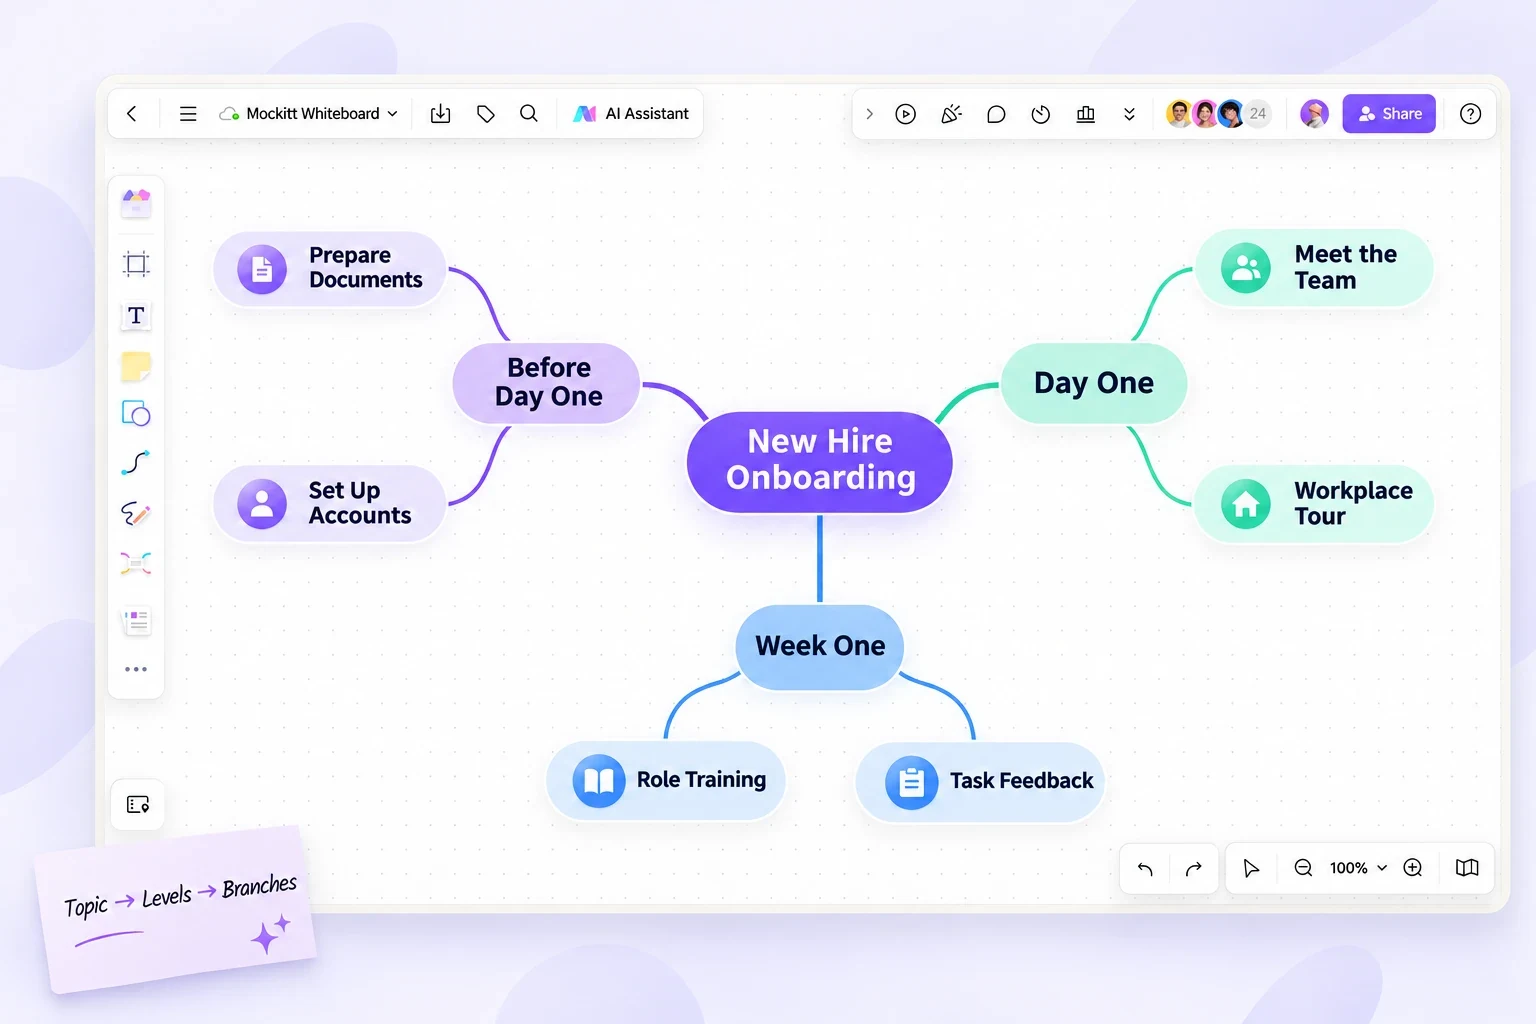
New hire onboarding mind map organized into Before Day One, Day One, and Week One
Organize the map by onboarding stage, then add each department's tasks and the people responsible.
Ideas organized into branchesNodes you can editResearch beside your map
AI gives you a starting point. You decide what comes next.

Open the AI assistant in your whiteboard, paste this prompt or your own notes, and continue editing the mind map.

Try AI in Whiteboard

From a list of tasks to a useful structure

Where do computers, accounts, and questions belong?

Take the onboarding example above. Choose a way to group the work, then place each task under the right stage. An owner belongs with their task; a status such as “Done” should not sit alongside an onboarding stage.

01 / Original notes

The information is there. The structure isn't.

Prepare a computer and accounts. Send the document checklist in advance. Introduce the team and review the work guidelines on day one. Schedule role-specific training during the first week and answer questions before the week ends.

Keep all the tasks. Leave specific dates and names open until they are confirmed.

02 / First outline

Mixed categories make it harder to add details

  • Before Day One
  • Computer and accounts
  • HR owns this
  • Done
  • Week One questions
When stages, tasks, owners, and statuses share the same level, it is hard to know where a new item belongs.
03 / Revised outline

Use stages for the main branches

  • Before Day One
    • Computer, accounts, document checklist
  • Day One
    • Team introduction, work guidelines, equipment check
  • Week One
    • Role-specific training, question log, Q&A

Add owners to the relevant tasks. Keep unconfirmed dates and names in a separate branch.

Use this outline to arrange nodes manually or as input for AI. The download is a text outline in Markdown format, not a native Mockitt mind map file.

View the full outline
New Employee Onboarding
  Before Day One
    Office team: prepare the computer and equipment
    IT: create work accounts
    HR: send the document checklist
  Day One
    Manager: introduce the team and work goals
    HR: review the work guidelines
    New teammate: check that accounts and equipment work
  Week One
    Mentor: schedule role-specific training
    New teammate: keep a list of questions
    Manager: answer questions and share feedback by the end of the week
  To Confirm
    Start date
    Name of each task owner
    Role-specific training topics

Edit online, from the big picture to the details

Build the main branches.
Make room for the details.

Set the scope with a central topic, then add topics at the same level and subtopics underneath them. As your thinking develops, move branches and revise node labels to keep the structure clear.

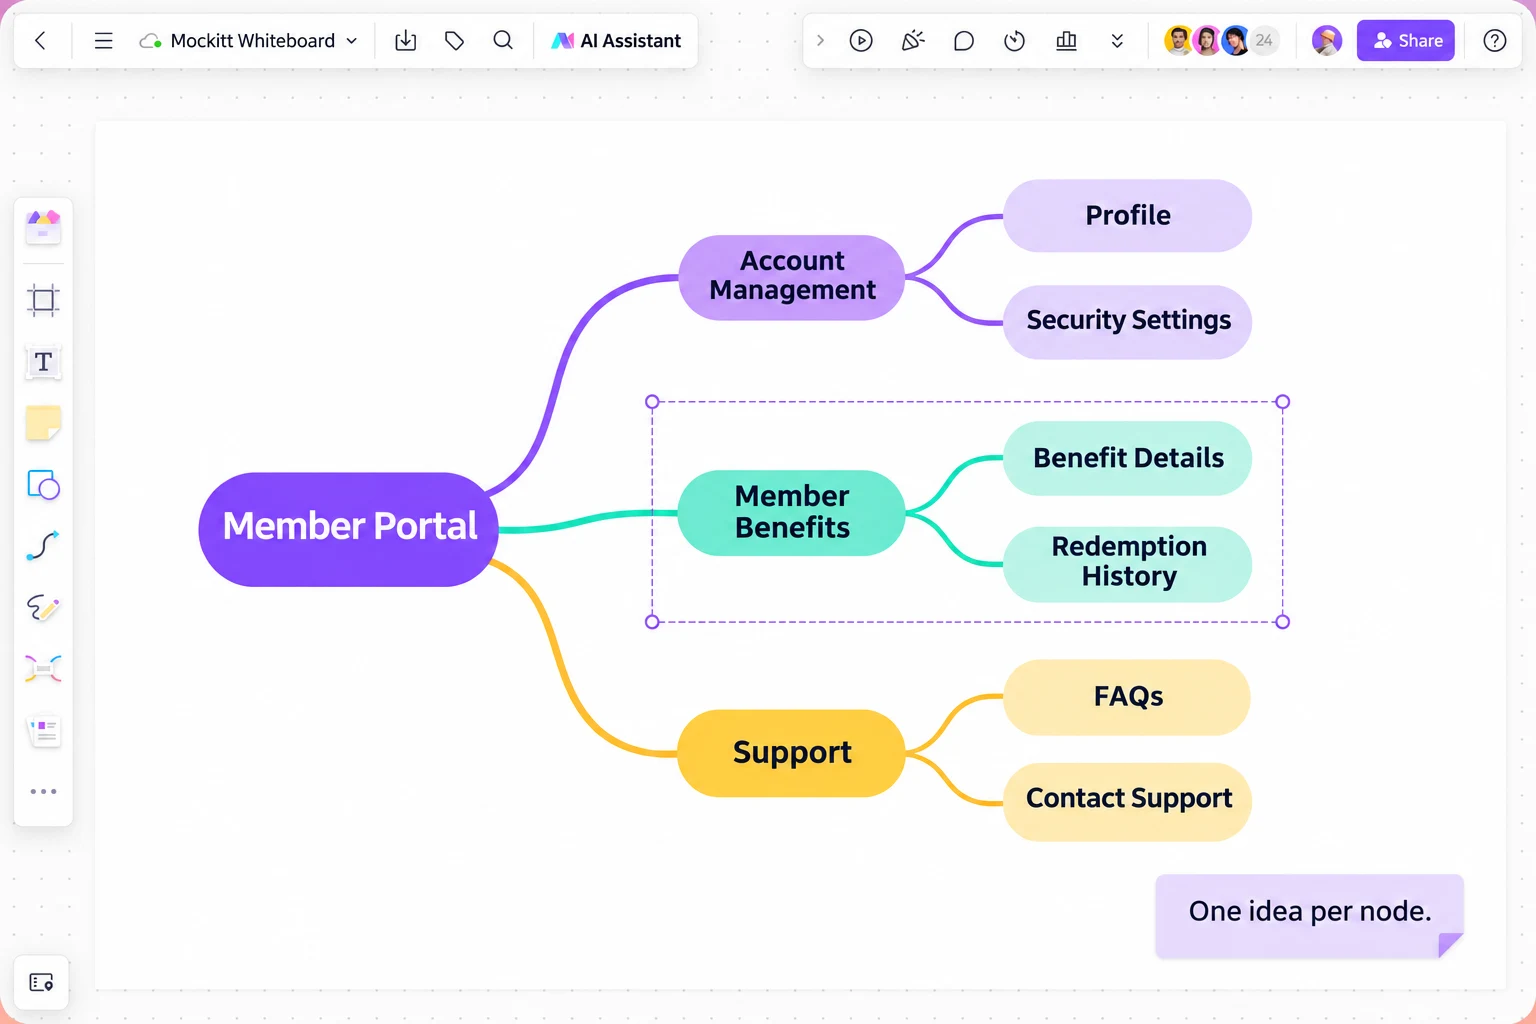
  • Give the main branches a consistent purposeFor a member portal, start with Account Management, Member Benefits, and Support. Group features together instead of mixing page names and progress updates at the same level.
  • Keep each detail under the right branchUnder Member Benefits, add topics such as benefit descriptions and redemption history. Keeping one idea per node makes missing pieces easier to spot.
  • Use formatting to make the map easier to readDistinguish branches with color and expand or collapse content as needed. Get the structure right first, then refine its appearance.
Member portal mind map with Account Management, Member Benefits, and Support branches
Member portal requirements: use main branches for modules and subtopics for the features within them.
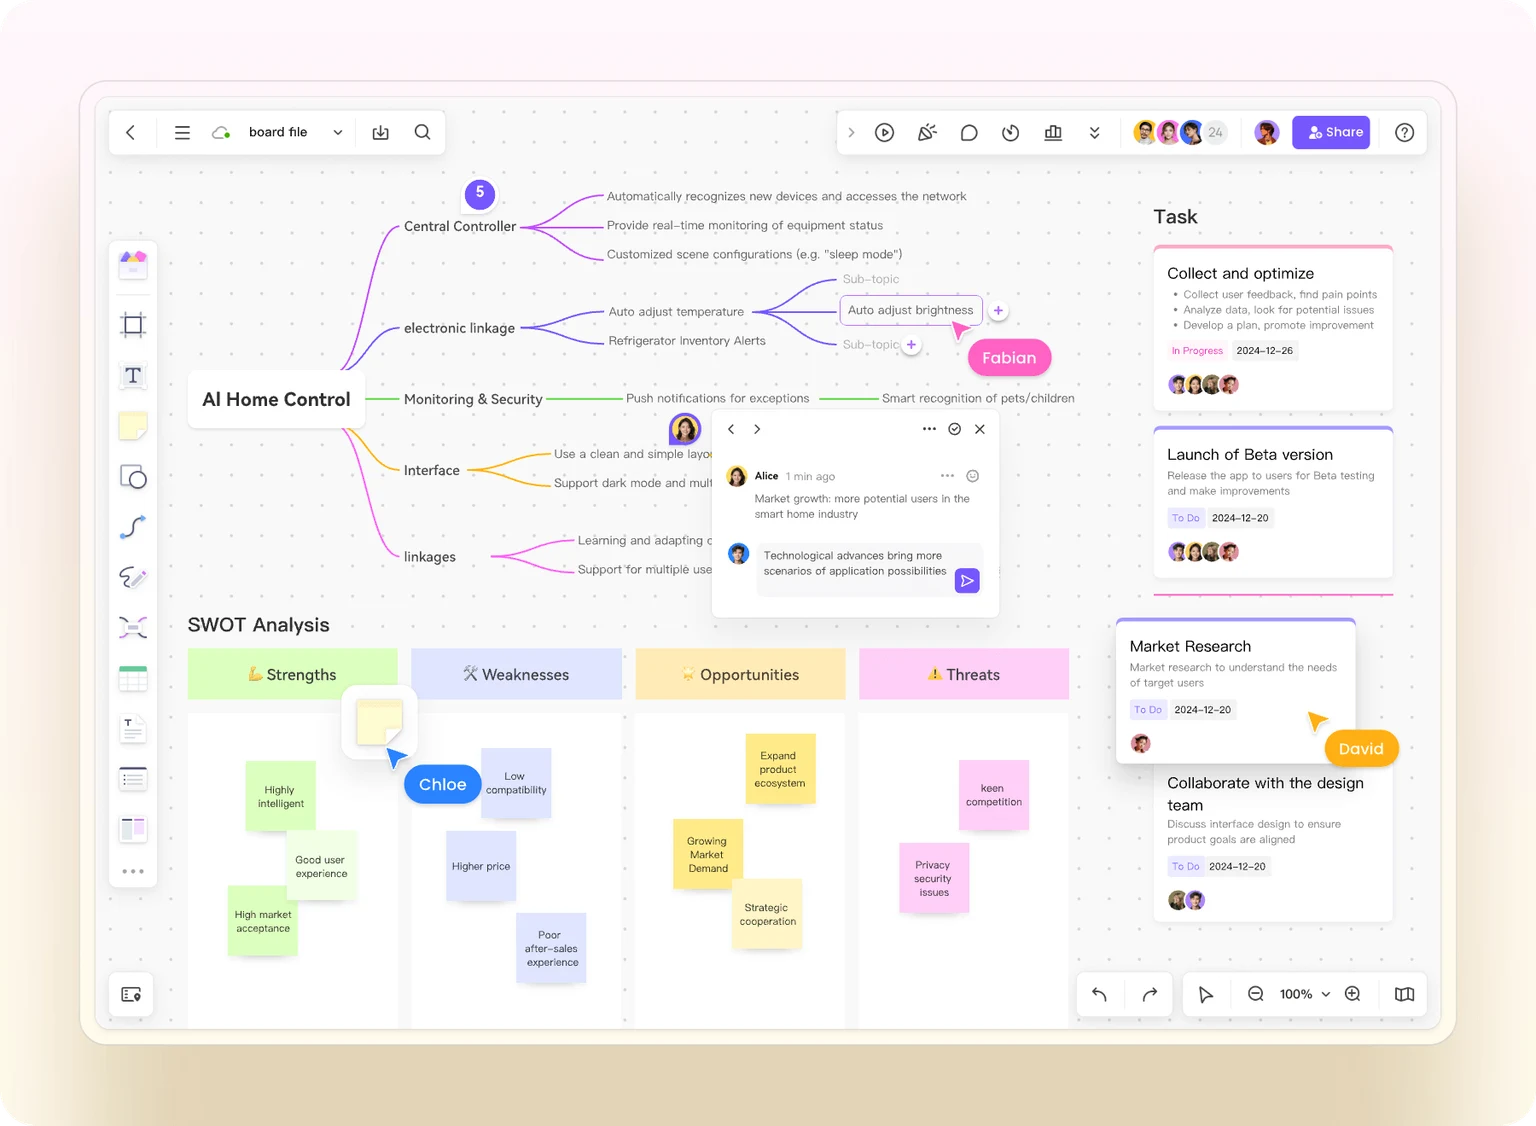
Mockitt Whiteboard with a requirements mind map, notes, task cards, and comments
Keep a requirements map, supporting notes, and team comments on the same whiteboard.

Mind maps in Mockitt Whiteboard

Spread out your research.
Bring the ideas together.

A text outline can leave out important context. In Mockitt Whiteboard, your mind map shares a canvas with sticky notes, images, text, and other diagrams. Collect your material, then group it into branches without switching between files.

Put user research beside the requirements it informs

From “I can't find my history” to a Find Information branch

Keep the interview quote on a sticky note, group the underlying problem into a branch, and leave open questions beside the map. In the next discussion, your team can see both the conclusion and how you reached it.

Explore Your Ideas in Whiteboard

More than a place to take notes

Put your ideas to work
on the task in front of you

Requirements, reading notes, meeting outcomes, and event plans can all start with a single central topic.

Products and requirements

Make the feature scope clear

Start with a product or module, then break it into user tasks, features, and open questions. Use the map to organize requirements and discuss possible approaches.

Member PortalAccount ManagementMember BenefitsSupport
Learning and knowledge

Turn excerpts into connected ideas

Organize your notes by concepts, methods, examples, and questions. Put related ideas on the same branch so their connections are easier to see when you review.

Book NotesKey ConceptsPractical MethodsMy Questions
Meetings and brainstorming

Make space for ideas, then find a direction

Capture different perspectives on sticky notes before grouping them into branches. Separate decisions from open questions so you leave with more than a list of ideas.

Weekly ReviewCompletedOpen IssuesNext Steps
Projects and events

Break a goal into work your team can discuss

Organize the work by stage or workstream, then add tasks and owners. When you need to show the order of steps, sketch a flowchart beside the map.

Event PlanningContentPromotionResponsibilities

Think it through together

Let everyone contribute.
Keep the discussion in one map.

Open the same whiteboard to add branches and edit content together. Keep comments close to the topic they address and continue updating the map after sharing it, with fewer screenshots to resend and less context to repeat.

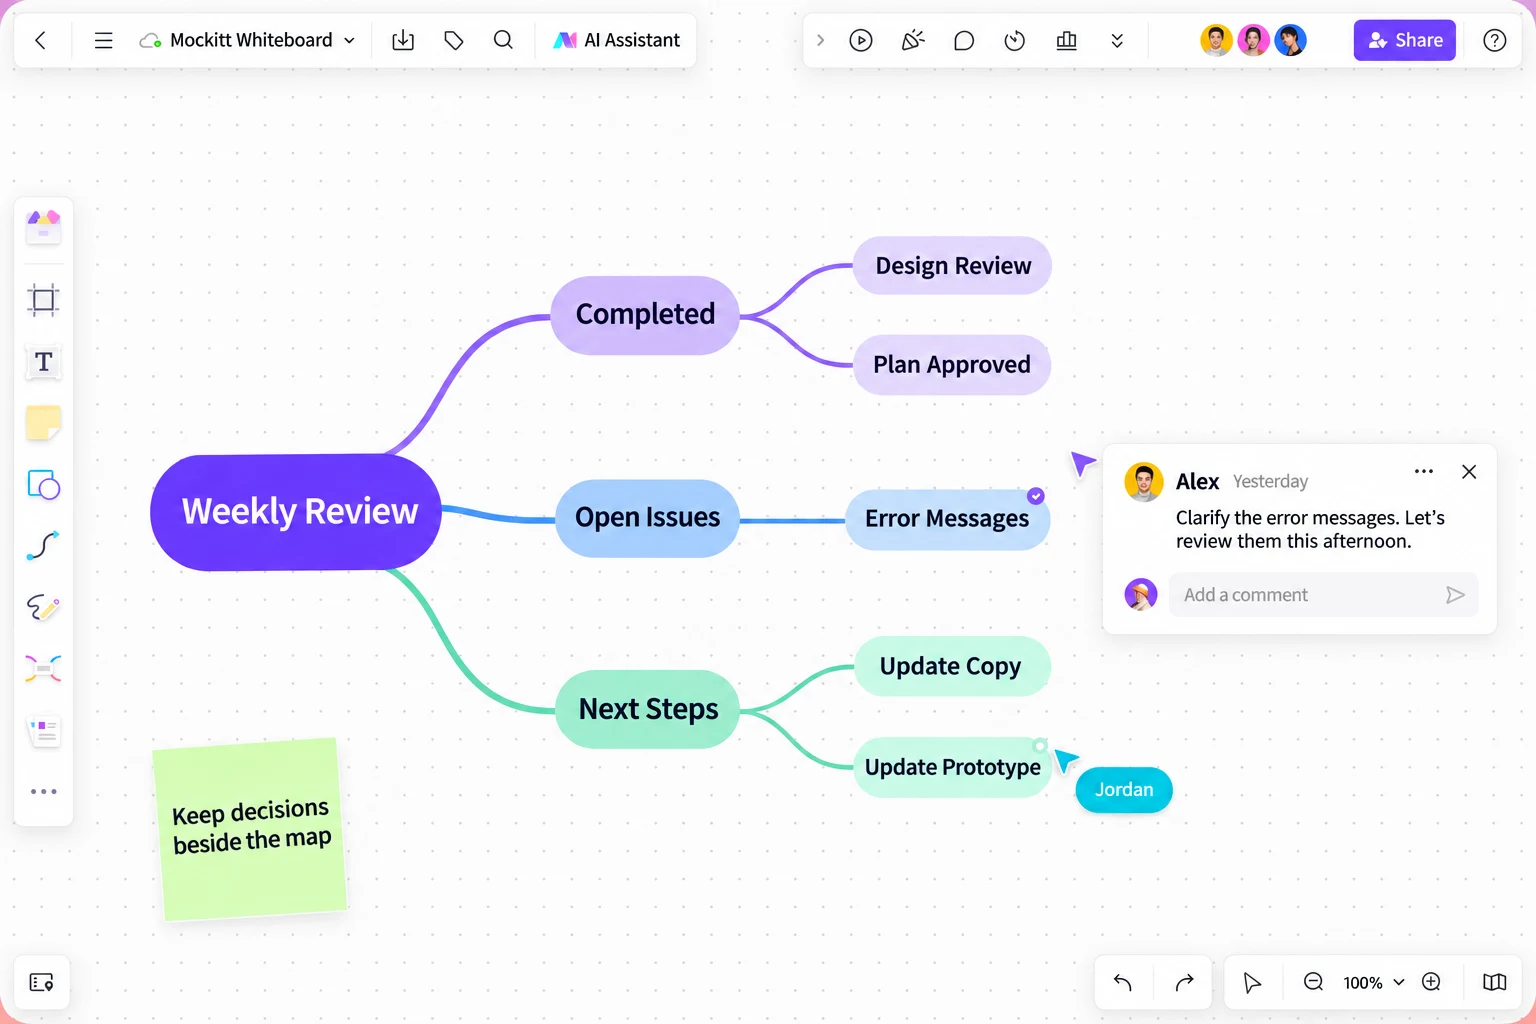
Weekly review mind map with completed work, open issues, next steps, and a comment beside an error-message task
Weekly review: separate completed work, open issues, and next steps, and keep feedback beside the relevant content.
01

Bring different perspectives into one place

Each teammate can add information to the relevant branches and see others' changes, reducing the need for separate versions across multiple documents.

02

Make feedback specific

Point out what a topic needs and why. Keep the suggestion beside the content it refers to, so the next edit is easier to make.

03

Keep going after the meeting

Your whiteboard stays in the cloud. Share viewing or editing access as needed, then return to the project whenever there is new information to add.

How to make a mind map

Open Mockitt Whiteboard.
Create your first mind map.

Sign in and create or open a whiteboard. Add a mind map and build it out yourself, or use the AI assistant to generate a starting structure you can edit.

  1. 01

    Open your whiteboard workspace

    Select Create a Mind Map and sign in to Mockitt. Create a whiteboard or open an existing one.

  2. 02

    Add a mind map

    Choose the mind map tool and name the central topic after the task you want to organize, such as Event Planning.

  3. 03

    Build out the branches

    Start with main branches such as Content, Promotion, and Responsibilities, then add subtopics. Place supporting material beside the map and adjust your categories as you go.

  4. 04

    Review and share with your team

    Check that topics at the same level belong together and that details sit under the right branches. Then invite teammates to contribute or comment.

Start with a ready-to-use outline

Copy this event planning outline

Use the text to plan your branches or as input for AI. Replace the nodes with details from your own event to give your map a concrete starting point.

Event Planning
  Content
    Theme and agenda
    Presentations and materials
  Promotion
    Target audience
    Communication channels
  Responsibilities
    Task owners
    Due dates

Before you get started

Mind mapping software:
your questions answered

Creating online, using AI, and working with your team.

Where can I create mind maps in Mockitt?

Mind mapping is part of Mockitt Whiteboard. Select Create a Mind Map on this page to open the whiteboard workspace. Sign in, create or open a whiteboard, and add a mind map. You can keep it in the same file as sticky notes, images, and other canvas content.

Do I need to install software to create a mind map online?

You can use the web app in your browser without installing additional software. Sign in, open the whiteboard workspace, and create or edit a file.

What can AI organize, and can I edit the result?

Enter a topic or paste text such as meeting notes or study notes. AI can identify the main points and organize them into a mind map. You can then edit nodes, move branches, and add content in the whiteboard. For a project plan, include the arrangements you have already confirmed, then add owners and specific dates.

Can my teammates and I edit the same mind map?

You can edit and comment together in the same whiteboard. Set viewing or editing access to suit the collaboration, and leave questions or suggestions beside the relevant branches. Your team can return to the same file to continue the work.

Can I place images and research beside my mind map?

Yes. Place images, sticky notes, and text on the whiteboard canvas alongside your map. For example, keep the original interview quotes beside the requirements you have grouped into branches, so you can refer to them during a discussion.

What can I organize with Mockitt mind maps?

Mind maps work well for knowledge notes, requirements, meeting summaries, project plans, and brainstorming—any material with a hierarchy. Define the central topic, then use a consistent way to group the main branches. Avoid mixing categories, dates, and statuses at the same level.

How is mind mapping priced in Mockitt?

Mind mapping is available within Mockitt Whiteboard, and whiteboard access depends on your account and team plan. Open the workspace to explore it. For file, collaboration, or enterprise options, see Mockitt pricing and plans and choose the option that fits your team and the work you need to do.
Start your next task with a clearer idea

Turn scattered thoughts
into your first mind map

Build it yourself or let AI organize a first draft. Keep notes, research, and discussions in Mockitt Whiteboard, ready for you and your team to pick up next time.

Opens Mockitt Whiteboard · Sign in to create or open a whiteboard

Two teammates organizing ideas into a shared mind map