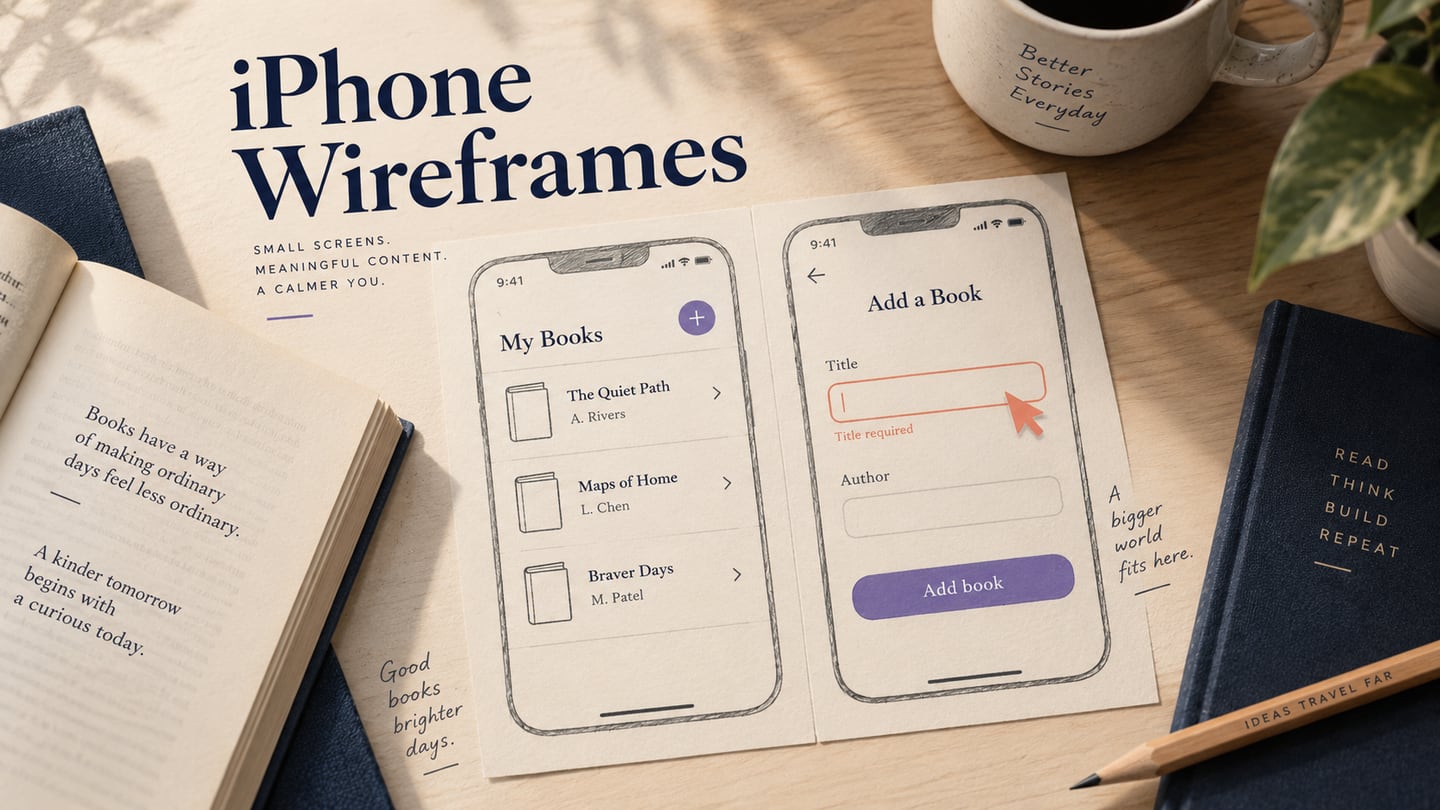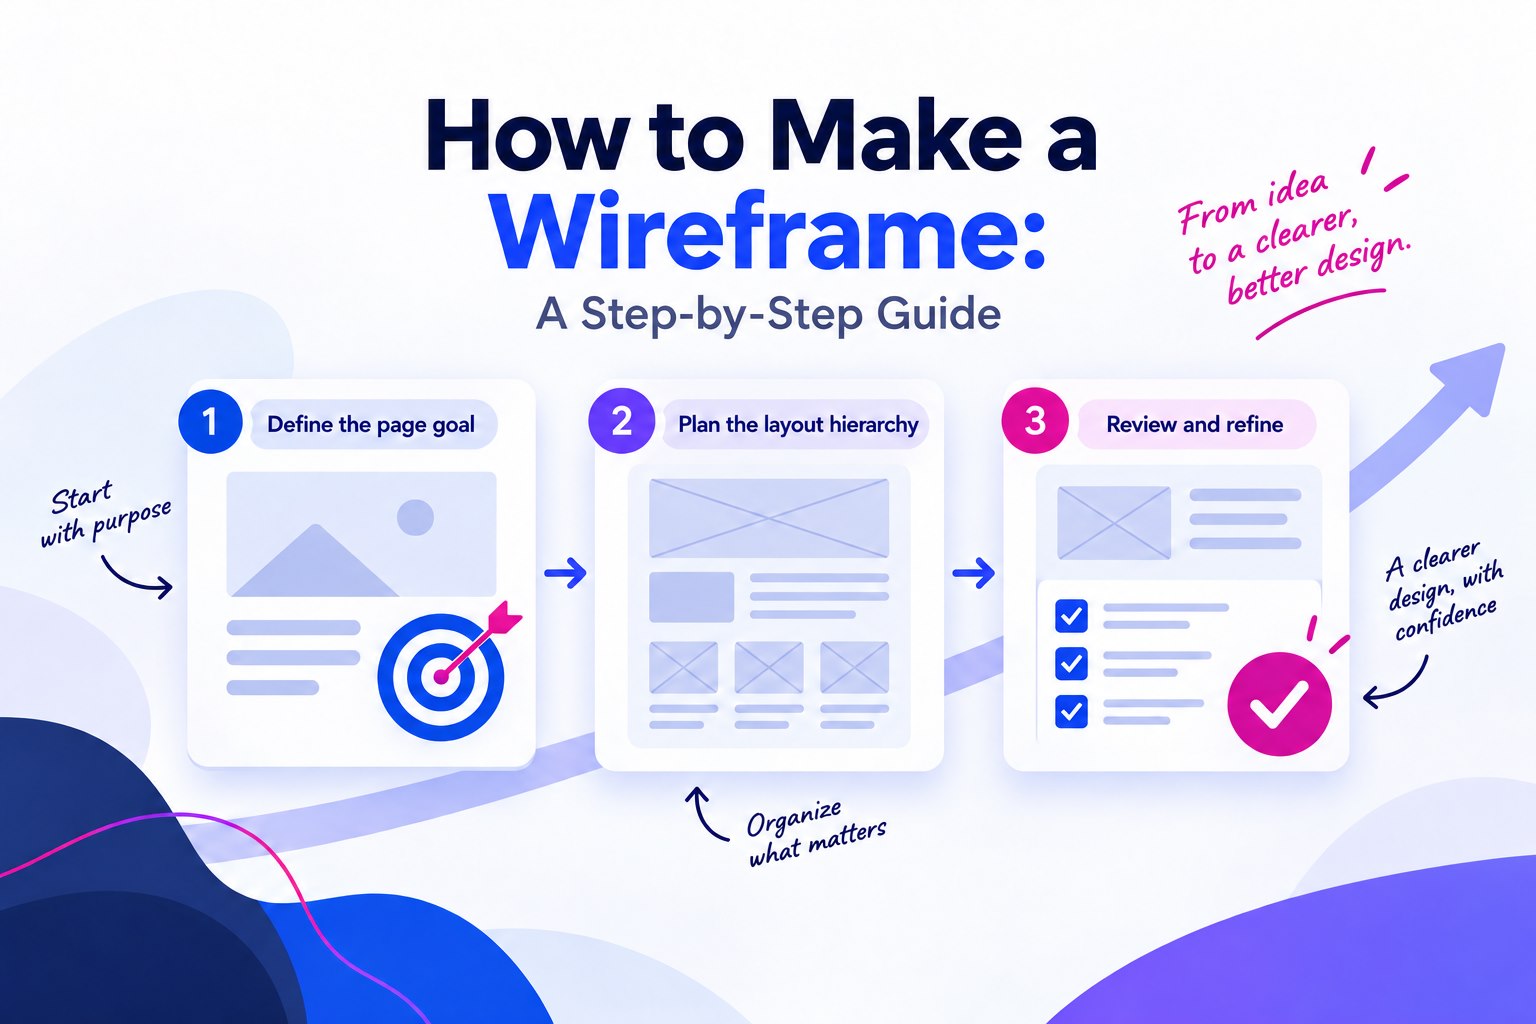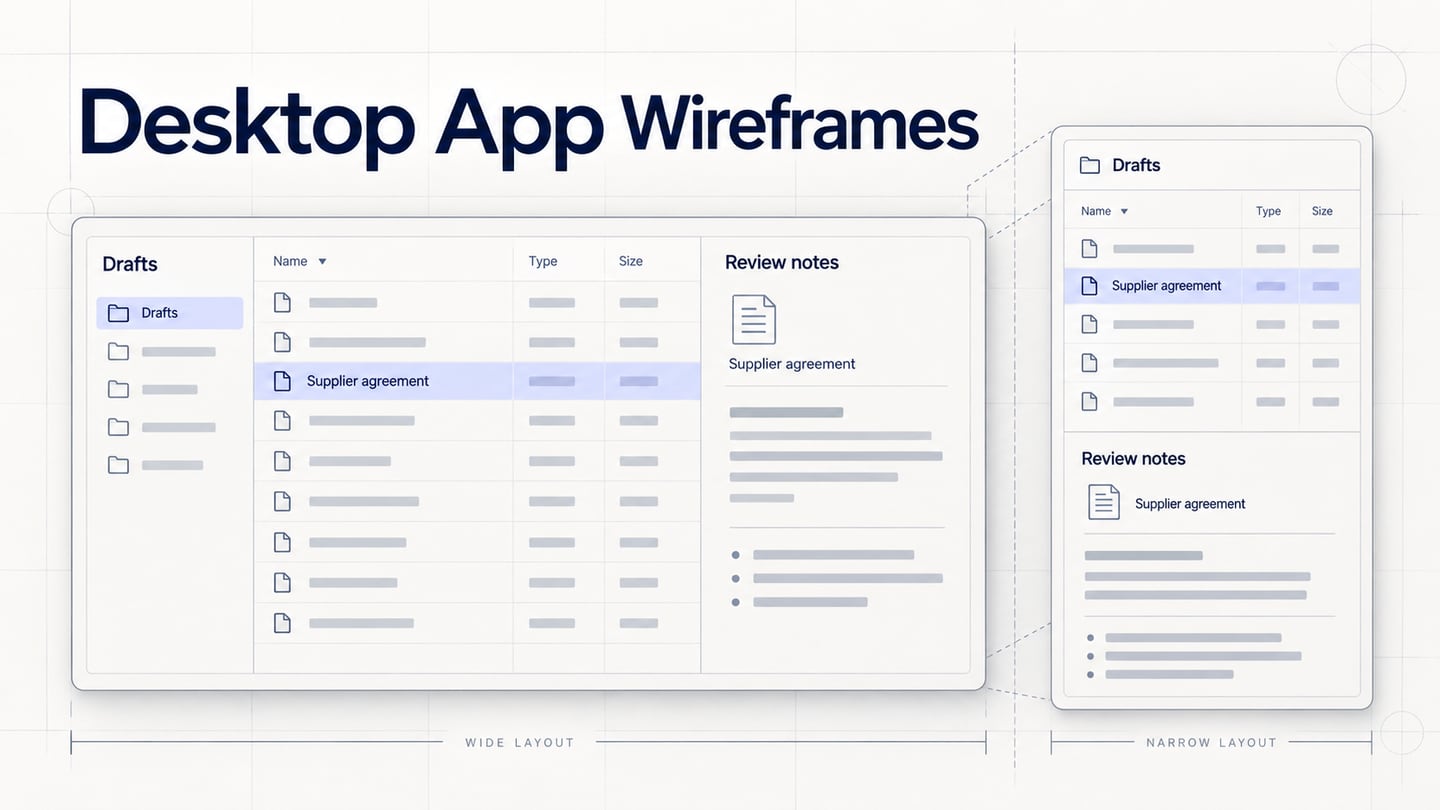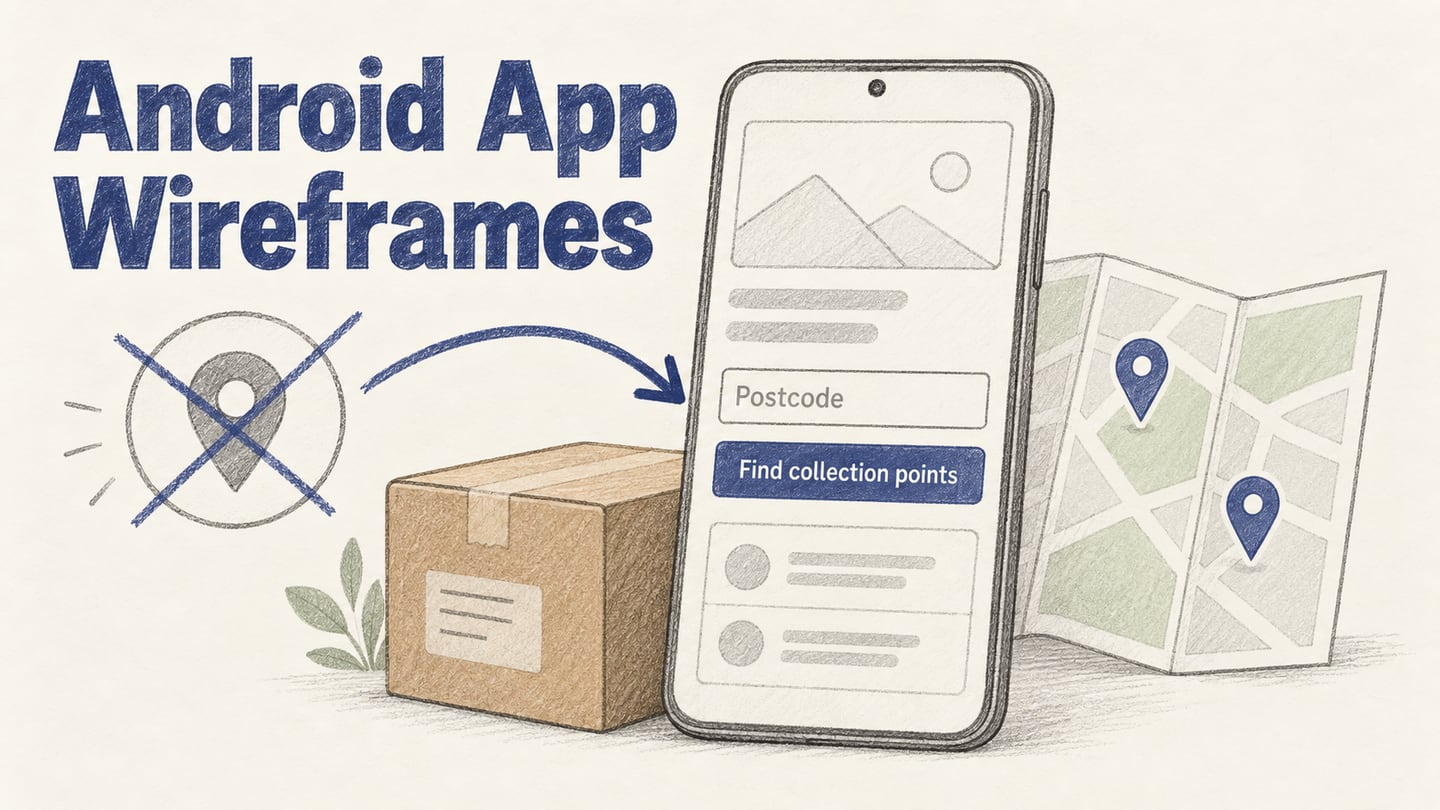
An Android app wireframe describes screen structure, content priority and the routes between tasks before visual detail or implementation is settled. It can be a simple sketch or an interactive set of screens; it is not a stage that must sit between a finished prototype and a low-fidelity design. Follow the project, widget, linking and review steps with an Android-specific example: finding a nearby parcel collection point.
Choose an Android Wireframing Workspace
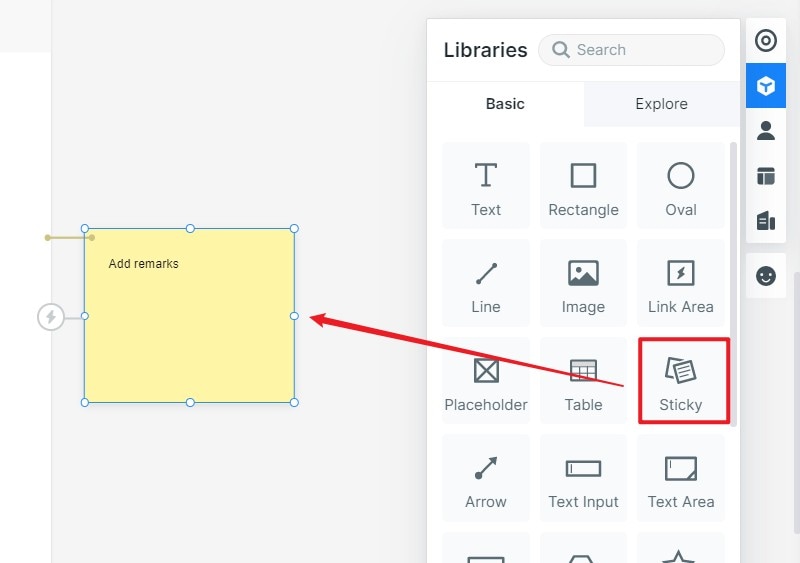
Use Mockitt’s prototyping workspace to arrange screens and connect the parts of the task you want to review. Start with the required screen size and components rather than assuming that a device preset supplies native Android behavior. The retained screenshots show an earlier editor; they illustrate operations, while current labels and available options may differ.
Look for capabilities that support the review you need:
Collaboration
Share a defined version with teammates and record feedback beside the relevant screen or state. Ask reviewers to assess the parcel-finding task, rather than giving a general opinion about whether the app looks good. A shared design does not guarantee immediate feedback or agreement.
Share and Preview
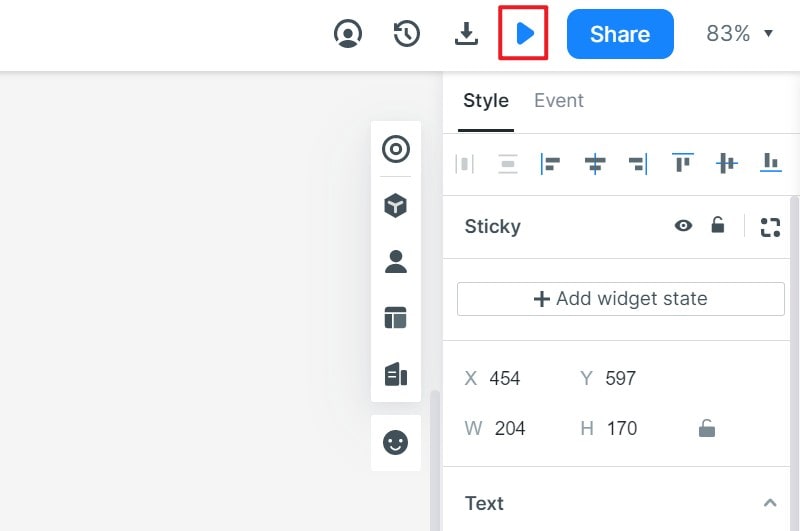
Preview the connected route before sharing it. Confirm that the recipient can open the intended starting screen and that the access settings suit the review. A share link communicates a proposed experience; it does not install an Android application.
Review and handoff formats
Choose a review link or an available export based on what the recipient needs. An image can communicate layout, whereas a connected preview can demonstrate navigation. Verify current export options in the workspace; the old article’s IPA/APK list should not be used as a promise of a buildable native app.
Lots of widgets and icons
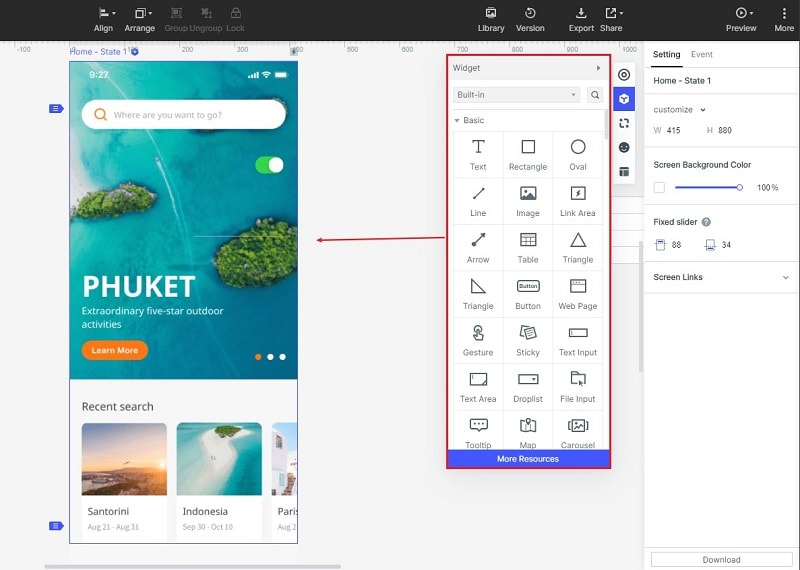
Use text, fields, buttons and simple shapes to express the task. For the parcel example, the essential content is a postcode field, a list of collection points, opening hours and a route to a selected point. Decorative icons are secondary to understandable labels.
Multi-Platform Prototyping
Prepare the Android phone layout first, then add another size if it affects the task. A screen preset is a starting canvas, not proof that the design handles system bars, larger text, a keyboard or every Android device. Annotate those constraints for implementation.
Steps to Make an Android App Wireframe
Step 1: Create a Project Around One Task
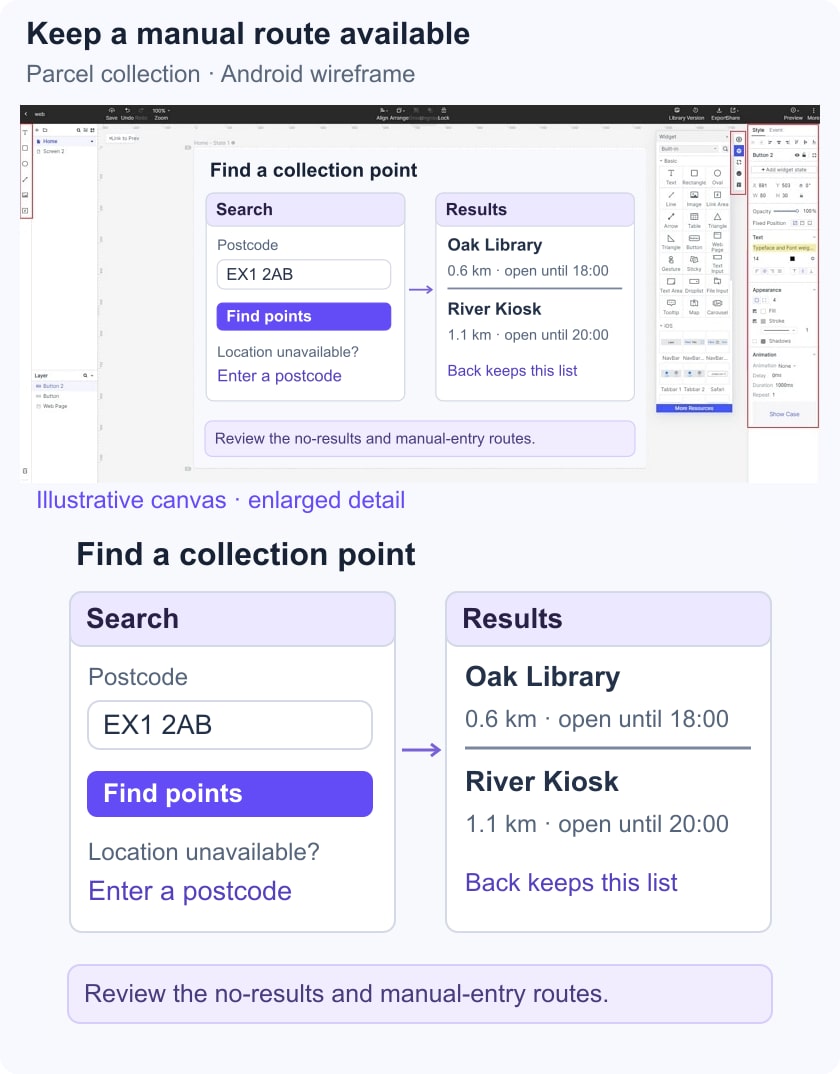
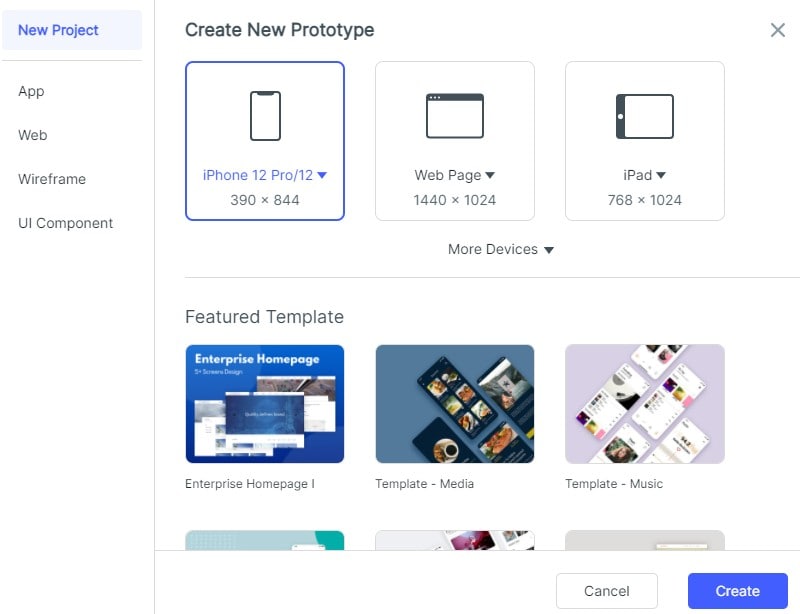
Create a prototype project and choose an appropriate phone canvas. Name it “Parcel collection finder” and define the task: find a collection point near a postcode, inspect its opening hours and return to the results. Create screens for Search, Results, Collection point and No results. Keep the sample postcode and collection-point names fictional.
Step 2: Design the Screens and Their States
Start with the content someone needs at each decision. Search asks for a postcode; Results shows the location searched and comparable entries; Collection point provides address and opening hours. Use grayscale if that helps focus the review on structure.
Add widgets and icons:
Place the postcode label beside its input, use an explicit “Find collection points” action and give each result a meaningful name. Include a no-results message with a way to change the postcode. Keep the query visible when returning from a detail screen.
Add links between the screens:
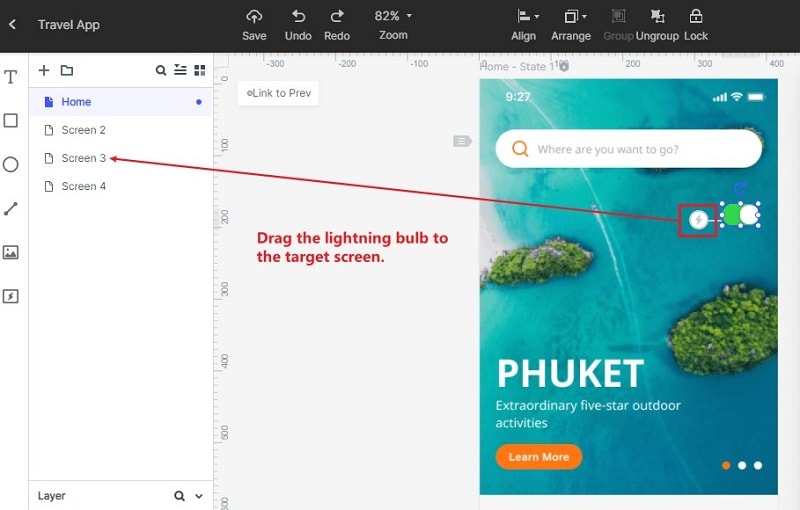
Connect Search to Results and each sample result to its detail screen. Specify what the app’s on-screen back control and Android system Back should do. Android’s navigation and back-stack guidance explains why the previously visited destination matters; a wireframe connection only represents the intended behavior.
Add notes:
Annotate the state that is not obvious from appearance: whether the result list preserves its scroll position, what happens when the postcode is invalid, and which screen opens after dismissing a permission prompt. Keep these notes outside the user-facing copy.
Represent Permission Choices Without Blocking the Task
If the design offers “Use my location,” show a useful manual-postcode route when location is denied. Ask for access when the person chooses the location-based action, and follow Android’s permission guidance during implementation. A prototype may illustrate the explanation and denial branch, but it does not request or verify a real system permission.
Step 3: Preview and Share the Android Wireframe
Preview the normal route and the no-results route. Ask a reviewer to find a point that is open after 6 p.m., inspect its details, and return to the results. Then show the location-denied state and ask how they would continue without granting access.
Record the chosen path, any missing information and whether Back returns to the expected state. Keep actual observations separate from assumptions about why someone hesitated. A completed walkthrough is evidence about that prototype task, not evidence that a native app is ready to ship.
Step 4: Prepare a Reviewable Handoff
Save the reviewed version and share its screens, state notes and unresolved questions. Include the manual-entry fallback, invalid-postcode message and expected Back behavior. If the team uses an export, check that its format preserves the information the recipient needs.
Step 5: Separate Wireframe Approval From App Release
Development follows the design review: engineers implement navigation, location access, data retrieval and Android behavior, then test on the intended devices. Google Play submission is a separate release process. Creating or exporting a wireframe does not produce a tested, publishable Android application.
The useful result is a small set of screens with clear routes and exceptions. Keep the decisions that the wireframe helped settle, and name the implementation checks that remain.
Useful Tips for Android Wireframes
Do Your Research
Research who will use the app and under what conditions. For a collection-point search, consider someone outdoors, someone entering a postcode manually and someone checking opening hours before travelling. Confirm those situations with research rather than assuming that all users want location access.
Map the Task and Its Return Paths
List the entry point, successful outcome and important exceptions before adding screens. A simple map of Search → Results → Collection point makes missing return paths visible. Add No results and Location denied only where the task requires them; a large collection of disconnected screens is not a complete flow.
Review the Decisions, Not Just the Screens
Use the wireframe to ask whether a person can find the right place, interpret its hours and recover from a failed search. Use realistic labels instead of placeholder text for those decisions. Follow with visual design, accessibility and real-device checks; neither a polished wireframe nor a particular tool guarantees downloads or product success.