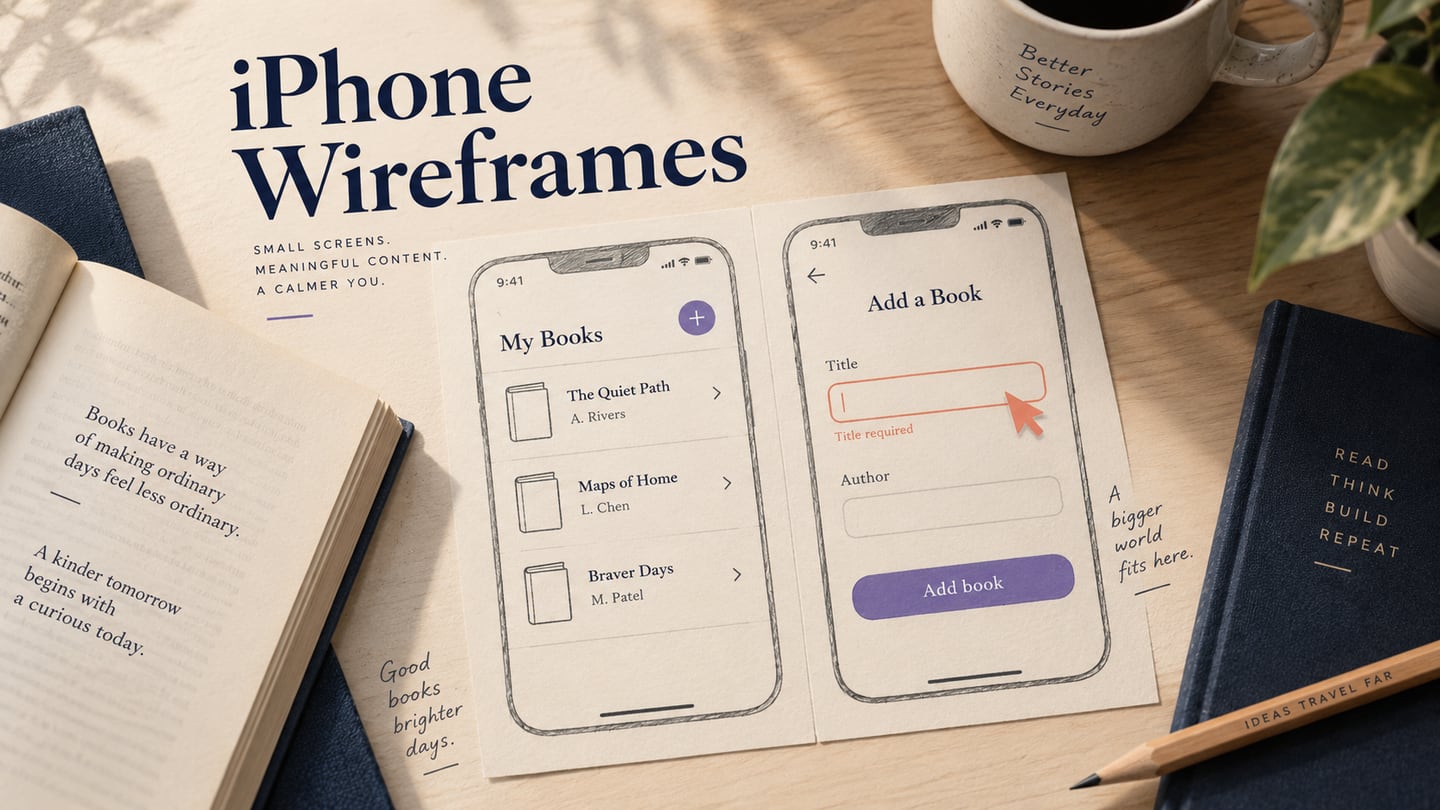
An iPhone wireframe describes how a task fits into a small screen, including navigation, content and input states. Choose the devices and contexts relevant to the project rather than treating a historical iPhone preset as the newest model. The five-step workflow below covers adding a book to a reading list.
Prepare the iPhone Wireframe
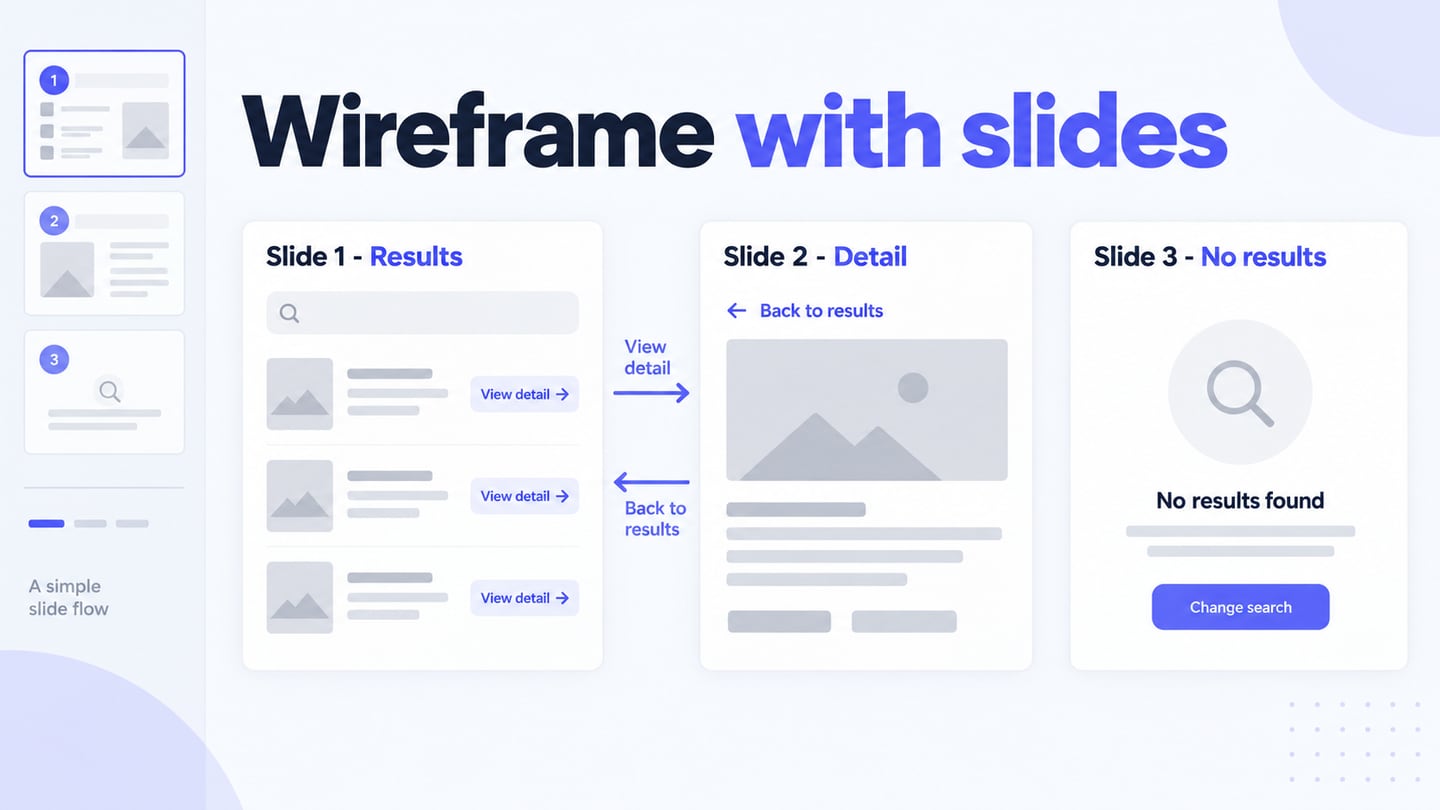
Use Mockitt to arrange mobile screens and link the proposed task. For the reading-list example, prepare List, Add book and Book details states. The prototype reviews the interface; it does not create a working reading-list database.
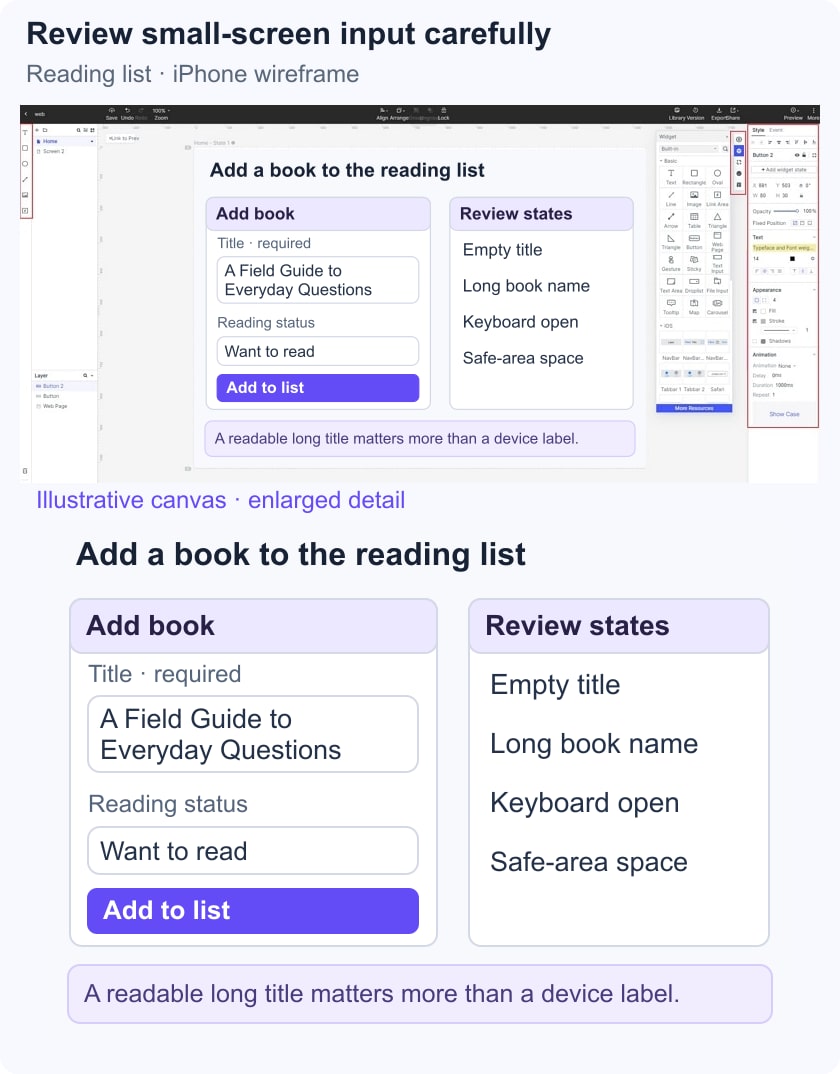
Define the content before adding controls: title, author, reading status and an optional note. Use one long book title and one empty required field to expose layout and correction problems. The retained editor screenshots are historical operation references, so current menus and device presets may differ.
- Start from a relevant mobile layout or a blank canvas, removing unrelated template content.
- Reuse the same field and action styles across Add book and Edit book states.
- Keep a named version for the review so comments refer to the intended screens.
- Use fictional book entries instead of personal account data in shared examples.
- Annotate the intended keyboard, focus and safe-area behavior for implementation.
- Preview both the main route and the missing-title correction path.
Five Steps to Make an iPhone Wireframe
The goal is to add a book, confirm its status and return to the list without losing context. Decide what the prototype will demonstrate and label simulated persistence clearly.
Step 1: Create the Project and Task Screens
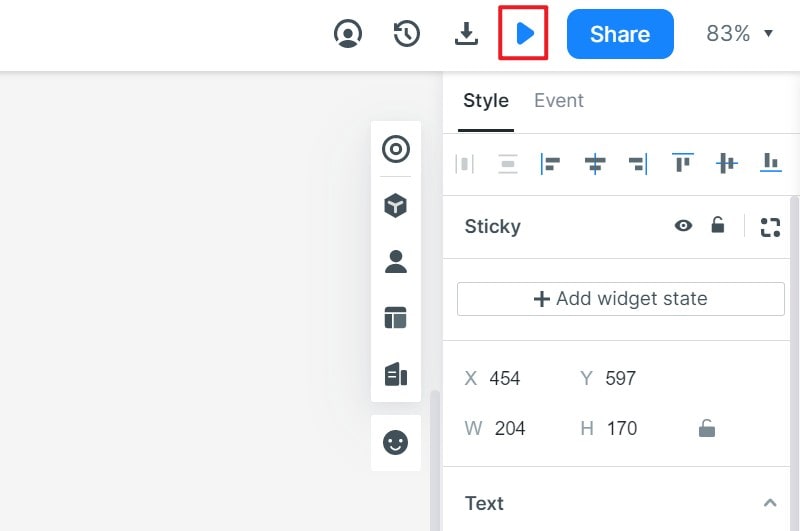
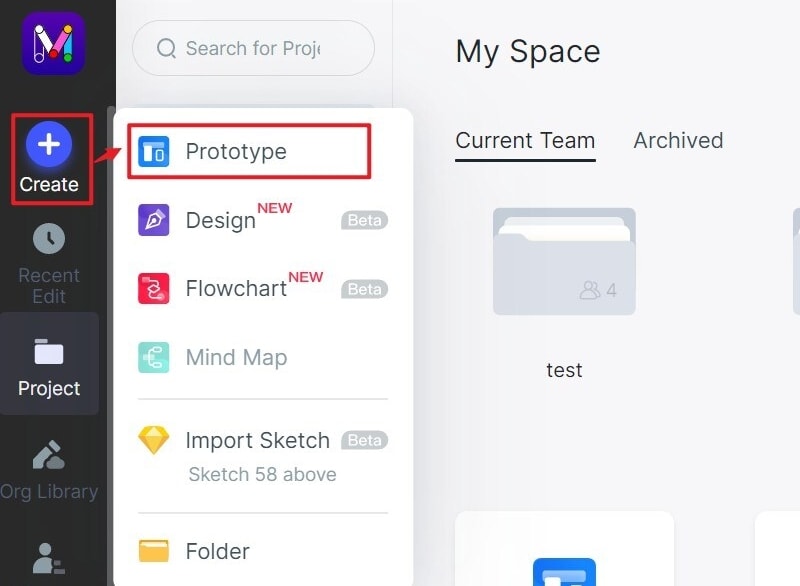
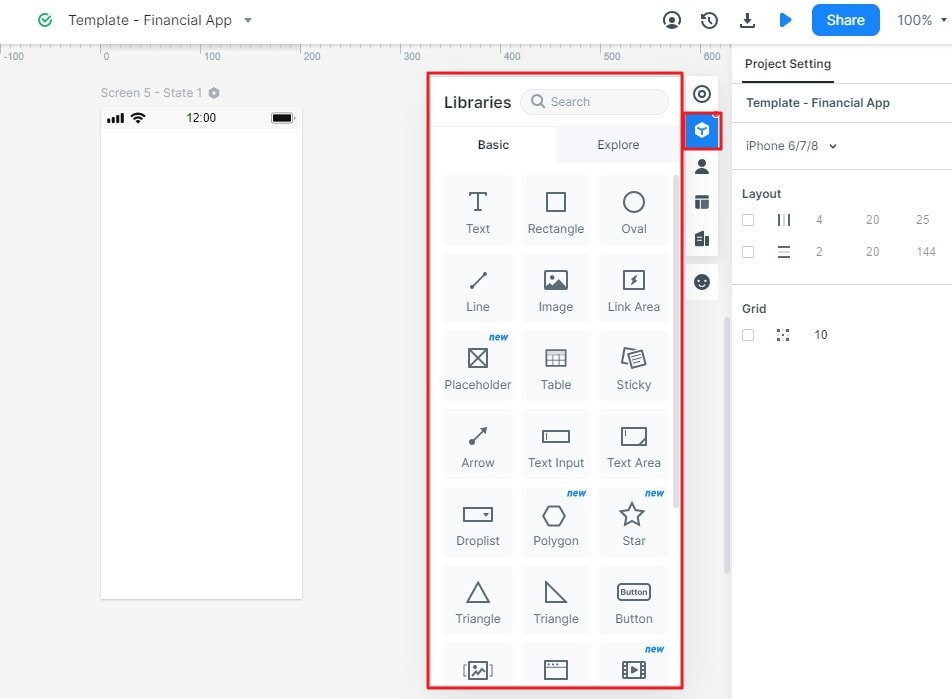
Create a mobile prototype project and add List, Add book and Book details screens. The older project menu below illustrates the setup concept; select the current preset or custom dimensions appropriate to your intended review device.
Step 2: Set the Review Size and Layout Boundaries
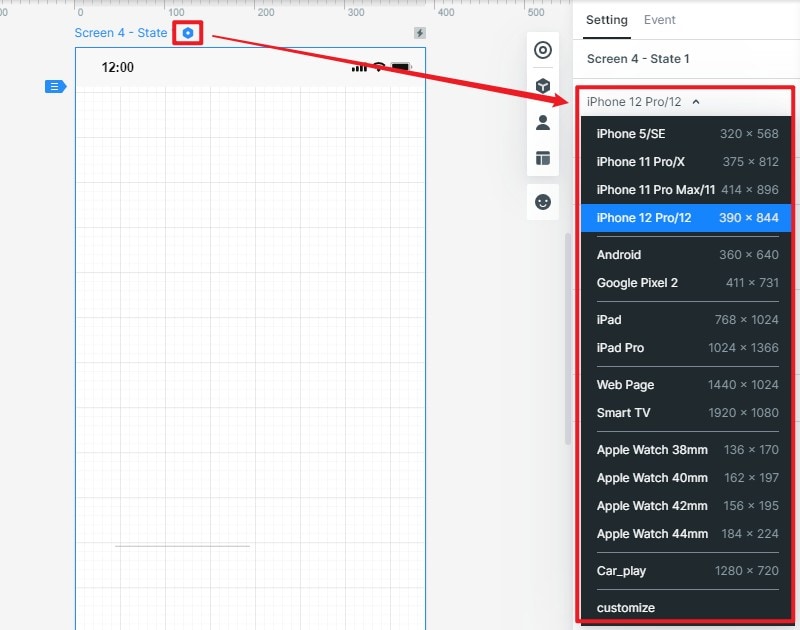
Set the canvas dimensions deliberately. Account for system areas and keep important controls clear of obstructions, following Apple’s layout guidance. Add an annotated keyboard-open state for the note field. A fixed canvas does not automatically verify safe-area handling or responsive behavior in a real iOS app.
Step 3: Add Content, Fields and Actions
Add labeled fields for Title, Author, Reading status and Note, followed by “Add book.” Keep the required title visibly distinct from the optional note. Use a long title in the list card and detail heading rather than designing only for a short placeholder.
Adjust spacing and text styles consistently, and reuse the field and button components where appropriate. In the error state, explain that a title is required and retain the other entered values in the proposed design. Include a cancel or back route whose expected effect is explicit.
Step 4: Connect the Task and Correction Route
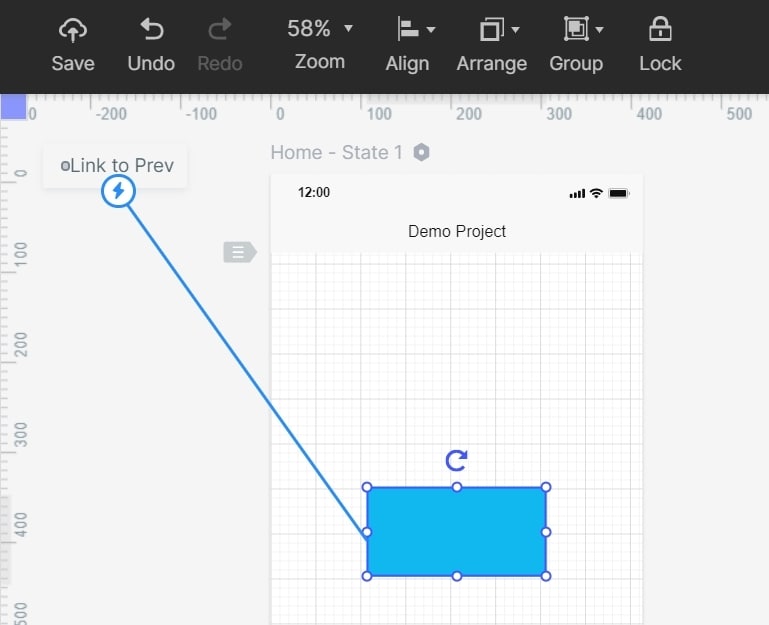
Connect List to Add book and the completed form to Book details. Add the missing-title branch before the completion state. Specify whether going back keeps a draft or discards it; do not leave the reviewer to infer storage behavior from a connected screen.
Step 5: Preview on the Intended Device
Open the preview in the intended mobile context and check the long title, keyboard-open annotation, required-field error and return route. Ask a reviewer to add the fictional book and explain its resulting status. Record misunderstood labels and hidden controls separately from implementation questions; a prototype preview does not verify native keyboard, persistence or accessibility behavior.
Keep a Short Review Record
Capture the reviewed version and the screen where each issue occurs. For example: the long title obscures the status, the keyboard may cover the Add book action, or Back has no stated draft policy. Assign a next decision to each issue before refining visual details.