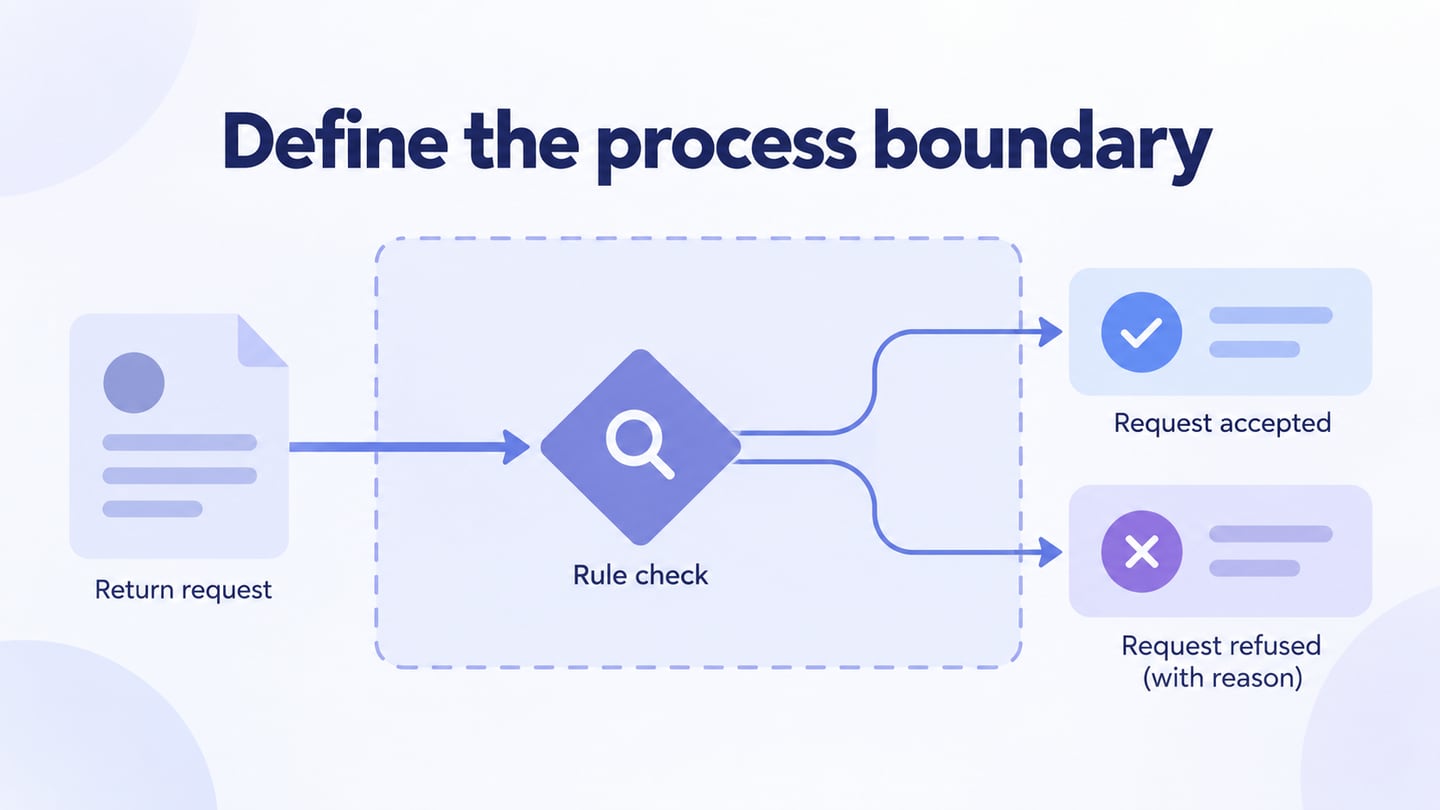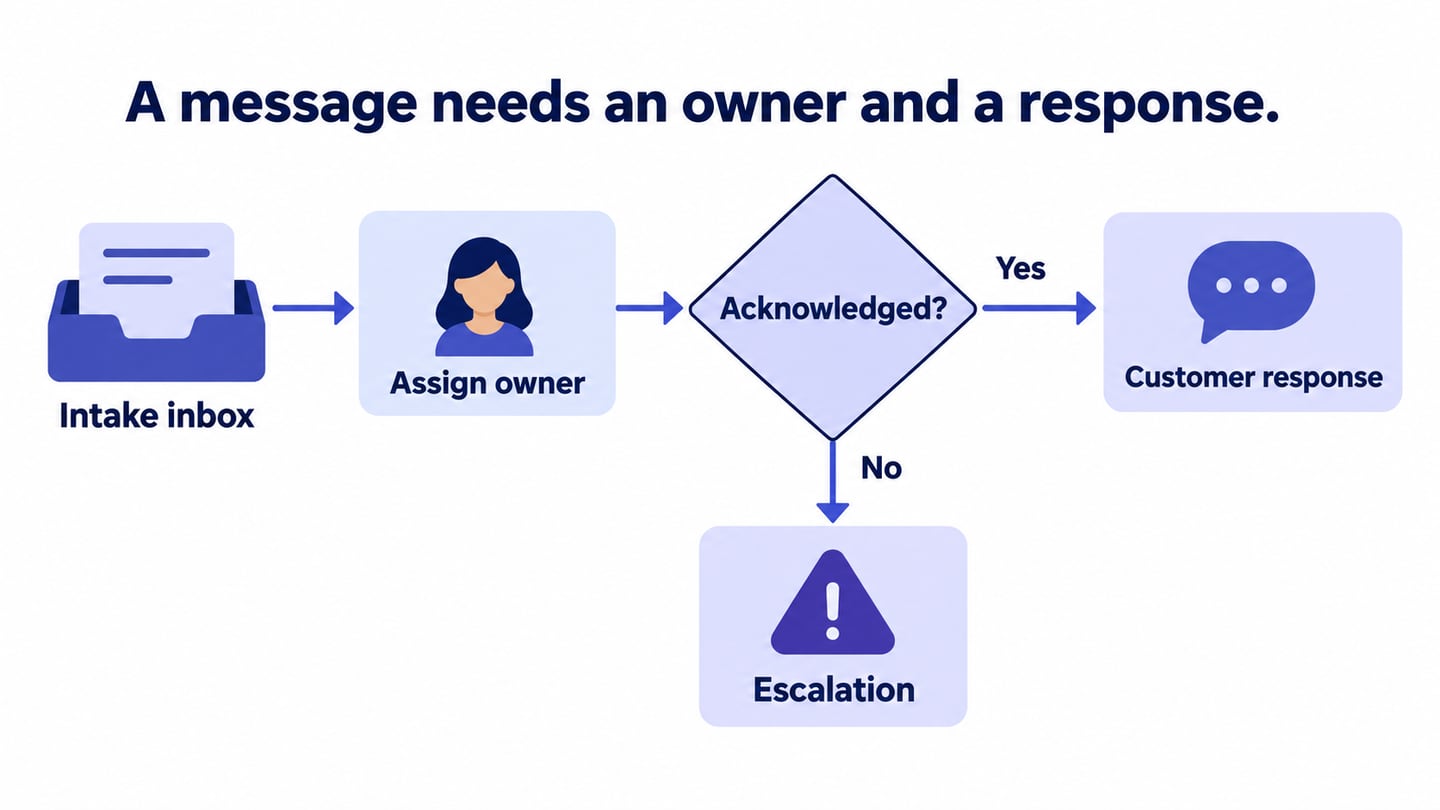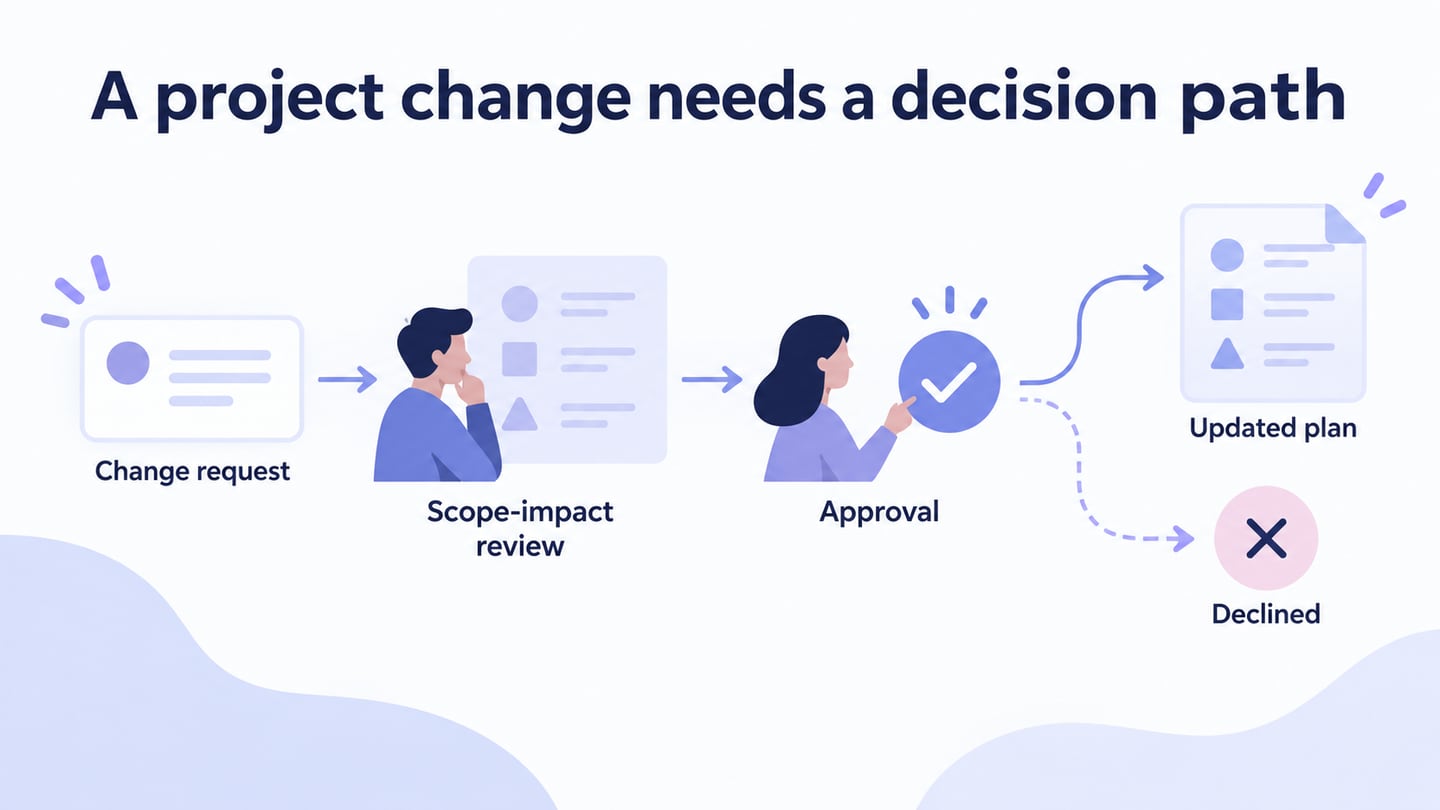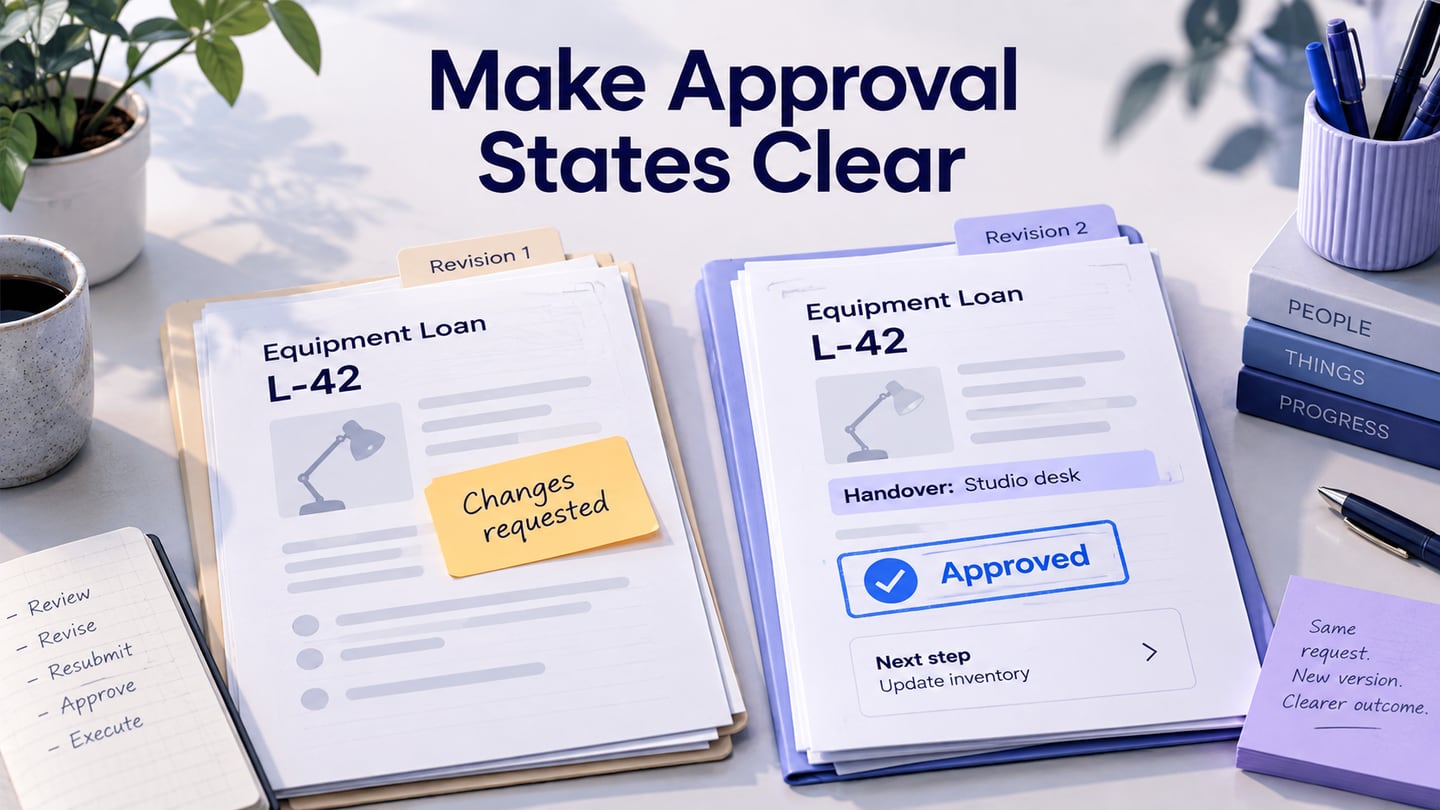
A business flowchart shows how work moves through a defined process, including the actions, decisions, and handoffs needed to reach an outcome. Use a business flowchart workspace to make those relationships visible. The diagram supports planning and review; it does not account for a fixed share of business planning or guarantee a better result.
This guide explains what to include, how to gather the right information, and how to draw a process that colleagues can check. The content-marketing illustration shows connected activities.
What is Business Flowchart?
A business flowchart describes the steps in a business process and can identify who is responsible for them. It is useful for discussing the current workflow, proposed changes, and points where work passes between people or systems.
Choose a bounded task, such as reviewing a content draft or fulfilling an order. A process may repeat many times, but the diagram should still make its trigger and final outcome explicit.
Hiring, order handling, and publication each involve different rules and participants. Do not combine them into one diagram merely because they belong to the same company.
You can map an existing process or propose a future one. Label which version you are showing. An existing-process map should be checked against how work actually happens, including workarounds, rather than only the policy document.
Use a small, consistent set of symbols: a start or end marker, action rectangles, decision diamonds, and directional connectors. Add swimlanes or owner labels when responsibility is important. The diagram’s notation should be understandable to the people reviewing it.
How to Create A Business Flowchart?
The original illustration connects content-marketing assets and channels. It helps show relationships, but it does not fully define who approves each item or what happens when it needs correction.
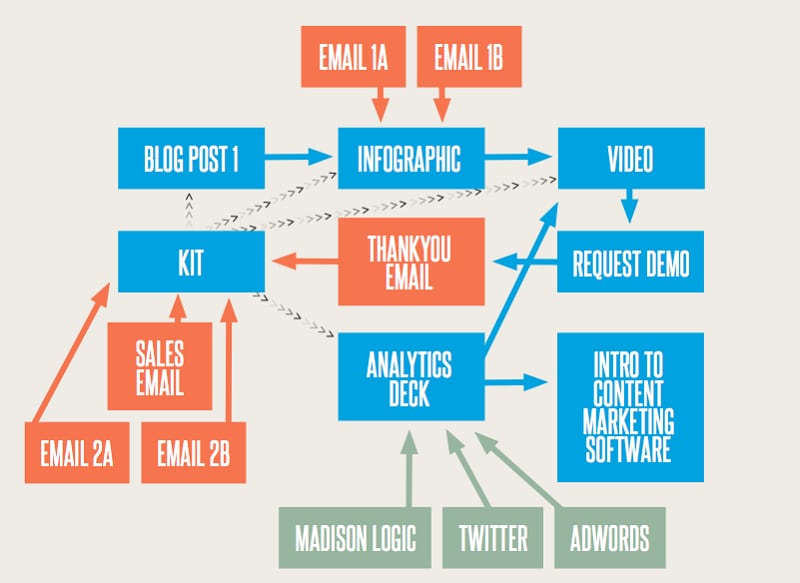
Example source: uplandsoftware.com
Use that distinction when creating your own flow: a map of related activities is not automatically an executable process. The following three steps turn the diagram into something the team can review.
Begin with the purpose, then gather evidence, and finally map the actions and handoffs.
Step 1: Define the Scope and Question
Write the trigger and the intended end state before adding shapes. Decide whether you need a high-level overview or enough detail to review individual handoffs.
For example, “draft received to approved article published” is a manageable scope. “All marketing activity” may be too broad to expose a specific approval problem.
A flowchart can support process analysis, but it is only one input. Waiting time, workload, error rates, and other operational evidence may be needed to understand a bottleneck.
Step 2: Gather Evidence from the People Doing the Work
Talk to the participants, inspect relevant records, and follow a real example where possible. Ask what starts each action, what information is needed, what can go wrong, and who takes over next. Customer feedback can be useful, but it cannot replace the internal evidence needed to map an approval process.
Step 3: Map the Process and Test the Handoffs
Put each action and decision in sequence, label outcomes, and identify the owner of each handoff. Keep the level of detail consistent across the diagram.
For a practical example, map the review of a product tutorial before publication. The writer submits a draft; a reviewer checks the content; requested corrections return to the writer with a reason; the revised draft returns for review; an approved draft moves to the publisher. If approval is still pending, the flow must not imply that the article can be published.
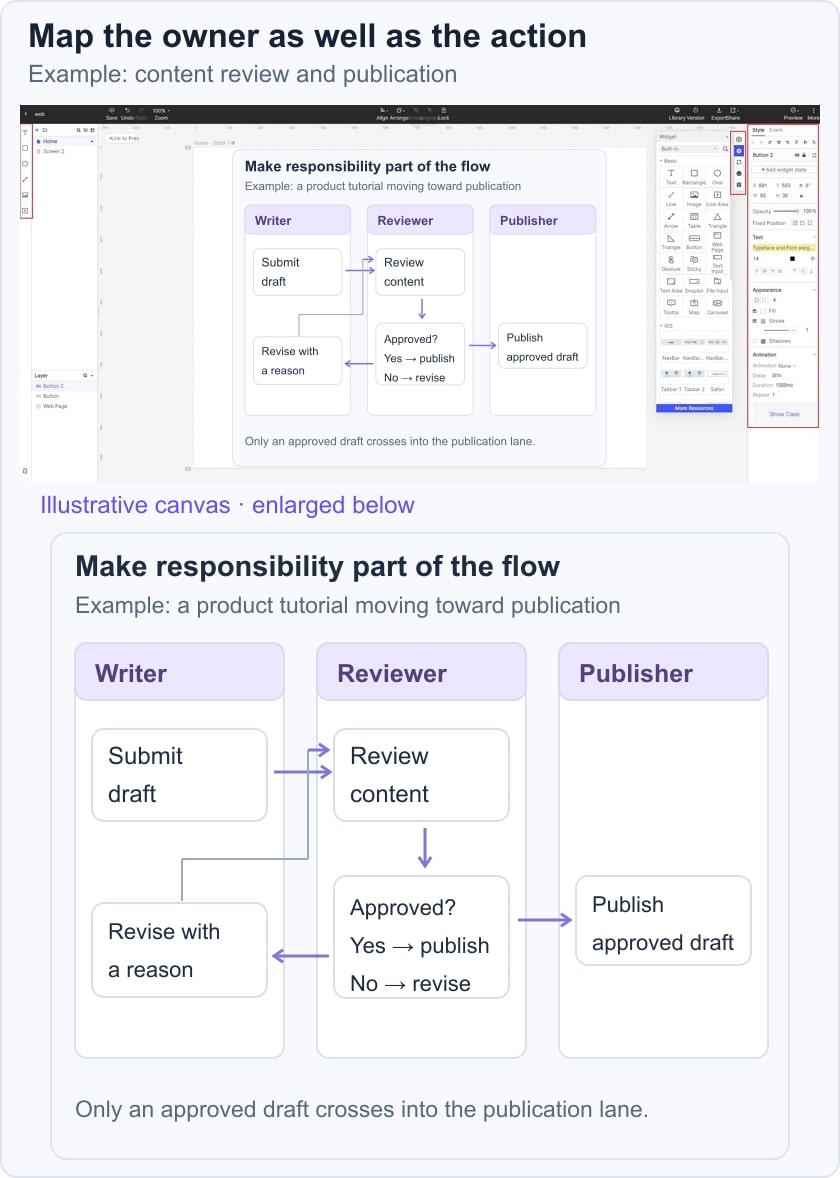
Walk a real correction through the diagram. Confirm who receives it, where the revision is recorded, and how the reviewer knows it is ready again. If those answers are missing, add the necessary action or annotation rather than relying on a vague arrow labelled “feedback.”
Use basic shapes for a simple process and separate a detailed subprocess when the diagram becomes hard to read. Keep the normal path visible while giving exceptions a defined destination.
Create a Flowchart Online
Mockitt provides an editable diagramming workspace for arranging process steps and sharing the result. Choose a layout that makes the review question clear rather than adding every available visual option.

Create a flowchart, add the process elements, and connect them in the intended order. Use the current product controls; the original editor image below shows an earlier interface.
Features of Mockitt
The features that matter for this workflow are editable elements, collaboration, and controlled sharing:
1.Widgets and Icons
Use labelled shapes and connectors for actions, decisions, and outcomes. Decorative icons are optional and should not replace explicit text.
2.Collaboration
Share the draft with the actual process owners. Ask them to verify the steps they perform and the information received at each handoff.
3. Access and Maintenance
Set appropriate project permissions and identify who maintains the diagram. Update it when an approved process change occurs. For a drafting alternative, the AI flowchart review tutorial explains how to check a generated starting point.