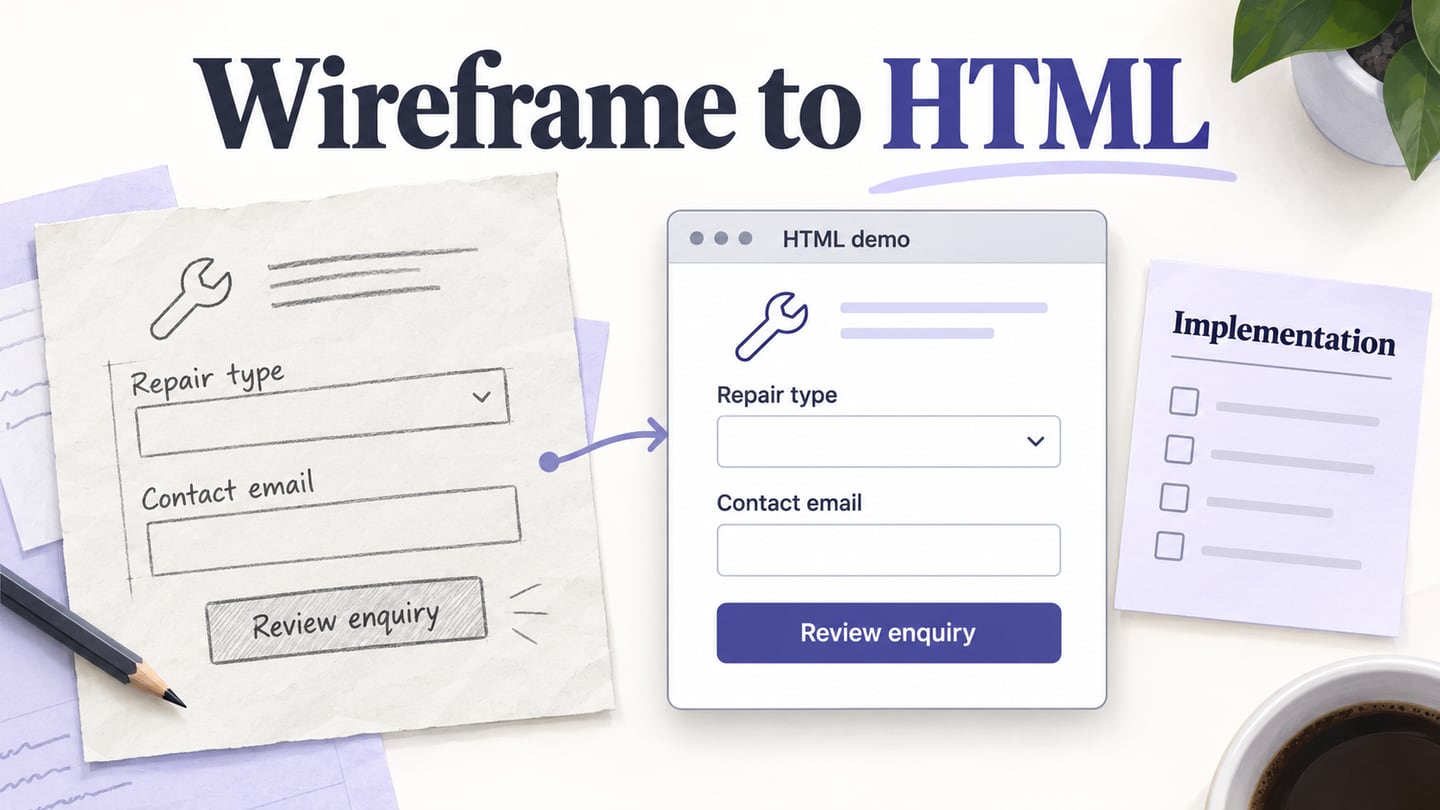
“Wireframe to HTML” can describe two different outcomes: an HTML demonstration of a proposed interface, or a maintainable implementation built with HTML, CSS and behavior code. Decide which one you need before choosing an export workflow. The workflow below focuses on a browser demonstration and the decisions needed before implementation.
An exported demo can communicate a route through screens. It does not establish semantic markup, working data submission, responsiveness or application security. Those are implementation responsibilities, even when the demonstration looks complete.
What Mockitt’s HTML Export Is For
Mockitt can export a prototype for presentation and preview. Its HTML export guide states that the exported HTML is not intended for direct development or code reuse. Use that output to review a design, not as a promise of production-ready HTML/CSS.
For this walkthrough, prepare a fictional repair-service enquiry form with three states: Details, Missing contact information and Enquiry review. The review asks whether someone understands the required information and can correct an omission before continuing.
Useful design capabilities before export include:
- A suitable starting layout or a blank canvas; a template count is less important than matching the task.
- Reusable labels, fields and buttons that remain consistent across states.
- A visual editor for building and connecting the proposed screens.
- A preview or supported export for communicating the intended sequence; this is distinct from generating a production application.
Steps From a Wireframe to an HTML Demo
Use the HTML demo when the reviewer needs a portable presentation of the proposed interface. Confirm the current plan and export availability in the workspace; HTML export is a paid feature according to the current help. Do not assume that an archived button label or pricing tier still applies to every account.
Prepare and inspect the demo in the following steps:
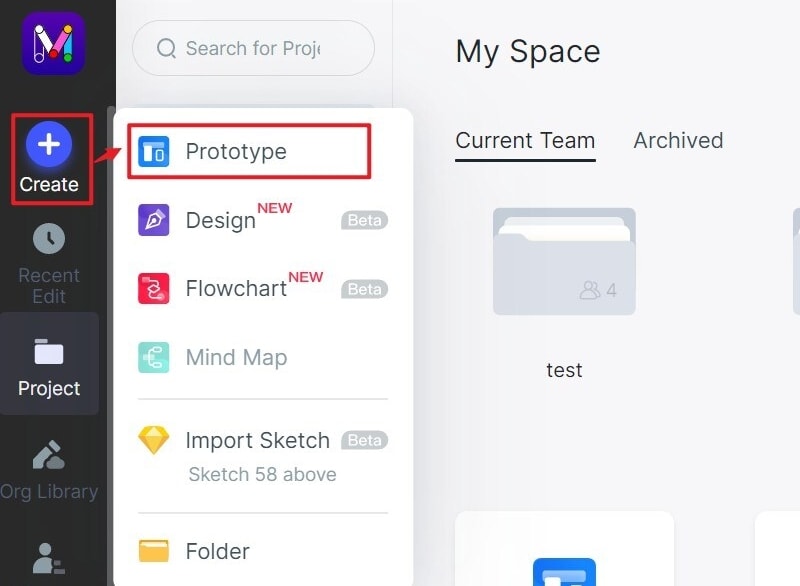
Step 1: Create a New Project
Create a prototype project for the intended review viewport. Name the screens Details, Missing contact and Enquiry review. The retained project and widget images are historical guide captures; current labels may differ.
Step 2: Drag and Drop the Widgets
Add fields for Repair type, Item description and Contact email, followed by “Review enquiry.” Use fictional content and leave the contact email empty in the error state. Keep the other entries visible so the correction does not appear to erase the person’s work.
Adjust the field labels, spacing and error message. The review screen should repeat the repair type and contact email and offer an edit route before any proposed submission.
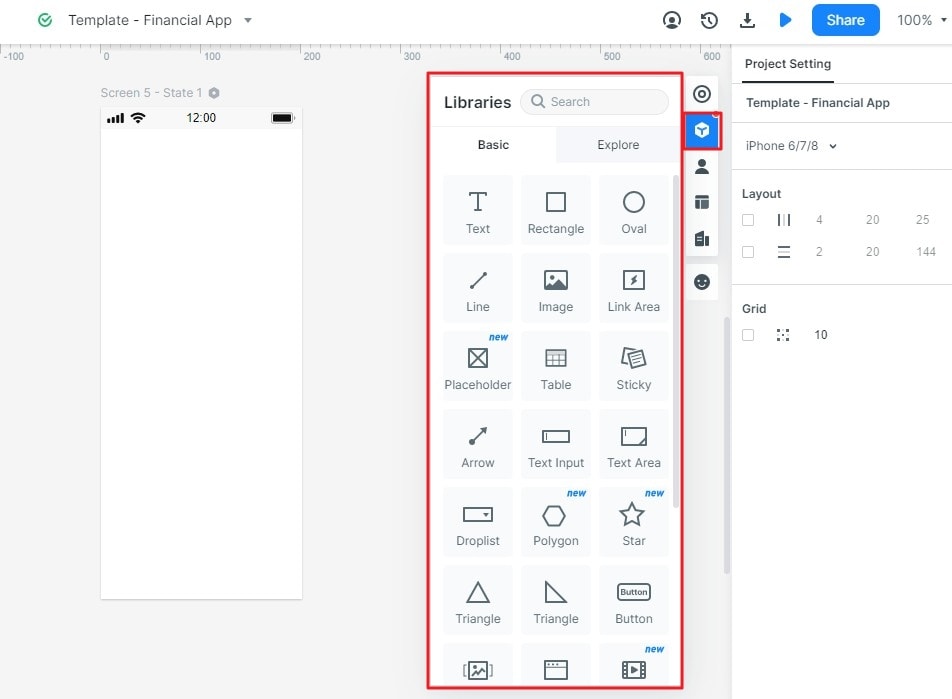
Reuse the same field and button components across the states. Connect the missing-contact path and the corrected path, and preview both before exporting. Note that the confirmation is simulated; the prototype does not deliver an enquiry.
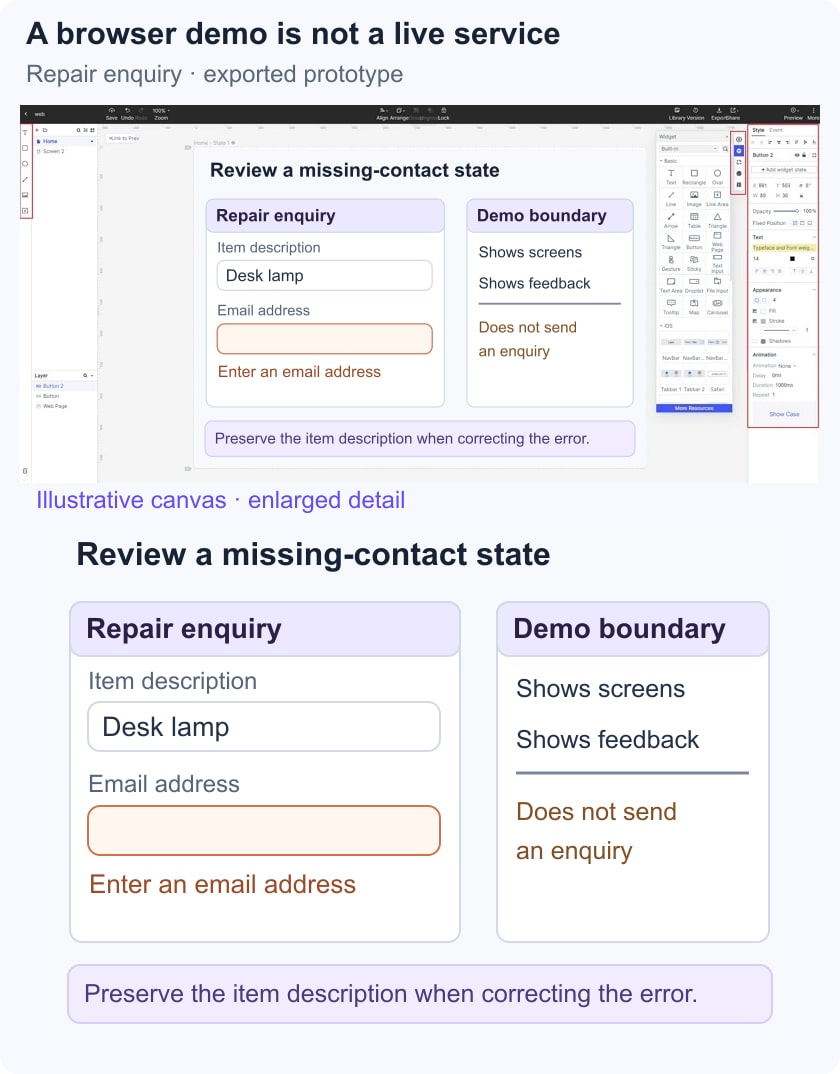
Step 3: Export and Inspect the HTML Demo
When the workspace offers HTML download, export the reviewed version and extract the complete downloaded package. Open its entry HTML file in the intended browser, keeping the accompanying assets together. The older screenshot below shows HTML5 labeled for offline presentation; it does not show reusable application source code.
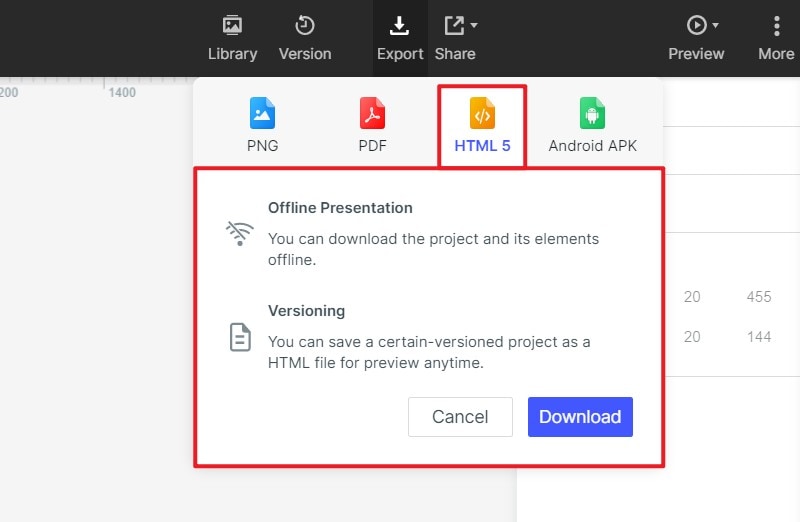
Check the opening screen, images, screen links and error branch in the exported copy. If it fails, compare it with the online preview and consult the current export instructions; do not rename an incomplete file and present it as a working website.
Prepare the Design for Real HTML/CSS Implementation
Tip 1: Specify the Task and States
Describe the required inputs, field rules, error messages and result. For the repair enquiry, specify what counts as a usable contact address and who confirms that rule. An annotated state is more useful than a claim that a visually complete screen contains all required logic.
Tip 2: Plan Semantic Markup and Behavior
The implementation team needs meaningful headings, labels, form controls and keyboard behavior. MDN’s HTML learning material explains how content structure differs from visual arrangement. A screenshot or exported presentation cannot verify that those semantics are present.
Tip 3: Keep Annotations Specific
Place notes beside the relevant element: preserve Item description after a missing-email error, focus the appropriate error target in the implementation, and return to the existing values when editing. Record unresolved behavior instead of using an unrelated library name as a guarantee of correctness.
Tip 4: Validate the Actual Output
For a demo, inspect its display and connected routes. For an implemented form, test real validation, request handling, failure recovery and accessibility. These are different acceptance checks; passing the demo review does not satisfy the implementation checks.
Review Browser and Layout Assumptions
Check the demo in the browser and presentation context it will be used in. A narrow viewport may expose content or interaction problems. Do not infer that every device is supported because the file opens once on a desktop.
Choose the Right Handoff Medium
An image is useful for discussing a layout, a connected demo for reviewing a route, and written requirements for explaining rules and edge cases. Keep the reviewed version and supporting notes together. None of these formats is inherently a substitute for the others.
Define What the Interaction Demonstrates
For the repair form, the demo can show a missing-contact message and a route to review. It cannot prove that a live service receives the enquiry, stores information or handles concurrent requests. Keep the implementation boundary explicit when sharing the file.
Use the Mockitt prototype workflow to make the design decisions inspectable, then carry the reviewed states and rules into implementation. The deliverable is a clear demonstration and specification, not an automatic guarantee of production code.