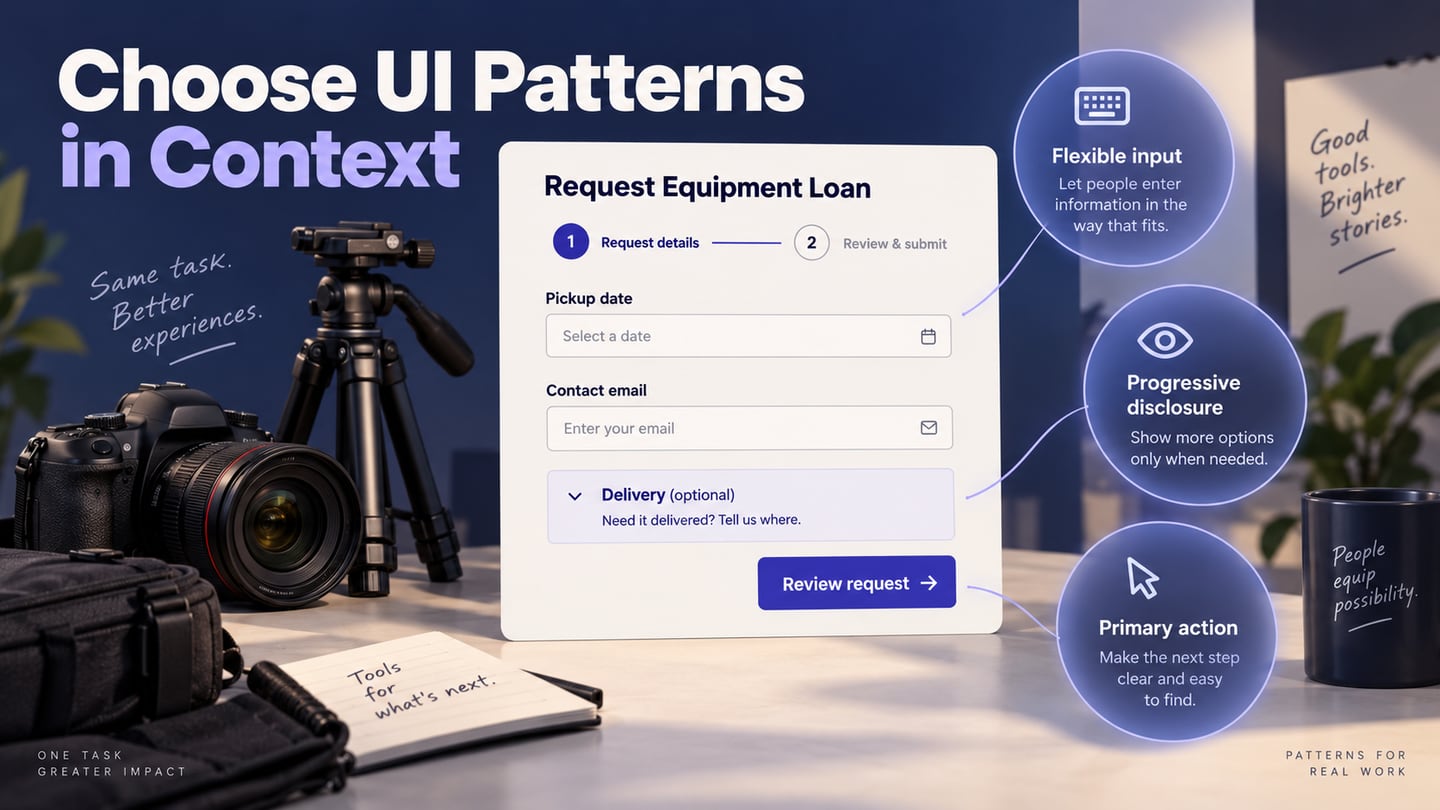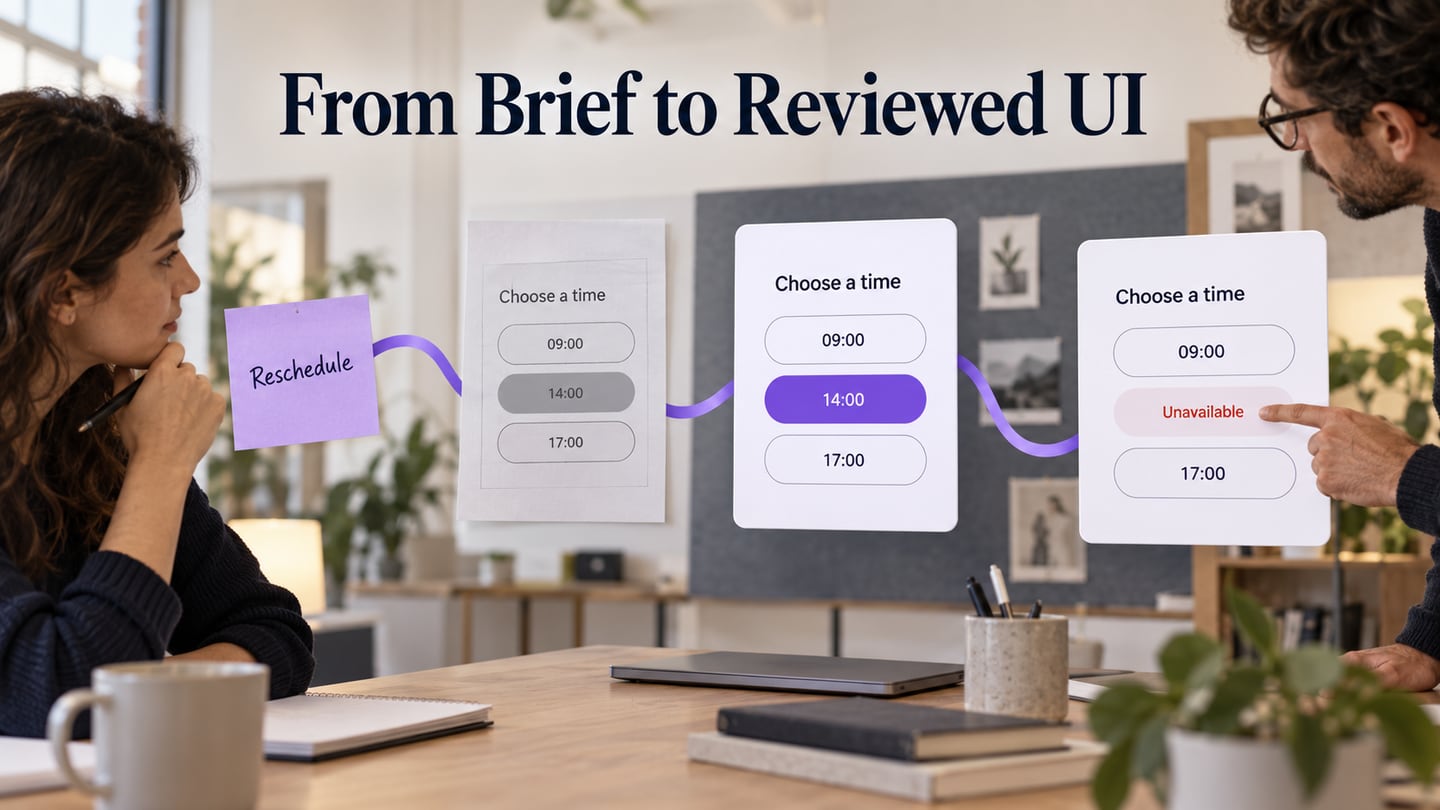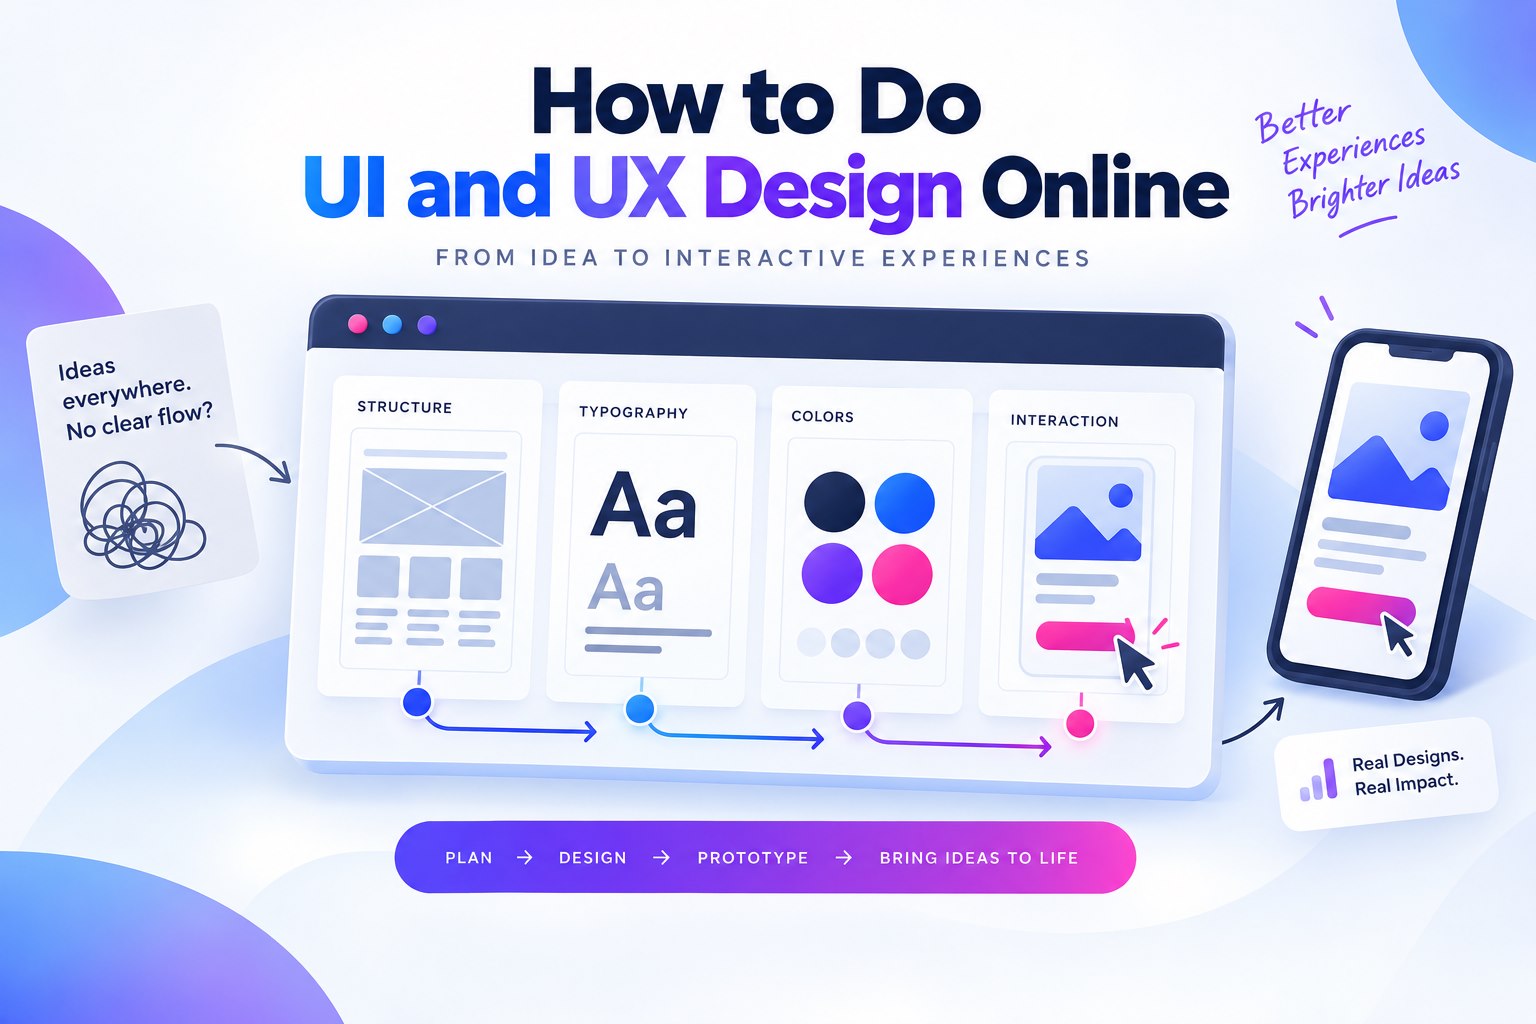
UI design and UX design are closely interconnected. UI design shapes the controls, layout, and visual presentation people interact with. UX design considers the broader experience, including user needs, information architecture, content, usability, and the journey across tasks. The two disciplines inform each other, but they are not interchangeable. It’s quite easy to learn how to do UI design online using a powerful design and prototyping software application Mockitt, which is web-based and integrated into the cloud for collaboration and accessibility. You can practice UI and UX design online by building screens, connecting tasks, and gathering feedback; learning the tool is only one part of that process.
A Tool for UI/UX Design Online
Mockitt was designed for beginners and professionals alike. Its controls support building screens and interactive prototypes that clients and other stakeholders can review. Use the prototype to investigate a defined user task and evaluate the design rather than treating visual polish as proof of a good user experience.
The extensive asset library is the starting point, where you can find widgets, buttons, symbols, and other UI components to start your design project. These libraries can be customized and shared with other team members to create a seamless experience across small and large design teams. The design-building functions are easy to learn and use, and it’s very simple to create dynamic interactions using animations and gestures to show different page states.
As a web-based tool, it opens up to deep collaboration between project members, project managers, and clients, and it can be scaled up to accommodate enterprise-size teams working across multiple locations. During handoff, developers can inspect the design details and use available style specifications as references. These specifications describe visual properties; they are not a complete application with backend logic, accessibility behavior, and tested data handling. Previewing, reviewing, and commenting are built into the program, so you can share the prototype with the appropriate project permissions.
How to Do UI Design Online
The steps to use Mockitt are very simple and user-friendly, which means new users can dive right in and start creating designs in no time. Let’s look at the sequence of steps involved in creating an interactive hi-fi prototype.
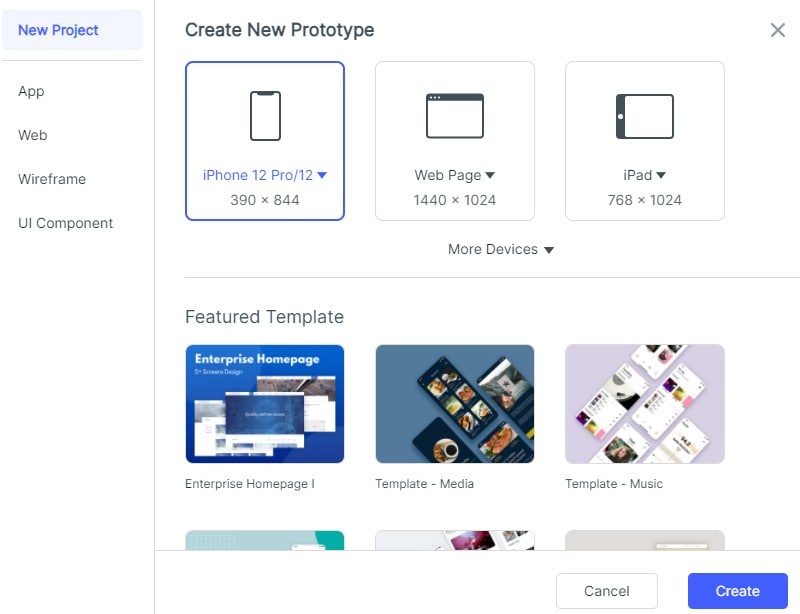
Step 1. Create a Project Online
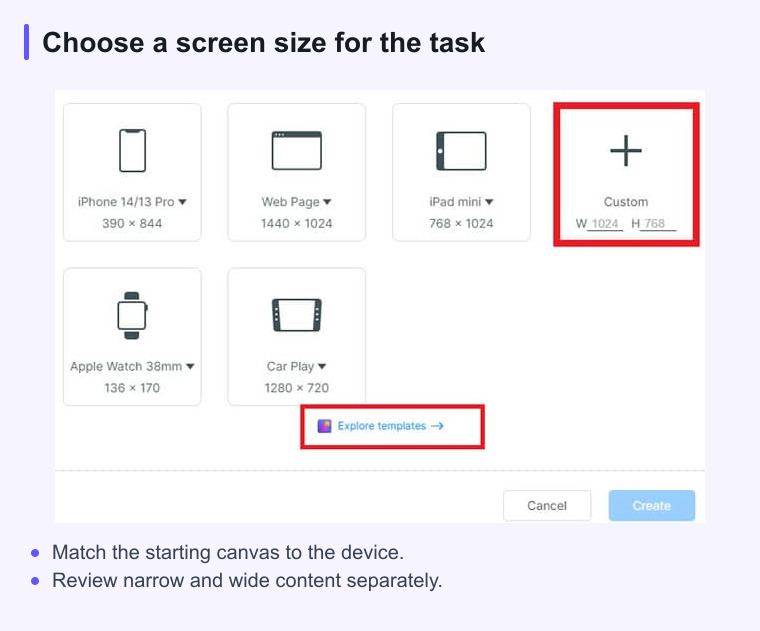
Start off by creating a new project. Give it a name and specify the type of device that the design is intended for. Once you create the project, any changes you make will be saved automatically, helping you avoid losing changes.
Step 2. Add Widgets to Your Project
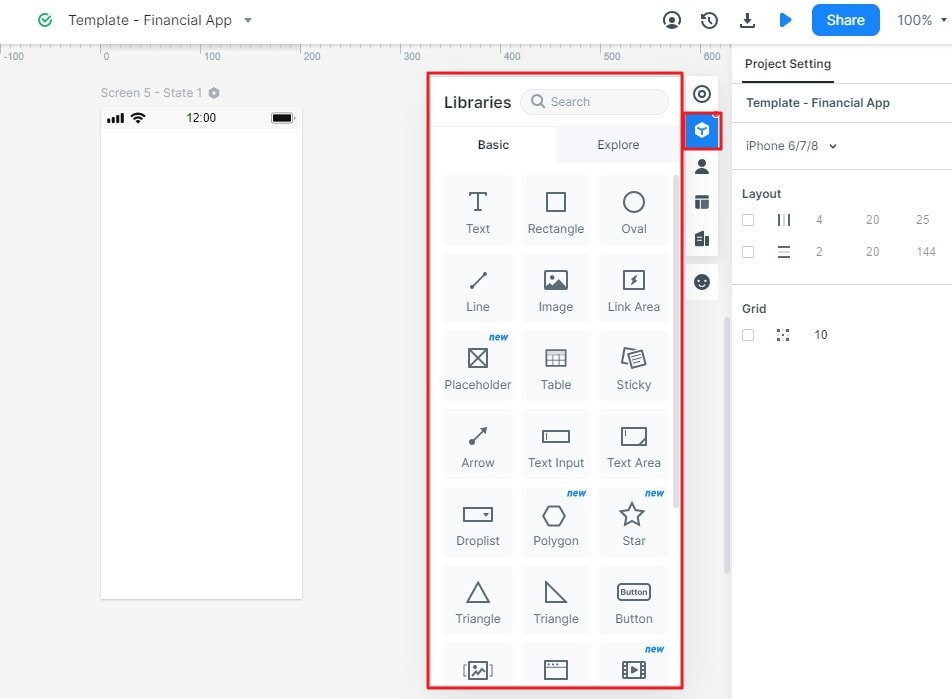
On the blank board of the software, you will see your first screen. Using that as a starting point, start adding components such as widgets, buttons, etc. using the Fast Widgets panel on the left or the full panel on the right. Both support drag-and-drop as well as double-click actions to bring a new widget into the screen. You can now edit the size and position to suit your design needs.
Step 3. Add Interactions to Your UI Design Online
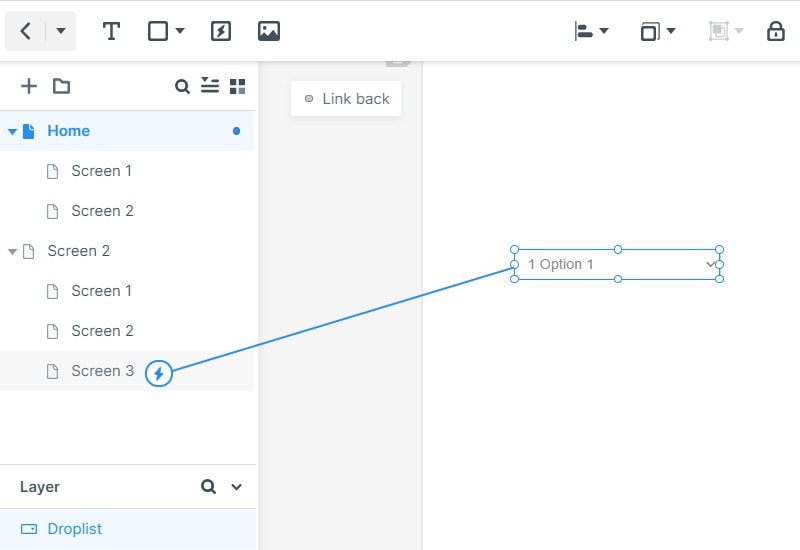
Once the components and widgets have been added, you can link them to their subsequent page states. Drag the link icon next to each component and drop it at the target page. You can now edit the link to add UI transitions, gestures, animation, and other dynamic effects. You can also use dynamic widgets within a page to show its different states without using additional page states.
Step 4. Add Sticky Notes
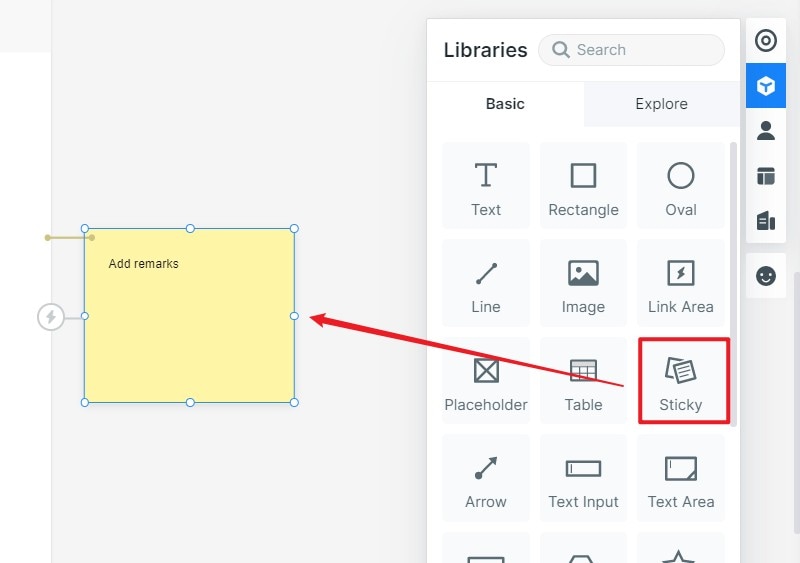
Additionally, you can add notes to your design using the “Sticky” widget, which is basically a sticky note widget for annotations. This will allow you to explain different transitions and processes in the prototype.
Step 5. Preview, Share, or Download the UI Design Online
Finally, go to the share section to generate a QR code or URL to let others preview your prototype on mobile or desktop devices. Where your plan includes offline export, you can download a package for an offline demonstration.
3 Useful Tips and Tricks for UI/UX Design Online
- Study the target user - Unless you know the audience you’re designing for, you won’t have a clear picture of your final design. What’s their purpose for using the app? What challenges can you eliminate in getting them to that goal? How can you eliminate the friction when they use the app? These are the questions you need to answer before starting on your UI/UX design journey.
- Anticipate user errors - People are people, and they make mistakes. Forms might have mandatory fields left empty, email addresses are input in the wrong manner, etc. Anticipate these errors with clear labels, validation messages, and instructions for correcting the input.
- Give clear interaction feedback - Let the user know that their action was registered. There’s nothing worse than clicking a button and waiting for it to go to the next page without knowing whether you clicked properly. Giving the button an animation effect to show that it’s been clicked provides instant feedback and avoids the user having to click it over and over just to make sure.
A browser-based workflow that keeps UI and UX connected
UI decisions are easier to evaluate when they remain attached to the user task. Start with the screen hierarchy and interaction path, then add visual rules that support the content and action on each screen.
Use shared comments and a short review checklist to separate usability questions from visual preferences. This keeps online design work focused and gives the next contributor a clear handoff.