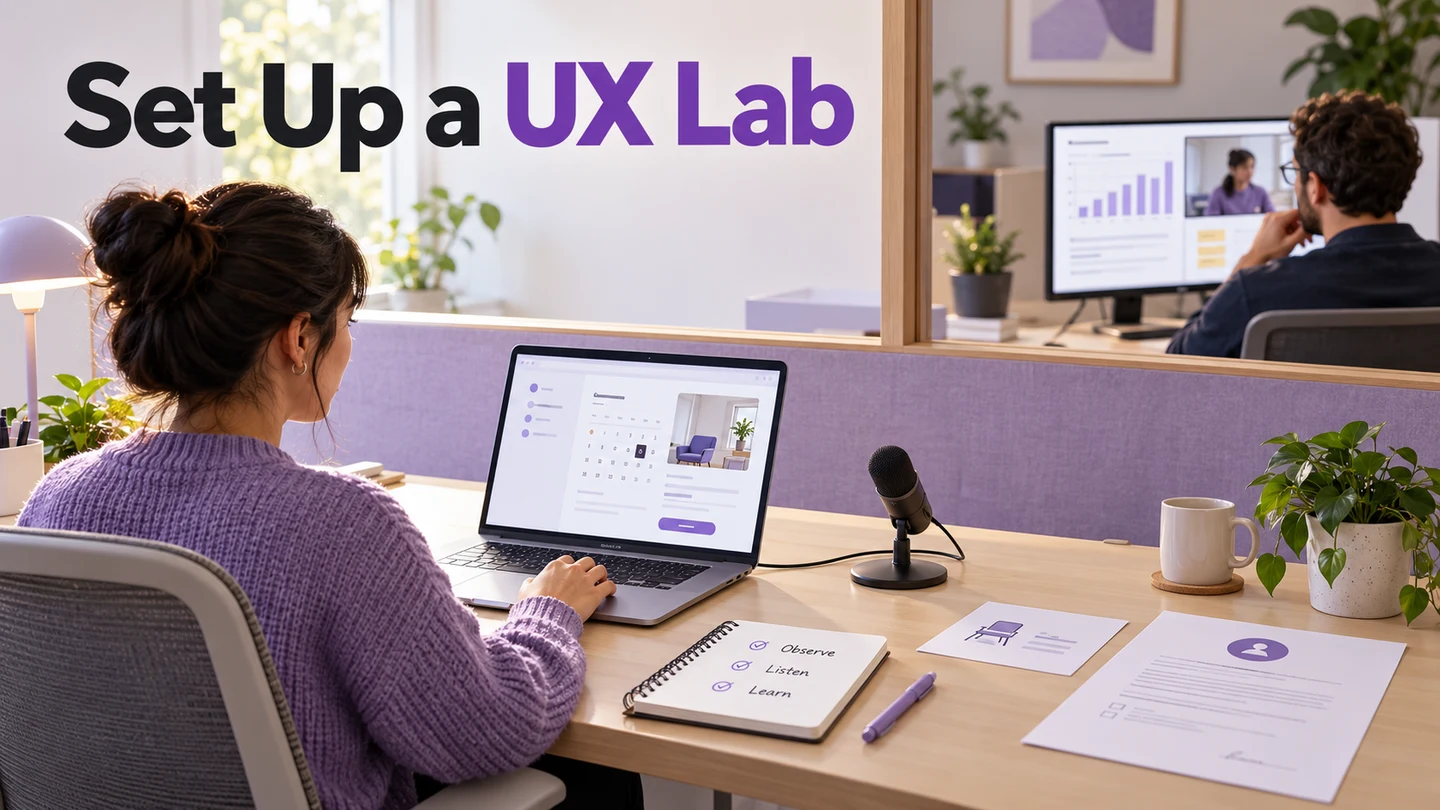
A UX lab is a space arranged for observing how people use a product. To set one up, choose an accessible room, prepare the participant's device and prototype, give the facilitator and observers clear roles, agree how recording will work, and run a complete rehearsal before the first session. Specialist cameras and one-way mirrors are optional; a usable task and reliable observation matter more.
This guide explains the lab setup, three examples, and a practical rehearsal. You can use Mockitt to prepare the interactive prototype for the lab, then use your chosen recording and note-taking tools to capture the session.
What Is a UX Lab?
In a UX lab, test participants interact with a product while a facilitator guides the session. Participants might sit at a computer, use a phone, or work with a physical interface. The lab is the setting; moderated usability testing is one research method you can run there.
Cameras or other recording devices can be placed in the room, and the recordings are channelled to a remote room where observers watch how the user interacts with the product. Observers pay attention to the user's navigation and reactions and write them down for evaluation. A quiet meeting room with remote screen sharing can serve the same basic purpose when a dedicated facility is unnecessary.
Give participants a comfortable environment, but do not conceal the fact that they are observed or recorded. Explain who is watching, what you will capture, and how it will be used, then obtain consent before recording. The GOV.UK guidance on informed consent explains the information participants need.
A lab makes equipment and session conditions easier to control. It does not guarantee a representative sample or accurate findings. Recruitment, realistic tasks, facilitation, and interpretation still determine what the study can tell you. A participant may also behave differently from how they would at home or at work.
Three Examples of UX Labs
To conduct useful usability testing in a UX lab, the environment should have the necessary features for the task. There are multiple places to conduct UX lab tests, including a conference room, boardroom, or office. A study involving household devices may need a different setting. The following examples show different approaches to facilities and observation rather than a ranking of labs.
1. Digital of Things, Dubai
Digital of Things describes its Dubai usability lab as a purpose-built space with comfortable living-room settings, one-way-mirror viewing, and equipment for testing different devices and materials. Its published service includes lab planning, research operations, and support for choosing hardware and software.
The useful lesson is to plan the participant and observer experience together. A separate viewing area allows stakeholders to watch without surrounding the participant. Advanced measurement equipment is a study-specific choice, not a requirement for understanding a navigation problem.
2. Social Media Lab, Mons, Belgium
A Noldus case study of the Social Media Lab describes researchers and students from fields such as communication, marketing, journalism, and computer science studying digital behavior. It discusses integrating data streams and using observation and audiovisual tools, including The Observer XT and MediaRecorder.
This is a documented example of a multidisciplinary setup, rather than a claim about the lab's current booking availability. Its practical lesson is to decide which observations need to be synchronized before choosing recording tools.
3. Tech3Lab, HEC Montréal
HEC Montréal's Tech3Lab specializes in evaluating user experience with business technologies. Its research combines UX questions with tools drawn from neuroscience to study people's experiences when interacting with technology.
A specialist research lab can support questions that a simple screen recording cannot answer. For an ordinary interface review, however, start with observable behavior and the participant's explanation. Do not infer a specific emotion or motivation from one signal alone.
How to Set Up a UX Lab
1. Plan the Session and the People
Before proceeding, you need to know what you will require in the test: test facilitators, the right audience, a venue, and the necessary equipment. Define the decision the session should inform: for example, whether a customer can find and change an appointment. Use a prototype usability-testing plan for the research tasks and questions; use the lab plan to make those tasks observable.
Assign one facilitator to speak with the participant and a separate note-taker when possible. Tell observers how to record evidence and where to send questions. Check physical access, seating, lighting, audio, and any assistive technology the participant normally uses. Avoid requiring a person to use an unfamiliar device solely because it is already installed in the room.
2. Set Up the Room and Equipment
After settling on a specific venue or room as your UX lab, you need to set it up accordingly. Setting it up involves bringing together the hardware, software, and people used in the test. Depending on the environment and the nature of the test, the setup will vary. Common devices include a computer or phone for participants, laptops for observers and facilitators, microphones, and software such as a screen recorder to capture navigation.
| Part of the setup | What it needs to do | Check before the session |
|---|---|---|
| Participant station | Show the product at a realistic size with suitable input controls. | Text is readable; keyboard, pointer, and any assistive tools work. |
| Facilitator position | Support conversation without directing every action. | The facilitator can hear the participant without blocking the screen. |
| Observer view | Show actions and transmit speech clearly. | Observers see the intended screen, not an unrelated desktop. |
| Evidence storage | Keep agreed recordings and notes available to authorized researchers. | The destination, access, naming, and retention process are defined. |
Record only what is needed for the study. Screen activity and clear audio may answer the question without a face camera. Disable notifications and use fictional test data so unrelated messages and personal accounts do not enter the recording.
3. Connect and Test the Systems
Once you have set up the required items and devices, ensure that they work together and send the necessary information to observers. Since you are setting up different hardware and software, they might not be compatible. You can mirror the participant's screen to the observer's device. Test the complete path from the participant's action to the saved recording, not just whether a preview appears on the observer's monitor.
Open the prototype with the access level participants will actually have. Follow the prototype-sharing workflow and check the link in a separate browser session. Rehearse returning to the starting screen between participants. Keep a fallback plan, such as taking structured notes, if recording fails and the participant agrees to continue.
Run a Dry Run: Rescheduling a Library Appointment
Consider a fictional library team reviewing an appointment-change flow. Its prototype contains an appointment summary, available times, and a confirmation screen. The proposed task is: “Your appointment conflicts with work. Move it to another available time next week.” The goal of the rehearsal is to check the setup, not to count a colleague's performance as user research.
- Start at reception. Ask a colleague to follow the arrival and consent process. Check that the host, facilitator, and observer know when the session begins.
- Open the starting screen. Use the participant link and fictional appointment details. Confirm that the browser does not expose the editor, previous participant data, or a real account.
- Perform the task without coaching. Watch from the observer position. Can you see which time was selected and hear the colleague's explanation clearly?
- Exercise a change after confirmation. Open the appointment again and change the selected time. If this action is within the study's scope but the prototype cannot support it, fix the route before recruiting participants.
- Stop and inspect the evidence. Play back a short segment. Match the recording to a note such as “Participant opened the appointment details twice before choosing Change time.” Keep that observation separate from an explanation of why it happened.
- Reset for the next person. Restore the starting screen, check storage space, and make sure the next session will not overwrite the first file.
The dry run is complete when another team member can follow the setup, observe the intended task, find the saved evidence, and restore the session without improvising. This is a practical readiness check, not a guarantee that the eventual study will find every usability issue.
Prepare the Test Prototype in Mockitt
Mockitt provides UX design templates, icons, and built-in widgets. Drag these components onto the canvas and start editing them for the task. If you need to move beyond static designs, connect screens and add the interactions participants will use. Design together with your team members using collaboration features: co-edit, comment, and share feedback. The lab's recording system remains a separate part of the setup.
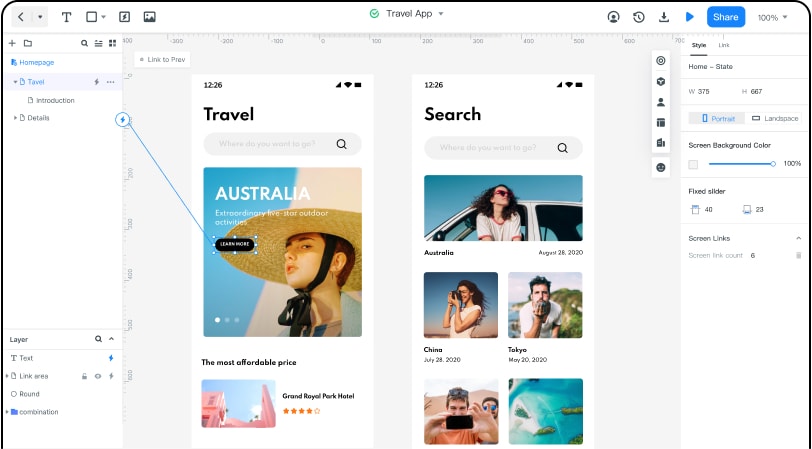
- With the collaboration feature, users can co-edit a design, comment, and share feedback.
- Design resources such as templates, icons, and widgets help keep repeated controls and labels consistent.
- Users can turn static designs into interactive designs. Connect the actions and states needed for the test instead of building unrelated sections.
- Users can share their UX designs with colleagues for rehearsal.
- The handoff feature helps communicate the agreed design to developers after the review.
Step 1. Create a Project
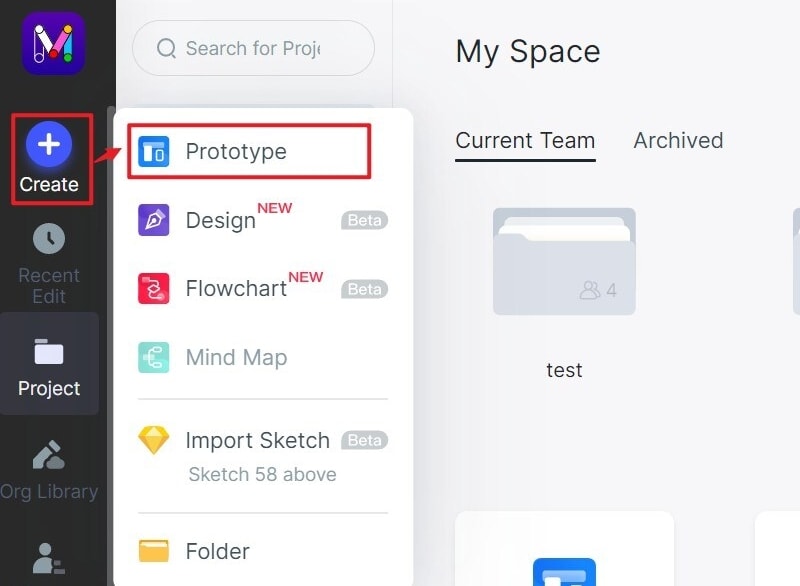
Sign in to Mockitt and create a prototype project. Enter a recognizable project name and choose the device or canvas size for the participant's task. The guide example below highlights the Create → Prototype entry; use the corresponding project-creation control in your workspace.
Step 2. Add the Screen Content
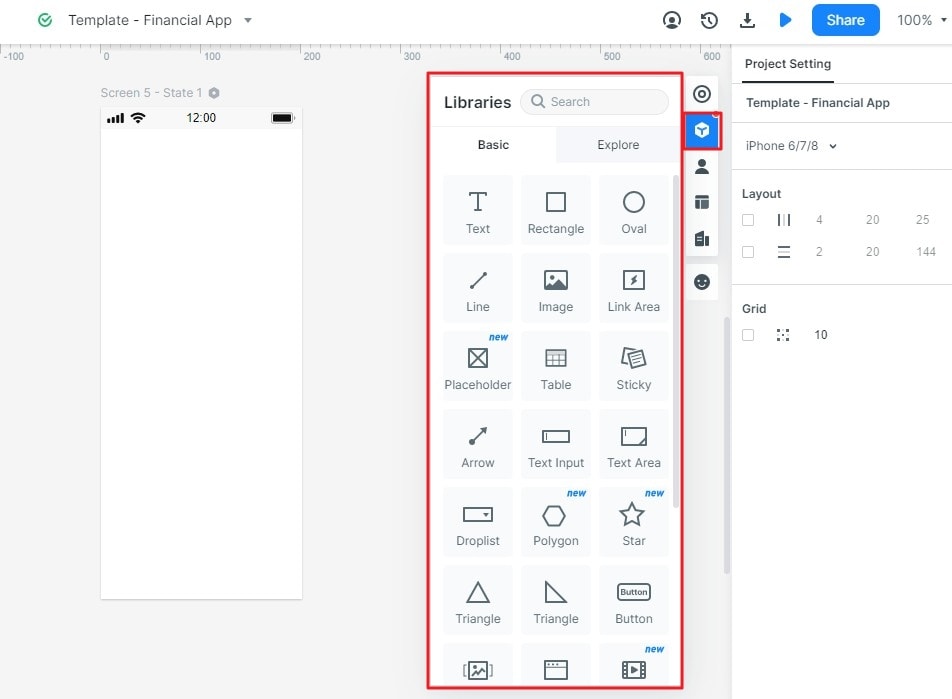
Head to the widget library and select the desired widgets and icons. These include buttons, text areas, link areas, inputs, and shapes. Drag them onto the canvas and add the other screens needed for the task. For the library example, include the appointment date, the action to change it, available alternatives, and a clear confirmation.
Step 3. Create the Required Interactions
Select a target widget and connect it to the destination screen. Repeat this for the actions and return paths that participants need. The guide screenshot illustrates dragging an interaction connector to a screen in the list.
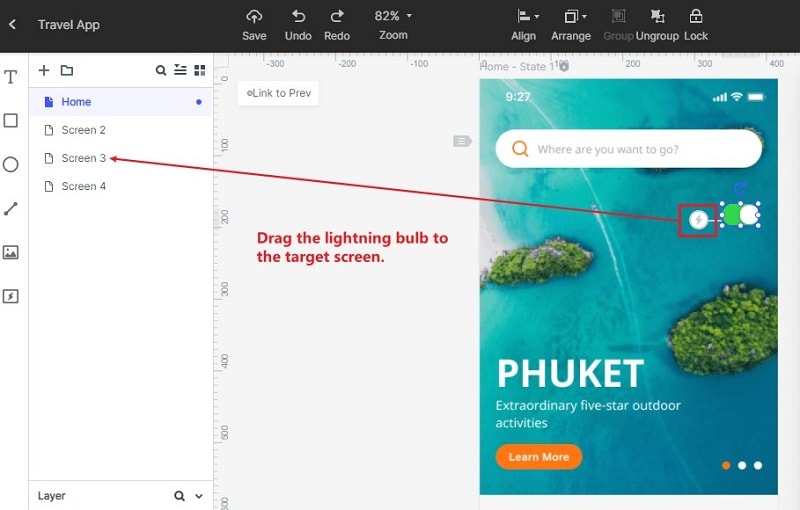
Use the interaction settings to choose the trigger, transition, and destination. Keep animation simple unless its behavior is part of the research question. An attractive transition should not hide an incomplete return path.
Step 4. Preview the Task
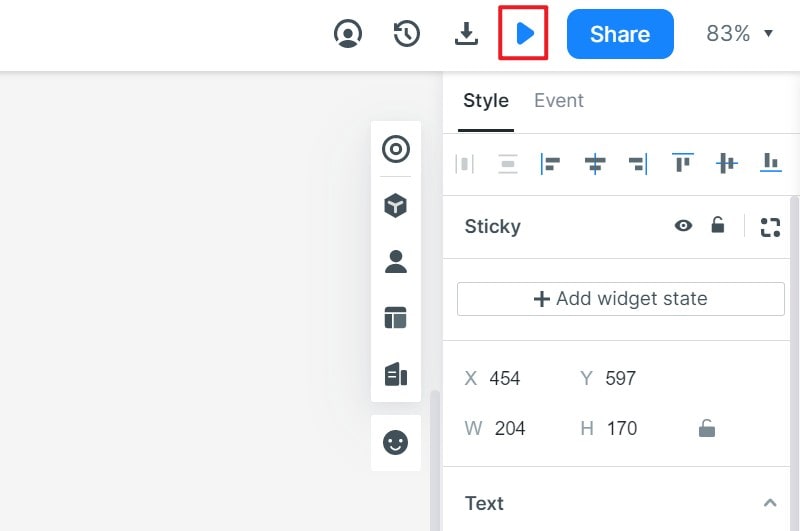
Open Preview and complete the task from its starting screen. Check missing selections, back navigation, and the end state before anyone joins the session. Make notes on problems, return to the editor to revise, and repeat the dry run after a substantial change.
Keep the participant-facing prototype separate from developer handoff. Handoff can communicate design details, but it does not turn the lab prototype into a finished application. A dependable session starts with a clear task, a prepared participant view, and an observation setup you have already rehearsed.