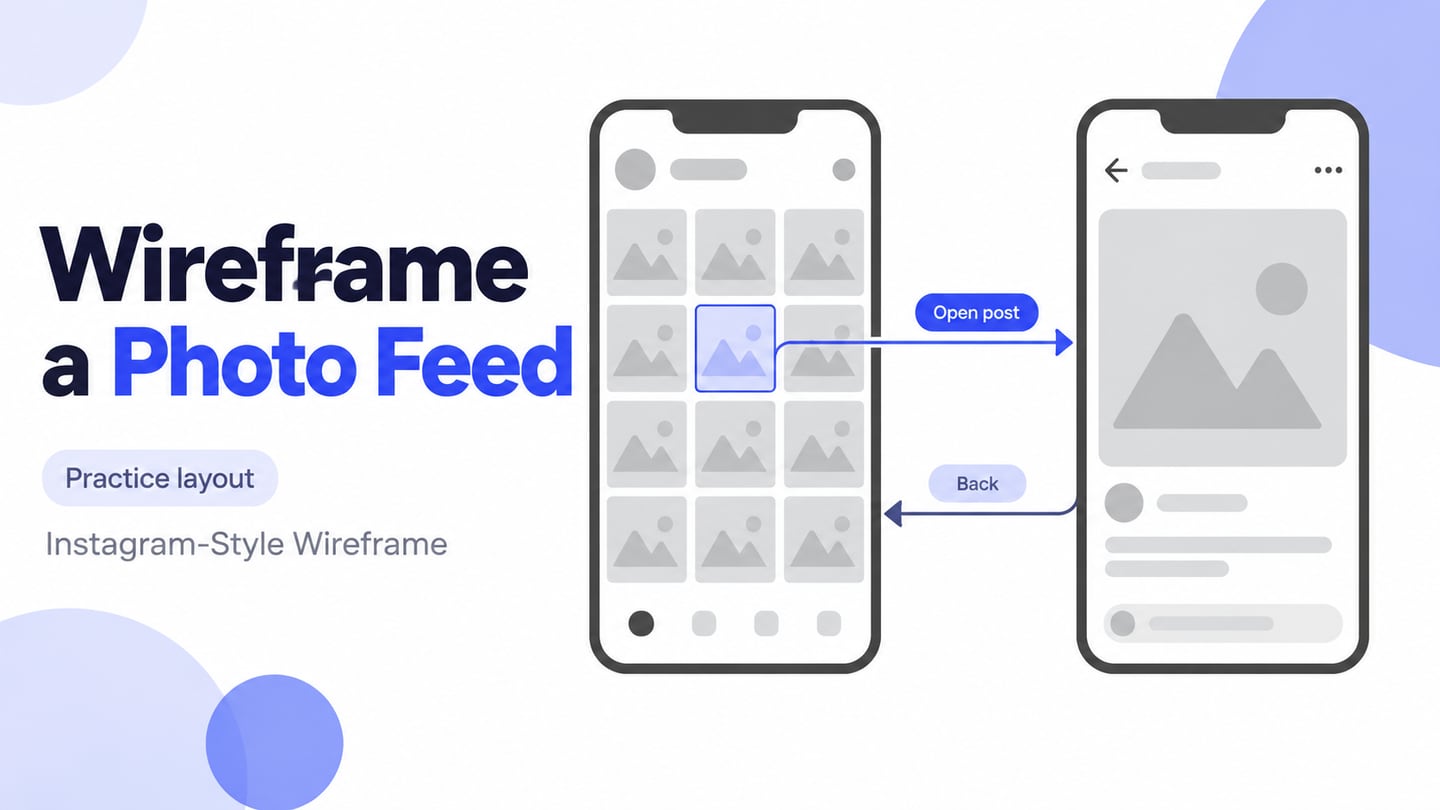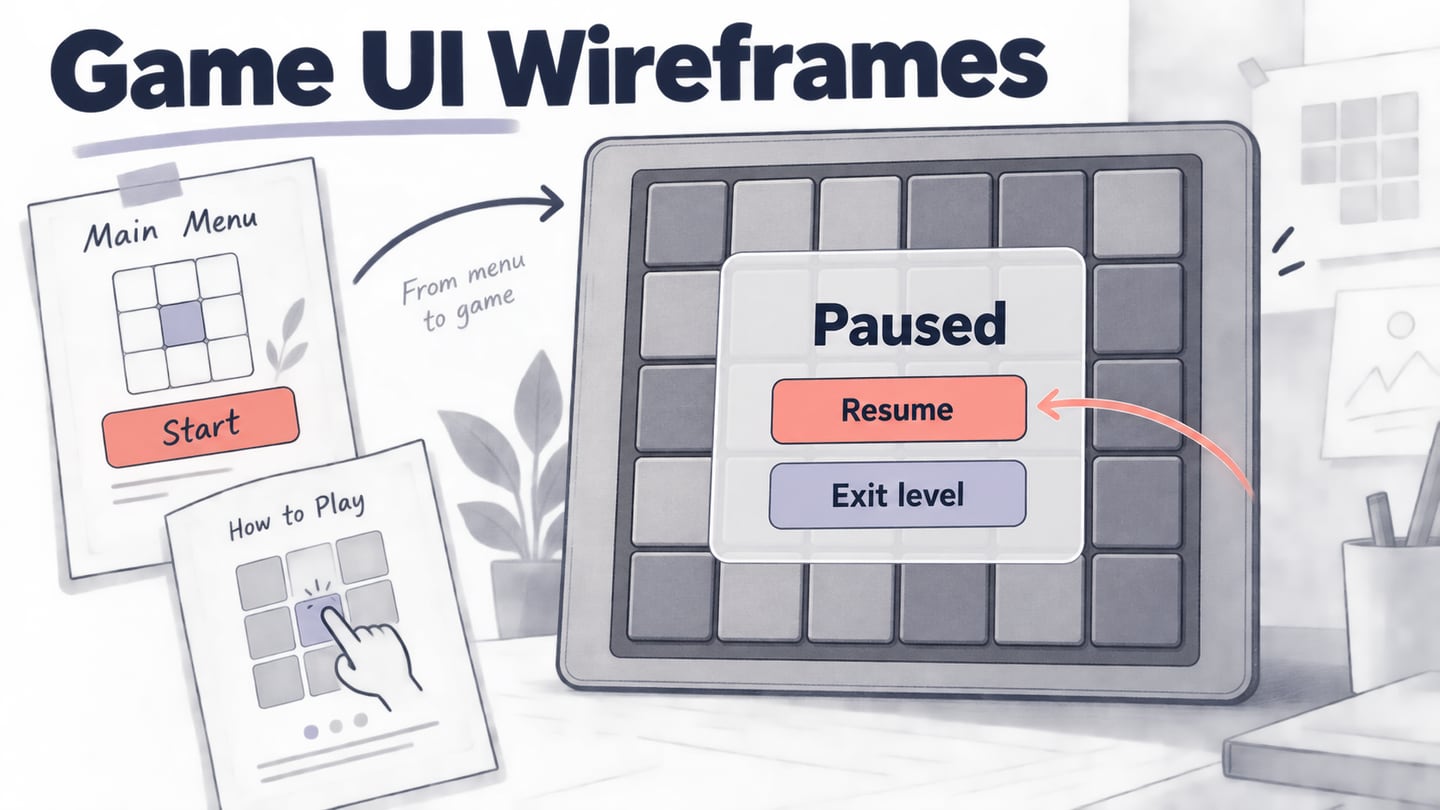
A game wireframe plans the interface around play: menus, instructions, status displays, settings and return paths. It can show what a player sees and which action moves to another state without reproducing game art or a physics engine. This article focuses on that UI meaning of wireframe, rather than a 3D mesh. The worked example is a fictional puzzle game in which a player starts a level, reads a short tutorial, pauses and resumes.
Use a Prototyping Tool for the Game Interface
Use Mockitt to arrange interface elements and connect a reviewable sequence. A UI prototype can expose an unclear Start button or a missing route back from Settings. It does not establish that gameplay is fun, balanced or technically feasible. Those questions require appropriate game prototypes and implementation tests.
The workflow uses these capabilities:
- Widgets, shapes and text for menus, status labels and interface placeholders.
- Connections between screens to demonstrate the intended route through the interface.
- Component or screen states to show selection, an overlay or another visible change.
- Drag-and-drop composition for comparing alternative layouts.
- Preview and sharing for a defined review task.
- A browser-based workspace for keeping the reviewable design together; confirm access before the session.
- Comments linked to specific design questions and states.
- Reusable interface elements so recurring controls retain consistent labels and positions.
- Design annotations that explain intended behavior to the game-development team; a UI handoff does not generate a working game.
Steps to Create a Game Wireframe
Work through project setup, widgets, interactions and sharing. Keep the scope small: the reviewer should be able to start a puzzle level, open the pause menu and return to the same illustrated play state. The retained operation images come from an older Mockitt guide and show editor concepts rather than current game-specific controls.
Step 1: Create a New Project for Game Wireframe
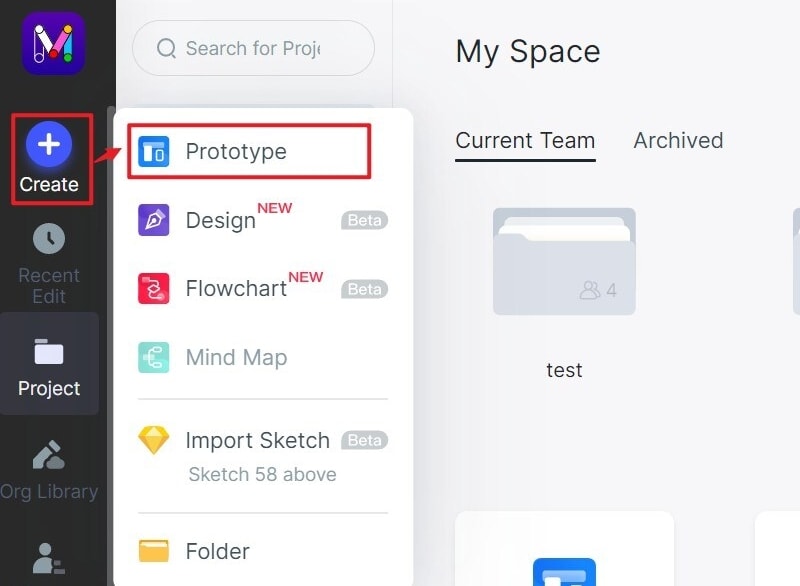
Create a project and choose the review viewport. Name the example “Tile puzzle — first level.” Prepare Menu, Tutorial, Play, Paused and Settings screens. Add a level-complete screen only if the current review needs that decision; do not build a large menu tree before the basic route is understandable.
Step 2: Add Widgets for Game Wireframe
Place Start, Settings and any necessary instructions on Menu. On Play, reserve areas for the puzzle board, progress information and Pause. Keep game art as placeholders so the review concentrates on which information belongs on screen and which action is available.
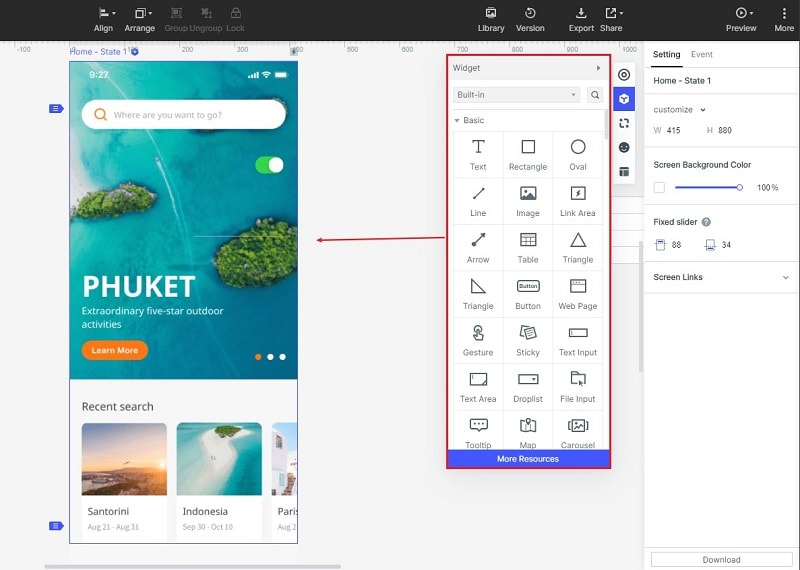
Reuse recurring controls and edit their labels and spacing consistently. A selected menu item needs a visible focus or selection treatment, not just a different color. Record the intended keyboard or controller order alongside the screens; a mouse-driven preview is not proof that a controller implementation works.
Step 3: Connect the Menu, Tutorial, and Pause States
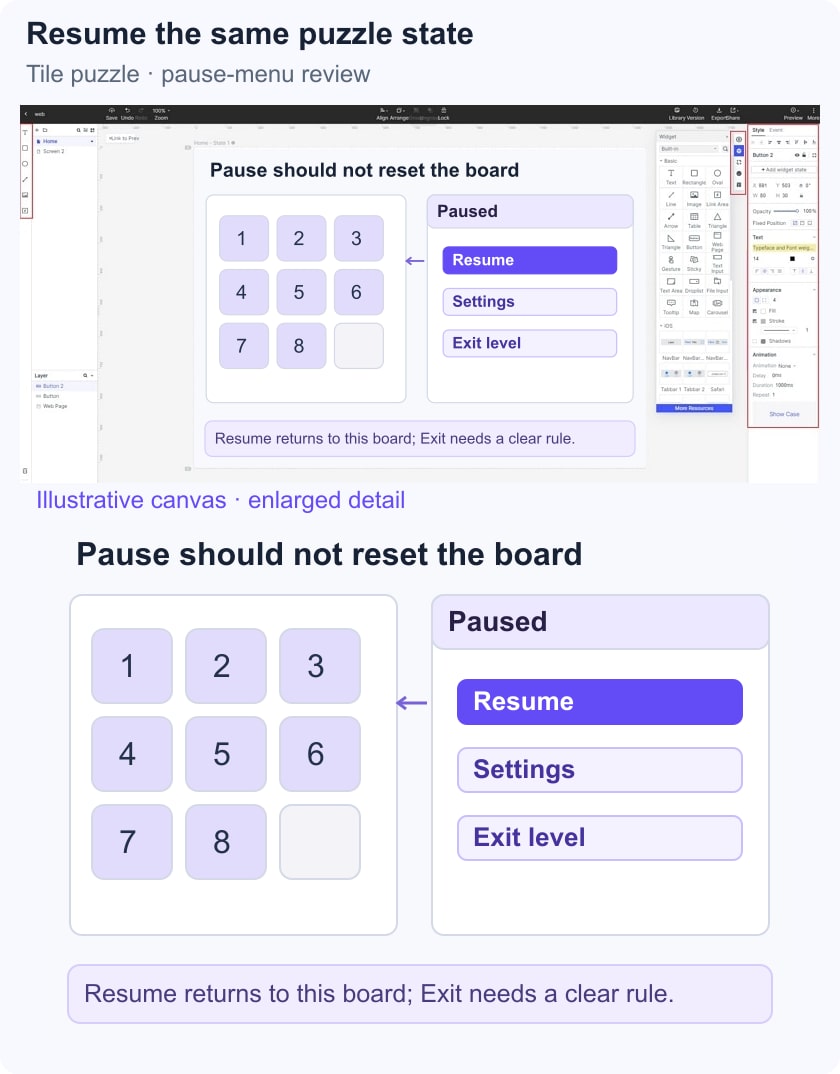
Use the available state or screen-link controls to show the changes relevant to the task. For the puzzle example, Start opens Tutorial, Continue opens Play, and Pause reveals Resume, Settings and Exit level. The historical screenshots show one way an earlier editor represented states; use the current controls available in your workspace.
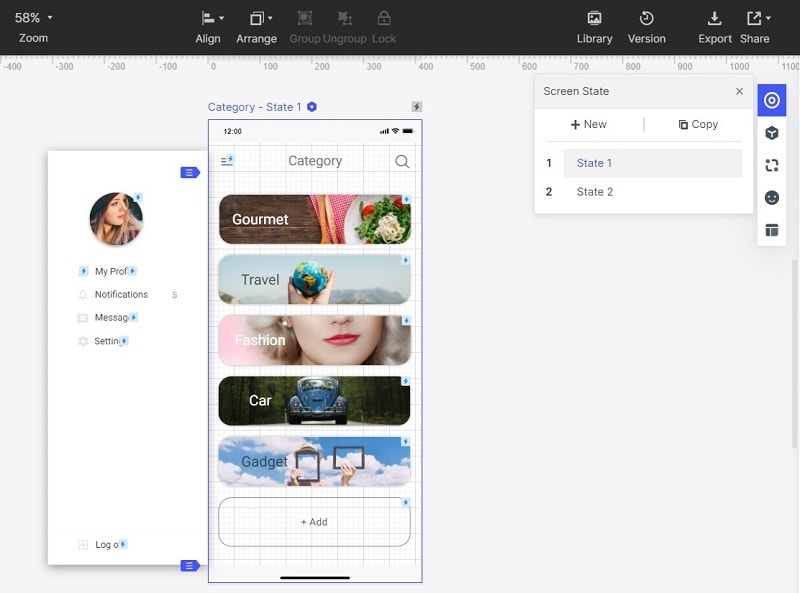
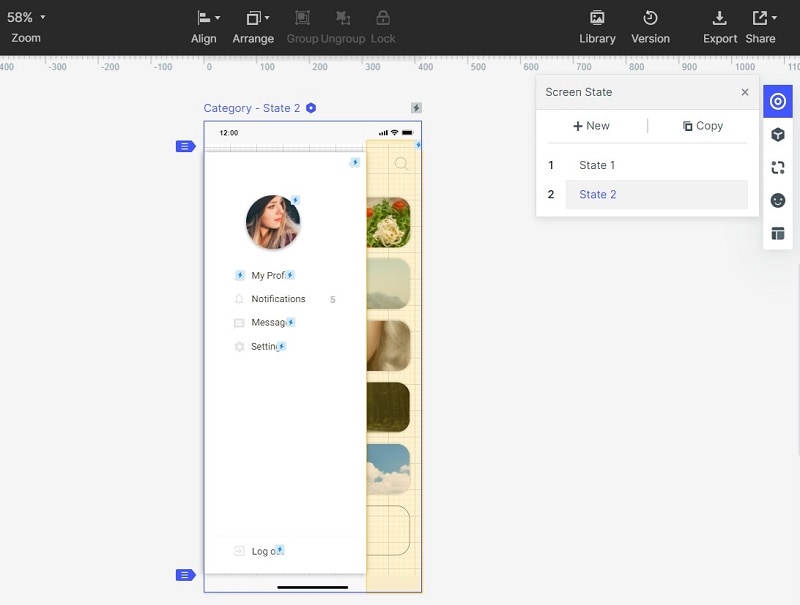
Connect Resume back to the same illustrated board, and make the return from Settings explicit. If Exit level discards progress in the proposed design, show a confirmation with clear consequences. If it preserves progress, explain where the player returns. Do not make the wireframe silently decide this product behavior.
Annotate which state should retain the selected level, board position and settings. Microsoft’s game UI navigation guidance emphasizes consistent navigation and predictable focus. Use it to form review questions, then verify the actual input and narration behavior in the implemented game.
Step 4: Preview and Share the Game Wireframe
Share a version that starts at Menu. Ask a reviewer to begin a level, pause, change an available setting and resume. Record whether they find Pause, understand the exit consequence and expect the same board on return. The review inspects the proposed UI sequence; no puzzle logic, saved game or real setting change is demonstrated by these screens.
Useful Tips to Create a Game Wireframe
Keep the interface simple enough to expose the decision under review. A pause menu needs understandable choices and a clear route back; detailed character art is not necessary to test those labels. Conversely, a combat-visibility question may require a more realistic gameplay scene than this wireframe can supply.
Use a component state for a local change and a separate screen where the task needs a different view. Choose the representation that makes the intended behavior easy to inspect rather than animating every element.
Reuse the same sample board and progress labels across Play and Paused so changes are deliberate. Include a first-time tutorial route and a return route that does not repeat instructions unnecessarily. Label unimplemented branches rather than letting reviewers mistake a dead link for a game rule.
Keep the reviewed screens together with the questions they answered and the remaining game-engine work. The wireframe is ready for the next stage when the team understands the intended menu and state behavior; it is not a substitute for playtesting, accessibility testing or a functional game build.