Principle prototyping is useful when you need to explore how an interface moves between states. This guide follows project setup, imported layers, scrolling, event connections, and preview. It also shows when an online prototyping tool such as Mockitt fits a shared, screen-based review. The choice depends on the interaction you need to demonstrate, rather than a universal ranking of tools.
How to Use the Principle Prototyping App
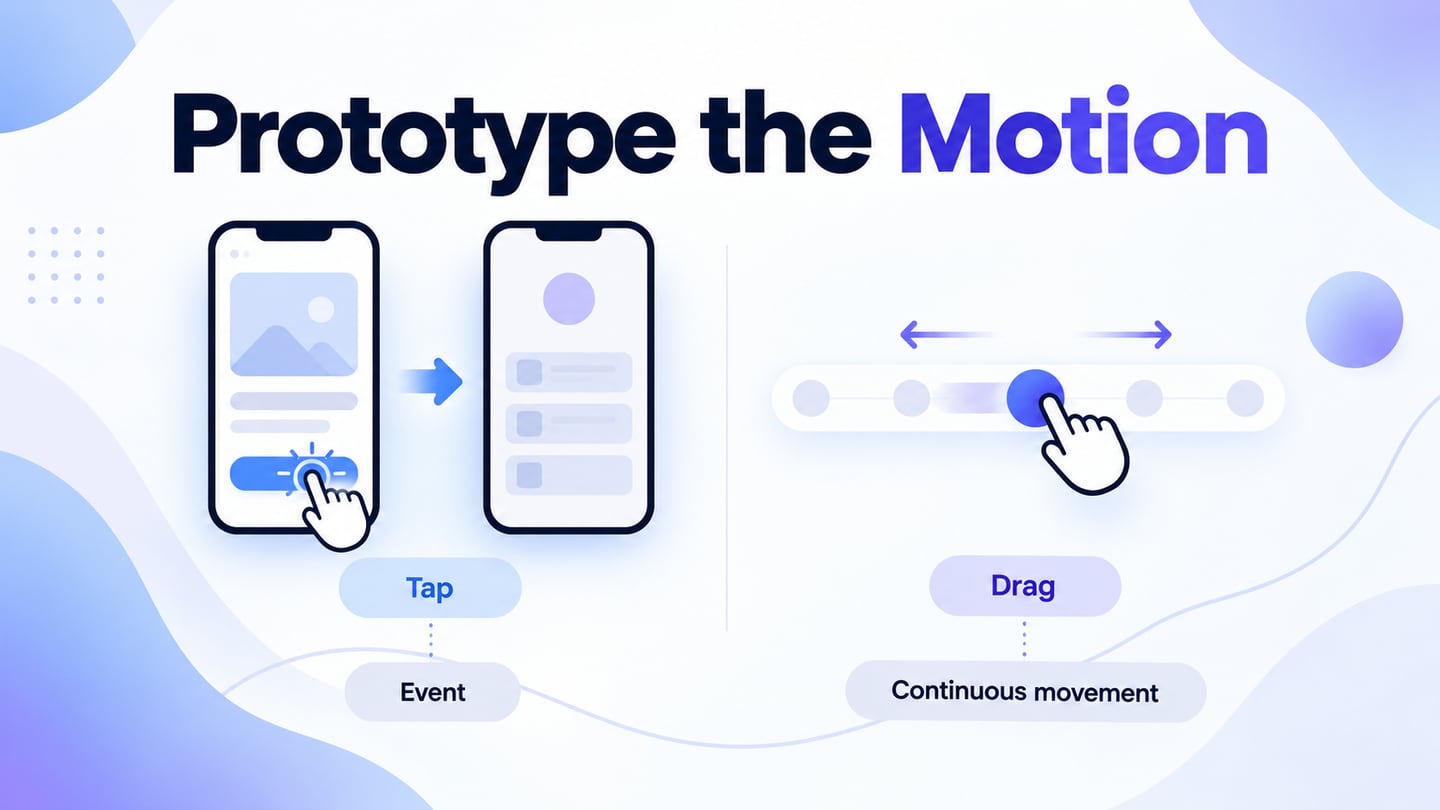
Principle is a macOS prototyping application for animations and interactive interfaces. You can explore a short transition, a gesture, or a multiple-screen flow. Its canvas contains artboards and layers; the Animate panel controls transitions between artboards, while Drivers connect changing properties within an artboard. These are different mechanisms, so first decide whether your example moves to a new screen or responds continuously to scrolling or dragging.
Step 1. Open the Principle Prototyping App
Launch Principle on a compatible Mac and create a project. For a small practice task, use a product list and a product detail artboard. Keep the content and the return action simple so you can inspect the motion rather than debug a large flow.
Step 2. Design the Screen for Your Principle Prototype
Choose File > New to start a document. Sketch the general screen layout and organize your layers into clear, cohesive components. Give equivalent layers consistent names across artboards so you can recognize the elements involved in the transition. Set an artboard size that matches the device you intend to preview.
Step 3. Edit Your Design
If you already have a design, use the import workflow supported by your installed Principle version and source design tool. Check the official Principle tutorials for the matching workflow. After import, inspect layer names, clipping, text, and image placement before animating. Do not assume that every source tool or file format imports identically.
Step 4. Choose an Animation
Select the container you want people to move. Its horizontal and vertical behavior can be static, draggable, scrollable, or paged. These settings control movement along an axis; they are not interchangeable with transition easing. For a vertical list, use vertical scrolling and keep the horizontal axis static. Use Drivers when an element needs to respond continuously to that scroll position.
Step 5. Create a Link
To connect artboards, select the layer that acts as a trigger, open its event control, choose an event such as Tap, and connect it to the destination artboard. Adjust the transition in the Animate panel, then test both the forward and return paths. Principle's documented sharing options include a web viewer and standalone HTML viewer export; these demonstrate a prototype rather than generate a production app.
For broader UI animation tool selection, compare the transition or gesture you need to demonstrate. The Principle for Mac overview provides more context for its role in a design workflow.
Use Mockitt for a Shared Screen-Based Prototype
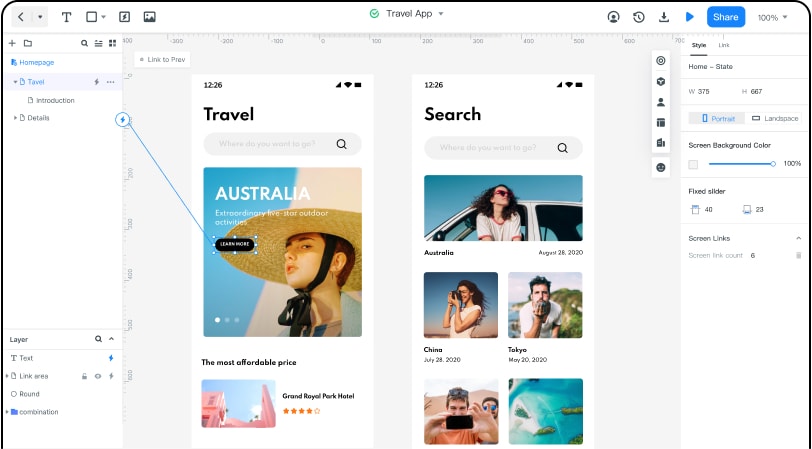
Mockitt is an alternative when the immediate task is to assemble editable screens, connect a user journey, and review it with other people in a browser. It does not need to reproduce every detail of Principle’s animation model to be useful. Use built-in widgets and icons, start with an appropriate template, and save customized assets in a reusable library. Shared access, comments, and prototype previews help teammates discuss the work. Check reviewers’ access before a meeting. Compare the required gestures, transitions, and review workflow before choosing either tool; an interactive prototype still needs implementation and testing in the final application.
Features
- Animate your prototypes and make your screen interactive using Action, Transition, and Target link effects.
- Preview your prototype in the intended browser or on a mobile device; confirm any export or offline requirements against your current plan.
- Collaborate with team members in real-time and co-edit the project.
- Leverage the assortment of UI assets and templates to speed up your design process.
- Keep the project in a shared workspace, subject to the account’s storage and access limits.
- Design beautiful prototypes with the help of built-in widgets.
How to use Mockitt online
Step 1. Log In
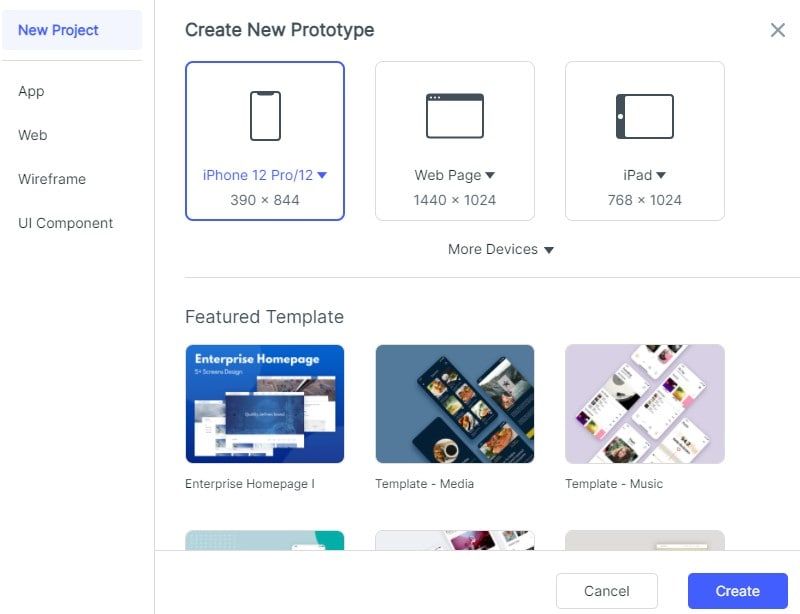
Open Mockitt and create a prototype project. Enter a descriptive name and choose a device preset or a custom size. Start with a blank project or an appropriate template. The screenshots below show historical versions of Mockitt: they preserve the project, screen, widget, link, and preview concepts, while some menu labels have changed.
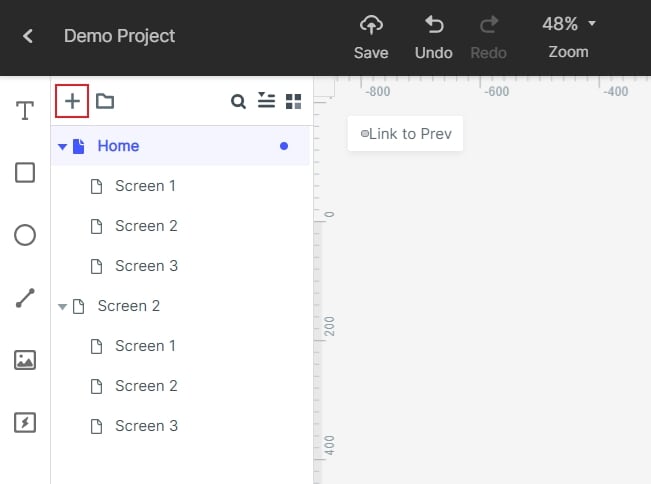
Step 2. Add more Screens
The program will take you to the design window. Before drawing any design, add your desired number of screens by clicking the 'New Screen' button.
Step 3. Add Objects and Icons to Screens
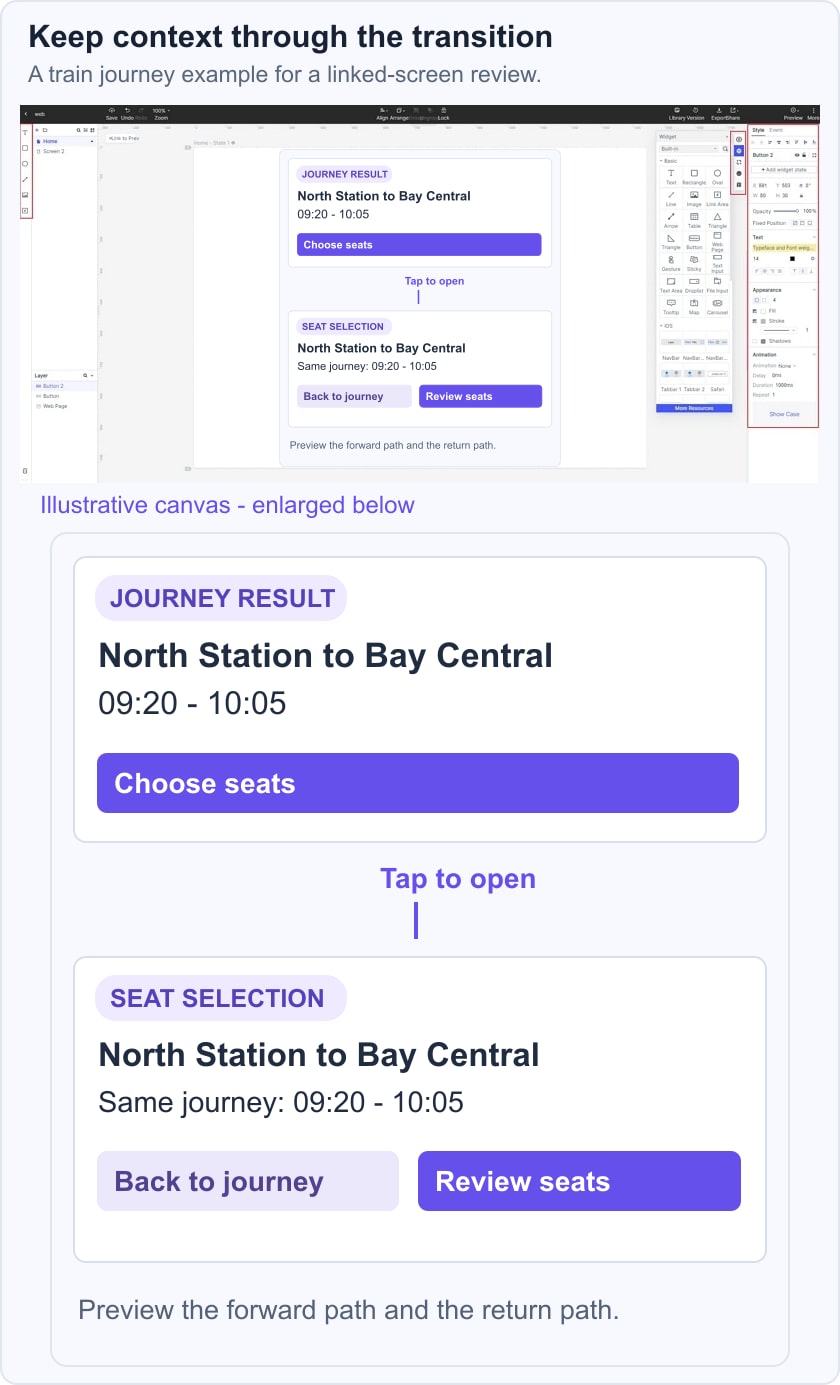
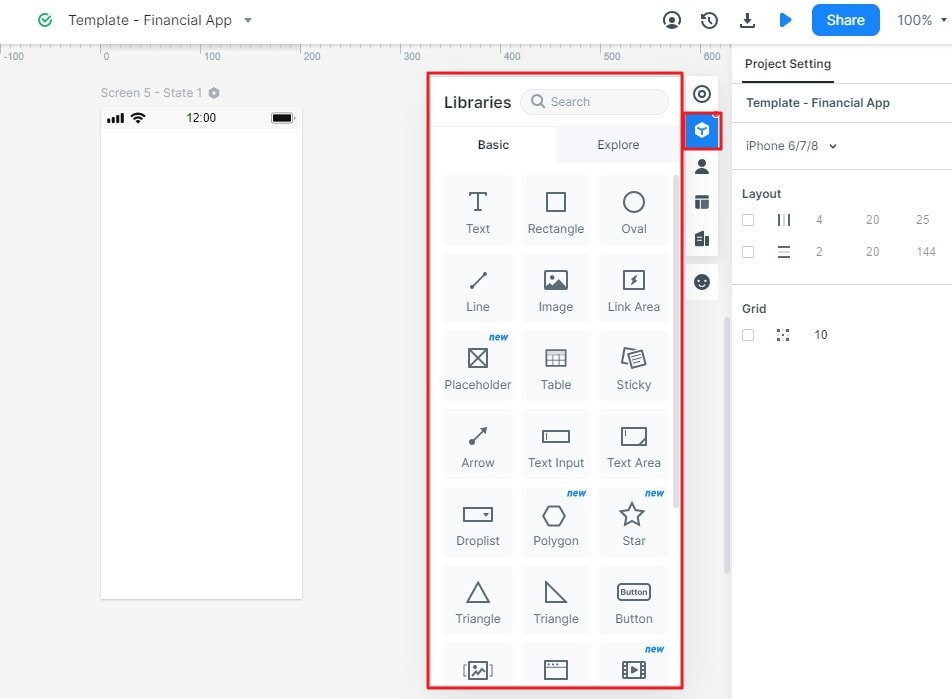
After adding your screens, place the required widgets and icons on the canvas. Use the properties panel to edit size, text, and appearance, and save useful reusable elements in the appropriate library. For the practice flow, create a train journey result and a seat-selection screen. Label the trigger “Choose seats” and add a visible way back to the journey result.
In this example, the seat-selection screen is a visual prototype: it does not reserve a ticket or check live availability. Keep the selected journey name visible on both screens so a reviewer can tell whether the transition preserved context.
Step 4. Link your Screen and Object
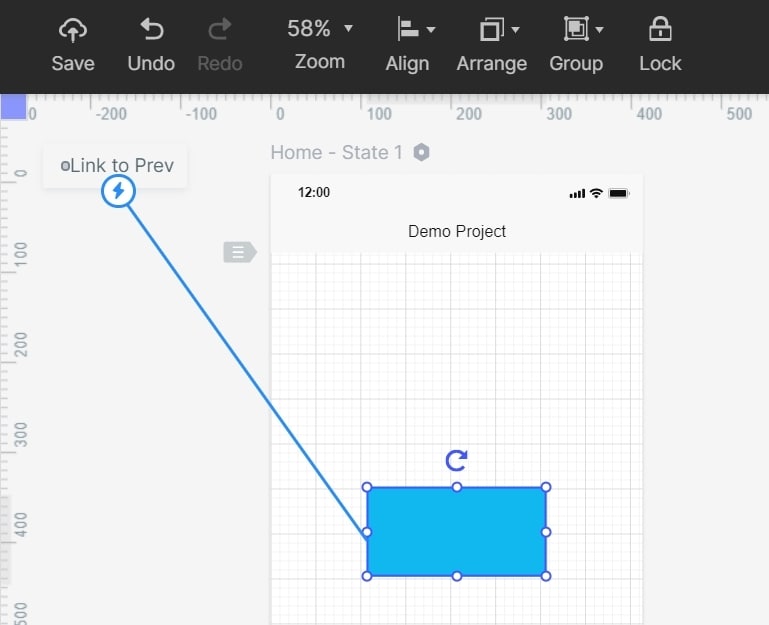
Prototypes are created by linking several pages to respective clickable objects. On a screen, click on the object you want to link to another page/screen. You should see a circular handle on the right side of this object. Simply drag this handle to the target screen and repeat the same procedure for the other objects and pages you want to link. The core part of the interaction is linking your screens and objects.
Step 5. Preview the Prototype
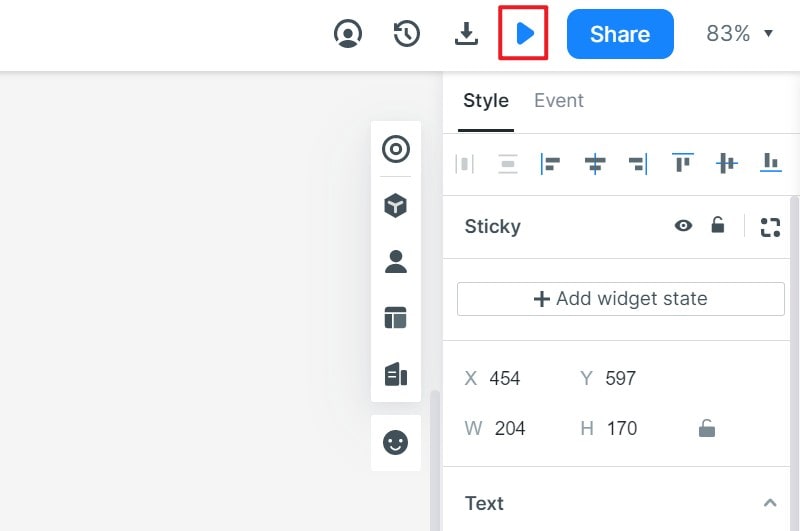
When the links are complete, open Preview and walk through the prototype without using the editor. Check that “Choose seats” reaches the right screen, that Back returns to the same journey, and that an unlinked control is not mistaken for a working feature. Share the preview with a reviewer and record where the intended next action is unclear.