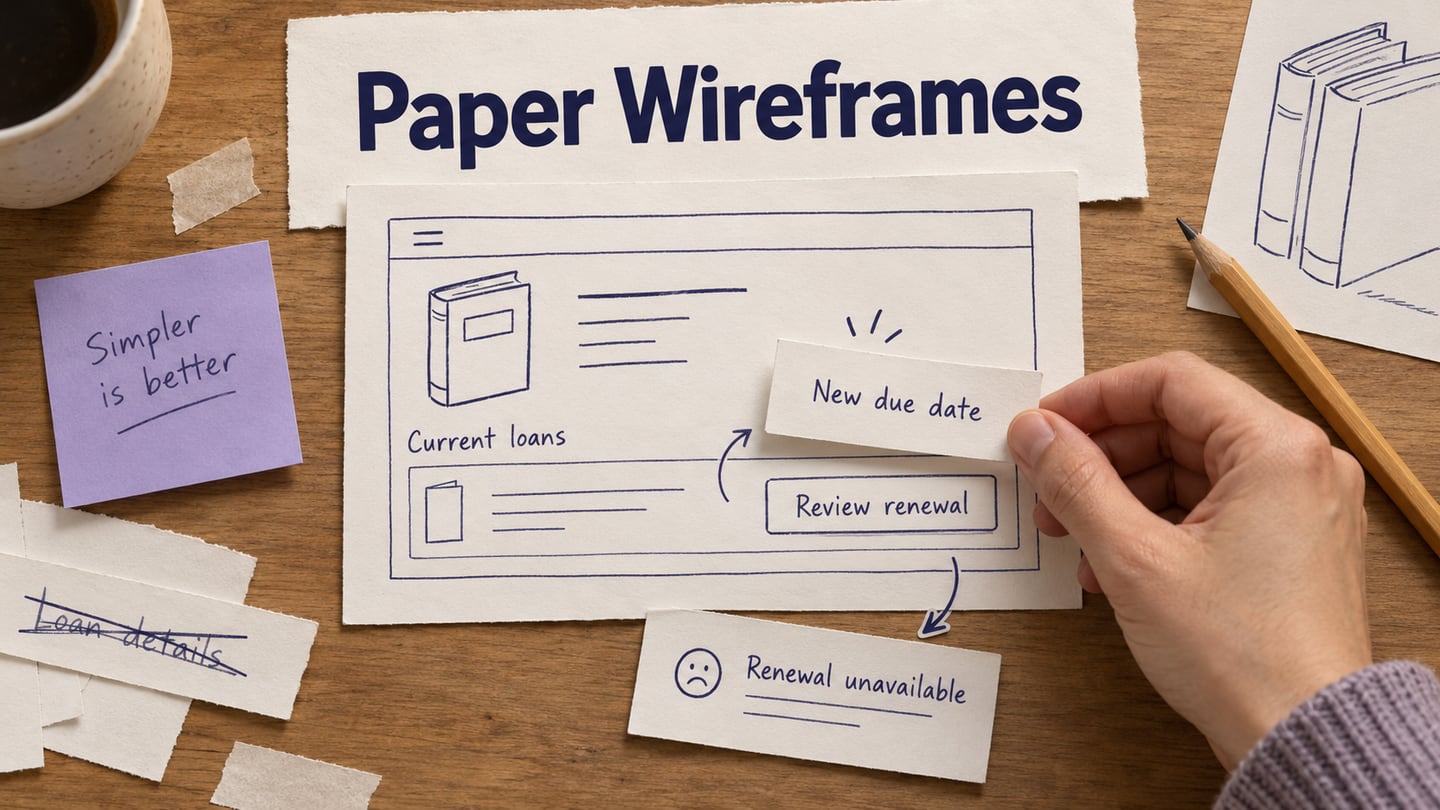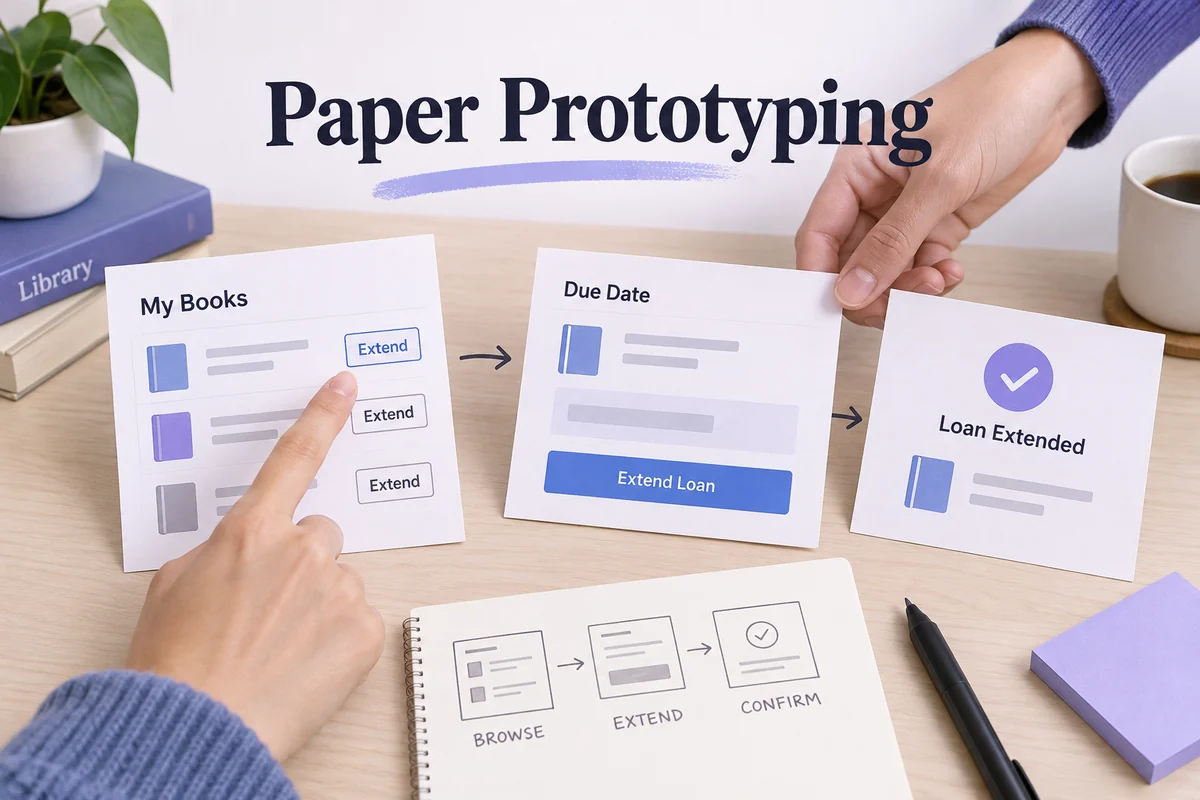
A paper prototype lets someone try a design before you build an interactive digital version. Draw the screens, prepare the states that can change, and have a facilitator swap the paper in response to the participant's actions. The useful question is what the person understands and does—not whether they like your drawing. For the next planning step, use the Crazy 8s ideation exercise guide.
You can use paper to explore a new app, compare a revised flow in an existing product, or work through a confusing interaction with a team. The materials are simple, but a useful session still needs a task and a plan for recording what happens.
What is paper prototyping?
Paper prototypes use sketches, printed screens, cards, and movable pieces to represent an interface. One sheet might show a mobile book list; another shows the selected book's details. A smaller piece can stand in for a menu, keyboard, error message, or confirmation.
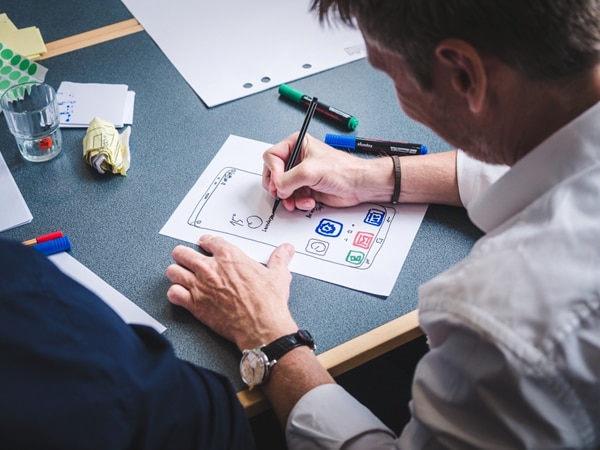
The facilitator acts as the interface: when a participant points to a control, the facilitator presents the prepared response. The participant should not have to guess every missing screen. That makes a paper prototype different from merely showing a sketch and asking for an opinion.
Unlike a digital prototype, paper does not require an editor or functioning screen links. It still requires readable content and a coherent task. Nielsen Norman Group's paper-prototyping guidance explains its value for learning before code is written.
Advantages and disadvantages
What paper does well
- Quick changes: redraw a label or rearrange a screen without rebuilding an interaction model.
- Low commitment: unfinished work can make it easier for the team to compare alternatives. It does not automatically make all feedback honest or unbiased.
- Accessible participation: colleagues can contribute with simple shapes and words, even if they do not use a design application.
- Visible sequence: laying screens next to each other helps expose missing steps or an unnecessarily long route.
The low material cost is useful, but preparation and facilitation still take time. A stack of beautiful drawings is not valuable if the participant cannot attempt the task the team wants to study.
Where it falls short
Paper is usually easier to operate in person. Remote sessions are possible with a camera or digitized sketches, but a shared digital prototype may be simpler. The choice depends on the setup, not on whether a client is physically close to the design team.
It is difficult to judge exact timing, scrolling, gestures, visual polish, or assistive-technology behavior. The facilitator may also unintentionally guide the participant by pointing, pausing, or selecting the “right” screen too quickly. Keep observations about the design separate from the limitations of the simulation.
A paper session does not always require a later high-fidelity prototype. Sometimes the finding is enough to discard an idea or make a small change. Move to another medium when the next question needs behavior that paper cannot represent adequately.
When should you use a paper prototype?
Use paper when the main uncertainty concerns structure, wording, or the order of steps. It can help a brainstorming group compare several concepts, or help a researcher observe how someone approaches a specific task. Avoid combining those activities without making the change clear: co-designing a screen and testing whether it works unaided are different sessions.
For example, imagine a library app where a reader wants to extend a loan. The team can sketch the book list, loan details, extension choice, and result. A paper task can reveal whether “Renew” means extending the current loan or placing a new hold to the participant.
Paper remains useful later in a project. If a new restriction changes the extension flow, sketch the alternative before editing the polished design. The method is appropriate because the question is unresolved, not simply because the project is in an early phase.
If the task depends on a system supplying flexible responses rather than swapping prepared screens, a Wizard of Oz setup may better describe the study you need.
How to make and test a paper prototype
1. Define the task and its boundaries
Write a goal such as “You need the book for another week; find out whether you can keep it.” Avoid “Tap Renew,” which reveals the answer. Use a fictional book and account. Decide whether the session includes a successful extension, a restriction, or both.
2. Draw one state per sheet or movable piece
Prepare the book list, loan details, eligible-extension result, and unavailable-extension result. Use a separate overlay for a confirmation. Keep the important text readable: title, due date, new date, and the consequence of confirming.
Do not decorate at the expense of missing behavior. A simple “Cannot extend: another reader has a hold” message is more useful than a polished book cover when the question concerns how people respond to a restriction.
3. Rehearse the facilitator's actions
Arrange the screens so the facilitator can find them without leading the participant. Decide what happens if someone selects an unsupported control. Use a neutral explanation that the part is not represented, record the expectation, and return to the task without pretending the feature works.
Run one rehearsal with a colleague. Check that the prototype can be reset, that cards do not reveal answers before they are needed, and that the observer can record the sequence without interrupting.
4. Observe the participant
Introduce the task and explain how pointing or speaking will operate the paper interface. Let the person decide where to act. The facilitator changes the state; an observer records action, expectation, hesitation, and recovery. If one person must facilitate and take notes, keep the task short enough to manage accurately.
Ask what the participant expected when something is unclear. Do not turn every pause into a hint. “What would you do next?” is more useful than “Did you see the button at the bottom?”
5. Revise and decide what comes next
Review the evidence. If people misunderstand “Renew,” try a clearer phrase and inspect the result in another session. If they understand the action but cannot interpret the restriction, change the message and available next step. Preserve the previous sketch or a photo so the reason for the revision remains visible.
End with a decision: keep the approach, try another structure, or move to a more realistic representation. Satisfaction in a team meeting is not the same as evidence that an intended user can complete the task.
Practical tips for a useful session
Use Crazy 8s for exploration. Google's Design Sprint method asks for eight ideas in eight minutes. Use it to generate alternatives before selecting a coherent flow; eight sketches are not automatically eight tested solutions.
Keep one principal state per sheet. This makes rearranging and replacing screens easier. Use smaller pieces for genuinely changing elements such as a selected row or a modal. Mark screen names on the back if visible labels would influence the participant.
Prefer alternatives during ideation, clarity during testing. Generating many ideas can help exploration. Once a participant is attempting a task, an excessive pile of incomplete screens creates noise. Include what the task needs and record the rest as outside scope.
Keep the findings. Save the question, sketches, observed problems, and design decision. The paper itself can be temporary; the learning should not disappear when the desk is cleared.
When to move to Mockitt
Once you need an independently clickable flow, remote review, or more realistic interaction, rebuild the useful states in an interactive Mockitt prototype. Keep the labels and decisions that have evidence behind them. Add fidelity because the next task requires it, rather than because paper is assumed to be an incomplete stage that every project must pass through.