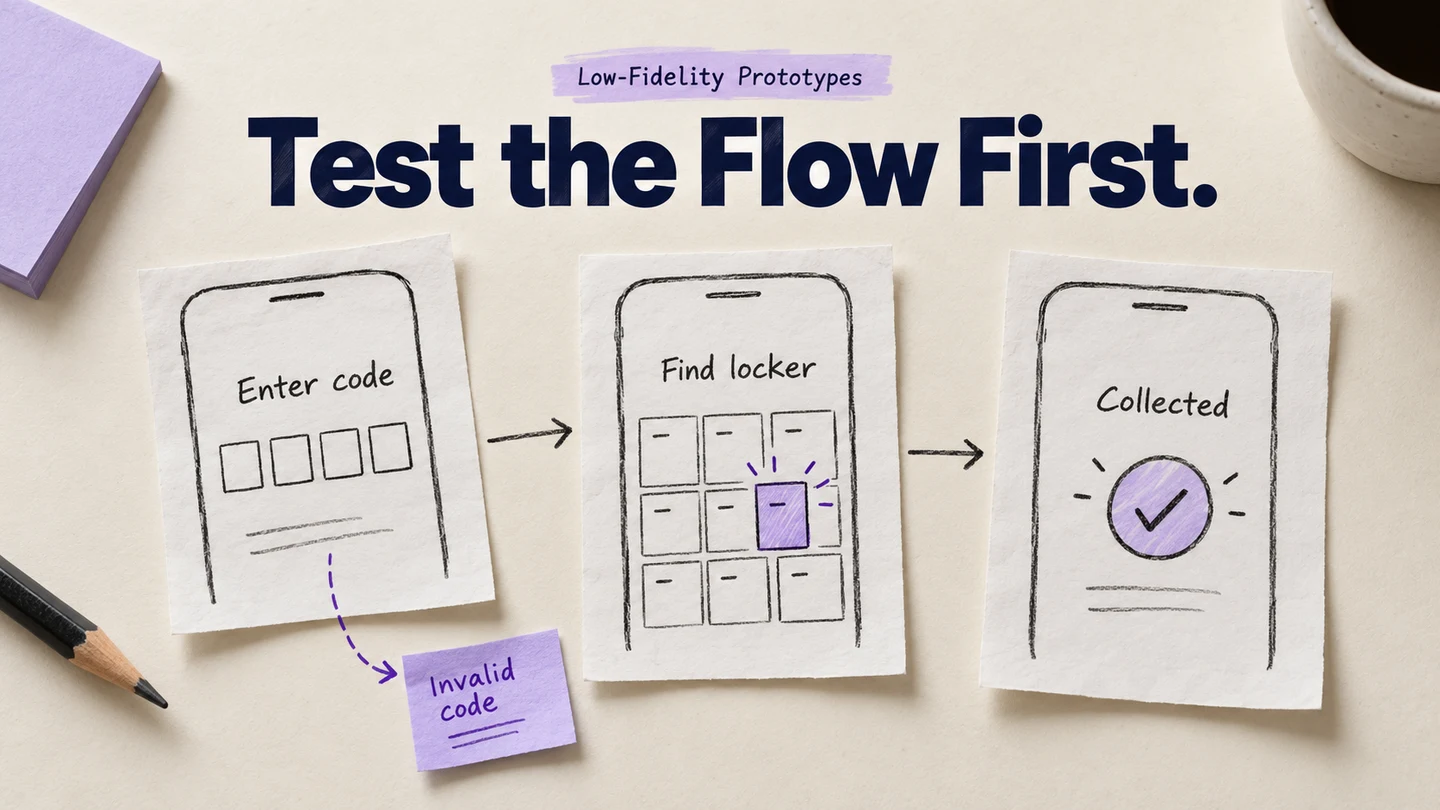
A low-fidelity prototype uses simple screens, meaningful labels, and only the interactions needed to explore a design question. You can make it with paper or linked digital layouts. Start with the task people need to complete, sketch the necessary screens, and review the route before spending time on finished visual design.
It is equally important to know which type of prototype works for the decision you are making. Mockitt’s prototype editor can hold rough screens and their connections; the useful result is a clearer understanding of the proposed flow, not a polished imitation of a finished application.
What Is a Low-Fidelity Prototype?
Prototype
A prototype is a model used to explore a proposed design. It lets designers visualize an idea and other people examine or try it. A rough layout can show the design’s content, visuals, and interaction. These drafts help answer questions such as: What happens if you select a certain element? How do you reach another page?
Fidelity of a Prototype
Fidelity is the detail of the prototype. It describes the similarity between the prototype and the intended product. This includes the visuals, content, and interaction of the design. A simple-looking screen can still have useful working links; a detailed-looking screen can remain static. The comparison of low and high fidelity explains those dimensions separately. Here, we will focus on creating and using the lower-detail version.
Low-Fidelity Prototypes
You can use a paper sheet or digital layouts to create one. These prototypes help you visualize the design. Designers use them to check the practicality of their creations. Because they do not need finished visual styling, the creation process can be relatively quick.
- The visuals represent essential elements, such as a heading, choices, and an action.
- Use essential but meaningful content. A real label can reveal a misunderstanding that a grey placeholder would hide.
- Include the interaction needed for the question. A facilitator can exchange paper screens, or a digital prototype can connect the relevant actions and destinations.
Advantages and Disadvantages of Low-Fidelity Prototypes
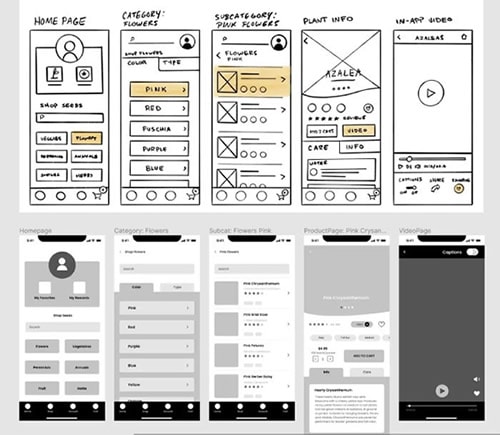
Wondering when to use these prototypes? How can you use them to their full potential? Here are some of the benefits and limitations every designer should consider.
Advantages
- Focus on structure: Simple visual treatment can help the team discuss content and navigation without treating colors or decorative details as settled.
- Low setup cost: You can start with paper sheets and basic drawing tools. Digital tools may also offer a useful starting point, depending on their access limits.
- Quick changes: There are fewer details to maintain, so a change to a route or screen can be easier to make.
- Supports collaboration: The simple layout allows people to discuss how to improve it. Team members can discuss the practicality of the lo-fi design without needing to produce a finished visual design themselves.
- Easy to change: Low-fidelity designs have a basic outline. You can modify that outline before the team commits to more detailed design or implementation.
Disadvantages
- Some questions remain unresolved: A rough prototype cannot establish whether final typography, motion, or dense content will work. Supply more detail when the decision depends on it.
- Simulation has boundaries: Paper screens may need a facilitator, and digital links represent only the states you build. A successful click-through does not prove that authentication, storage, or other production services work.
Low fidelity does not mean that interaction is impossible or that the design can only be reviewed internally. It means choosing a useful level of detail and making its limits understandable to the people trying it.
When to Use a Low-Fidelity Prototype
You need to have a clear idea of the decision the prototype should support. From the start, it is important to know which areas of the design you want feedback on. Ask yourself these questions.
- Are you exploring a new idea or a change to an existing product?
- Do you need feedback on the structure and sequence?
- Are you unsure whether people will understand the proposed route?
- Can you represent the important choices without finished styling?
Once you have answers, decide what situations will work best for your task. Low fidelity is useful in the early stages of design development, but it can also help explore a new feature in an established service. Sketch alternatives when the structure is uncertain, then connect the version you want people to try. For a quick paper review, exchange screens in response to the participant’s actions rather than explaining every step in advance.
Choose a Tool for the Low-Fidelity Task
The right tool has basic elements and enough interaction support for the task. Drawing tools with templates and reusable components can be useful, but a large feature list is not a requirement for a small rough flow. Keep these points in mind before choosing one.
- Ease of learning: Look for accessible drawing controls and an easy way to change text, shapes, and screen order.
- Fidelity level: Choose something that lets you keep the design simple. Supporting high fidelity is useful only if you expect to develop the same design further.
- Interaction: Check the actual route you need to represent, including a way back. Do not require complex animations when links between screens will answer the question.
- Collaboration: Decide how reviewers will open the work and leave feedback. Check the recipient’s access as well as your own editor access.
- Design elements: Reusable controls help keep repeated parts consistent. Use only the content and controls the task needs.
Create Low-Fidelity Prototypes in Mockitt
Mockitt provides widgets, reusable elements, and screen connections for creating prototypes. Users can also start from an existing template and adapt it to their task. Its sharing and commenting features let the team discuss the same screens instead of separate copies.
Useful Mockitt Features
- Feedback: Share the prototype with reviewers and collect comments about the relevant screen or decision.
- Templates: An editable template can provide a starting structure. Remove unrelated screens before using it for your own task.
- Sharing: Set the appropriate access for the people reviewing the prototype. Viewing a shared prototype and editing the project are different permissions.
- Widgets and connections: Use simple controls and links first; add more detailed states only when they affect the question you want to investigate.
Create Your Low-Fidelity Prototype in Four Steps
Step 1: Create a prototype project and give it a task-specific name. The project-creation guide shows the project setup. Choose a suitable screen size rather than building every device version at once.
Step 2: Add the widgets you need and arrange a rough layout. Use recognizable headings, choices, and action labels. Keep adding elements only while they help represent the task.
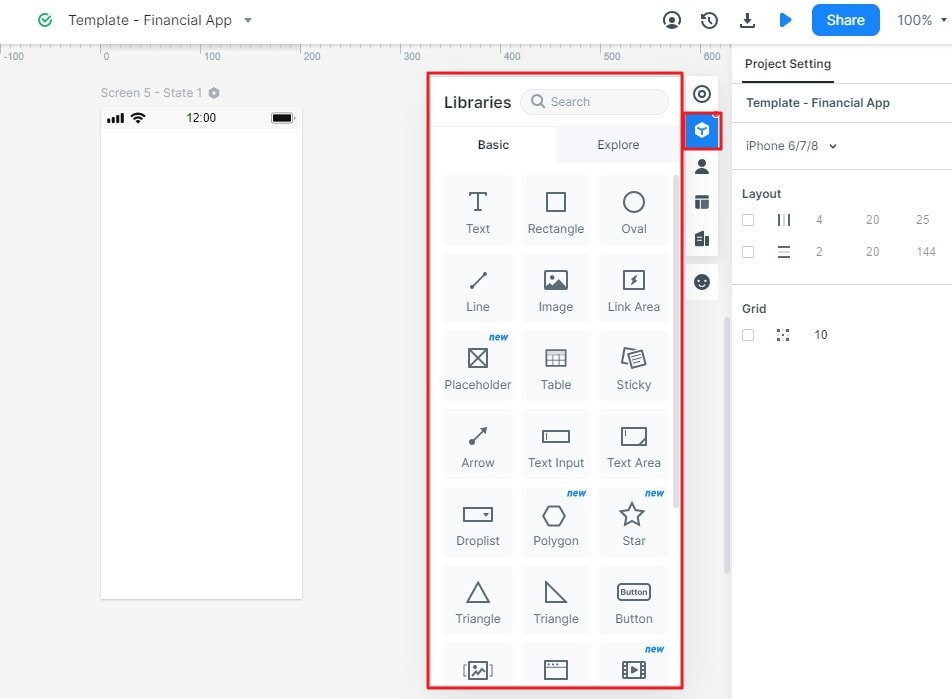
Step 3: Select the object that should trigger navigation and connect it to the intended screen. Set its action in the interaction controls. Connect the return path as well; dragging a visual object onto another screen is not itself the same as defining a working link.
Step 4: Open Preview and try the complete route. Share the preview with someone who resembles the intended user and ask them to perform a specific task. Watch where the design fails to explain itself before offering help.
Try It: A Rough Parcel-Pickup Flow
Imagine a parcel locker service. The question is whether someone can understand where to collect a parcel after entering a collection code. Use fictional data and three main screens: Enter code, Collection details, and Collected. Add an Unrecognized code state so the exercise includes recovery.
On Enter code, write a concrete label such as “Collection code” and a “Find parcel” action. On Collection details, show sample information: locker B12, the building entrance, and a “Mark as collected” action. The final screen should state what was recorded in the example. Keep the location visible when returning to the details. These are simulated screens; the prototype does not unlock a real locker.
Prepare two paths. One code opens Collection details. Another opens Unrecognized code, with an explanation and a route back to edit the code. In a simple click-through, separate screens can represent those states without automatic code validation. If the reviewer needs to enter arbitrary text, choose a prototype setup that actually supports the input behavior rather than pretending a fixed hotspot does.
Ask, “Find where you would collect this parcel, then correct a code that is not recognized.” Note whether the person identifies B12, understands the entrance instruction, and finds the edit action. If they look for an address on the code-entry screen, that is a specific content-placement question to investigate. Add or move the needed information before increasing the visual detail.
Low-Fidelity Prototype Examples
These examples illustrate different ways to make an idea visible, from a webpage outline to a paper screen sequence.
Low-Fidelity Webpage Outline
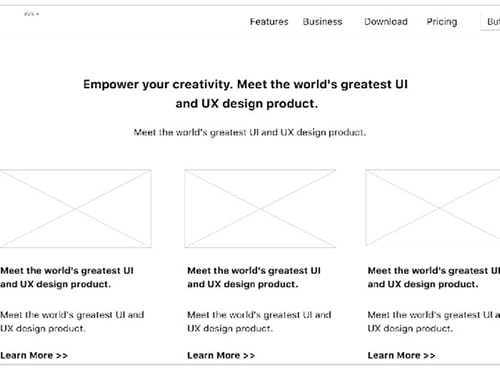
For web designs, these prototypes help you present the layout of the website to other people. They show the proposed content order and page structure before the final visual treatment is decided.
Low-Fidelity Business Listing Prototype
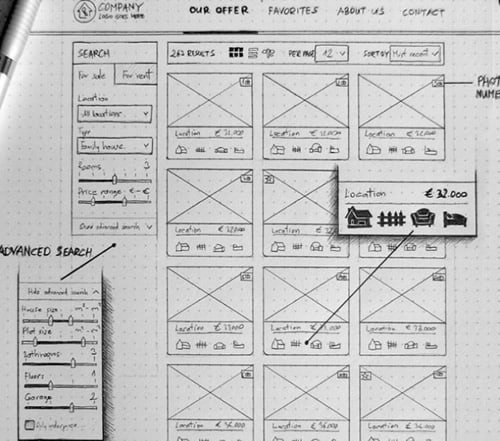
This listing sketch lets the team discuss search filters, the information on each result, and the detail shown after a selection. Give reviewers a meaningful listing to find. The layout does not demonstrate live search data or the operation of an entire business.
Low-Fidelity Prototype for a Mobile App
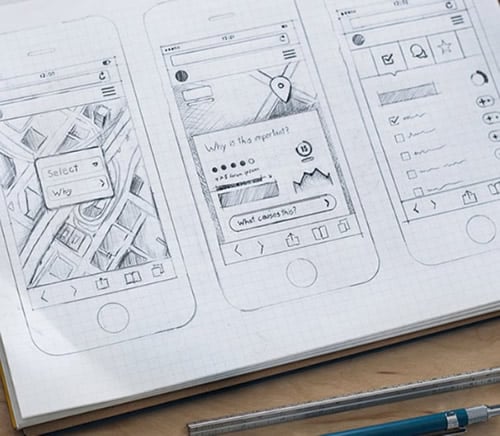
UX designers use wireframes to create lo-fi prototypes while developing mobile apps. You can start with paper to explore information structure and layout, then turn to a digital tool when linked screens or shared review would help.
Software Paper Prototype
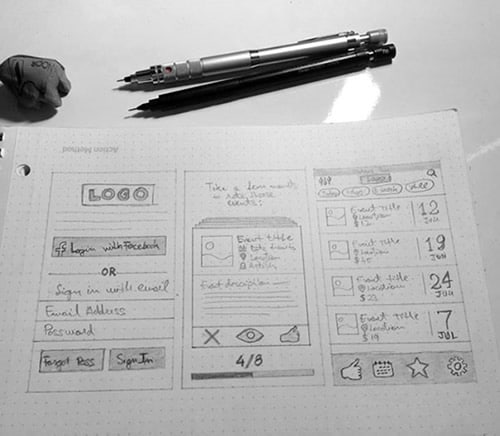
Use paper prototypes to explore whether people understand a proposed software interface. A facilitator changes the paper screens or moves cutouts in response to an action. That can represent an interaction without implying that the paper itself runs an animation.
Move Forward When the Question Is Clearer
A useful low-fidelity prototype makes a design question easier to examine. Keep the structure rough, the important content meaningful, and the required paths usable. Add detail when the next decision needs it, while retaining what the review has already helped you understand.