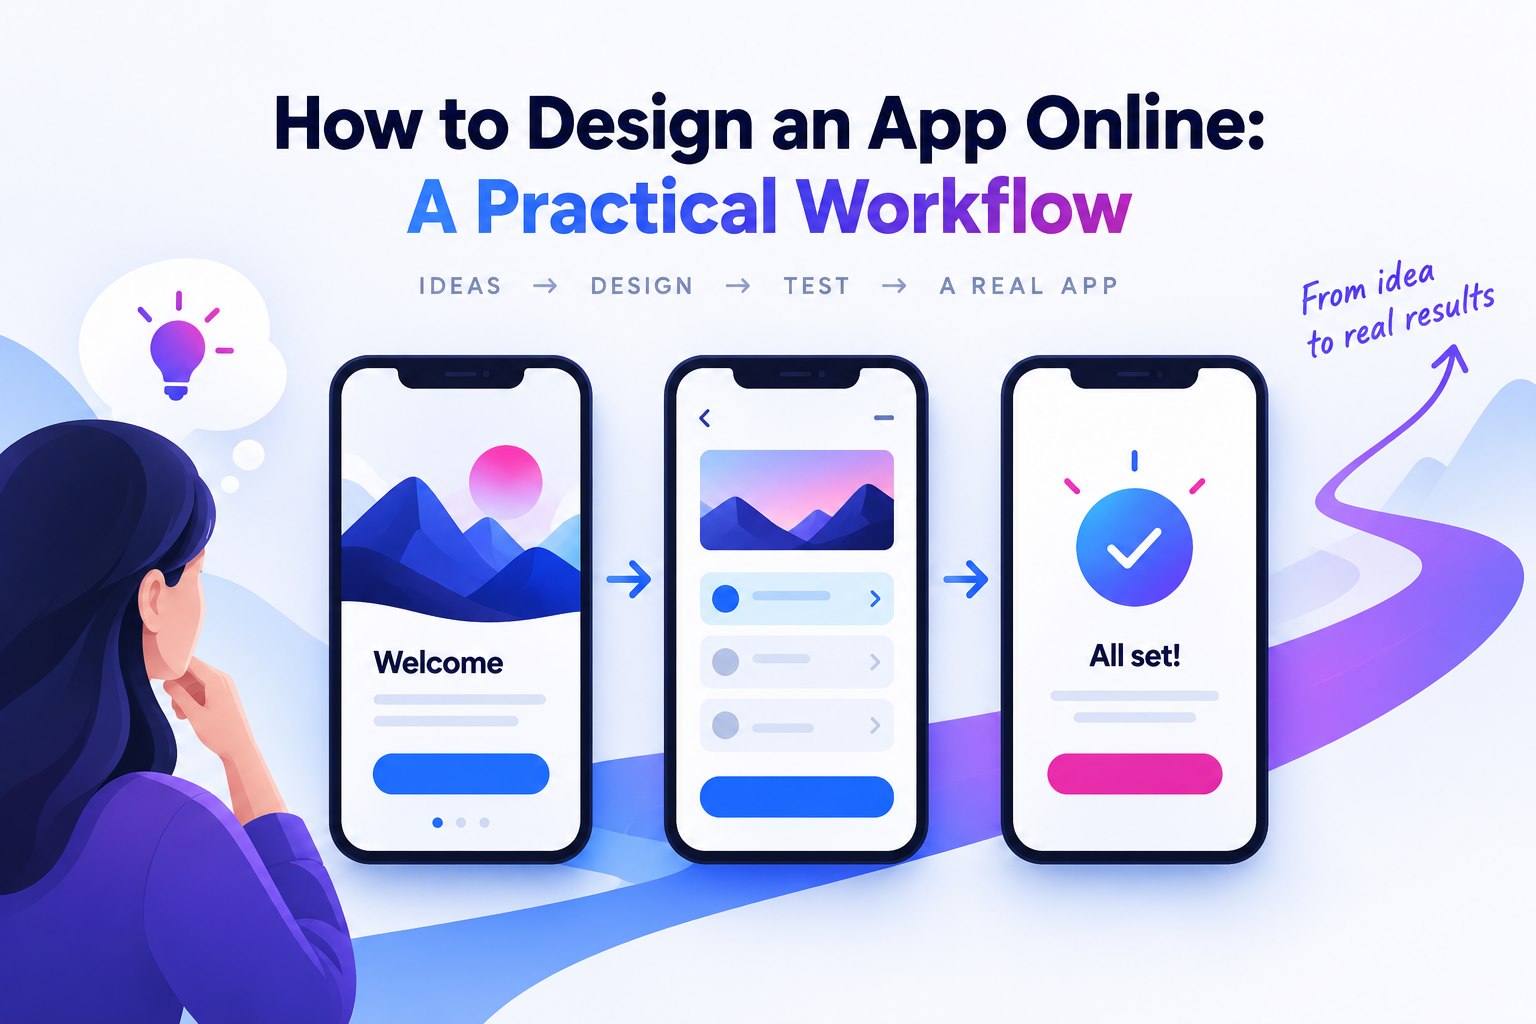
App designers are evolving and searching for newer ways to design beautiful apps for their clients or for their own company. Mobile app design online can begin with a visual prototype that does not require writing application code. A prototype helps you arrange screens and test interactions; a working app still needs implementation, data handling, and testing. This article walks through creating that prototype in Mockitt, from a new project to a shared review.
- Part 1. A Tool for Mobile App Design Online
- Part 2. How to Design Your App Online
- Part 3. Advantages of Designing a Mobile App Online with Mockitt
- Part 4. Conclusion
A Tool for Mobile App Design Online
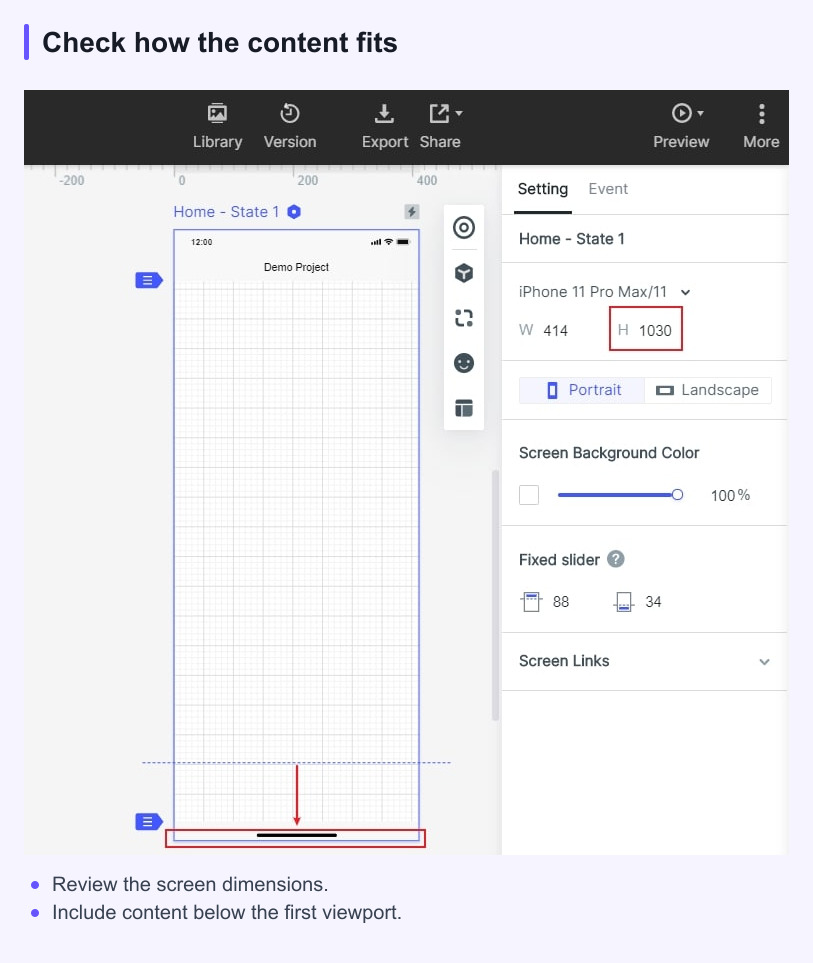
There are various ways available to design your own mobile app online. You need to start using a tool that can help you create and design great prototypes without any kind of coding. Mockitt is a product design and collaboration platform for arranging screens and connecting them into a prototype. Start with the controls needed for one task, then add states and navigation. Reusable widgets help you keep related screens consistent as you make changes.
Features:
- It allows users to manage projects and members who are invited for collaboration.
- The browser-based workspace lets you access your projects from a compatible device with an internet connection.
- It supports prototypes for mobile, web, and desktop screen sizes.
- Multiple preview modes, link sharing, and online comments support reviews.
- Widgets and templates are available as starting points.
How to Design Your App Online
Using Mockitt to design your own mobile app online starts with a project and a target screen size. Follow the steps below to create an iOS app prototype online:
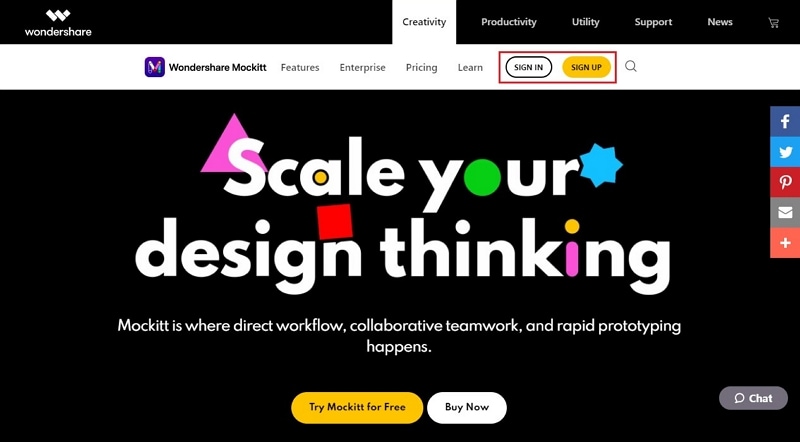
Step 1: Sign up
First you need to sign up for a new account on the platform and then go to your workspace.
Step 2: Create a Project
Then simply click on the "Create Project" button to start. You will see several built-in project templates. You can choose any one of them to start or create a blank prototype. You can also start from a demo project.
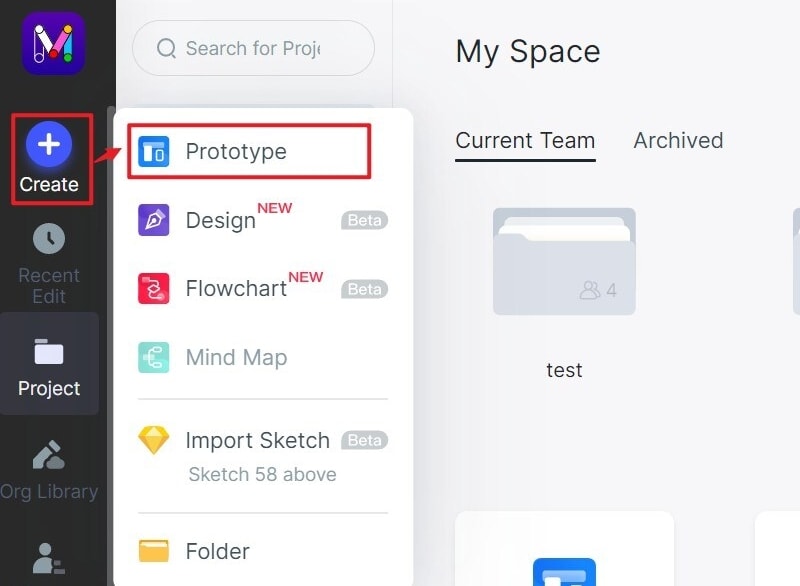
Step 3: Start to Design Your App Online
On the project canvas, adjust the screen size and add widgets and icons. Edit their properties, save reusable widgets, and link the screens that form your main user journey. Add notes to explain behavior, use shared components for repeated elements, and add dynamic states where the interaction needs them. Include media only where it helps explain the task.
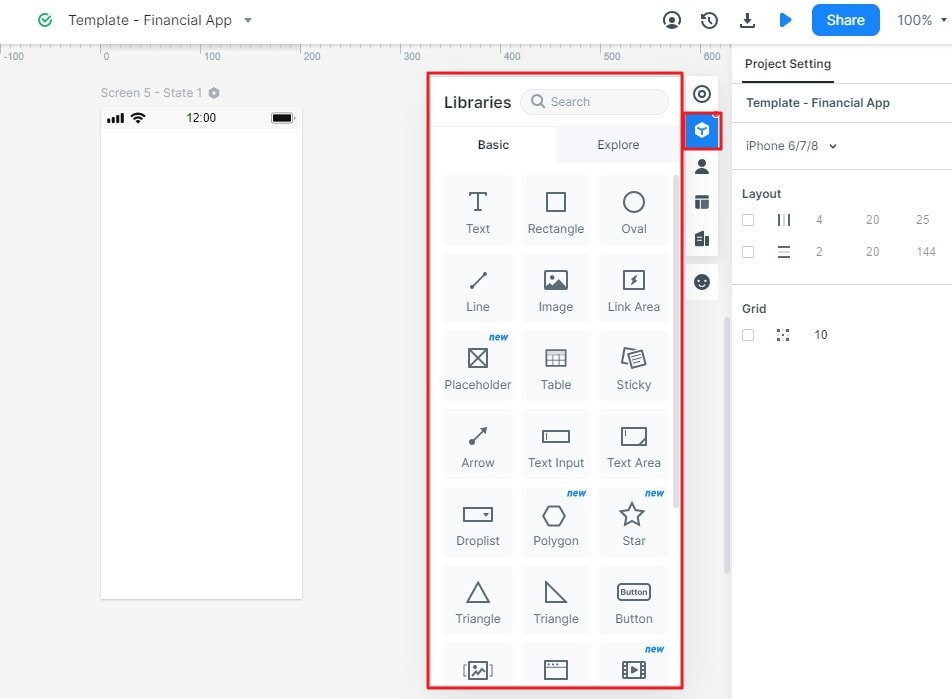
Step 4: Preview and Share Your Prototype
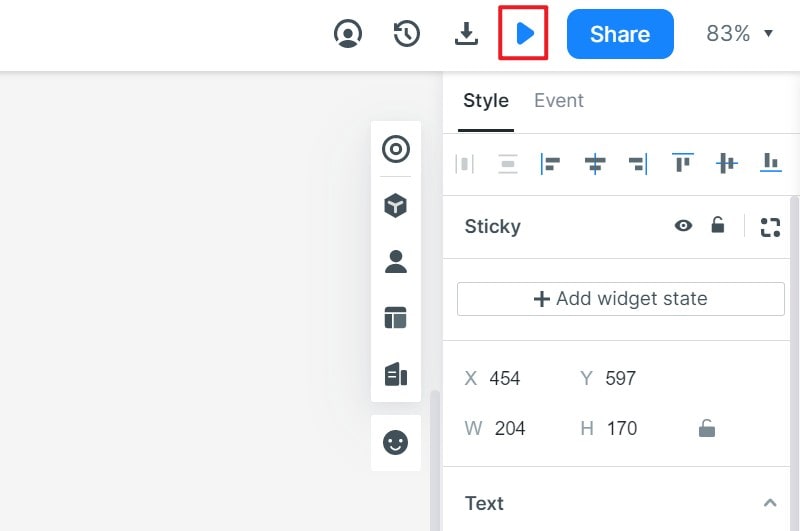
After creating and editing the prototype, you can preview it by clicking on the "Preview" button from the top toolbar.
Finally you can share your prototype with others by clicking on the "Share" button.
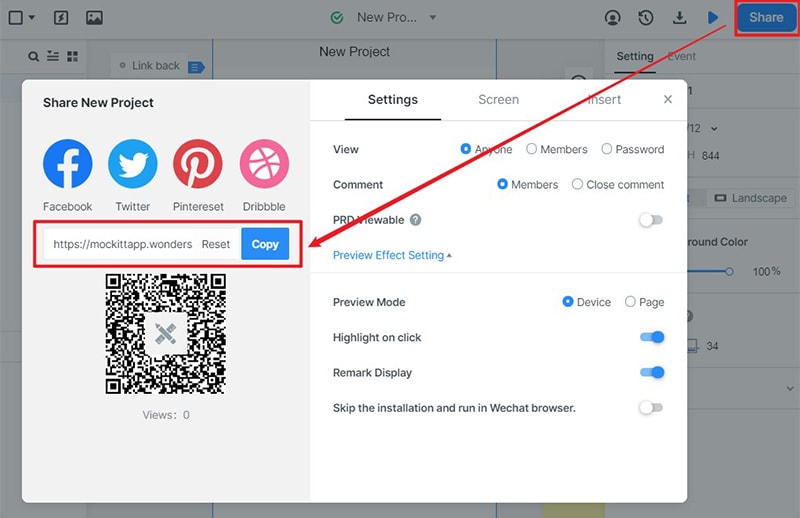
For more details you can follow user guide to know about all the things you can do with Mockitt.
Advantages of Designing a Mobile App Online with Mockitt
For online app design, Mockitt brings screen editing, prototyping, and review into a shared workspace. The following features can help when your team is deciding how an app should work.
- Begin with a small project and use the guide to learn the editor's controls before building a larger flow.
- It has a great online collaboration feature. This means, once you invite others to collaborate on your prototype, they can also add their ideas into it.
- You can access the web-based workspace from a compatible browser with an internet connection.
- Through the platform, customizing your widget library is easier. There are also so many widgets and templates available that can help to bring your ideas back to life.
- Use preview modes to inspect the prototype from different perspectives and identify problems before handoff.
- Invite team members with the appropriate permissions to edit or review the design. Share the current project link so feedback refers to the same version.
Conclusion
These steps take you from a project setup to a reviewable app prototype. Before adding more screens, preview the main task and ask reviewers where they hesitate or expect a different response. Use that feedback to revise the flow and prepare clear notes for the team that will implement it.
Move from an app idea to reviewable screens
A strong online app design process begins with one primary user journey. Map the entry, the first meaningful action, and the point where the user completes the task before expanding to secondary screens.
Then review the flow with realistic content. Placeholder text is useful early, but realistic labels and states reveal wrapping, priority, and error handling issues before the visual system is finalized.