How to Design a Mac App: Conventions, Prototype and Handoff
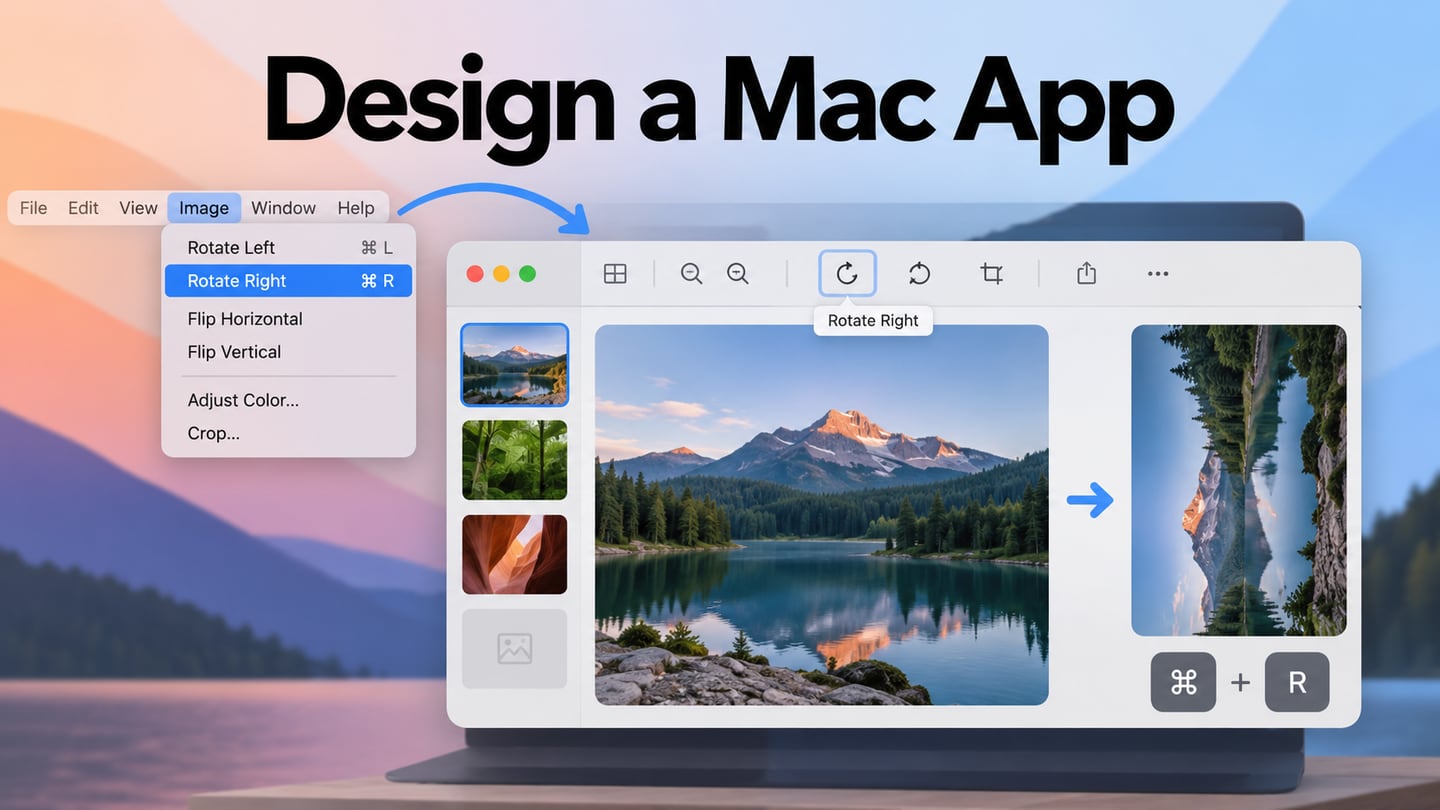
Designing a Mac app means planning for windows, precise pointer input, keyboard commands and the way people work across several applications. A mockup does not need maximum detail at the start; it needs enough detail to answer the current design question. A Mockitt prototype can make the intended screens and actions reviewable before a developer builds and tests the native application.
Mac Design Conventions and the Big Sur Example
The Big Sur image below is a historical reference, not the latest macOS interface. It shows how desktop windows, sidebars and system controls form a coherent environment. For a new project, use Apple’s current macOS design guidance and the requirements of the versions your app will support, rather than copying an old screenshot as a complete specification.
Big Sur changed the appearance of the Dock, sidebars, toolbars and Control Center. Those examples remain useful for discussing consistency, but your app should also support the practical conventions people expect: moving and resizing windows, finding commands in the menu bar and using keyboard shortcuts. A toolbar can make a frequent action visible while a menu provides another route to it.
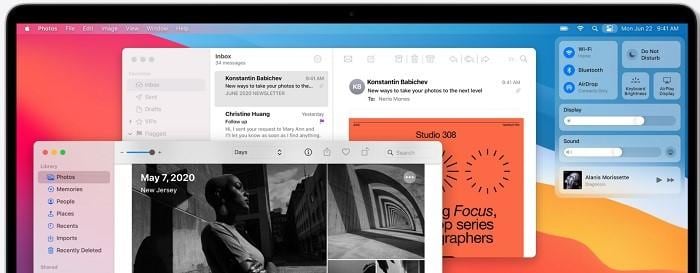 Historical Big Sur interface example; use current Apple guidance for a new application.
Five Steps to Prototype a Mac App
The five steps below preserve a useful design sequence: set up the project, compose the interface, connect actions, preview and hand off. Begin with a focused task, such as reviewing a photo and rotating it. For broader layout planning, the desktop wireframe guide covers structure and resizing. The retained Mockitt captures show an earlier interface; exact labels and available resources may differ in the current workspace.
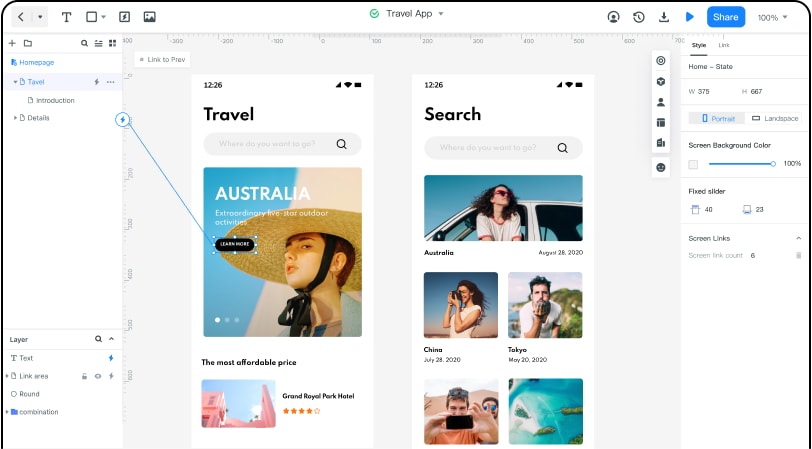
Step 1: Set Up a Project for the App
Create a prototype project and choose a canvas size appropriate to the window you want to discuss. Name it after the task, such as “Photo review: rotate an image.” A desktop canvas is a starting reference, not a promise that the application will use a fixed window size. Plan a narrower state as well as the comfortable default layout.
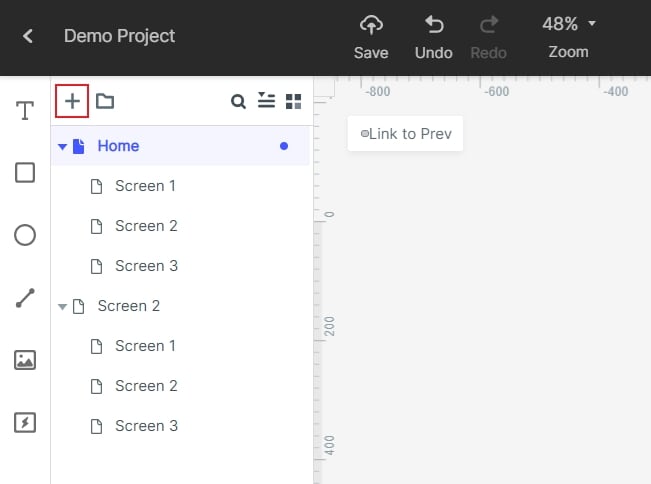
Step 2: Arrange Components on the Canvas
Arrange the controls the task needs: a selected photo, a clear title or filename, and a Rotate action. Use available text, image, shape and control resources as appropriate. The older library screenshots below show general widgets and phone examples; they do not establish that a current Mac-specific widget kit is available.
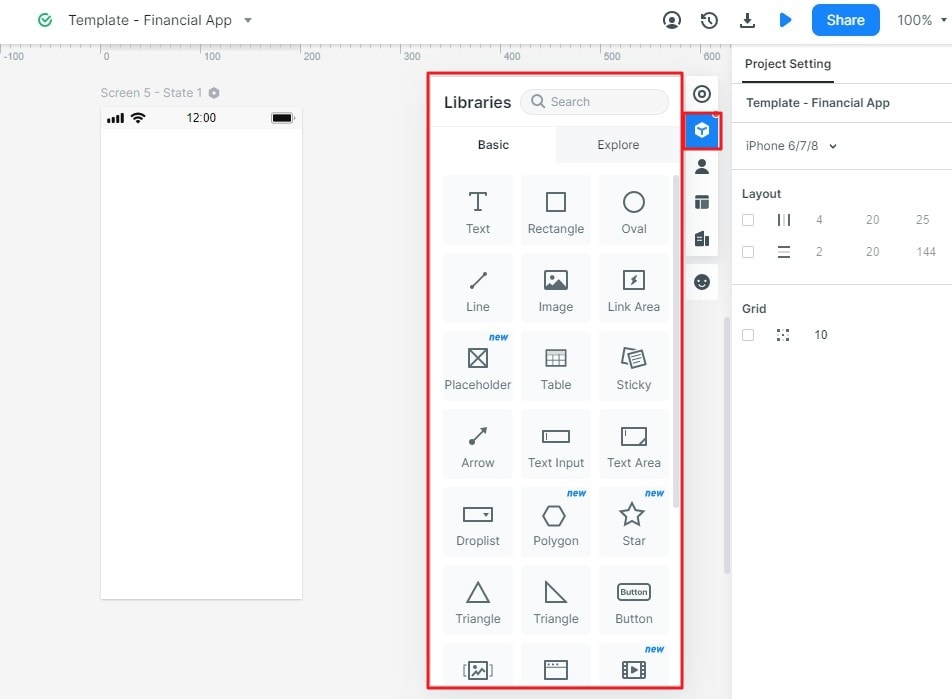
Browse the resources offered by the current account and adapt a suitable component where necessary. Keep the distinction between a visual representation and a native control: a drawn menu or toolbar communicates intent, but does not inherit macOS behavior simply because it looks familiar. Avoid adding decorative controls that have no defined function.
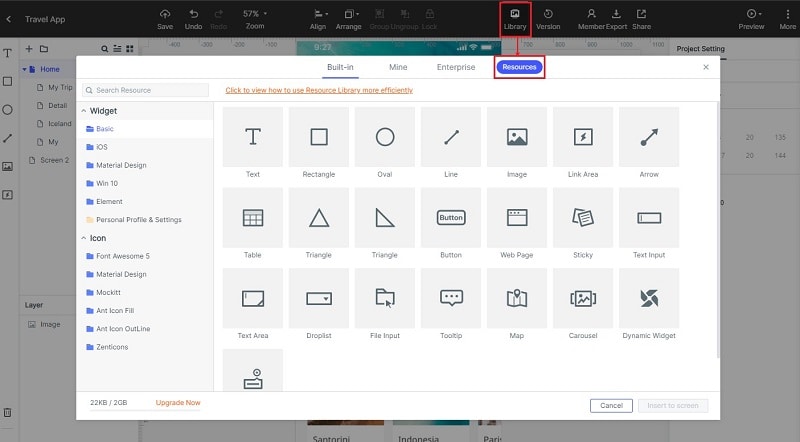
Adjust labels, spacing, dimensions and visual emphasis to support the photo-review task. Decide which controls remain visible when the window becomes narrower, and which commands can stay in a menu. Use realistic filenames and a meaningful selected state so the review does not depend on explaining placeholder content.
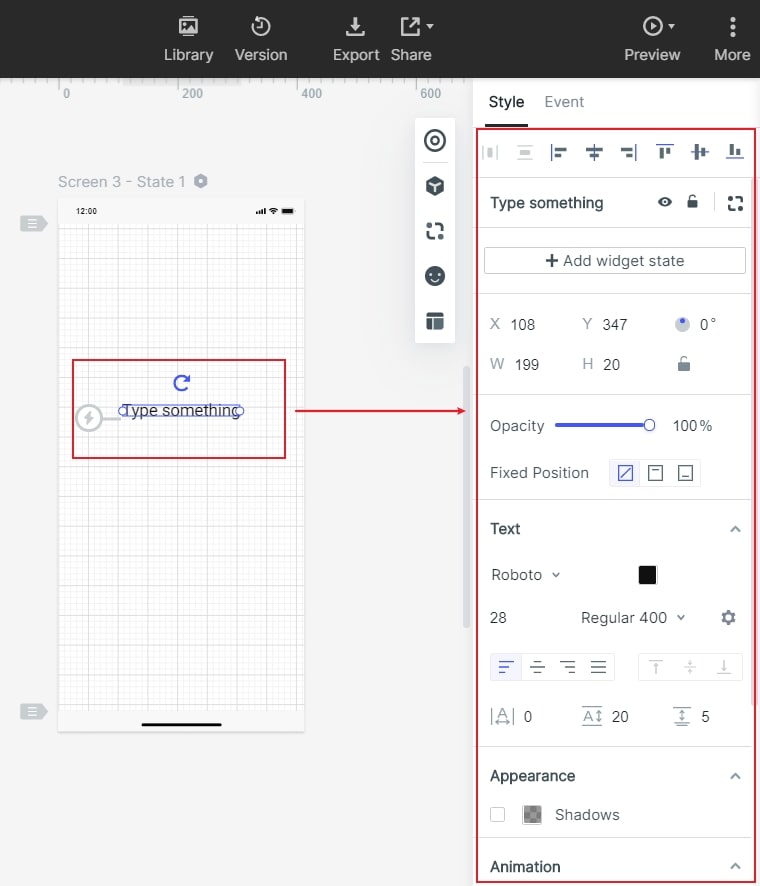
Step 3: Connect the Intended Interactions
Connect the selected action to the state that represents its result. For the example, Rotate should lead to a clearly rotated photo state, with a way to repeat or reverse the action if that is part of the intended behavior. The historical Event panel illustrates screen linking; it does not implement a native image-editing command.
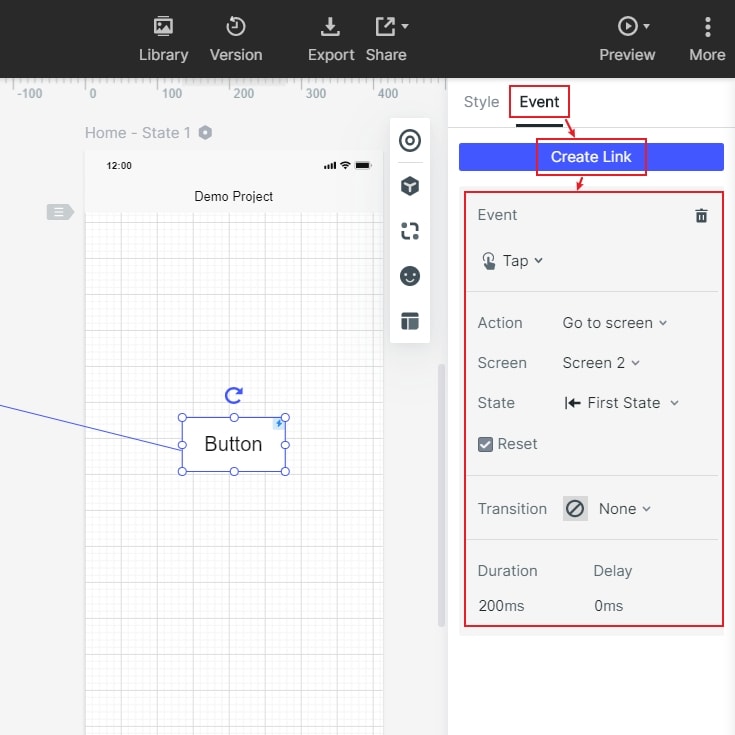
Add notes for behavior that the clickable prototype does not demonstrate. Apple’s menu and shortcut guidance illustrates why commands need more than a toolbar icon. Specify the menu route, intended shortcut and availability rules, and distinguish those requirements from implementation handoff evidence.
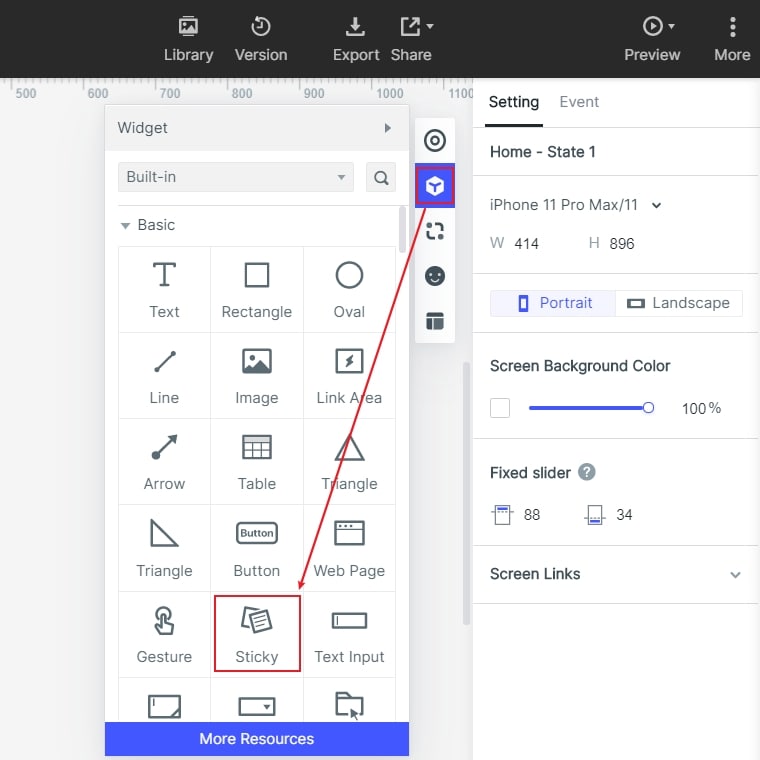
Step 4: Preview the Mac App Mockup
Preview the task from the initial selection through the result. Ask a reviewer to find Rotate and explain what changed. Inspect both the default and narrow layouts, including labels and control boundaries. Record keyboard navigation, menu behavior and window management as implementation checks when the prototype cannot reproduce them faithfully.
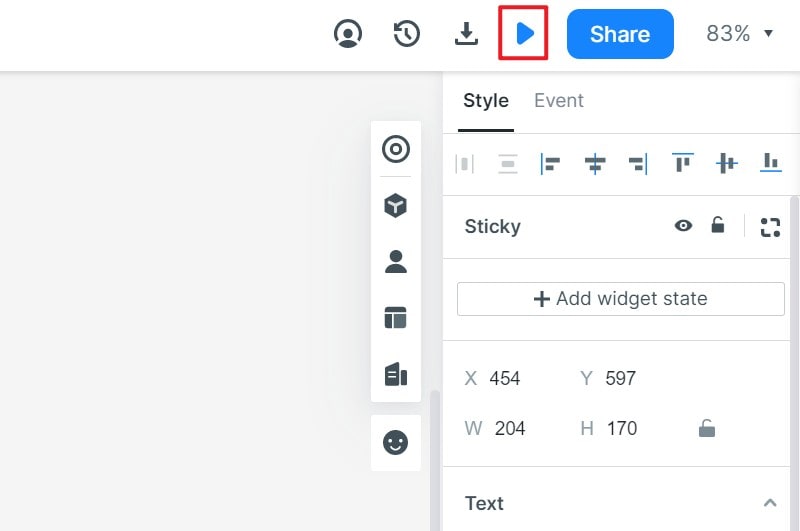
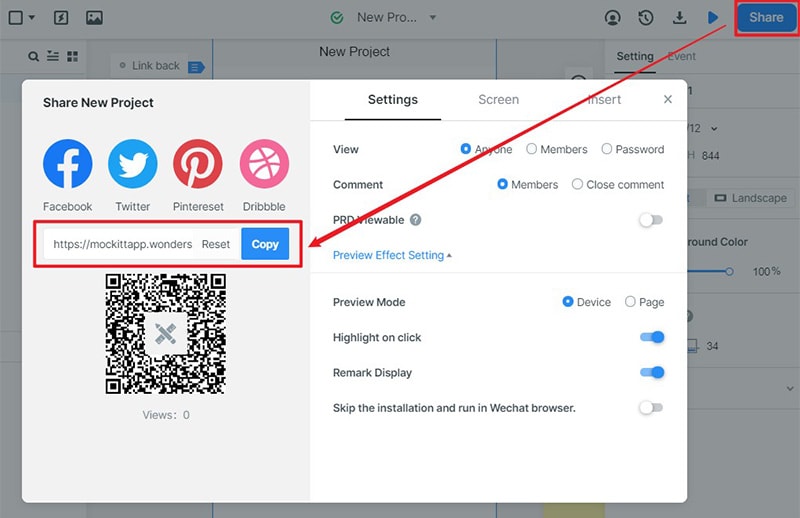
Step 5: Share the Design and Handoff Notes
Share the design with the people responsible for reviewing or implementing it, using the access options available in the current workspace. Include the scope, relevant screens, expected state changes and unresolved questions. A share link is a review artifact; it does not make the design a finished Mac application.
The retained export screenshot shows older HTML5 ZIP, Android APK and image options. It is historical documentation of that editor, not a native macOS build workflow. Confirm current export options for the account, and provide the developer with suitable design assets and behavior notes. Native packaging, permissions, accessibility and platform testing remain implementation work.
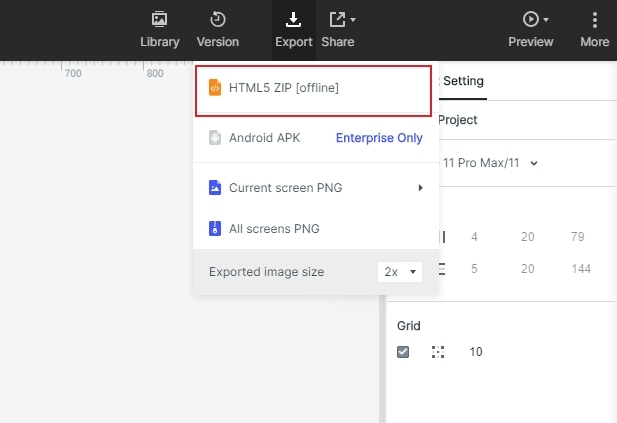 These historical export options are not a native macOS application build.
Use Mockitt for Design Review
Mockitt can support the visual planning and review portion of this workflow. Choose its features according to what the team needs to discuss, and check the current product rather than treating every historical screenshot as a present-day instruction.
- Access the workspace in a supported environment and confirm any current desktop-client requirements before installing or sharing instructions.
- Use available templates and widgets as starting points, then adapt them to the actual desktop task rather than relying on an asset-count claim.
- Arrange and style components to express the intended layout, including selected, unavailable or alternate states where they affect the decision.
- Add links or transitions when they clarify what an action does. Higher visual fidelity is useful only when it helps answer the current question.
- Review the prototype with teammates and give developers the design, assets and explicit behavior expectations. Verify import or export compatibility when the project requires it.
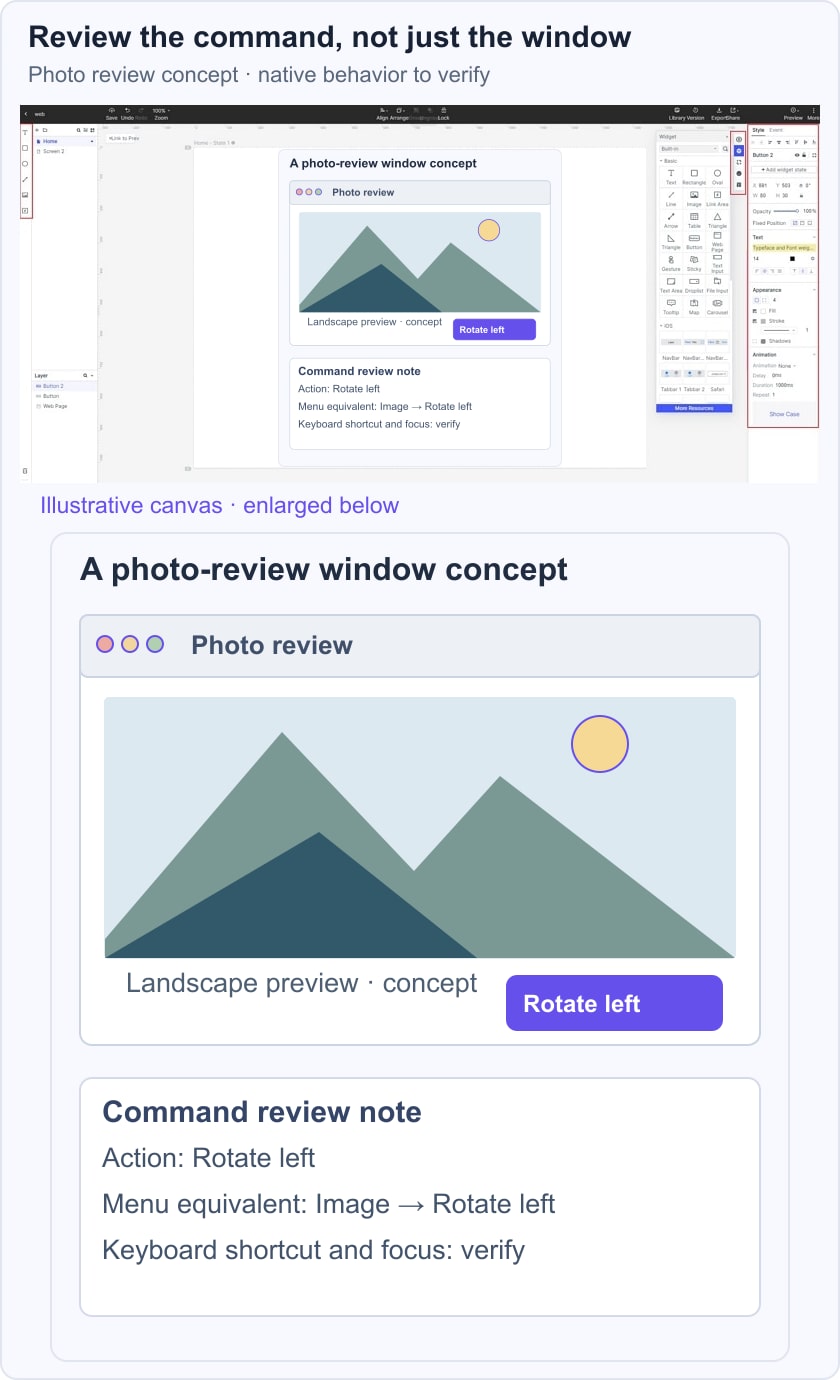
The example below shows a photo-review concept with a visible Rotate action and a separate command note. It is an illustrative canvas inside an earlier Mockitt editor, not a working native menu or keyboard shortcut. Use it to agree on the intended experience, then test those conventions in the implemented Mac app.