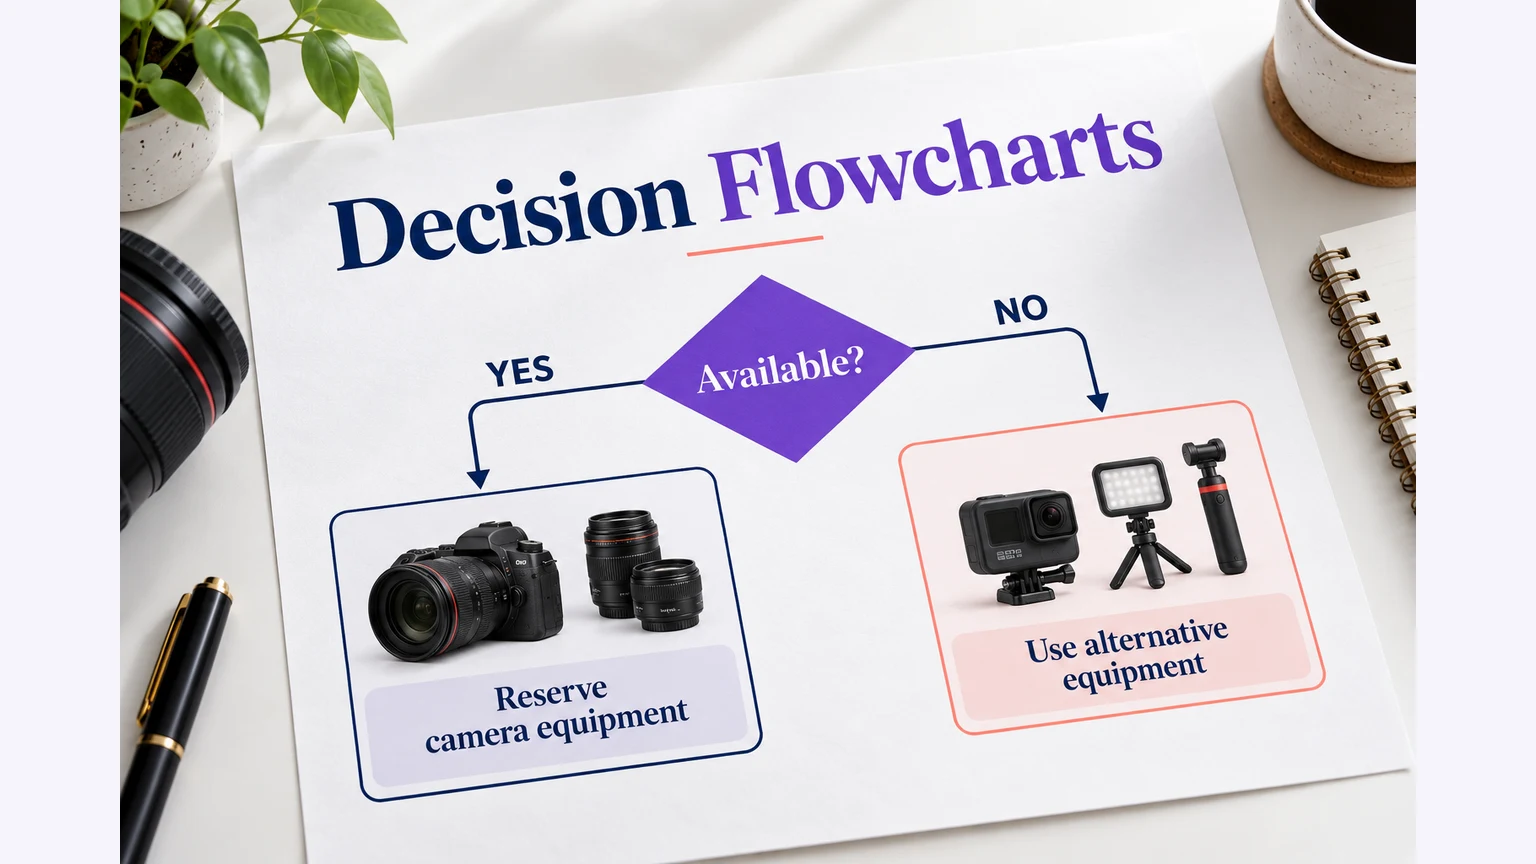
A decision flowchart shows which action follows each answer to a question. To make one, define the starting situation, write each decision as a question, label its outgoing branches, and give every path a clear outcome. It is useful when people need to apply the same rule consistently, such as routing a support request.
You can build the diagram with Mockitt’s online flowchart tools. Start with the rule and its possible outcomes; choose shapes and colors after the logic is clear. The example below follows a support request from submission to an answer or specialist review.
What is a decision flowchart?
A decision flowchart makes a conditional process visible. A rectangle describes an action, such as “Check request details.” A diamond asks a question, such as “Is the request complete?” Arrows show what happens next for each answer.
A decision flowchart uses the same basic notation as other flowcharts; there is no rule that every step must be a diamond. Use a decision only when the next action actually depends on a condition. The ASQ flowchart guide describes decisions as questions with separate outgoing paths for the possible answers.
The diagram below is a visual example of branching. Follow a path from its first question to its outcome, then trace another path. When adapting a diagram, replace its rules with the rules your own process actually uses.
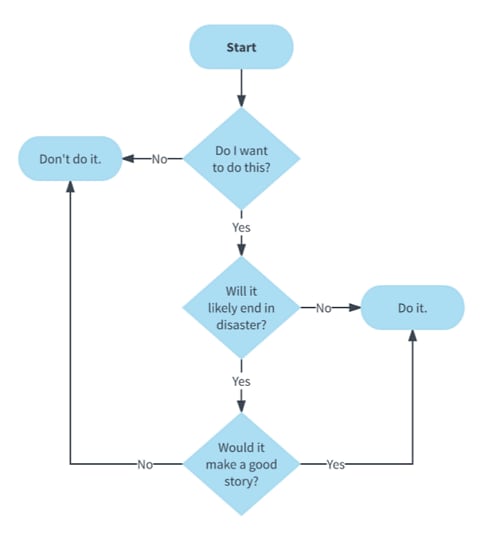
Source: lucidchart.com
A good diagram also makes missing information visible. “I do not know yet” should not silently mean “No.” If an answer is unavailable, add an action to obtain it or a separate review route.
Once the questions and outcomes are clear, you can turn them into a diagram without guessing which branch a reader should follow.
How to create a decision flowchart
Define one decision process, rather than trying to capture every judgment a person makes. For a support team, the scope might begin when a request arrives and end when the customer receives an answer or a specialist accepts ownership.
Write the conditions in language the person following the chart can evaluate. “Request complete?” needs a shared definition, such as an affected product, a description of the problem, and a way to contact the requester.
Before starting to create a decision flowchart, follow these steps to make the decision rules explicit:
- First of all, analyze the problem thoroughly.
- Collect the information and rules the people doing the work already use. Separate agreed policy from assumptions.
- List the possible answers and the action that follows each one.
- Choose the questions that change the route; leave background explanation in a note.
- Write the selected rules consistently across the diagram and its supporting instructions.
- Review your decision and its outcomes.
- Draw the process, label the branches, and revise any route that reaches a dead end.
Before opening the drawing tool, write a short route table. It is easier to spot an unanswered question in a few rows than among many crossing arrows.
The following example is an illustrative support process, not a service policy. Replace the conditions and actions with your own team’s rules.
Example: route a support request
The first decision checks whether the team has enough information to act. The second decides whether a known solution applies. Those are separate questions: a complete request can still need specialist help.
| Node | What to write | Next step |
|---|---|---|
| Start | Request received | Check required details |
| Decision | Request complete? | Yes → check for a known solution; No → ask for missing details |
| Action | Ask for missing details | Wait for a reply, then check completeness again |
| Decision | Known solution applies? | Yes → send the relevant steps; No → assign a specialist |
| Action | Send solution steps | Ask whether the issue is resolved |
| Decision | Issue resolved? | Yes → close request; No → specialist review |
| End | Request closed or specialist accepts ownership | Finish this diagram’s scope |
“Wait for a reply” belongs between requesting information and checking it again. A direct loop with no new input can suggest that the team repeats the same check indefinitely. Likewise, “Assign a specialist” is not an end state until someone accepts the handoff.
If the request can have more than two outcomes, label each branch explicitly. For example, a request type might be “Billing,” “Technical,” or “Other.” Use those labels instead of forcing an ambiguous Yes/No question.
Create the decision flowchart in Mockitt
Build the main route first: request received, completeness check, known-solution check, and outcome. Add the missing-information and specialist branches beside it so the everyday path remains easy to follow.
Mockitt supports flowchart shapes and connectors alongside its prototyping tools. Use a process shape for each action and a decision shape for each question; the drawing should express the route table rather than decorate it.
The Mockitt flowchart guide documents creating a Flowchart, adding symbols, connecting shapes, and entering text. For this example, place “Request complete?” before “Known solution applies?” and label the branches as you connect them.
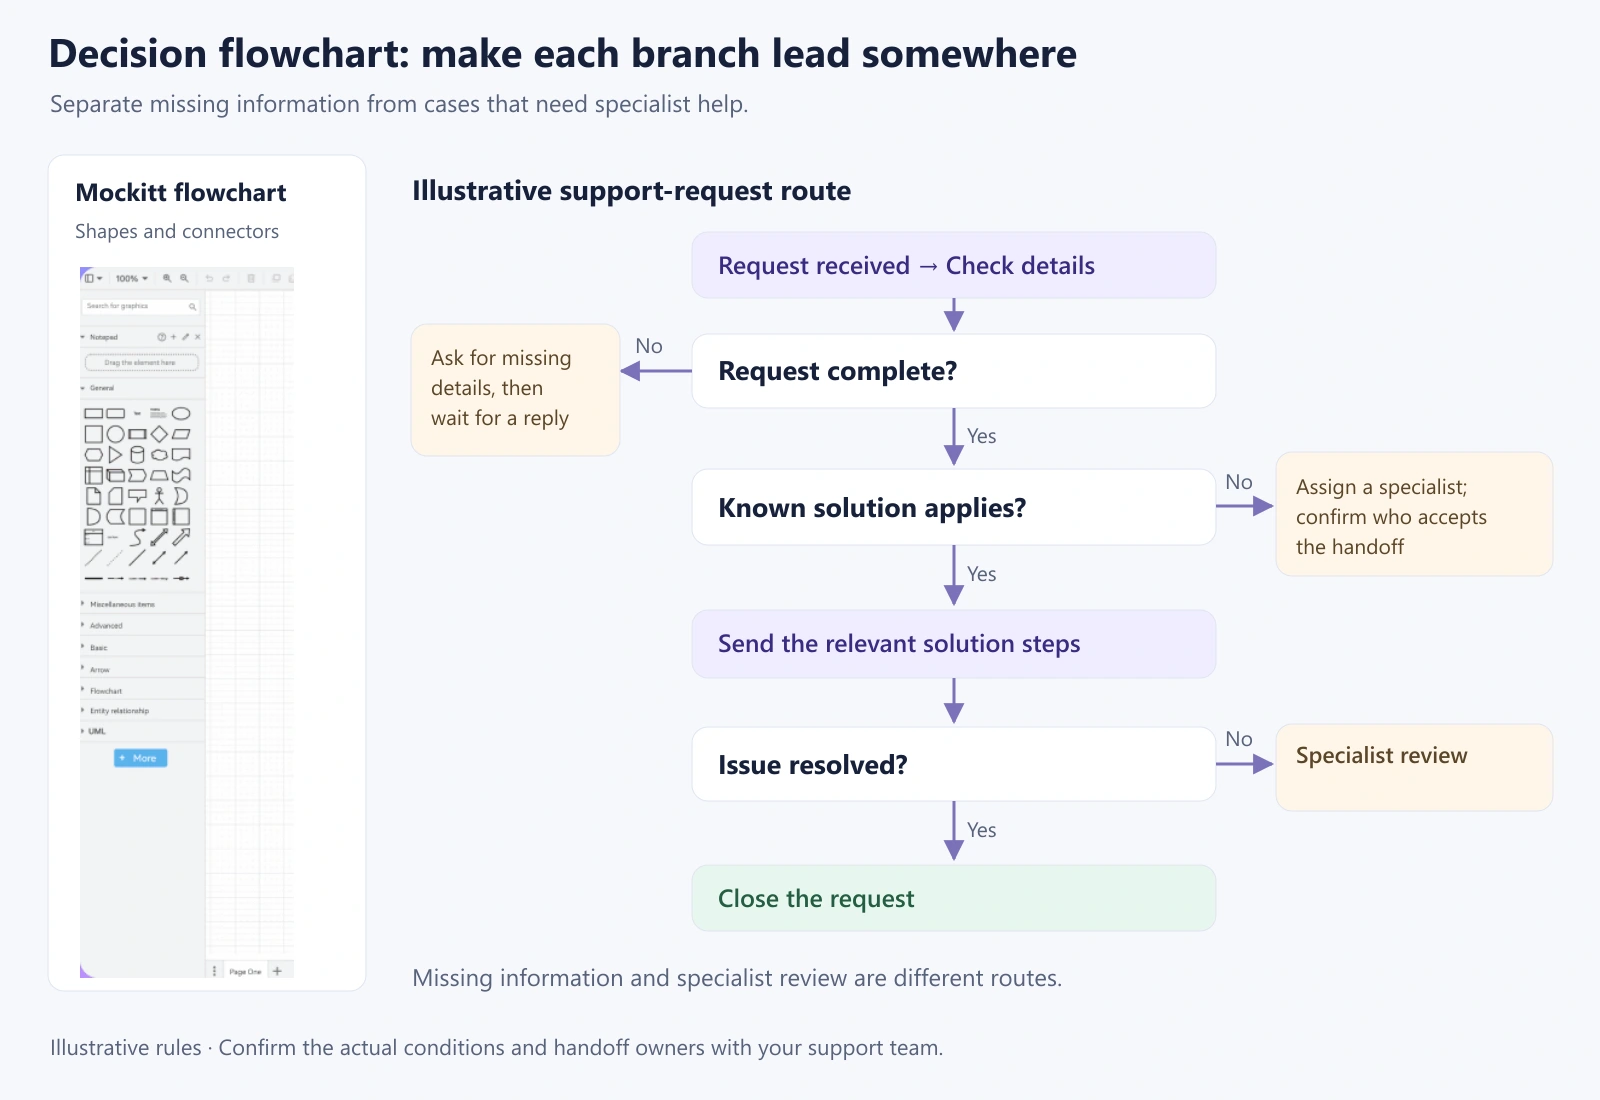
Keep the two No paths separate. One asks the requester for information; the other hands a complete request to a specialist. Combining them into a single “Review” box would hide who must do what next.
Use the features that help readers follow the rule
The useful features for this task are shapes, clear connections, and a shared diagram the team can discuss. Animation is not necessary to explain decision logic.
Shapes and labels
Choose shapes by meaning and keep the wording short. Use “Ask for account details” for an action and “Account identified?” for a decision. For more notation examples, see the guide to common flowchart symbols.
When the next step needs a prototype
A flowchart explains which route is taken. If you also need to evaluate the form, error message, or screen used on that route, create an interactive prototype separately. A connected diagram alone does not demonstrate that the interface is usable.
Review the branches with the team
Share the diagram with someone who handles requests and someone who receives escalations. Ask each person to trace a complete case and a case with missing information. Fix any branch whose label they interpret differently, then keep the agreed diagram alongside the team’s process instructions.