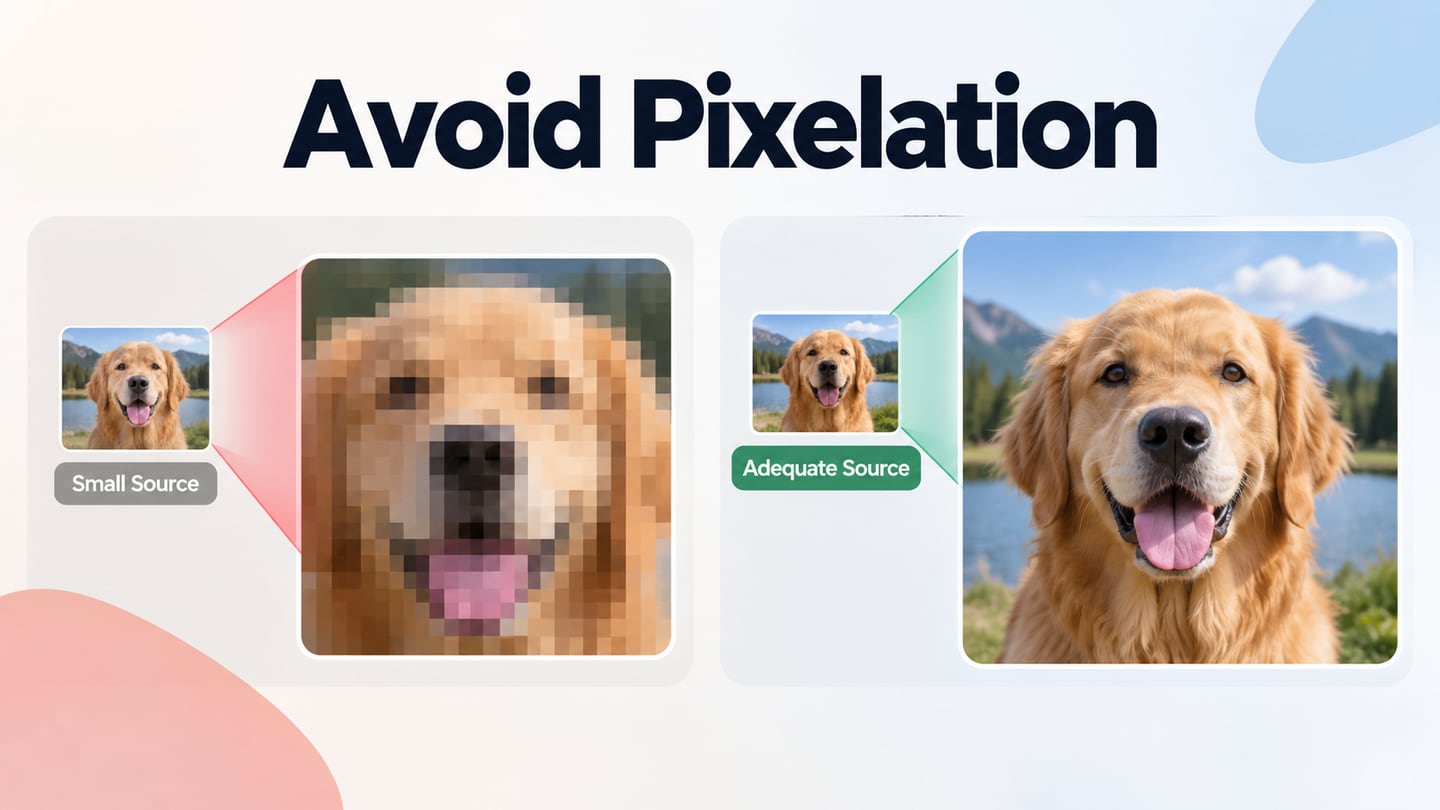
Pixelation is the visible block structure of an image’s pixels, commonly noticed when a small raster image is enlarged. It can be an intentional style or an unwanted quality problem. In UI design, the practical question is whether the source contains enough detail for the size at which people will see it.
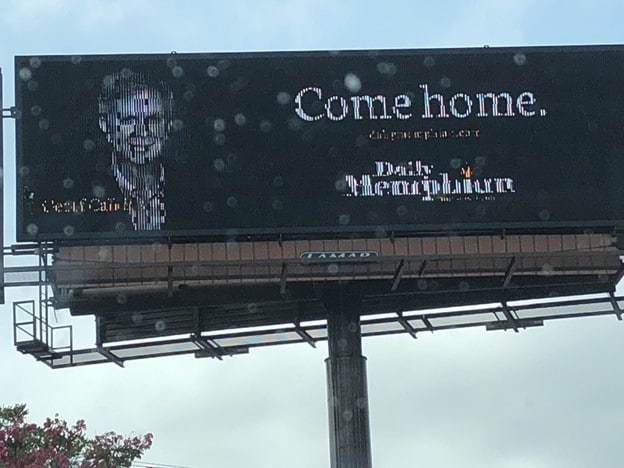 A visibly rough image is a prompt to inspect the source and delivery settings, not proof of one specific cause.
Source: Geoff Calkins, historical Twitter post
First distinguish image dimensions, display size and bit depth. Dimensions count the samples across and down; display size describes how large they appear. Bit depth describes possible color values per sample, not the number of samples. The pixel and density guide explains these units. Raising color depth or changing a file’s PPI metadata alone cannot repair missing spatial detail.
The Reality of Pixelation
How is Pixelation Caused?
A bitmap image is a grid of color samples. Pixels are not individual bits: a color pixel normally needs multiple bits to describe its channels. When the renderer enlarges a small source, it has only those existing samples from which to construct a larger picture.
At sufficient magnification, an enlargement that preserves hard sample boundaries makes the grid obvious. Other scaling methods blend neighboring values and may look soft instead. For screen work, compare source dimensions with rendered dimensions and device density. For print, compare source pixels with the intended physical size and viewing distance; printer DPI is a separate specification.
Do not label every poor-quality image “pixelated.” Out-of-focus capture produces blur before any resizing; strong JPEG compression can create blocks and ringing; aggressive sharpening can produce halos. Inspect the original at 100% and compare it with the delivered version. If only the delivered file looks poor, investigate its resize or compression step before replacing the source.
Can It Be Beneficial in Any Situation?
Pixel blocks are useful when they deliberately communicate a visual style or conceal part of an image. The purpose should be explicit so an intentional effect is not mistaken for a failed export.
Television and video editors sometimes apply a mosaic to obscure a face or sensitive area. The example above shows that visual effect. Mosaicing alone should not be treated as a guarantee of anonymity: voice, surroundings, recognizable features or other frames can still identify someone. Choose a protection method appropriate to the material and review the complete output.
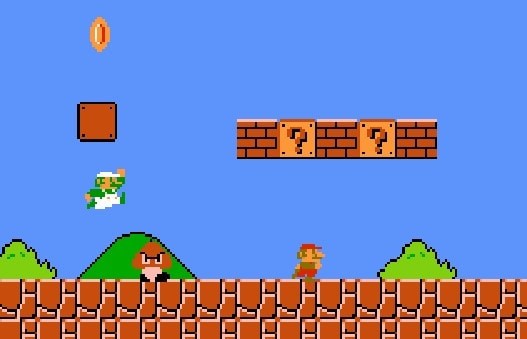
Pixel-art games use a controlled low-resolution grid as an artistic constraint. The Mario-style example below illustrates intentional blocks, rather than a photograph accidentally stretched beyond its useful size. To keep such artwork crisp, use an appropriate integer scale and inspect how the renderer handles edges.
Why Do Raster and Vector Images Scale Differently?
Vector paths describe geometry that can be recalculated for a requested size. That preserves the source outline without enlarging a fixed pixel grid. A screen still rasterizes the result, and an SVG can contain bitmap photos or raster effects, so “vector file” does not make every element immune to resolution limits.
A raster image has a finite set of source samples. Enlarging it can estimate intermediate colors, but cannot reveal detail that was never captured. This is why choosing the right source and rendered size is more reliable than trying to hide visible blocks afterwards.
Three Ways to Avoid Unwanted Pixelation
Work from the source toward the final display. Check dimensions first, choose a suitable representation second, and use resampling only with a clear understanding of what it can and cannot change.
#1: Mind the Resolution
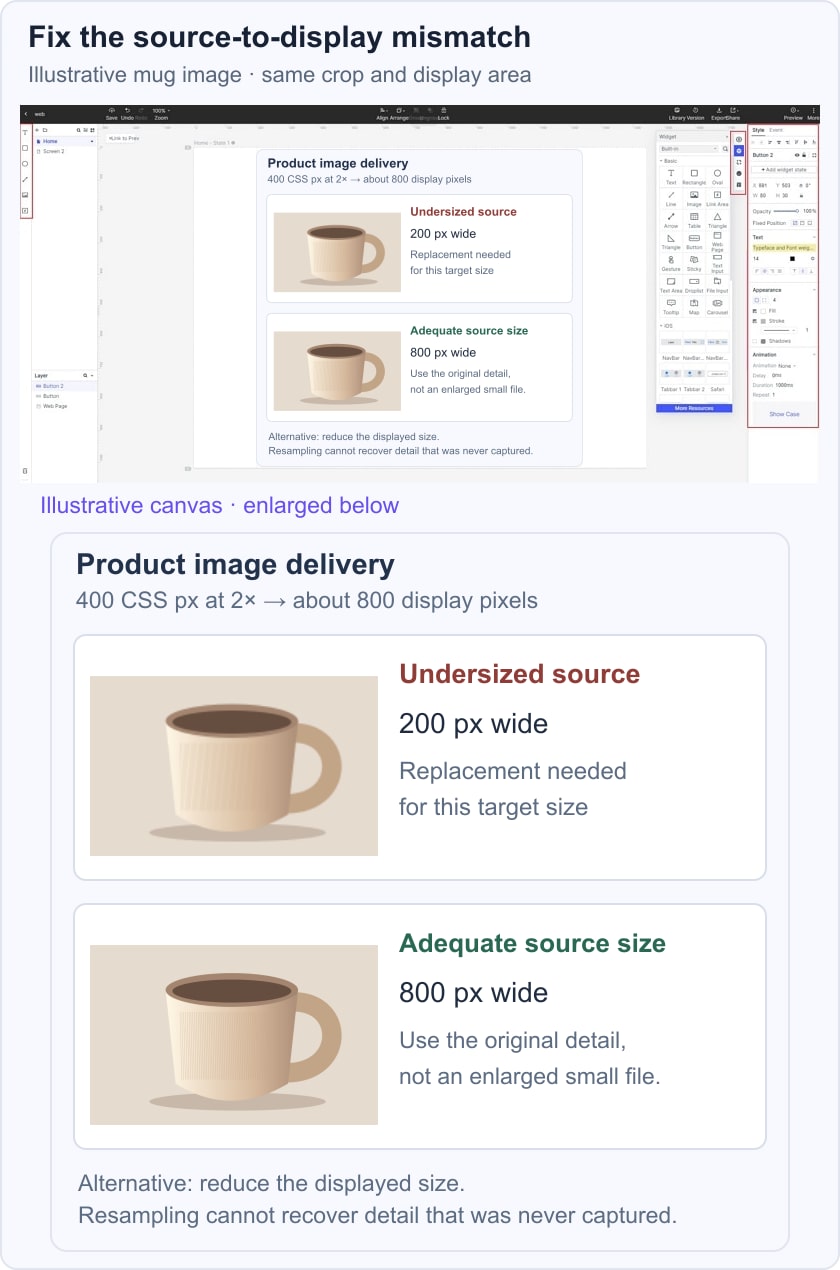
Suppose a ceramic-mug photo is 200 pixels wide but appears in a 400 CSS-pixel product card. At a 2× device pixel ratio, that area spans about 800 physical pixels. The source is undersized for that target. Obtain a genuinely larger source with the same crop, reduce the displayed size, or choose another image. Uploading an 800-pixel file created by stretching the same 200-pixel original changes its dimensions, not its captured detail.
Compare the undersized and replacement source in the same Mockitt product-card layout, with equal crops and clear source-size labels. This keeps the image-quality decision separate from card spacing or visual hierarchy. Then inspect the exported or implemented card on the target screen; a prototype preview alone cannot validate the production image pipeline.
#2: Use the Right Image Type
Use vector artwork for logos, icons and diagrams whose shapes should scale. Keep photographs as raster images with enough source detail. Large output is not automatically a reason to reject raster: a billboard viewed from a distance has different requirements from a small print examined closely. Ask the output provider for suitable image specifications instead of using one universal resolution.
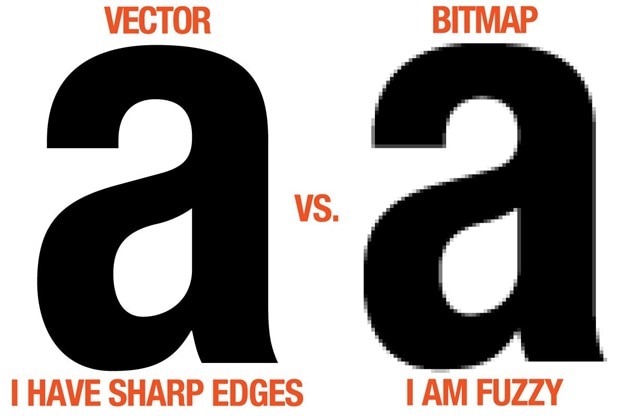
Source: LaserGods, “Vector vs Raster” (historical illustration)
When a photograph is the right content, tracing it into vectors usually changes its appearance and may create complex artwork. Look for the original capture or a better source first. If only the small file is available, assess whether a smaller display or a different composition meets the task before resampling.
#3: Interpolate Your Images for a Larger Output
Interpolation estimates new sample values during resizing. It can make an enlargement look smoother, but cannot promise a detailed, sharp reconstruction of the original scene. Adobe’s resampling guidance explains this limitation. Keep an untouched source and judge the resized output at the intended viewing size.
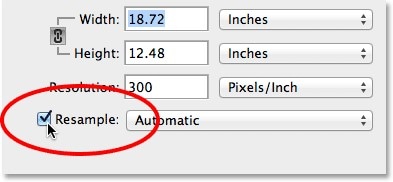 Historical Photoshop Image Size dialog; consult the current resampling options for your version.
In Photoshop, open Image > Image Size and use Resample when changing pixel dimensions. Choose a method suited to the content and compare the result. Nearest Neighbor can preserve hard edges in pixel art; a method intended for photographs may create unwanted smoothing there. The historical dialog above illustrates the control, while current options can differ by version. With resampling disabled, changing print size or resolution redistributes the existing pixels rather than adding detail.
Conclusion:
Avoid unwanted pixelation by matching a genuinely detailed source to the final display, not by chasing a resolution label. Replace an undersized source when possible, reduce its display size when necessary, and use interpolation as an output adjustment with visible limits. Keep intentional pixel art distinct from image-quality defects.