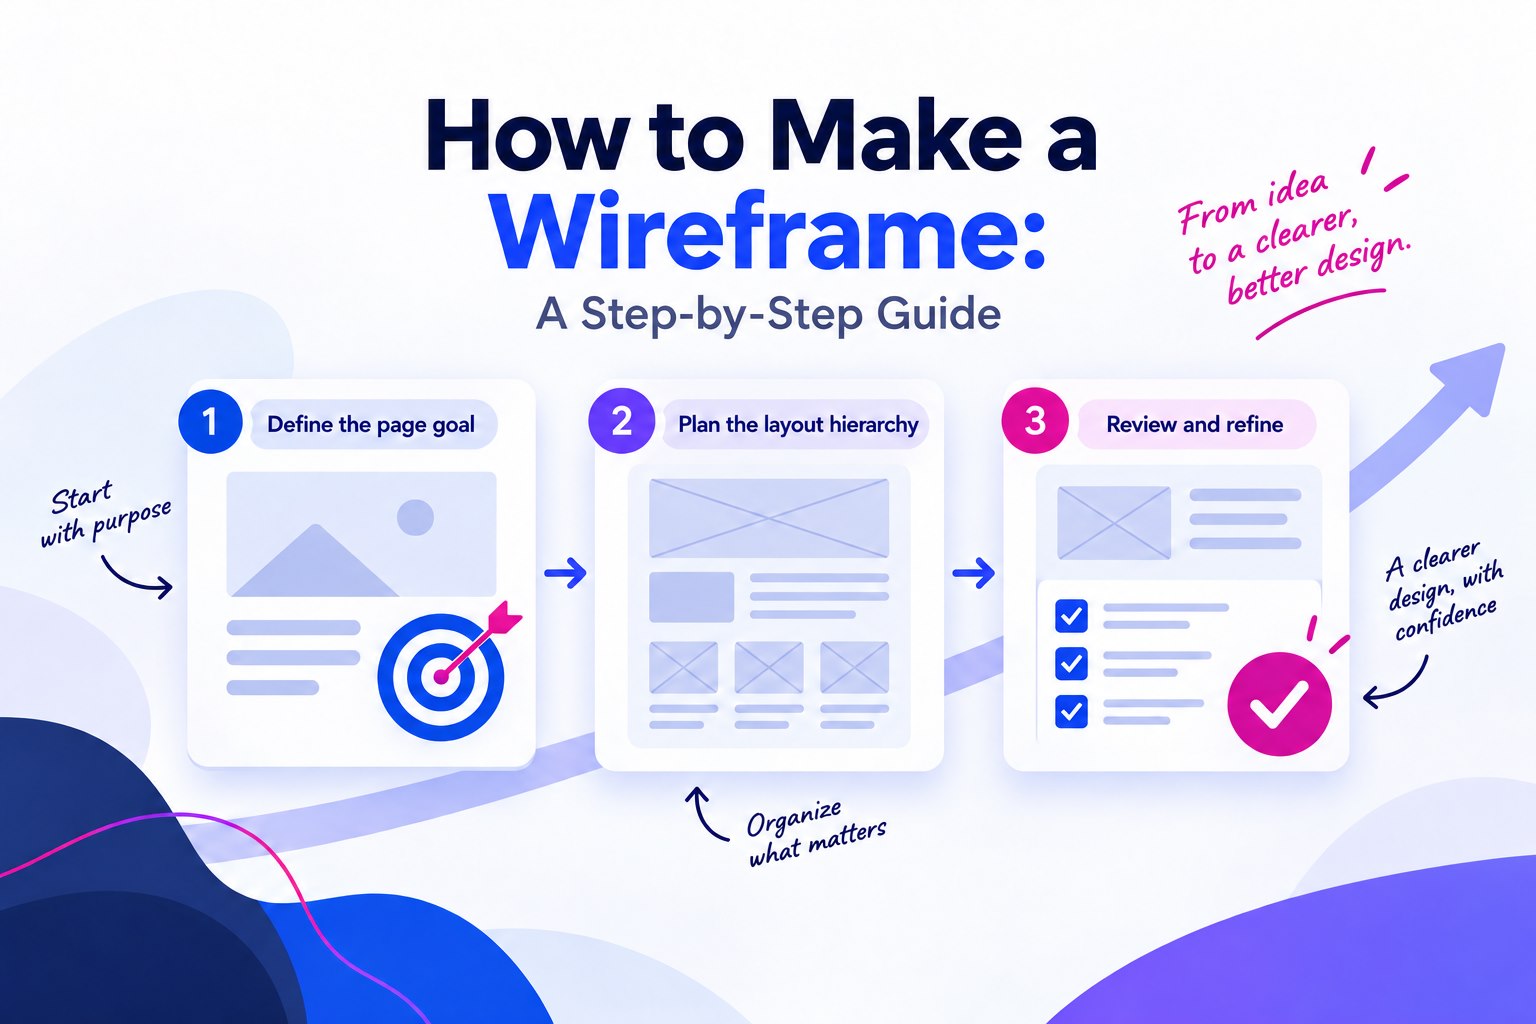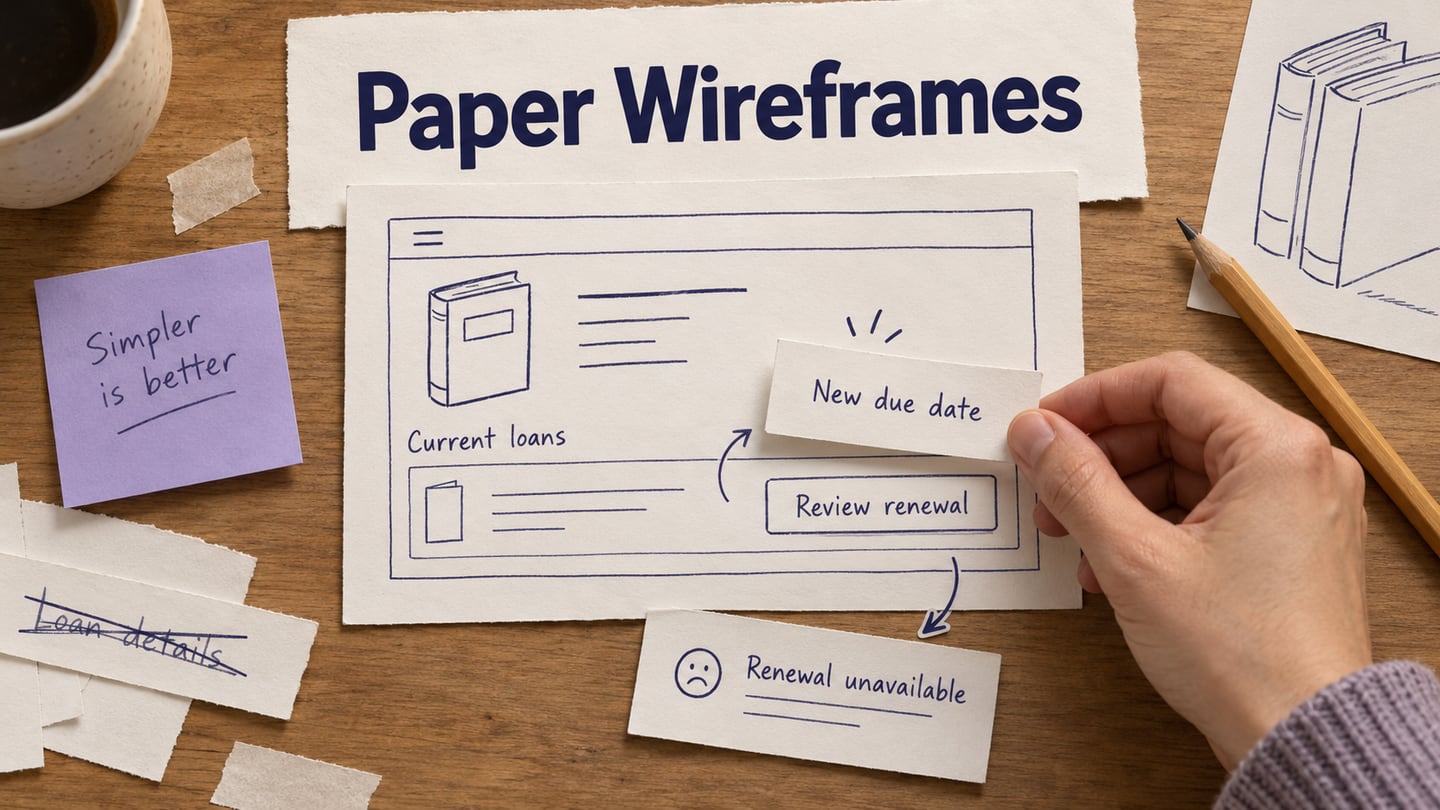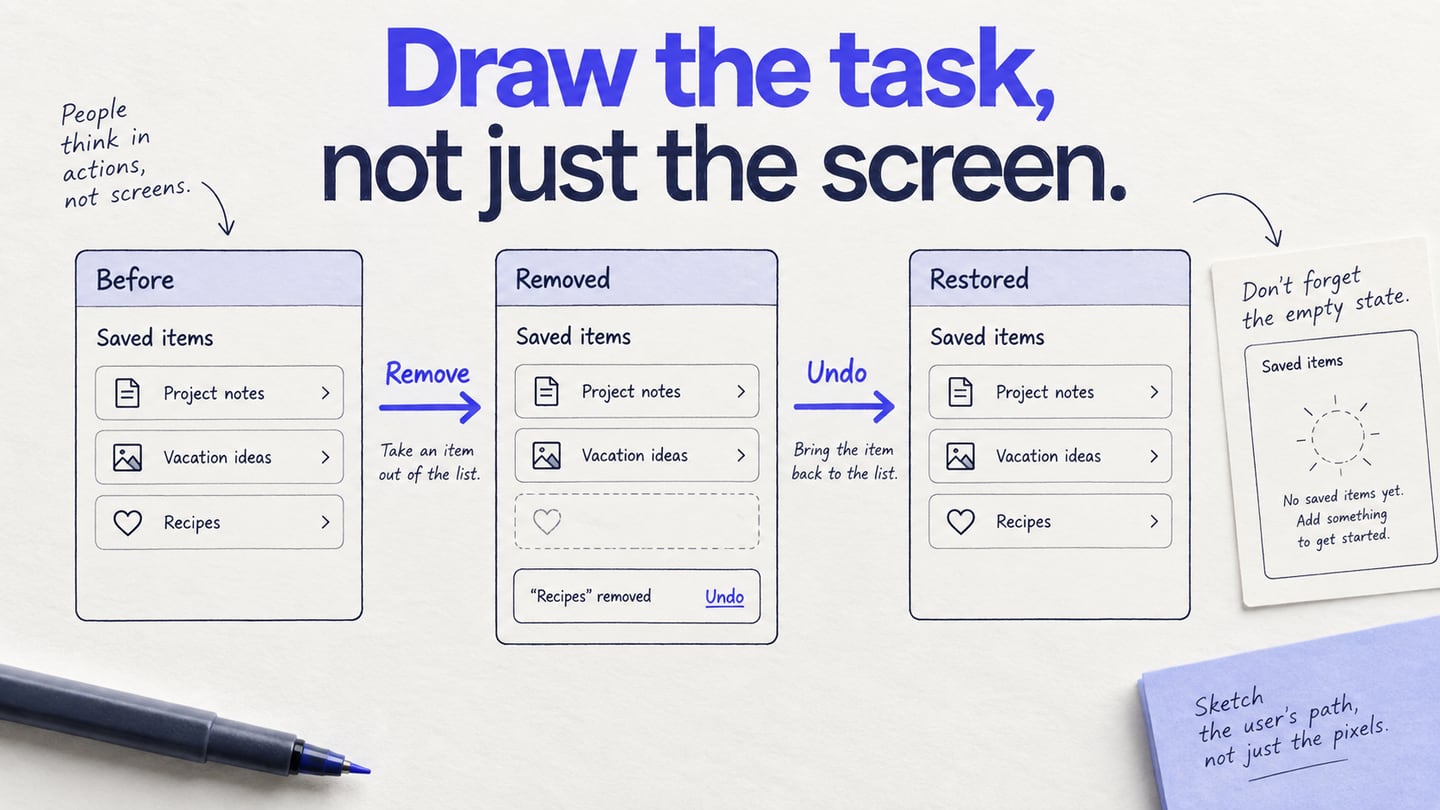
Drawing a wireframe means deciding which content and actions a screen needs before refining its visual design. Start with a user task, sketch the main areas, label the controls, and connect the necessary states. A browser-based wireframe tool can keep the drawing editable and reviewable. This guide also clarifies a common ambiguity: an interface wireframe and an OpenGL wireframe rendering are different kinds of work.
Steps to Draw a Wireframe with Mockitt
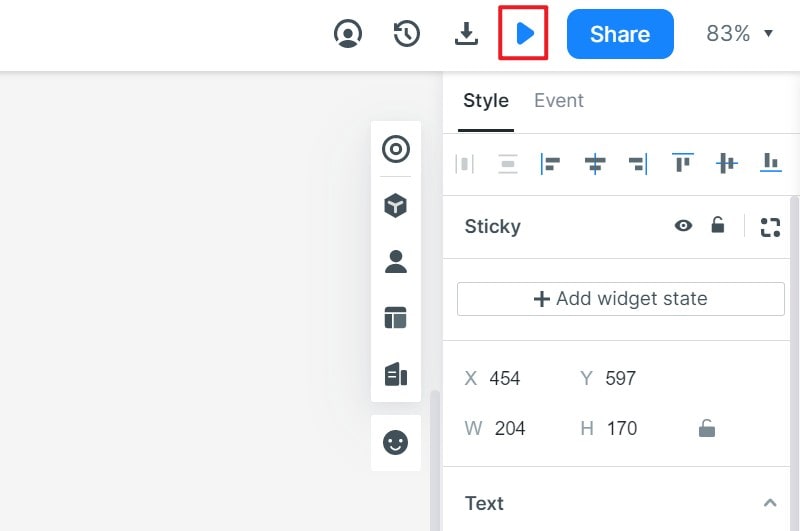
Mockitt can help draw interface screens and connect a modeled path through them. Work in the browser and choose a target screen size for the experience being reviewed. The historical images below show earlier controls; they illustrate the main actions rather than guaranteeing the same menu layout on every device.
Some of the key features of this tool

- Keep the project in the workspace and check that changes have synchronized before sharing or closing it.
- Use shapes, text, and available widgets to draw the structure without building production code.
- Invite the relevant people to review the design, with access permissions appropriate to the project.
- You can easily create interactive elements in the Wireframe with this program. You can make use of the links to make the screens interactive.
- Additionally, you can add comments on the created Wireframe pointing out changes or recommending ideas on the project.
Here's how to draw a website wireframe
First, draw only what the task needs
For the saved-items example, write the task in one sentence: “Remove an unwanted saved item and recover it if the removal was accidental.” Draw three states: the current list, the list after removal with Undo available, and the empty list. Use the same item names across the states so a reviewer can trace the change.
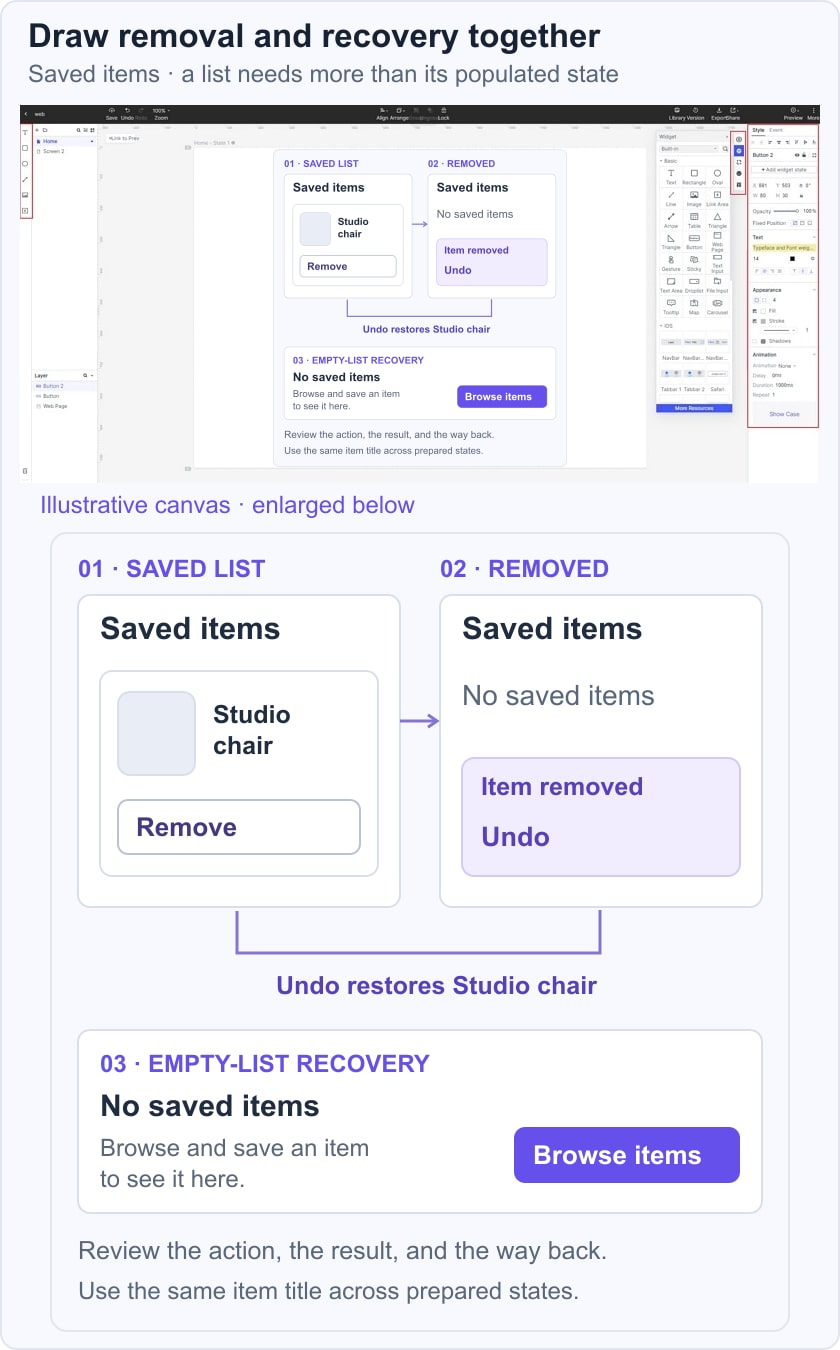
In the first pass, a rectangle and a label are enough for each item. Add a page heading, an explicit Remove action, and an empty-state explanation. Put uncertain behavior in a note: for example, the team still needs to decide how long Undo remains available and what happens after the user leaves the page. Do not disguise an unresolved rule as a finished design.
Once those states are clear, use the five steps below to make the drawing editable and clickable. If you need a wider view of how layouts and arrows communicate together, read the wireframe-diagram guide.
Step 1:Create Project
Create a prototype project from the workspace. Start with a blank canvas for a small task, or use a template whose structure fits the problem. Name the project so reviewers can recognize the purpose, such as “Saved items review.”
Choose a canvas size for the intended audience. The design’s target device is separate from the computer used to edit it. Use another layout if a narrow viewport changes the order or visibility of important content.
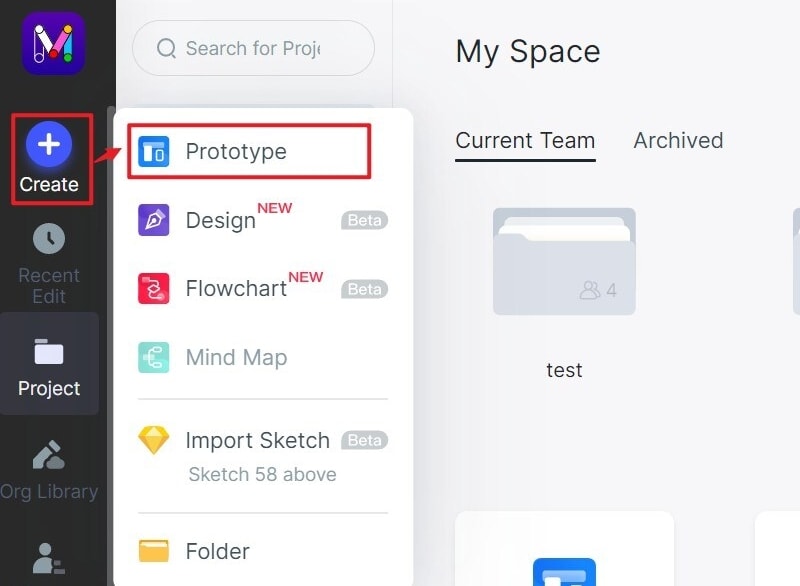
Step 2: Drag and drop Widget to Draw a Wireframe
Draw the main areas with simple shapes and text: a page heading, a saved-item list, an item action, and an empty state. Add widgets from the available library where useful. Keep a small, consistent set of components rather than styling each screen independently.
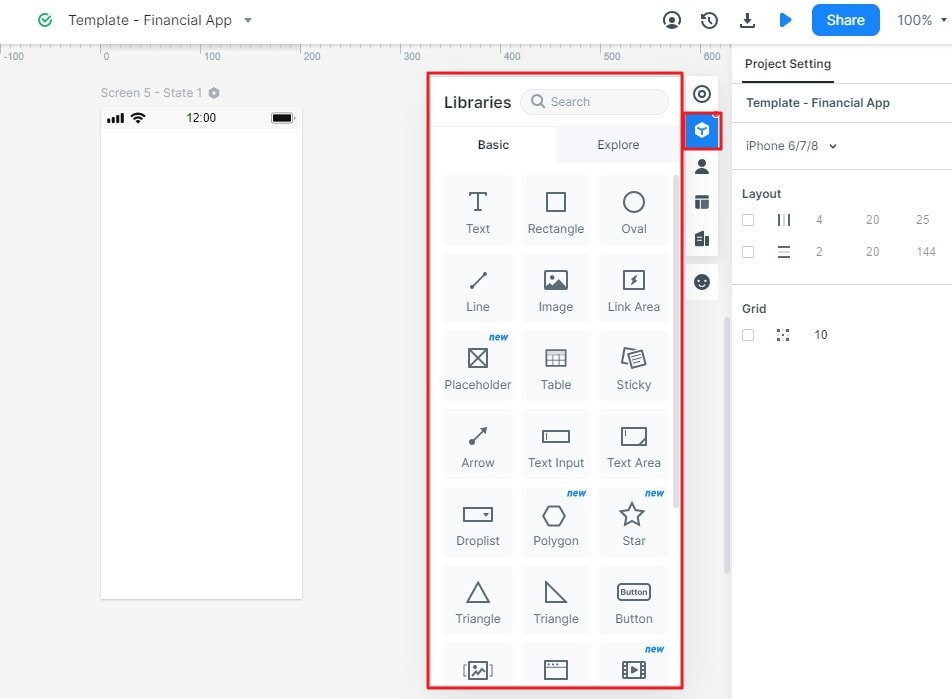
Step 3: Edit the Widget and Save for Future Use
Select a widget to adjust its size, label, and appearance. In the saved-items example, give each item a distinct title so reviewers can tell which one they removed or restored. Check text wrapping before adding visual polish.
Reuse a completed item-row component when the current editor supports it. Give the component a clear name and check each instance after changing shared properties.
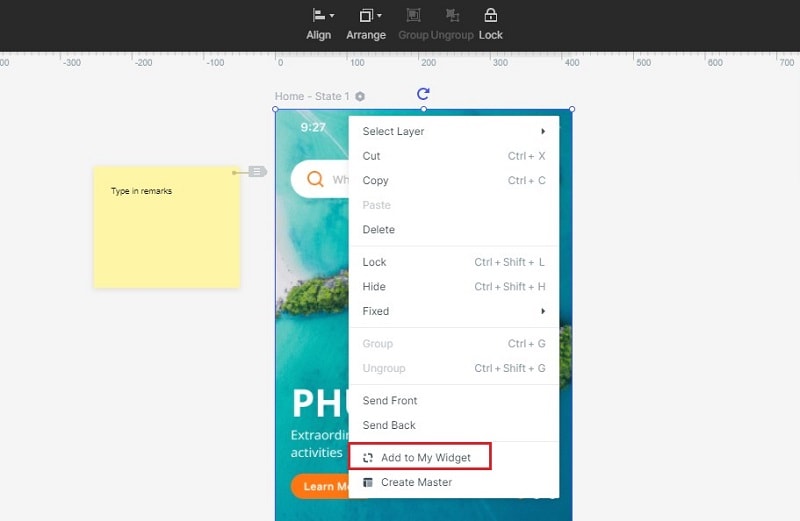
Step 4: Add Links Between Screen
Connect Remove to a state in which the selected item is absent and an Undo action is available. Link Undo back to the restored list. Include the empty-list state when the last item is removed; a success-only drawing leaves this behavior undefined.
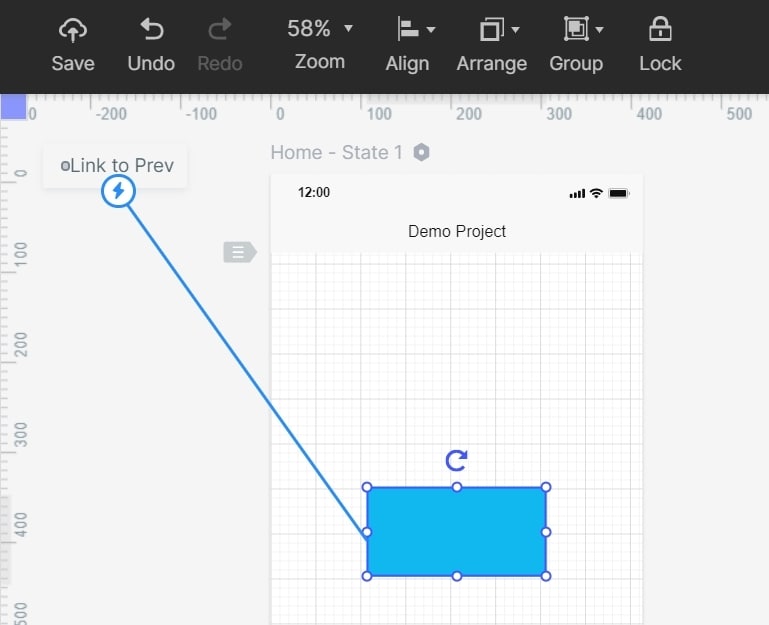
Step 5. Preview and Share
Preview from the saved list and ask a reviewer to remove an item, undo the action, and remove the final item. Share the prototype with suitable permissions and verify its review link. A prepared screen simulates the state; it does not persist real account data.
Review the drawing before adding detail
- Can the reviewer explain what each control will do before clicking it?
- Does the result state show the change clearly, without relying on animation alone?
- Can the reviewer recover from an accidental action?
- Does the empty state offer a useful next step rather than a blank screen?
Record the observed confusion and change the relevant screen. Do not interpret a successful click-through as evidence that data persistence, accessibility, or production performance has been tested. A low-fidelity wireframe is useful precisely because those layout decisions can still change.
OpenGL Wireframe Rendering Is a Different Task
OpenGL is a graphics API, not an alternative drag-and-drop UI wireframing application. In graphics programming, wireframe rendering shows the edges of geometric primitives. The following corrected outline preserves the original topic distinction; it is not a complete program or a replacement for interface-design steps.
Step 1: Create a graphics context
Initialize the windowing library, create a window and context, and check for failure. Make the context current before issuing OpenGL commands. A failed window creation must be handled; changing the viewport does not repair a missing context.
Step 2: Load the needed functions
Load OpenGL functions for the created context using an appropriate loader. The GLFW getting-started guide explains the context and function-loading sequence.
Step 3: Compile and link shaders
Compile the required vertex and fragment shaders, check their compile results, then link them into a program and check the link result. Linking is a program operation; there is no separate “link shader” stage.
Step 4: Define geometry
Provide the vertex data and configure the vertex attributes expected by the shader. This geometry describes primitives for rendering, not website content blocks or navigation labels.
Step 5: Choose the rendering mode
In desktop OpenGL, polygon mode can render polygon boundaries as lines. This exposes mesh edges; it does not generate a user-interface wireframe from a website or app.
Step 6: Render and clean up
Render within the application loop, present the frame, and process window events. Release resources and terminate the windowing library when finished. For product-interface work, return to the screen-based workflow above rather than building a graphics renderer.