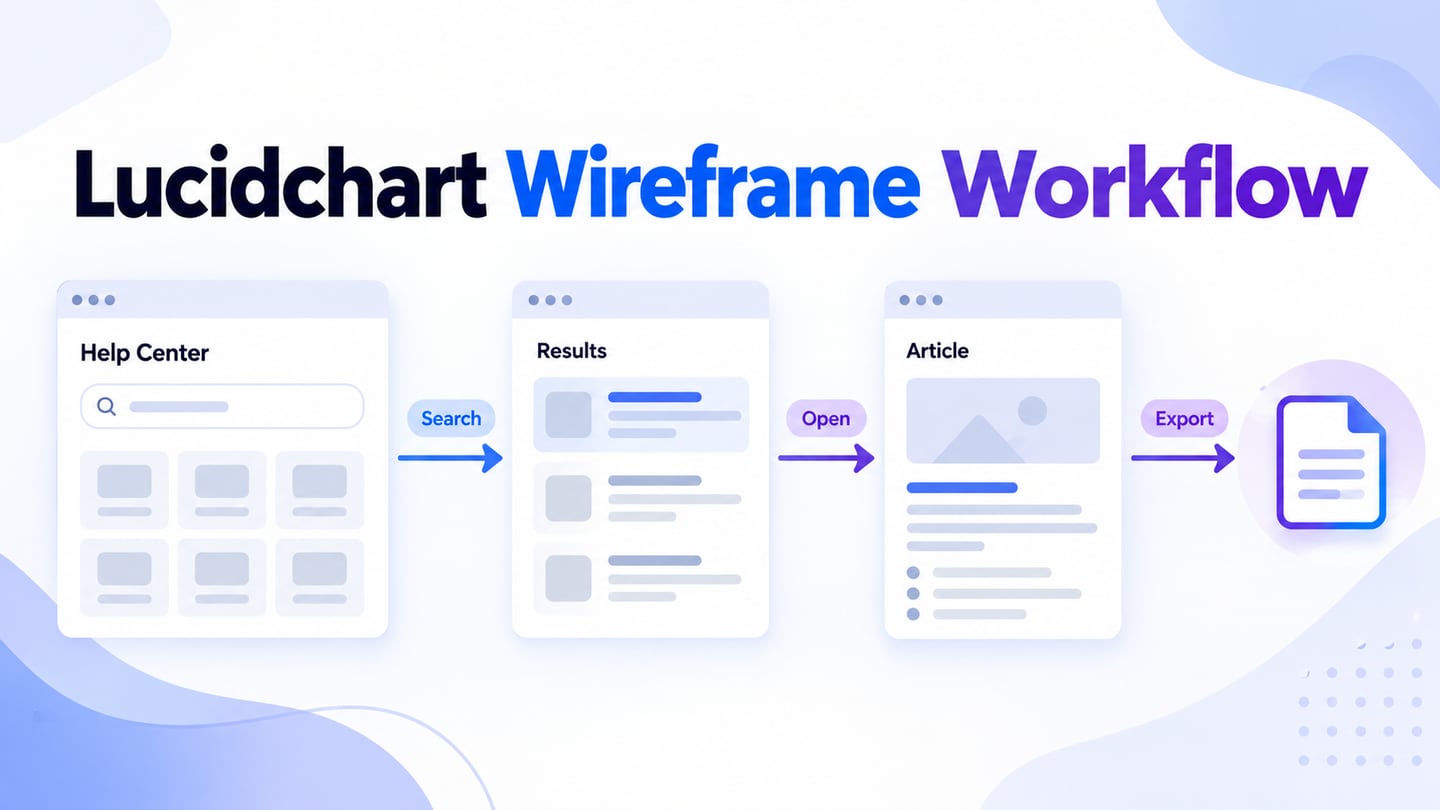
A Lucidchart wireframe can place interface screens, decisions, and navigation on the same diagram. This tutorial covers templates, shape libraries, page links, and sharing, then shows a wireframe review in Mockitt when your team needs a connected screen prototype. Keep the deliverable clear: mapping a flow and testing a configured transition are related, but different, tasks.
How to Create a Wireframe with Lucidchart
Lucidchart is a web-based diagramming tool with UI mockup and wireframe shape libraries. Before following a tutorial, check that your plan includes the library you need. The first four screenshots below are historical Lucidchart captures; they illustrate the workflow but are not a guarantee that current menus look identical.
Step 1: Start working on a new project (or reuse a template)
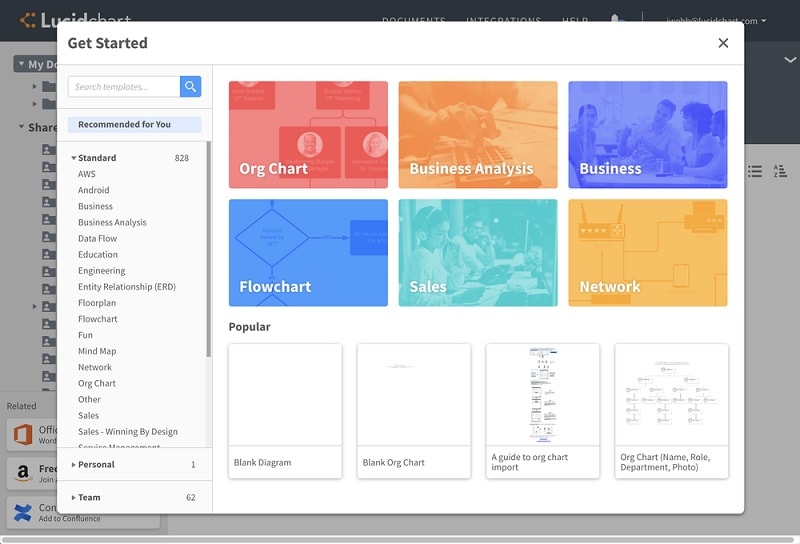
Open Lucidchart and create a document. To start from an example, open Templates from the Documents area and choose an appropriate layout, following Lucid’s template guide. Remove irrelevant parts and name the pages by their task, such as “Help search,” “Results,” and “Article,” rather than keeping a generic template title.
Step 2: Select the Library and Work on Design Elements
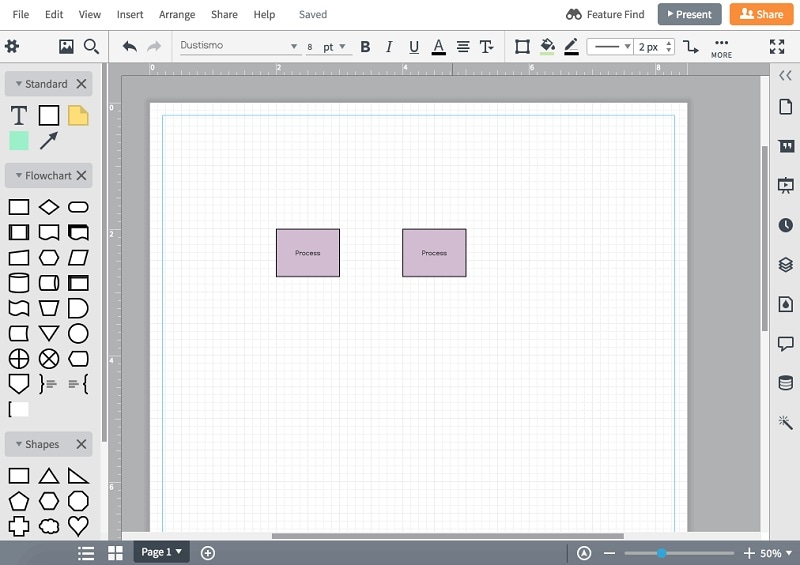
Open More shapes at the bottom of the shape panel, or press M, then select the libraries and choose Use Selected Shapes. Lucid’s current shape-library documentation lists UI mockup and wireframe libraries for Individual, Team, and Enterprise plans. Drag the required shapes onto the canvas, resize them, and edit their text. Use matching screen dimensions when the pages belong to one device flow.
From the sidebar, you can now drag and drop any element to your canvas. You can move it around, rescale it, and change the overall appearance of the widget. Following the same approach, you can work on different screens of the wireframes.
Step 3: Add Links and Map out the User Experience
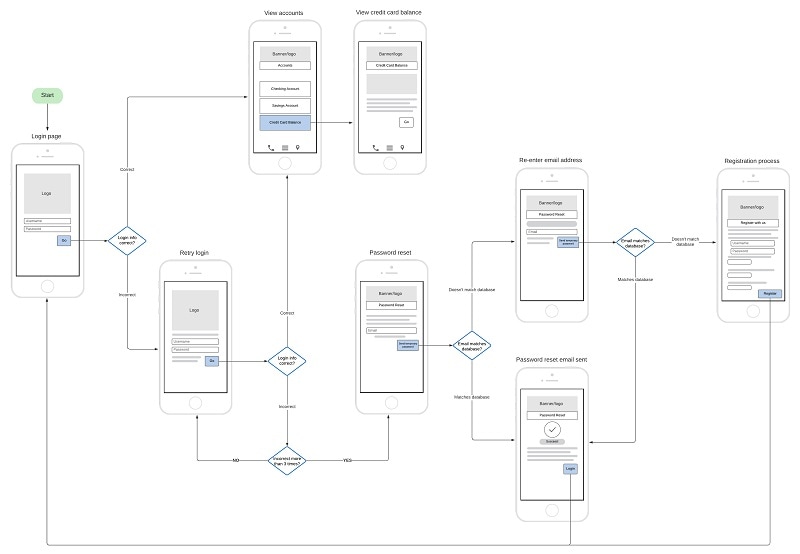
After creating the screens, separate visual connectors from interactive links. A connector maps a relationship on the diagram. To navigate to another page, select a shape, choose the Link control, select Page, and choose a destination. Lucid also has Actions, such as showing or hiding layers; they are not a general-purpose application animation engine. The Actions and links guide explains that a shape supports an Action or a link, rather than both together.
Step 4: Save and Export your Project
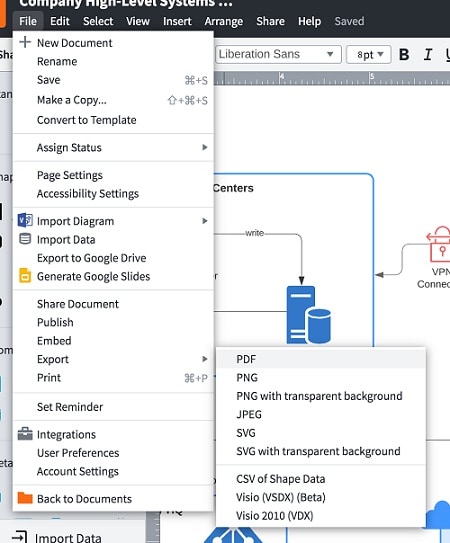
Preview the path in the context in which reviewers will use it. In the editor, Lucid documents Ctrl+Shift+click on Windows or Cmd+Shift+click on Mac to activate an Action or link; viewers can interact in view or comment mode. Share or publish the document with the right permissions. PDF export preserves links but not Actions; other exports do not preserve those interactions. Test the actual shared output instead of assuming a screenshot behaves like the document.
Check the Deliverable and Plan Limits
- UI mockup and wireframe libraries depend on the plan; confirm access before selecting a template that requires them.
- A diagram connector can describe navigation without implementing it. Configure and test a page link when click-through behavior is required.
- Device frames and screen shapes can represent a mobile interface; the remaining question is whether the diagram’s interaction behavior matches the review you need.
Create a Screen-Based Wireframe in Mockitt
Mockitt is an option for reviewing a wireframe as a connected screen flow. Start with the task and the screens it needs, then add interactions that demonstrate the important decisions. The screenshots in this section show historical Mockitt interfaces, not Lucidchart. They retain useful setup, styling, linking, note, preview, and sharing examples.
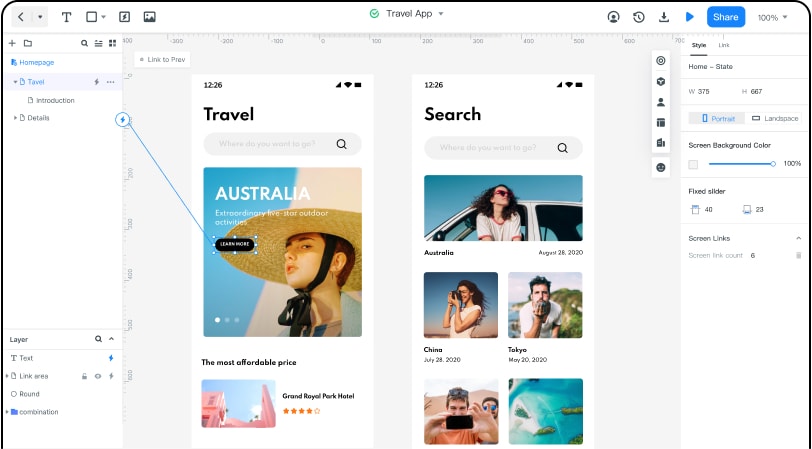
- It is extremely easy to use and features a wide range of readily available templates related to wireframe designing.
- There are also hundreds of widgets, icons, and other elements that you can include in your design.
- There is also an option to include animations, links, and other interactive elements using its dynamic widgets.
- Confirm current import and export formats against the needs of your project before committing to a handoff format.
- Use a browser preview to review the configured screens, then share it with the appropriate permissions.
To learn how to work on this Lucidchart wireframe alternative on any platform, you can follow these steps:
Step 1: Enter the Project Details
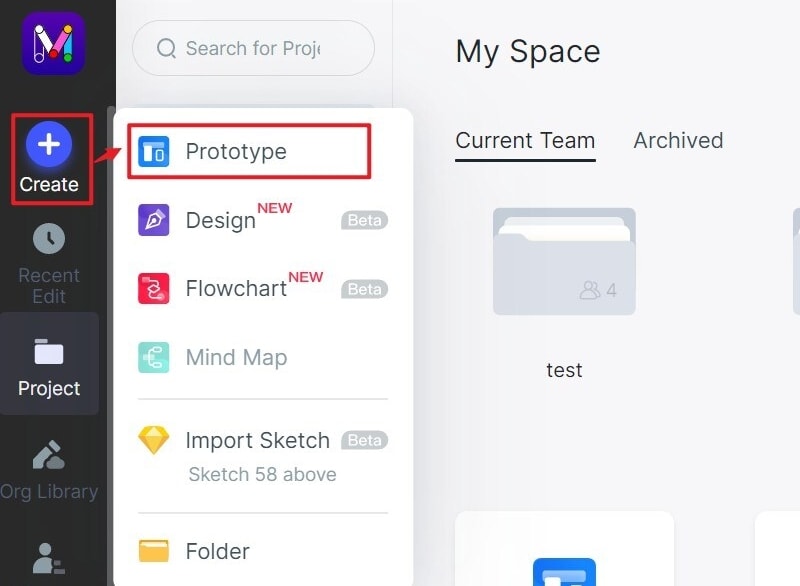
At first, you can just visit the web-based solution of Mockitt and create a new project. You can import an existing template or select the perspective of your choice (like mobile or web).
You can also select the type of device you wish to work on to create a wireframe with high fidelity.
Step 2: Design your Wireframe by Dragging and Dropping
Afterward, you can follow these suggestions to work on your wireframe:
- Add and Edit Widgets
Once the canvas is opened, you can find an extensive range of widgets and other design elements that you can drag and drop from the sidebar.
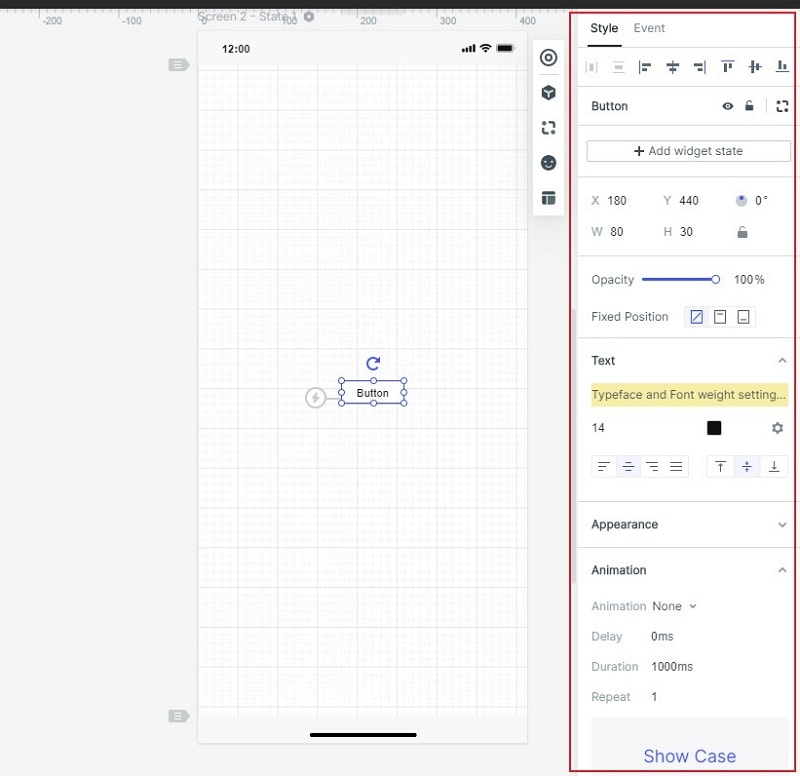
You can just click on any widget to get options to change its size, color, appearance, and do overall customization. You can also save widgets to reuse them from here.
- Link your Screens
After working on the basic layout of the wireframe, you can go to the tools and choose to add links. This will let you link different screens or widgets and map out the user journey.
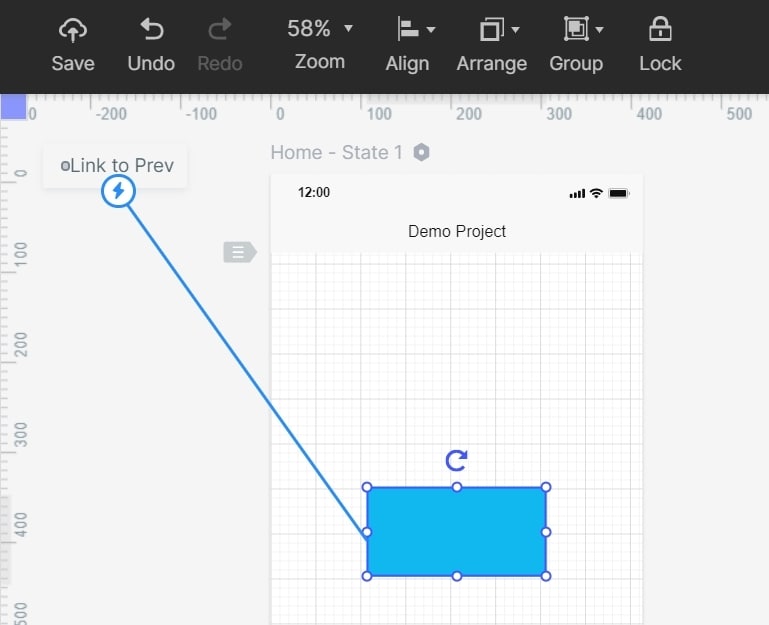
- Add Notes to your Design
If you want, you can also go to Widgets > Sticky to add any note to your wireframe. This will let you leave notes for your audience or as a reminder to yourself.
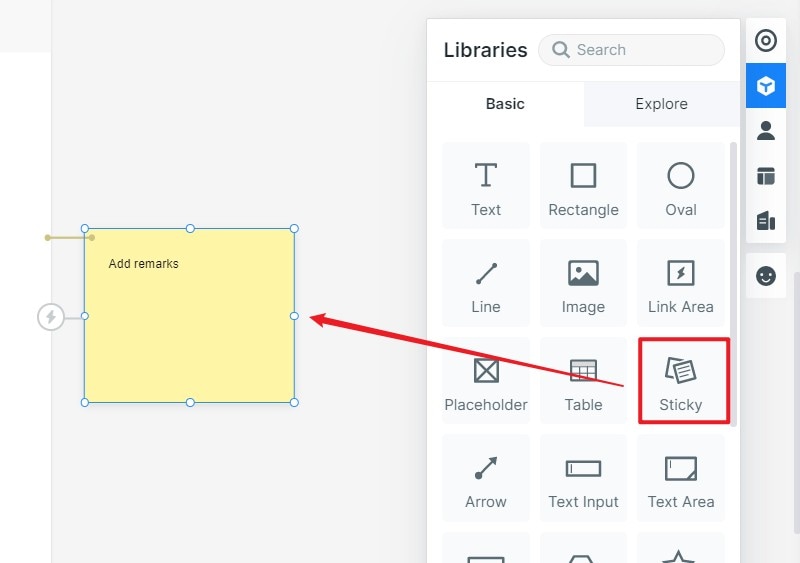
- Insert Interactive Widgets
Use widget states when a component needs to change within a screen. Add only the transitions necessary to explain the task, and annotate behavior that the prototype does not implement. Avoid implying that media, data sources, or production logic will work merely because they are represented in the design.
Step 3: Preview your Wireframe Design
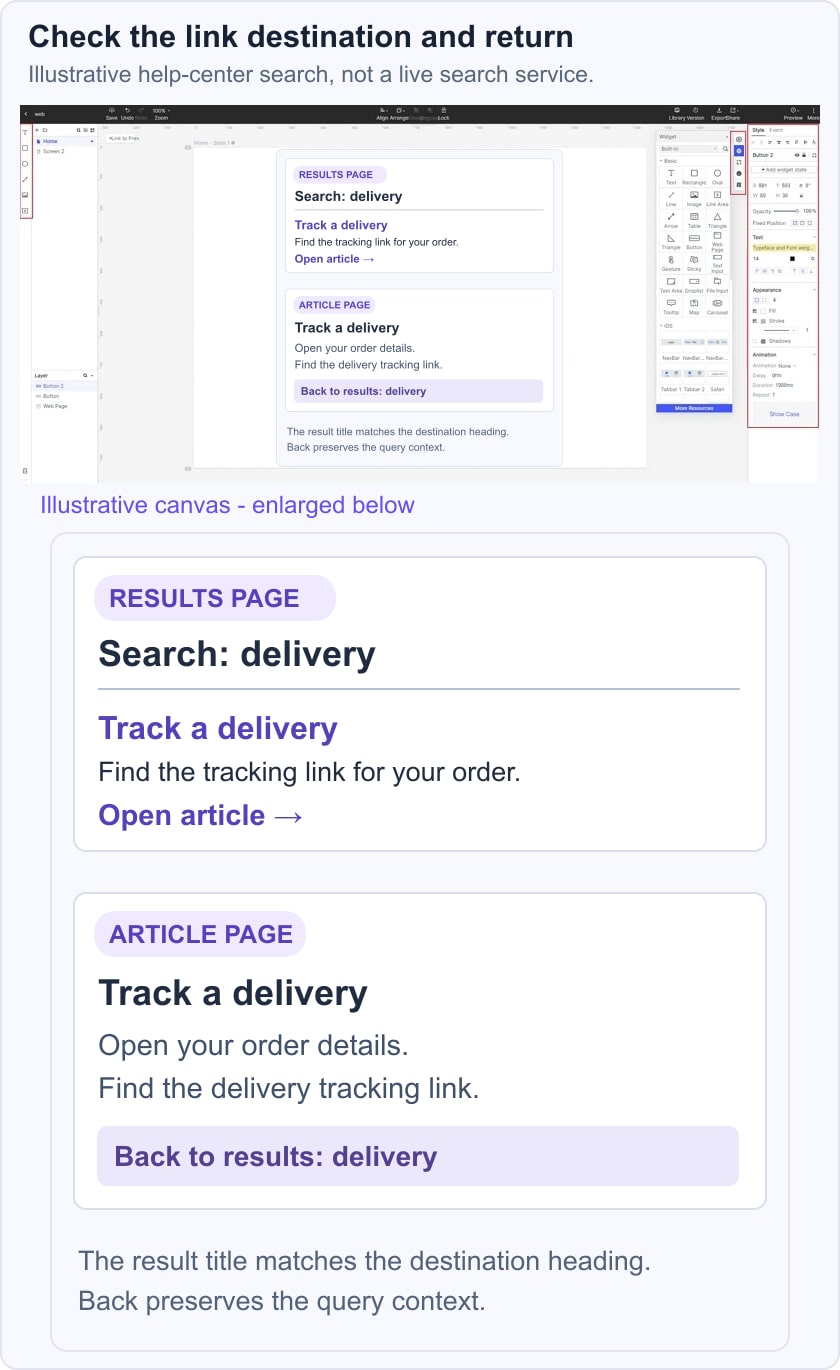
Open Preview and follow the task from the first screen without using editor controls. For a help-center example, search for “delivery,” open one result, and use Back to return to the result list. The query and result context should still be visible. Use illustrative text; the prototype is not running a live search service.
Keep the search query, result title, and article heading consistent in the example. A reviewer should be able to explain why the result leads to that article and how to change the query. These are specific checks you can discuss before implementing search and navigation.
Step 4: Save and Share your Wireframe
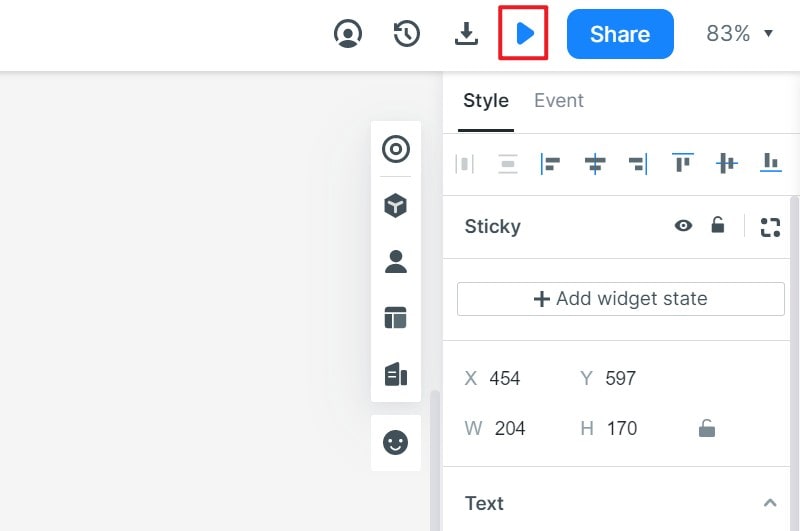
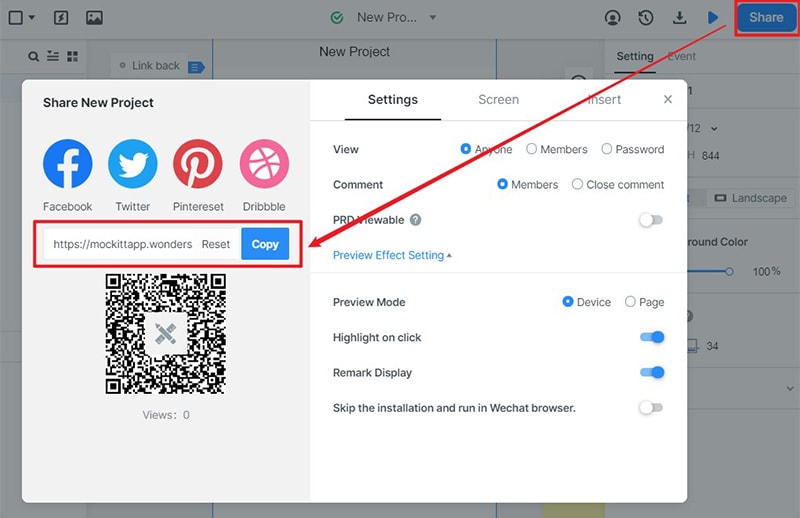
Save the project and share the preview using the current workspace controls. Check the link as a reviewer would, and choose access settings appropriate to the content. If you export a file, verify the format and what interactions it retains. The historical sharing screenshot below illustrates link and access controls; use your own current preview URL.
Smart Tips to Create Better Wireframe Designs
Use these checks to keep a wireframe focused on decisions rather than decoration.
- Always do your bit of research first and explore the Lucidchart wireframe templates or other examples.
- Choose a tool that supports the intended review output and that your collaborators can access.
- Always consider the experience and overall journey of your end-user while creating your wireframes.
- Add interaction only where it answers a question about the flow; increase visual detail when that detail affects the decision.
- You might not get the final wireframe the first time. It is all about iterating your design over and over again to reach the final draft.
A useful Lucidchart wireframe makes the relationship between screens explicit and uses the right link or Action for the shared output. A screen-based prototype is another way to review the same task. In either case, confirm the path, the return action, the visible state, and the reviewer’s access before handing it over.
Use the UI wireframe tool guide to compare deliverables across tools. When realistic content matters more than visual polish, a mid-fidelity wireframe can make the review more specific without turning it into a finished interface.