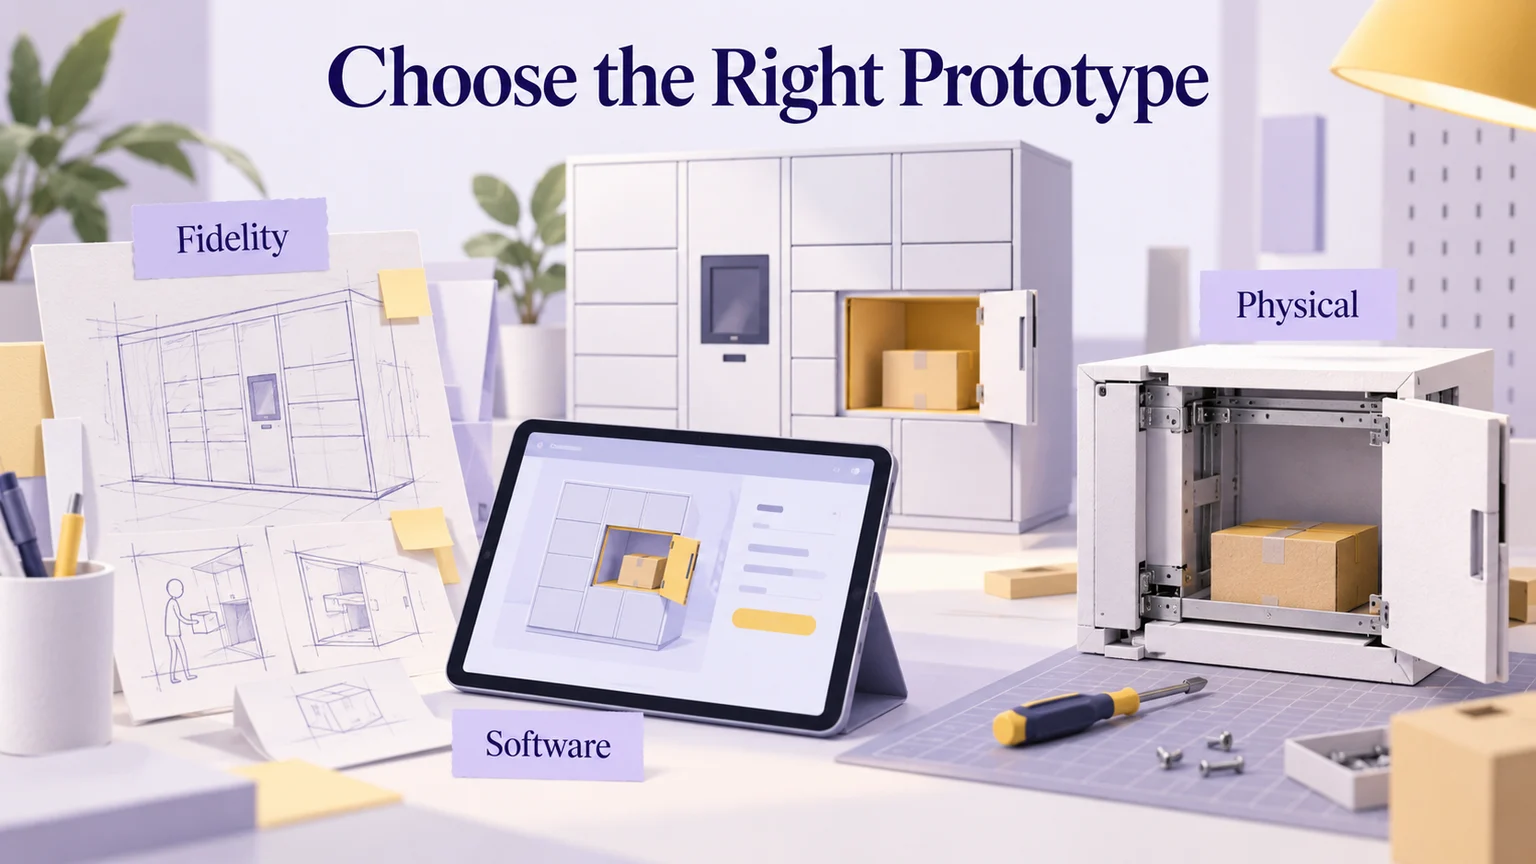
Product development involves different questions at different stages. Before making a prototype, ask what you need to learn: whether an idea is understandable, whether an interaction works for users, or whether a physical product can be manufactured. The right model makes that question easier to investigate.
Types of prototypes are often grouped by fidelity, by software development approach, or by physical product purpose. These are different dimensions: a low-fidelity interface can also be a throwaway prototype. When the question concerns a screen-based task, you can build an interactive prototype in Mockitt and give reviewers a specific path to try.
Part 1. What Is a Prototype?
A prototype is an early sample or model used to explore and evaluate an idea before committing to its full implementation. It makes an assumption tangible enough to discuss or test. Engineers may build a working mechanism; a design team may connect a few screens so someone can attempt a task.
Prototyping helps a team develop a shared understanding, find design problems, observe users, and compare alternatives. It can also make a proposal understandable to customers or investors. These benefits depend on what the prototype represents and how it is evaluated; making a model does not itself validate a product.
Part 2. Three Types of Prototypes Based on Fidelity
Fidelity describes how closely a prototype represents the intended experience. Visual appearance, content, and interaction can have different levels of detail in the same model. The three labels below are useful working descriptions, rather than mandatory stages every project must complete.
Low-Fidelity Prototype
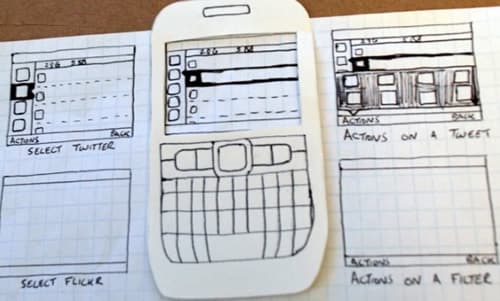
Low-fidelity prototypes often use paper sketches, printouts, or simple digital wireframes. They are useful for early visualization of several design options because changing a layout or label requires little investment. Rough presentation can also make it easier to discuss the underlying idea before polishing its appearance.
Low fidelity does not mean that a user cannot interact. A facilitator can swap paper screens when a participant taps a control, or a simple wireframe can contain clickable links. Use this approach to investigate navigation, terminology, and missing steps; do not interpret facilitator-controlled response time as application performance.
Medium-Fidelity Prototype
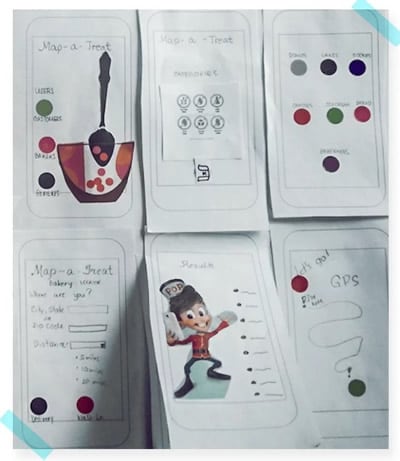
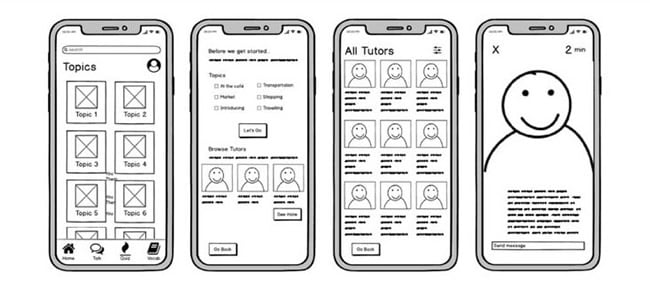
A medium-fidelity prototype adds enough structure and realistic content to show a task clearly without completing every visual detail. Storyboards and user scenarios can help decide which screens and transitions it needs. For example, a booking flow may include actual field labels, validation messages, and confirmation content while using plain gray components.
The term has no single universal threshold. Tell reviewers which behaviors are included and which are simulated, rather than assuming the label communicates the scope.
High-Fidelity Prototype
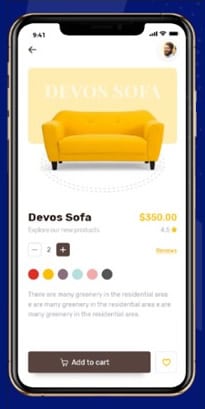
A high-fidelity prototype represents selected aspects of the final interface closely: typography, spacing, content, transitions, or input behavior. It can support detailed usability questions and help stakeholders understand the intended experience. Touch, keyboard, or pointer interactions should match the device and task being studied.
A polished appearance does not guarantee realistic performance data. Task timing can be distorted by missing content, simplified paths, simulated delays, or unfamiliar test conditions. Choose fidelity around the research question, as Nielsen Norman Group's fidelity guidance explains. Check production performance separately.
Part 3. Four Types of Prototyping in Software Development
These approaches describe how a prototype is built, revised, or related to later development. They do not form a second fidelity scale, and they are not necessarily mutually exclusive.
Rapid and Throwaway Prototyping
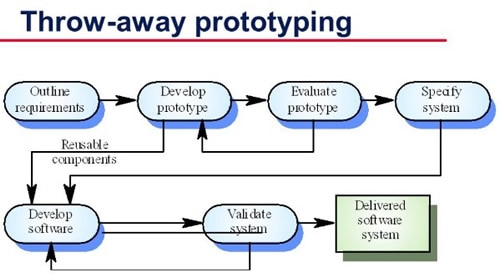
Rapid prototyping emphasizes a short build–review–revise cycle. A throwaway prototype is deliberately discarded after it answers a question, while the findings inform the next design. The words describe different decisions: speed does not determine whether a model will be retained.
For example, create two rough checkout sequences to compare where users expect delivery options. Once the comparison is complete, discard those models and retain the findings. Do not promote exploratory code into production solely because the demonstration appears to work.
Evolutionary Prototyping
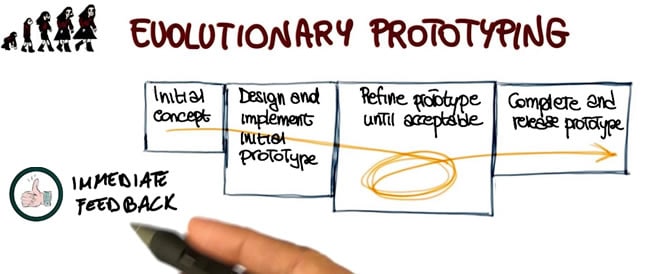
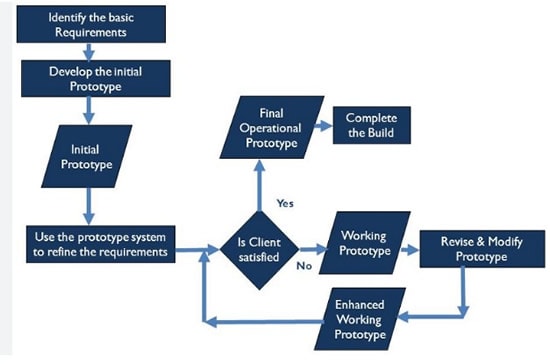
An evolutionary prototype is progressively refined as requirements become clearer. The team gathers feedback, changes the model, and extends the agreed behavior. This approach suits work where users need something tangible before they can explain important requirements.
If any implementation is intended to become part of the final system, architecture, security, maintainability, and testing need deliberate attention. Evolving an interface model is not the same as having production-ready software. Evolutionary prototyping does not automatically include every incremental or web-development method.
Incremental Prototyping
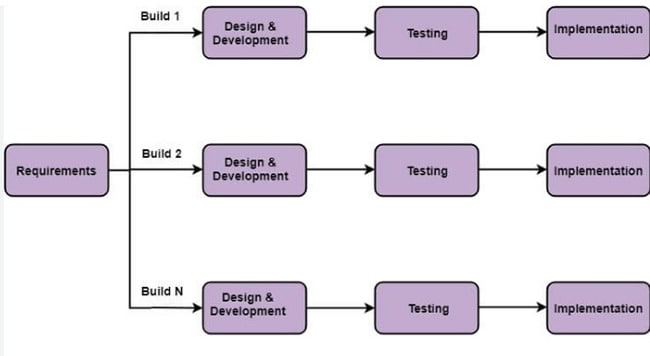
Incremental prototyping divides a larger system into smaller parts that can be explored individually, then connected. A team might prototype a catalog, basket, and checkout separately. Smaller scopes can simplify review, but integration still requires checking shared data, navigation, and the complete journey.
Decide whether those component prototypes are disposable models or implementations intended to evolve. Incremental describes the scope of the work; it does not settle that decision for you.
Extreme Prototyping
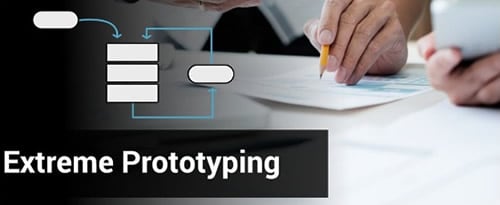
Extreme prototyping is a term used for a staged web-development approach. It starts with interface pages, adds simulated service behavior, then connects the real services. This remains a useful way to separate what a person sees from what the system must do.
- Create the pages needed to represent the selected journey.
- Simulate the responses those pages require, using known example data.
- Implement and integrate the actual services, then test their behavior.
A working simulation does not prove that authentication, storage, or other integrations work. Record the boundary between simulated and implemented behavior throughout the process.
Part 4. Four Types of Prototypes in Physical Product Development
Physical product teams use models to answer different questions about feasibility, appearance, function, and manufacture. The names and approval stages vary by organization, so agree on the purpose and acceptance criteria before building.
Proof of Concept
A proof of concept investigates whether a particular idea or mechanism is feasible. Existing materials, parts, cardboard, or tape may be enough for an early experiment. However, the materials must suit the question: a cardboard enclosure cannot establish electrical safety or load-bearing strength. Define the measurement and the conditions under which a result would support the concept.
Visual Prototype
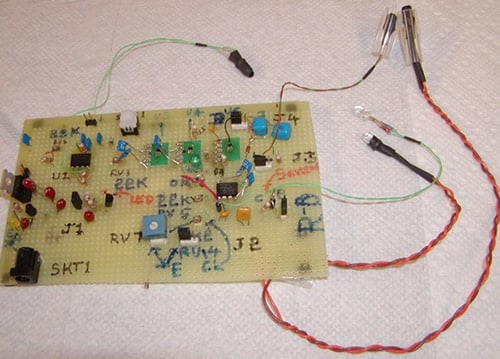
A visual prototype demonstrates appearance, shape, and dimensions. It may have no working mechanism. Cardboard, foam, wood, or a 3D-printed model can help customers and stakeholders discuss size, proportion, and how the product might be handled. A convincing surface finish should not be mistaken for evidence that the mechanism works.
Working Prototype
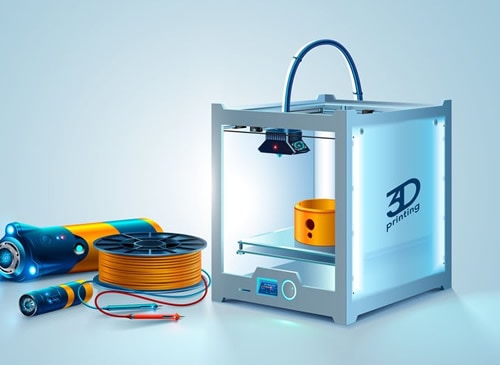
A working prototype demonstrates the functions selected for testing. It supports trials, demonstrations, and product research, but it need not contain every final feature or use the final manufacturing process. A unit displayed at a trade show, for instance, may be suitable for demonstration while still needing durability and manufacturability work.
Pre-Production Prototype
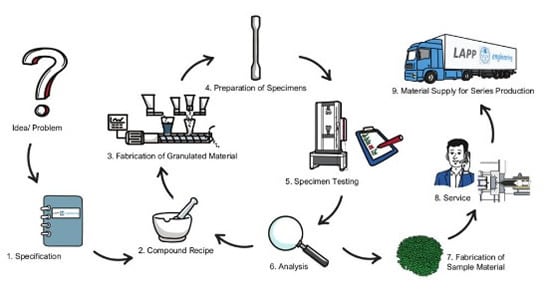
A pre-production prototype is closer to the intended production design and helps check manufacture, assembly, and quality. Relevant materials and processes matter: Protolabs' prototype-to-production guidance describes why later prototypes may need to represent the final material and manufacturing process. The name alone does not establish qualification, saleability, or regulatory approval.
Part 5. How Do You Choose a Prototype?
Start with the outcome you need to test, then choose the smallest model capable of exposing the relevant risk. Also consider the audience: a sales demonstration needs a clear story, while a research session needs a believable task and room for unexpected choices.
Imagine a team designing a tablet-controlled parcel locker. It does not need one prototype to answer every question:
| Question | Useful prototype | Evidence to seek |
|---|---|---|
| Can a person find the collection action? | Paper or simple linked screens | Observed choices and misunderstood labels |
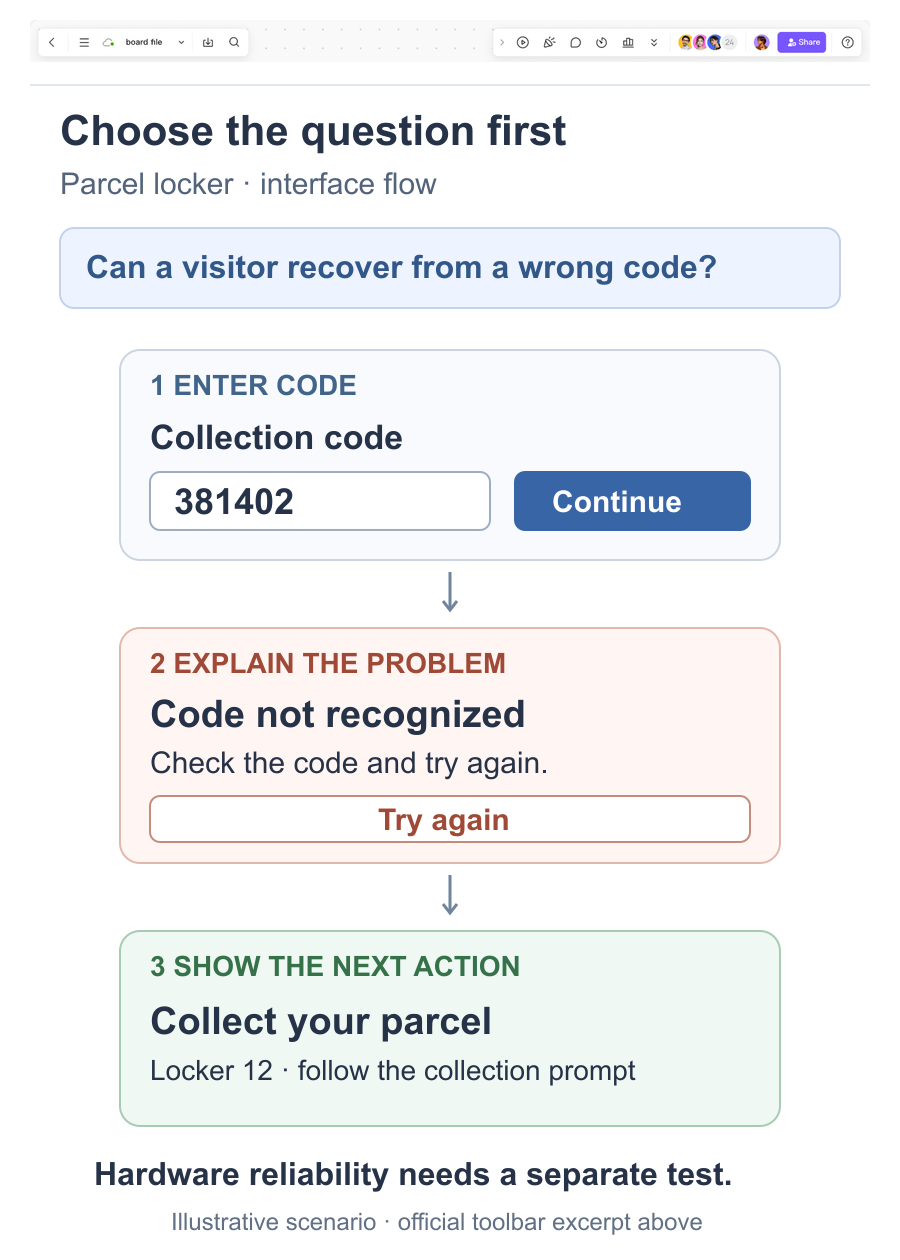
| Can they recover after entering the wrong code? | Interactive task flow with error and retry states | Whether they understand the error and next action |
| Can the door release mechanism operate reliably? | Physical proof of concept or working model | Repeatable mechanism measurements under defined conditions |
| Can the enclosure be assembled as planned? | Representative pre-production parts | Fit, tolerances, assembly issues, and process checks |
For the screen flow, model the code-entry, rejected-code, and successful-collection states. Invite a reviewer to collect a parcel using a fictional code and observe where they hesitate. The resulting interface prototype can inform the flow; it cannot validate the lock hardware.
Part 6. Tips for Creating and Using Prototypes
1. Be Aware of the Conditions
Consider how the design will be used outside a controlled demonstration. Device size, input method, lighting, connectivity, wear, and load can change what a test reveals. Reproduce the conditions relevant to your question and record what you have not tested.
2. Make Changes When the Evidence Calls for Them
Keep the observation that prompted a change, revise the affected part, and test again. You may return to an earlier model, but a problem does not automatically require discarding the entire design.
3. Treat Safety and Security as Separate Requirements
A prototype can reveal hazards and confusing behavior; it does not certify a physical product or secure a digital service. Use appropriate engineering and security checks. The GOV.UK Service Manual specifically distinguishes prototype code from the quality and security required for production.
4. Involve the Team Early
Bring designers, researchers, engineers, and relevant stakeholders into the work. Agree on the question, the represented behavior, and who will act on the findings. Shared understanding is more useful than a polished model whose limitations nobody recognizes.
Conclusion
Choose fidelity for the detail you need, a software approach for how the model will develop, and a physical prototype purpose for the property you must investigate. Keep those dimensions separate, and each prototype can earn its place by answering a specific question.