Plan the Web App Interface
A Mockitt web-app prototype helps you review the screens and content a Python application will need. Keep that design task separate from the Python code that handles requests and produces responses. This tutorial builds a small local Flask application, then explains how to plan its interface.
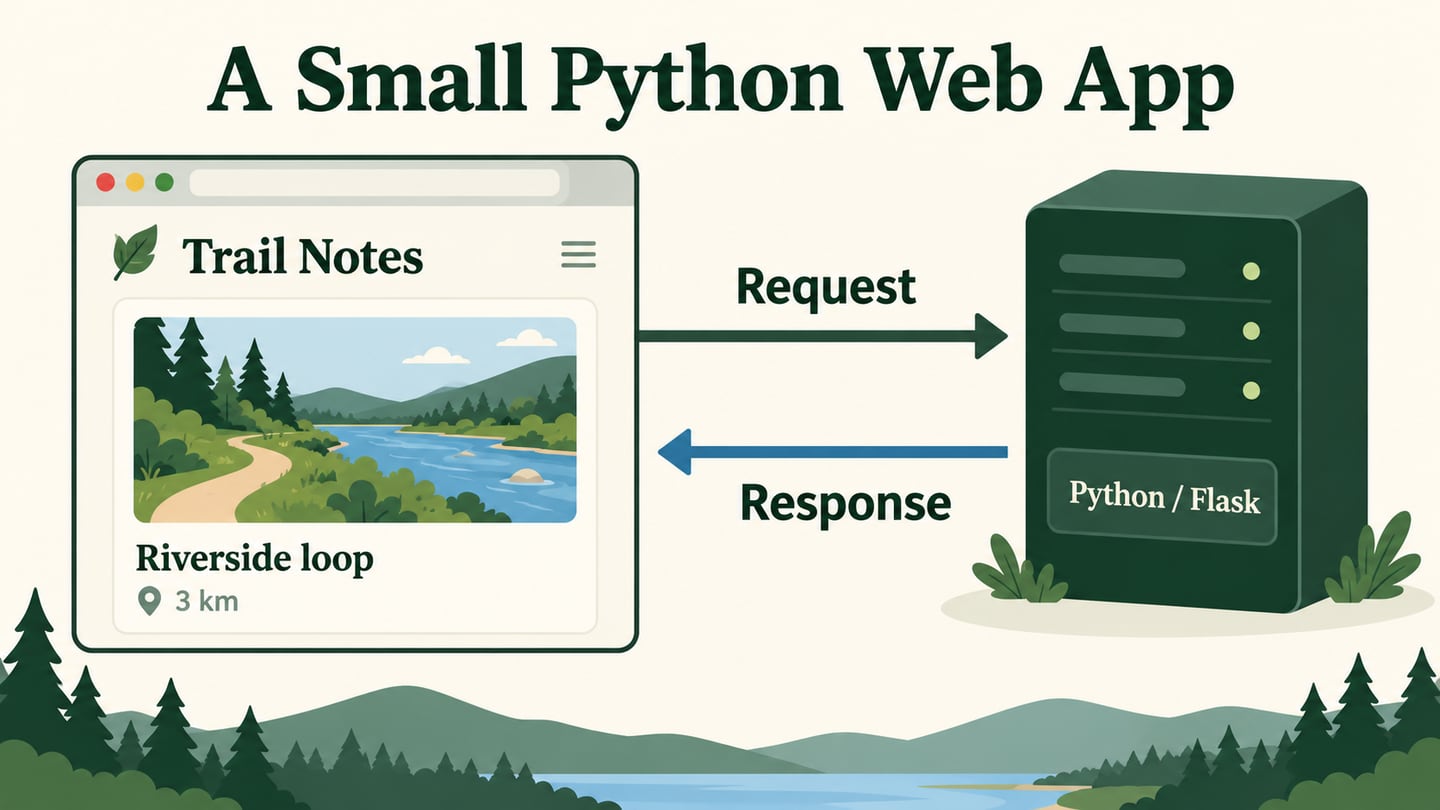
Python can run the server-side logic of a web application. A browser sends a request, the application handles it, and the server returns a response such as HTML or JSON. The browser does not run ordinary Python source as if it were a web page.
Start with one route and a visible response before adding forms, databases or accounts. The example below returns Hello, World! locally. It establishes the request-and-response relationship without pretending to be a deployable production application.
Where Python Fits in a Web App
Python frameworks provide ways to route requests, handle data and build responses. The resulting interface may use HTML, CSS and JavaScript in the browser. Choose the framework around the application’s requirements and the team’s experience, not a general promise that one language is always faster or more secure.
Python is one option alongside other server-side languages and frameworks. The visible browser interface still needs its own structure, styling and interaction behavior. A prototype can describe those requirements before they are implemented.
Flask, Django, Pyramid, web2py, CherryPy and Bottle represent different Python web-framework approaches. This walkthrough uses Flask for a deliberately small exercise. A framework does not automatically convert an arbitrary Python program into a complete website; its inputs, outputs and error handling must fit the request lifecycle.
For a first experiment, keep the Python processing separate from the route that receives a request. That separation makes it easier to understand what the application does before adding persistence or a larger interface.
A desktop window is a different target. The Python GUI framework guide compares desktop interface libraries; the Flask example here responds to a web browser.
Build a Local Flask App
Install a supported Python version and work in a dedicated project folder. Follow the current Flask installation guide for environment requirements. The retained package-panel image shows Python 3.9 and Flask 2.0.1 in an older editor; use the commands below for this exercise rather than copying its version numbers.
Step 1. Create an Environment and Install Flask
A virtual environment keeps the exercise’s dependencies separate from other Python projects. Create it inside the project folder. On Windows, these commands create the environment and invoke its Python directly, so a PowerShell activation-policy change is unnecessary:
py -3 -m venv .venv
.venv\Scripts\python.exe -m pip install Flask
On macOS or Linux, create the same environment and use its Python executable:
python3 -m venv .venv
.venv/bin/python -m pip install Flask
You can activate the environment if that fits your shell workflow, but it is not required when using the explicit paths above. Run the remaining commands from the same project folder.
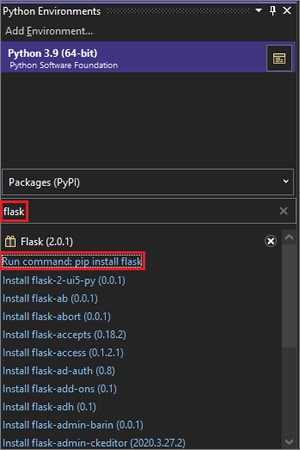
Check the installation with .venv\Scripts\python.exe -m pip show Flask on Windows or .venv/bin/python -m pip show Flask on macOS/Linux. The output should identify the installed package and its location in this environment.
Step 2. Create the Application
Save the following source in a plain-text file named hello.py. Avoid naming it flask.py, which would conflict with the package import. The retained code image illustrates the same small hello-route structure.
from flask import Flask

app = Flask(__name__)

@app.route("/")
def hello():
    return "Hello, World!"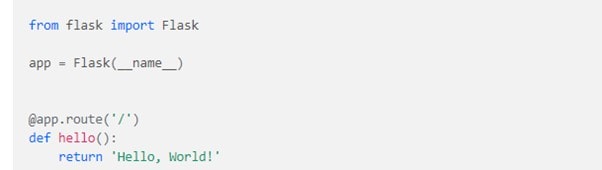
The import supplies the Flask class, and Flask(__name__) creates the application object. The route decorator associates / with hello(); Flask turns its returned string into an HTTP response. The official Flask quickstart explains this minimal application and the development command.
Step 3. Run and Check the Application
The earlier screenshot sets FLASK_APP in a Unix shell. For this exercise, specify the application directly with --app hello. On Windows, run:
.venv\Scripts\python.exe -m flask --app hello run --debug
On macOS or Linux, use the equivalent environment path:
.venv/bin/python -m flask --app hello run --debugOpen http://127.0.0.1:5000/ in a browser. You should see Hello, World! If the port is already occupied, stop the conflicting process or choose a free port with --port. Stop this development server with Ctrl+C when finished.

Debug mode is for local development. Do not expose the development server or interactive debugger as your production deployment. Once this response works, add one route or template at a time and test its inputs and failure cases.
Plan the Browser Interface in Mockitt
Before adding a larger page to the Python app, define what people should see and do. A wireframe can expose missing content and uncertain actions. For the document itself, the basic HTML walkthrough explains headings, paragraphs and links that the browser will render.

Useful design and review tasks include:
- Arrange available widgets and reusable assets into representative screens.
- Review the same proposed flow with teammates and record unresolved questions.
- Share a preview using access permissions appropriate to the project.
- Connect screens or states to explain intended behavior.
- Provide supported design specifications and assets to developers; CSS information does not implement a Python backend.
Create the Web App Wireframe and Prototype
Step 1. Create a Project
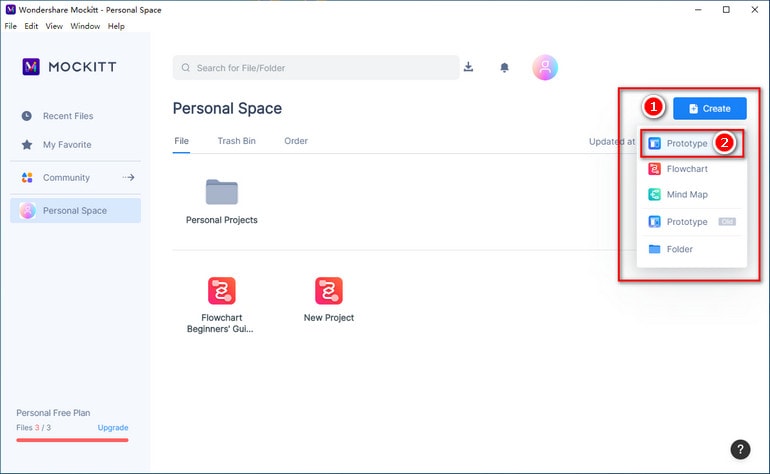
Open the Mockitt workspace in a supported environment and create a prototype project. The retained UI captures show an earlier editor, so use the equivalent controls available in your account.
Choose Create > Prototype where that route is available, then name the project after the task it will demonstrate.
Choose an appropriate browser-page canvas or custom size. Plan a narrow layout separately rather than assuming that a desktop draft automatically responds to every width.
Step 2. Add the Content and Controls
Place the information needed for the page before adding decorative details. Use meaningful labels so another person can interpret the draft without an explanation.
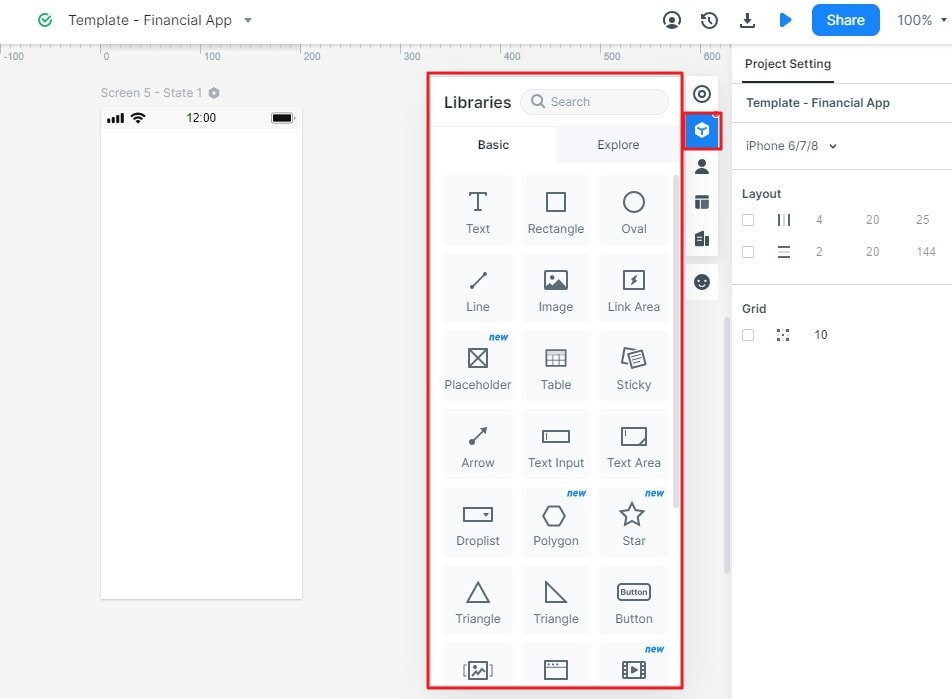
- Drag suitable text, shape and control widgets onto the canvas.
- Use ordinary text elements for page copy. Keep Sticky or annotation widgets for review notes, separate from the proposed interface.
- Add an image only when the task needs one, preserve its proportions, and define any action its surrounding card should offer.
- Adjust type size and spacing in the available properties panel, then inspect the result at the intended reading size.
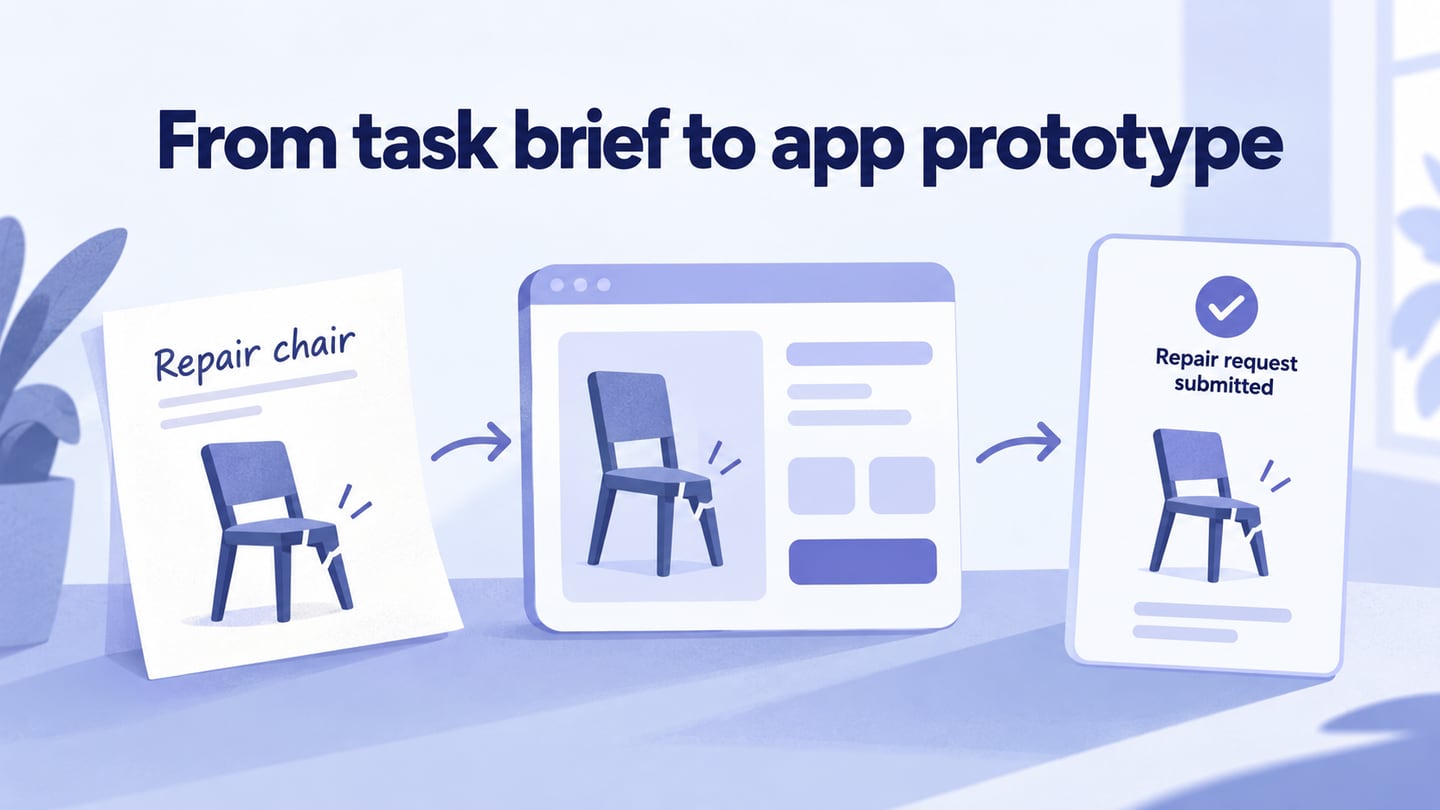
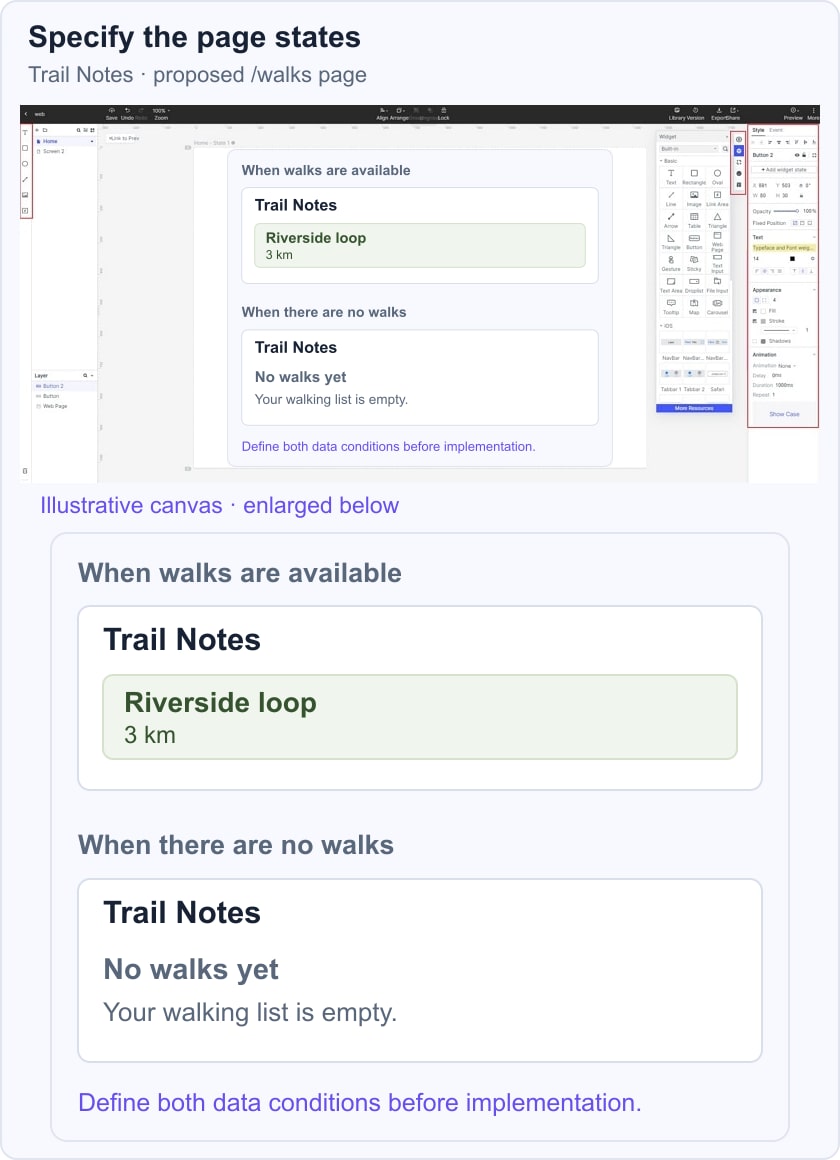
For a fictional Trail Notes app, plan a /walks page with a “Riverside loop” card and “3 km” distance. Beside it, show the empty list with “No walks yet.” The two states specify what the browser should display when records exist and when none are available; the prototype does not execute the Python route.
Step 3. Connect the Intended States
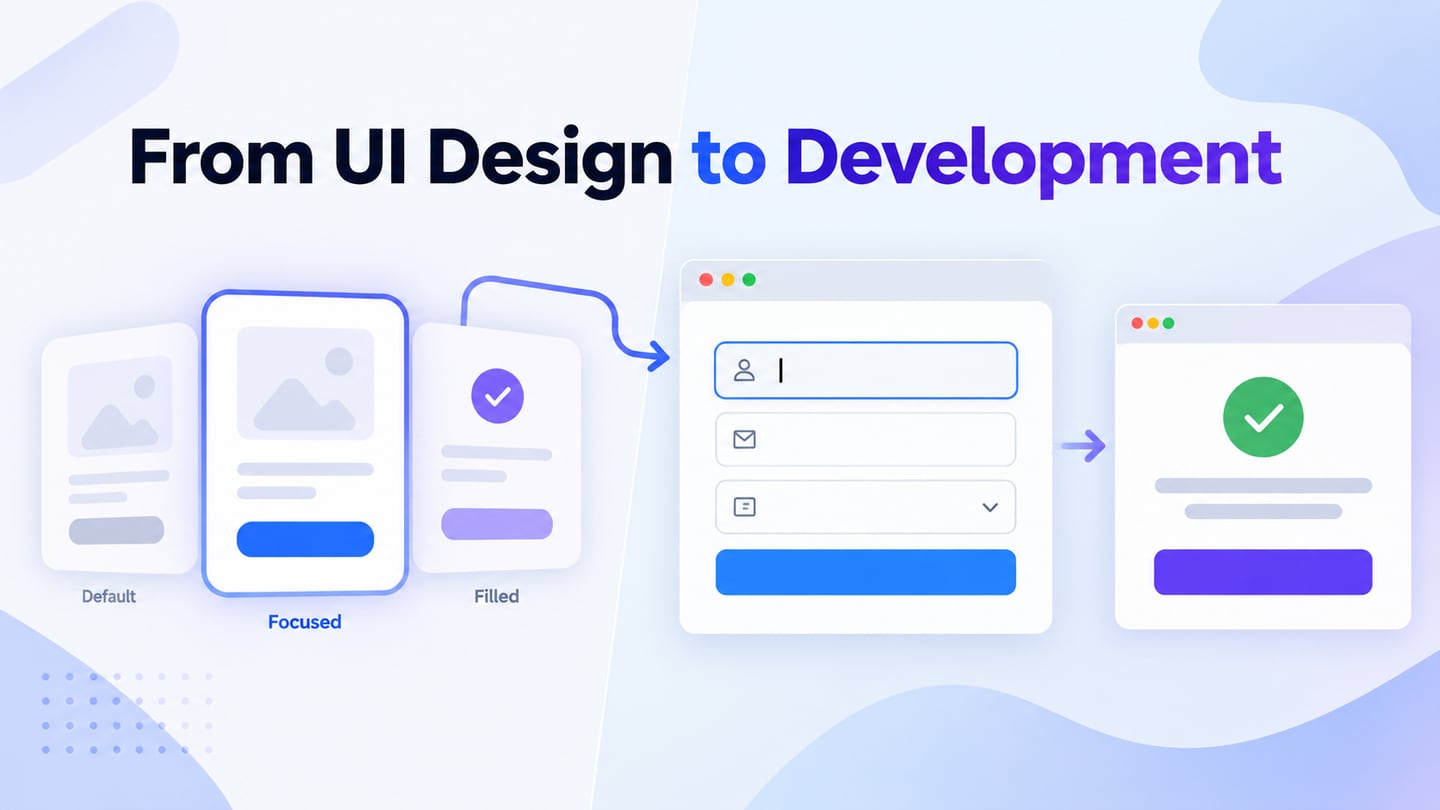
Connect only the interactions that help answer the current design question. A list and its empty state may be reviewed side by side; do not add a button that falsely suggests people can switch the underlying data condition themselves.
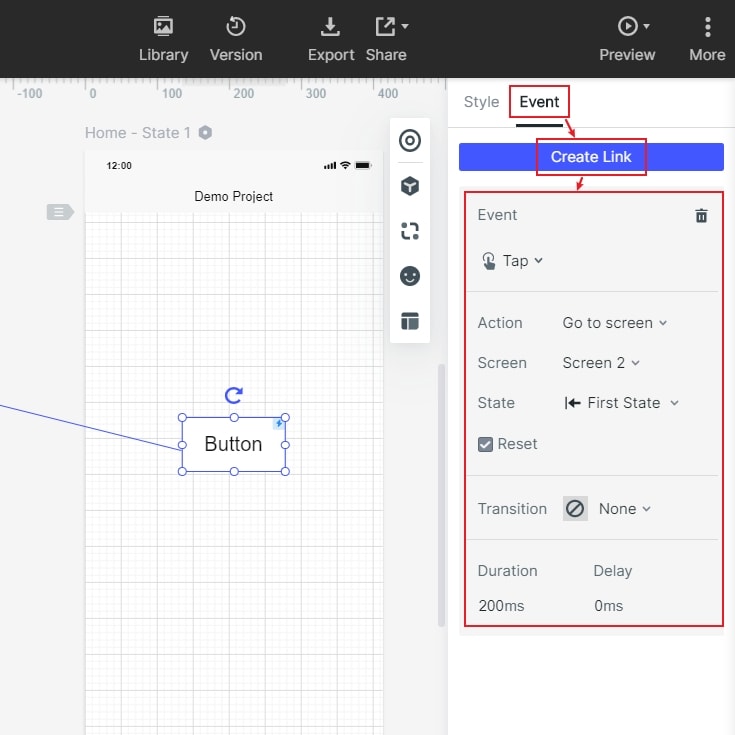
- Where an action leads to another screen, use the available link control to choose the destination and trigger.
- The earlier Event/Create Link panel illustrates the same relationship. Confirm that the label promises the destination actually shown in preview.
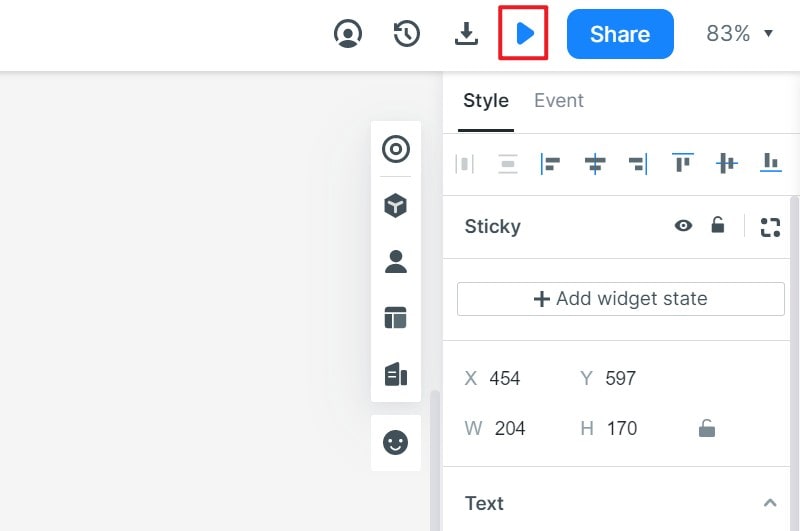
Step 4. Preview the Wireframe
Inspect the populated and empty pages at a useful reading size. Ask a reviewer what information is available and what they would do next. Share the preview with the relevant people and record any unclear content.
Step 5. Hand Off the Design
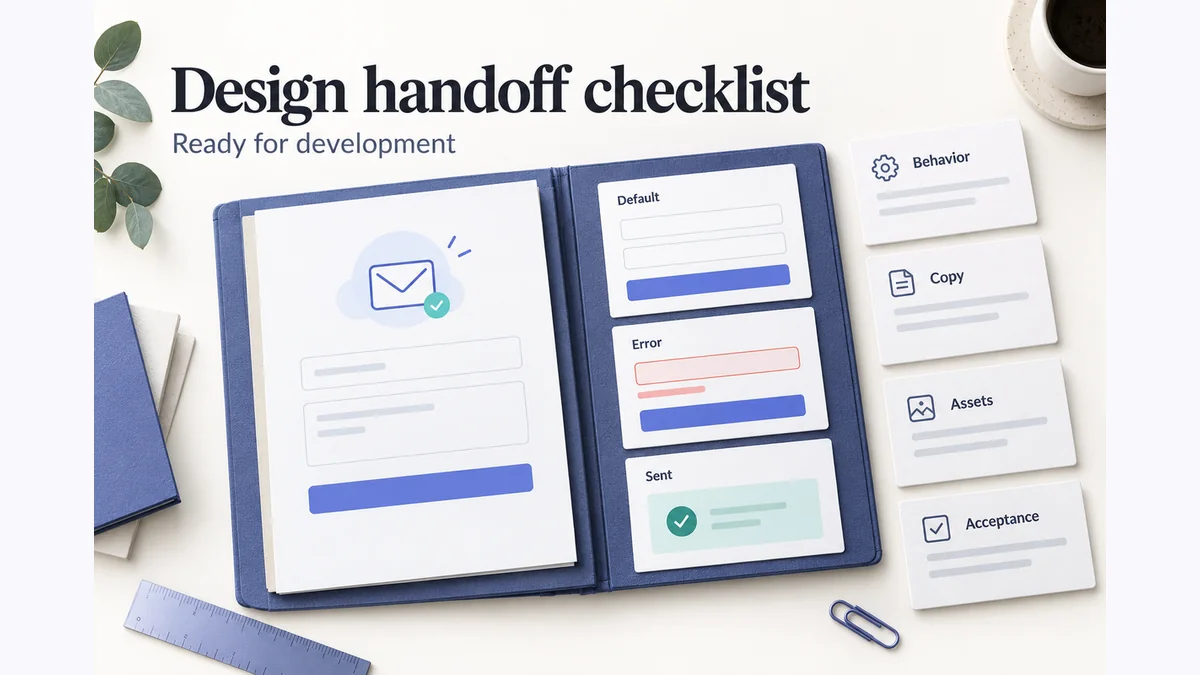
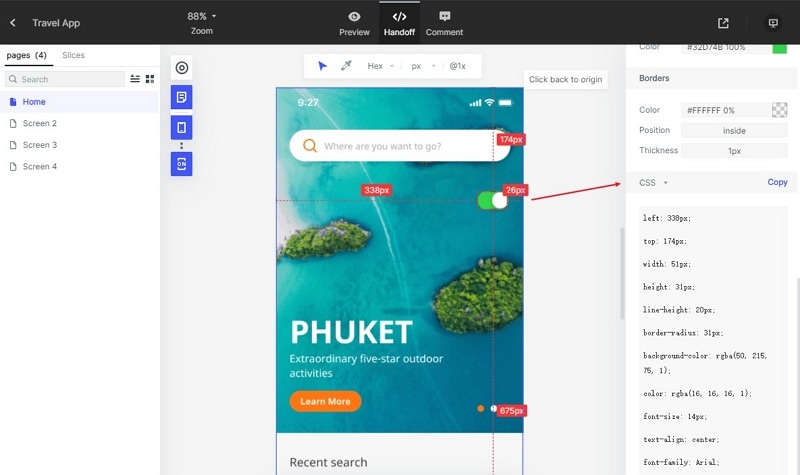
Provide the screen content, data conditions, intended actions and unresolved questions alongside available specifications. The historical CSS panel can help communicate visual properties. Developers still need to implement templates, routes, data handling and production behavior.
FAQs About Python and Web Interfaces
How Do You Turn Existing Python Logic into a Web App?
Identify the function that performs the work, define its inputs and outputs, then call it from an appropriate route. Validate incoming data and handle errors deliberately. Files, long-running work, authentication and storage may require additional architecture; they are not supplied merely by wrapping a function in a route.
Is Tkinter a Web GUI Framework?
No. The Python Tkinter documentation describes a desktop interface to the Tcl/Tk GUI toolkit. A browser-facing Flask interface normally uses web content such as HTML templates and CSS. Choose the interface technology according to where the application will run.
Continue from a Working Small Example
The hello route confirms that your local Python application can answer a browser request. Use that small working baseline before introducing more moving parts.
A prototype can clarify the page content and states that implementation must support. Keep those design decisions with the code requirements, then test the actual browser application as it grows.