A concept map is useful when a team needs to explain how ideas relate, not merely collect them. Start with a focused question and use Mockitt’s online whiteboard to arrange concepts, label their connections and review the explanation together.
A good concept map makes an explanation visible enough to inspect. It can reveal an undefined term, an unsupported assumption or a missing relationship before those gaps spread into a report or product specification.
Explore the definition, benefits, layouts and construction steps through one example: explaining how an invited teammate receives access to a workspace.
Part 1. What Is a Concept Map?
A concept map connects named concepts with labeled relationships. According to the IHMC explanation of propositions, connected concepts and their linking phrase form a meaningful statement. A flowchart, timeline, Venn diagram or table is not automatically a concept map simply because it organizes information visually.
Concept mapping can support teaching, research and product planning when the task is to explain relationships. Select a narrow question so that the map can be checked rather than becoming a wall of loosely connected topics.
Features Of Concept Maps
- Concepts: short names for the ideas or entities being explained.
- Linking phrases: words that state the relationship between connected concepts.
- Hierarchy: a useful arrangement from broader to more specific ideas when the subject supports it.
- Propositions: meaningful statements formed by connected concepts and their linking phrases.
- Cross-links: relationships between concepts in different parts of the map.
- Focus question: the question that determines what belongs in the map.
- Parking area: relevant ideas set aside until their role is clear, rather than forced into the diagram.
Part 2. Benefits Of Concept Maps
The value comes from making the author’s reasoning inspectable. A diagram can support these activities, but it does not guarantee that its content is correct:
- Clarifying a problem by separating named concepts from the relationships between them.
- Exploring alternative explanations before choosing one to investigate.
- Reviewing a shared model with people who bring different knowledge.
- Finding missing definitions, unclear links and unsupported assumptions through discussion.
Layouts: choose structure without confusing the diagram types
The original examples below show several familiar arrangements. Treat them as layout references, not proof that every diagram is a concept map. The concept map versus mind map comparison explains why the connection meaning matters more than the shape.
Process-oriented layout
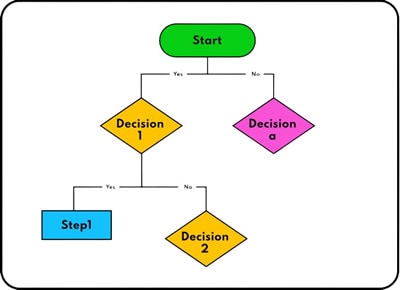
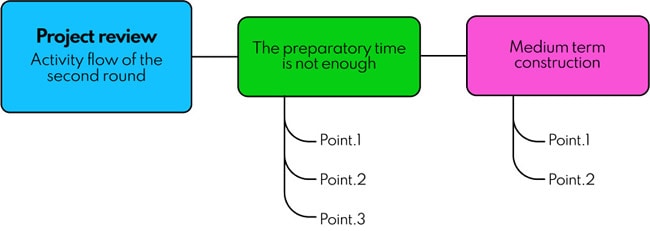
A flowchart shows sequence and decisions. It can help you identify concepts, but its arrows usually mean “next,” not the explanatory relationships required in a concept map. Keep a process flow separate when it answers a different question.
Radial layout
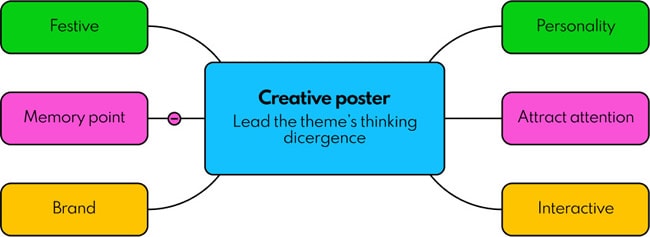
A radial arrangement places a subject in the center. It is useful for gathering topics; add meaningful linking phrases if the goal is to explain relationships rather than show associations.
Network layout
A network can show dependencies or influences among several concepts. Use arrow direction only where it has a clear meaning, and label the relationships rather than assuming proximity explains them.
Hierarchical layout
A hierarchy places broad concepts above more specific ones. Add cross-links when a concept has a meaningful relationship outside its immediate branch; do not force all ideas into a single parent-child tree.
Part 4. How To Make A Concept Map?
Use this sequence to move from a question to a map that another person can review. The example is deliberately small so the relationships remain readable.
Step 1: Pick A Focus Question
Write a question that the diagram can answer. A broad heading such as “Workspace” is a topic; “What enables an invited teammate to open a project?” is a focus question.
For this example, the goal is understanding access, not designing a login screen or documenting every administrative task. Keep billing, profile settings and notification preferences outside the initial map.
Step 2: Identify Relevant Ideas
List candidate concepts before connecting them. Use short labels and keep terms consistent across the map and the surrounding documentation.
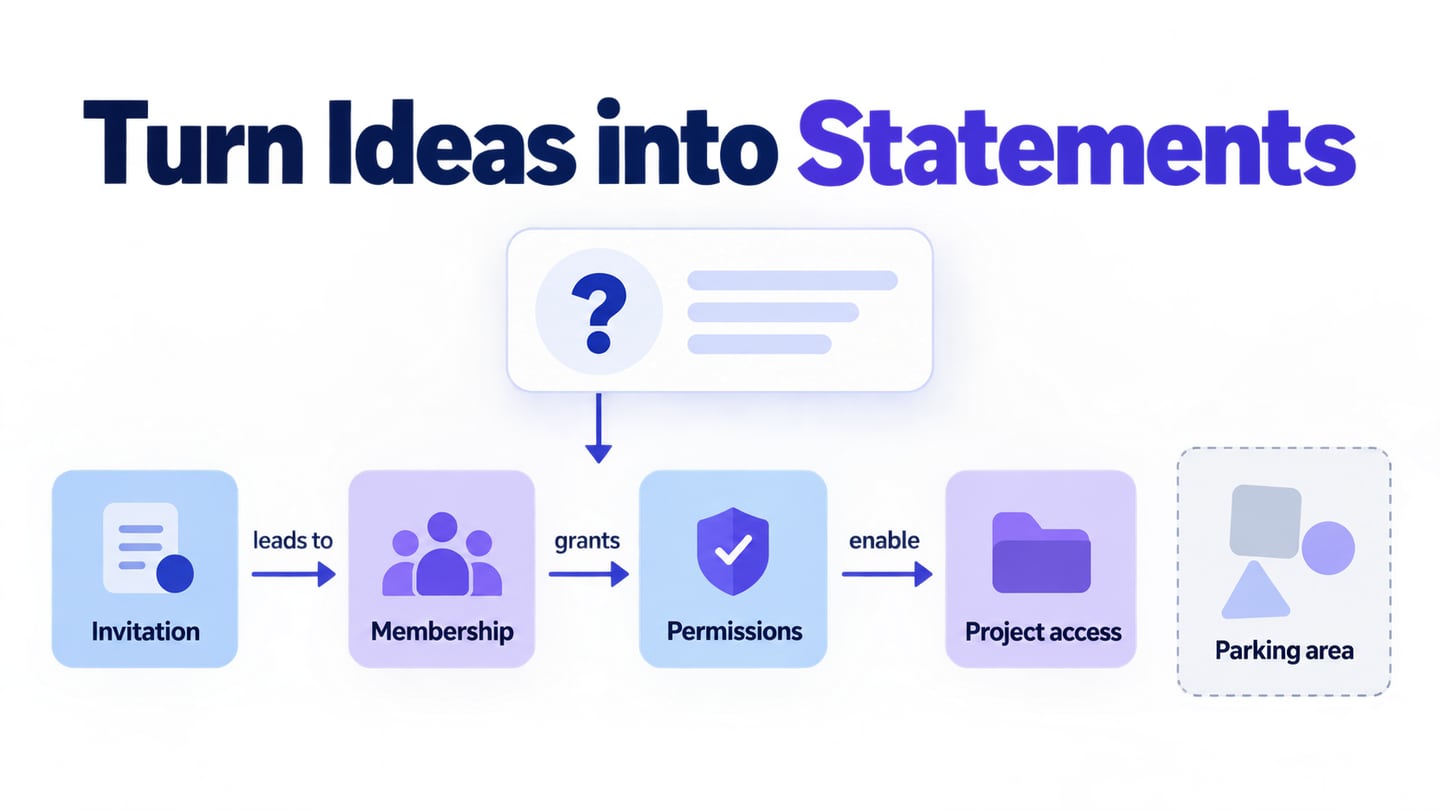
Start with Invitation, Accepted invitation, Workspace membership, Assigned role and Project access. Place unclear terms in a parking area until the team agrees on their meaning. These are illustrative concepts; confirm the actual policy for your product.
Step 3: Connect Key Concepts
Connect the concepts with phrases that make complete statements. For the example, “Accepted invitation creates Workspace membership,” “Assigned role determines Permissions,” and “Permissions control Project access” describe the model to review. Avoid labeling every line “related to,” which hides the relationship instead of explaining it.
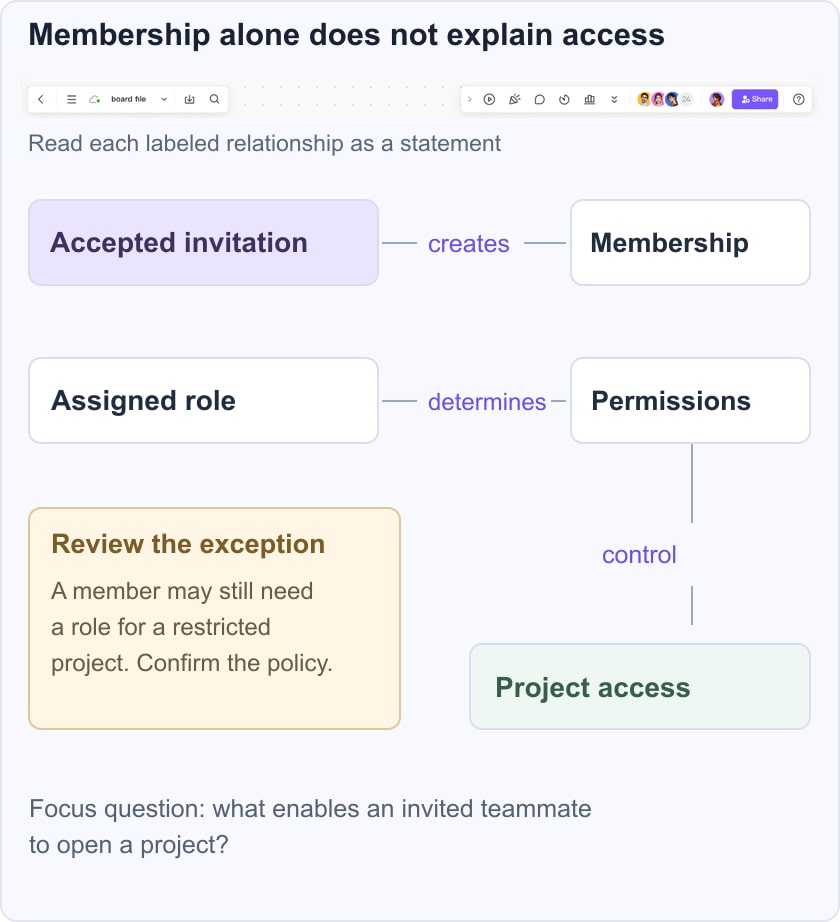
Now test a counterexample: a person accepts an invitation but has no role for a restricted project. The map should not imply that membership alone grants access. Add the missing role or project-scope relationship, then ask the responsible team member to confirm that it represents the real policy.
Step 4: Revise Concepts and Relationships
Read each connection aloud and ask whether it answers the focus question. Check cross-links, remove duplicate concepts and mark assumptions. A teammate who did not draw the map should be able to explain a path without guessing what an arrow means.
Step 5: Finalize And Customize Your Map
Align related concepts and keep labels close to the lines they describe. Use consistent type sizes and restrained color. If the explanation still needs tiny text or many crossing lines, split it into a summary and a focused detail map.
Part 5. How To Use Mockitt to Design Concept Maps?
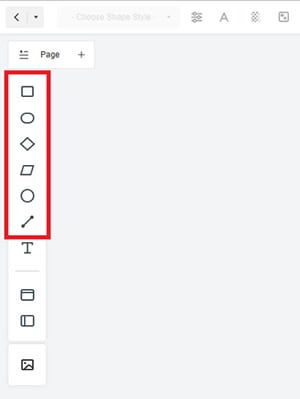
Use a board or diagram canvas to work through the access example. The historical screenshots below illustrate creating shapes, changing appearance and exporting; current controls may differ, so follow the functions rather than old onboarding prompts.
Open the current workspace in a supported browser and create a board or diagram suitable for freeform relationships.
Add the focus question at the top of the working area.
Keep a small parking area for unresolved concepts, separate from the reviewed map.
Create a shape for each concept rather than adding the whole policy as a paragraph inside one box.
Choose consistent shapes for peer concepts. A different shape should carry a defined meaning, not simply add variety.
Set a readable label size and enough spacing for connection phrases.
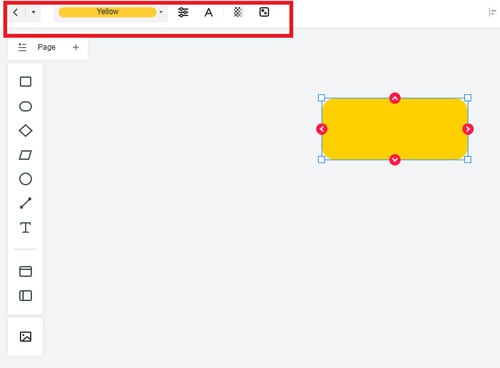
Add a second concept and keep its formatting consistent with the first.
Connect the two concepts and label the relationship. Test the sentence before adding more nodes.
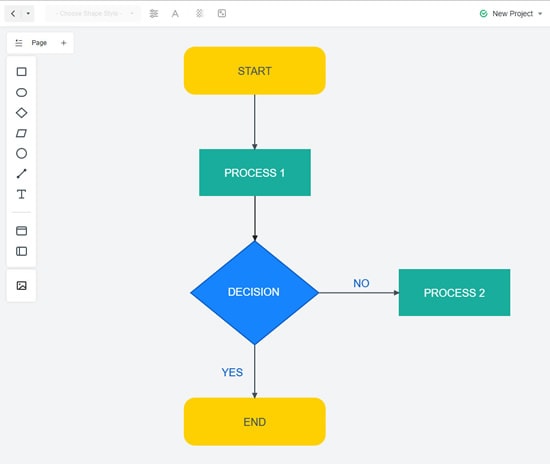
Build the remaining relationships and review the restricted-project counterexample. The original process diagram is retained as a contrasting flowchart example, not as the completed concept map.
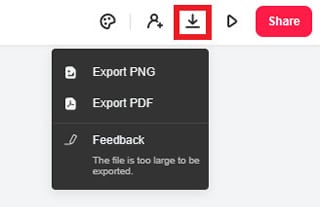
Share the editable source with reviewers. If a static copy is needed for a report, inspect the exported image and keep the source available for changes. Follow the Word guide or Google Docs guide for document insertion.
Part 6.Frequently Asked Questions About Concept Map
1. Is A Concept Map A Graphical Organizer?
A concept map can be represented as a graph of concepts and relationships. What makes it useful to a reader is that the links express meaningful statements in the context of a focus question.
2. What Should A Concept Map Include?
Include a focus question, named concepts and labeled relationships. Use hierarchy and cross-links where they improve the explanation; keep unrelated ideas in a separate parking area.
3. What Is the Main Purpose Of A Concept Map?
Its purpose is to explain and examine relationships. It can support learning or decision-making, but it is not a substitute for checking the underlying evidence.
4. What Makes A Good Concept Map?
A good map is focused, readable and logically inspectable. Every connection should say something useful, and another reader should be able to explain the map without relying on the author’s unstated assumptions.
Conclusion
Begin with the question, select the concepts, name the relationships and test the explanation with another reader. Revise the map when that review reveals a missing condition or an ambiguous term.
The finished map should be easier to question and maintain than the original scattered notes. Preserve its editable source so future changes improve the explanation rather than only its appearance.