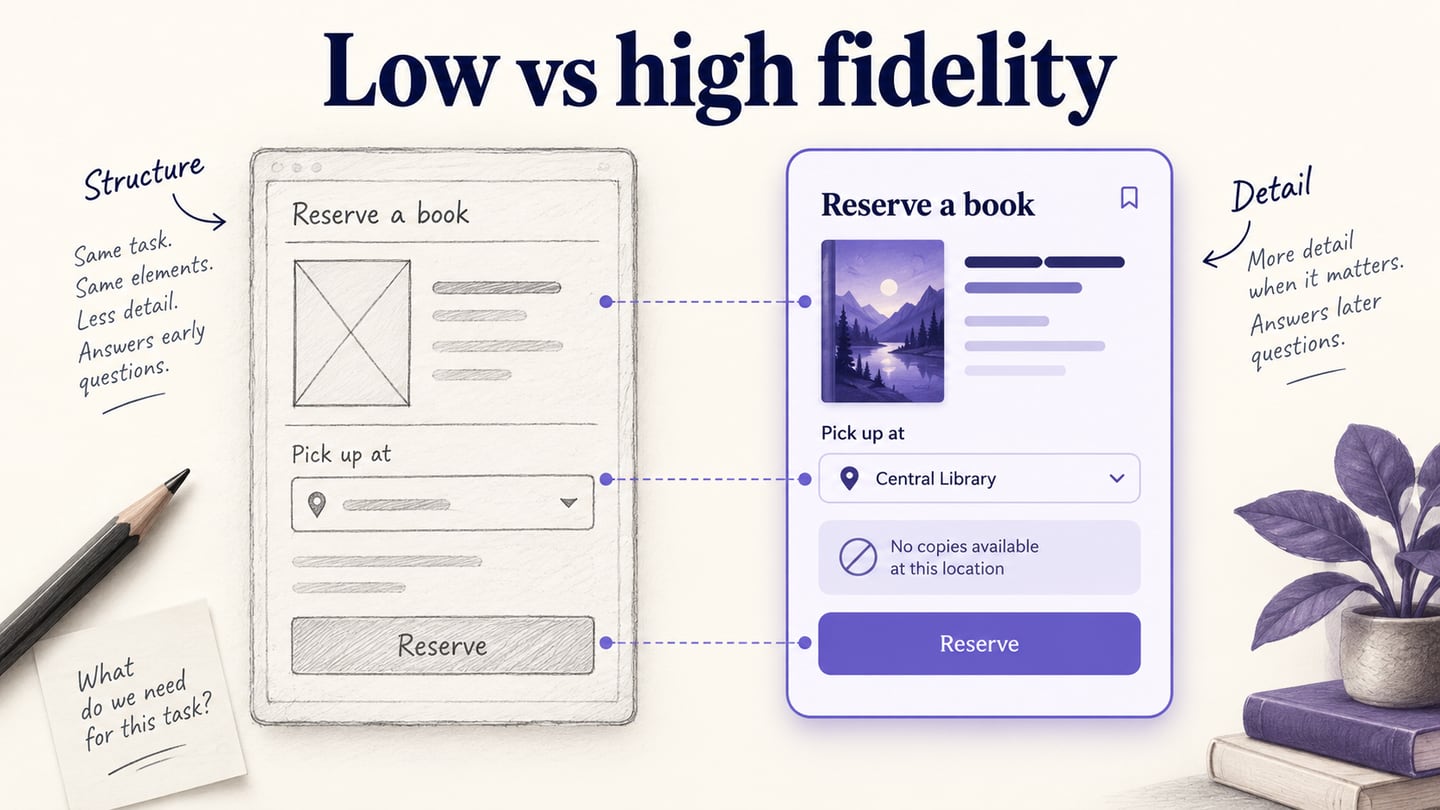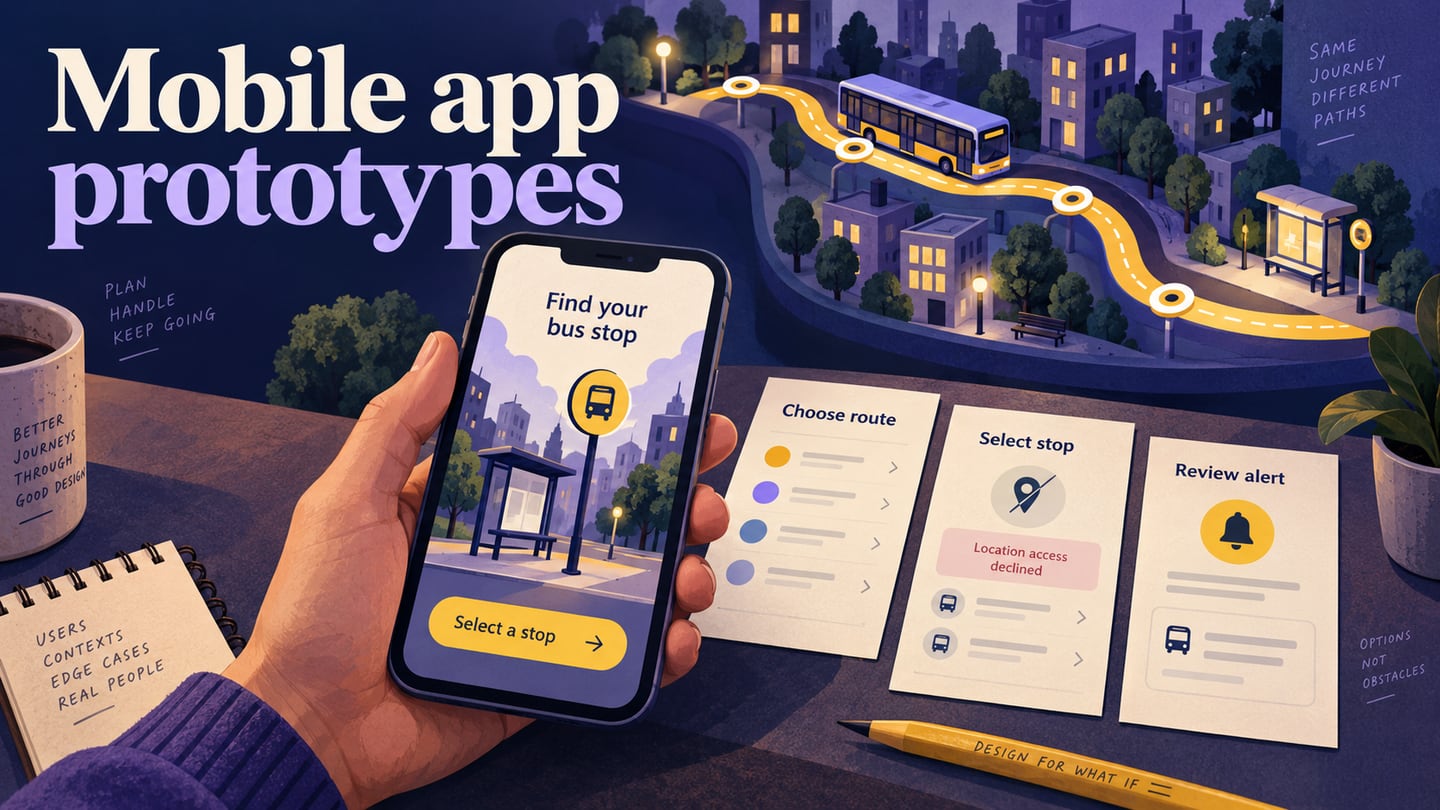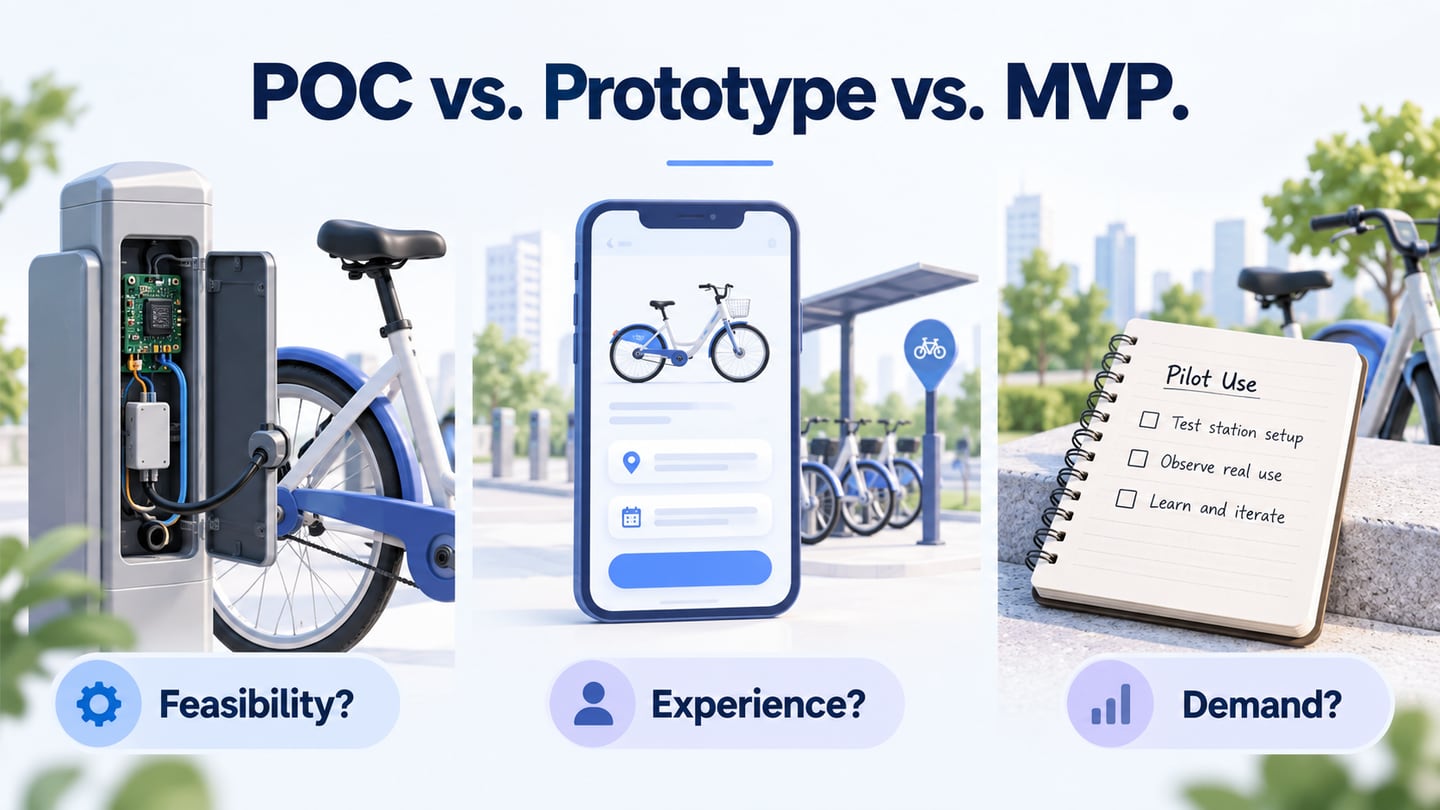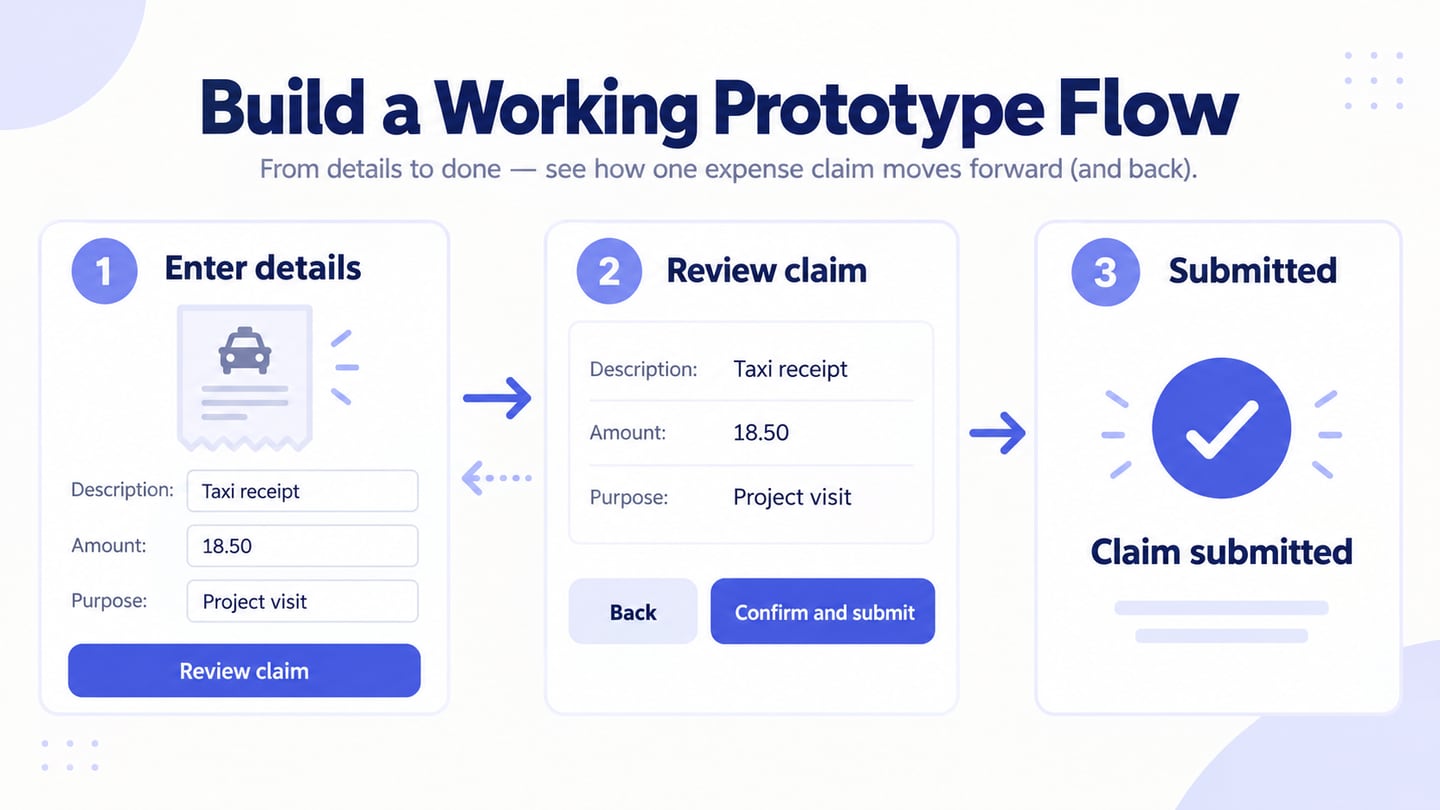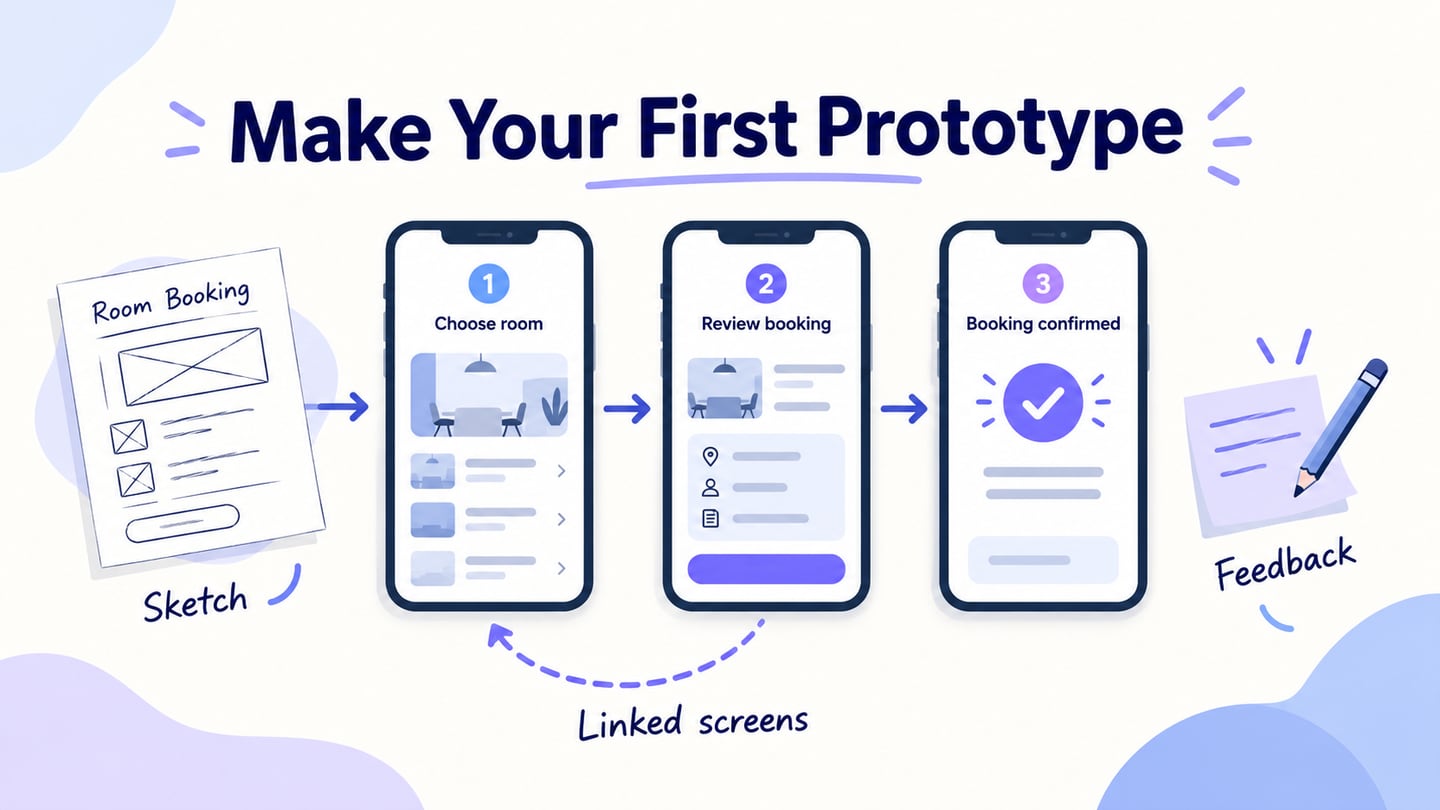
To learn how to make a prototype, start with one thing a person should be able to do. Sketch the necessary screens, connect the important actions, then ask someone to try the flow. For a website or app, Mockitt's online prototype maker lets you build and review those linked screens before development. This guide also separates that digital work from the physical models an invention may need.
If the task involves data filters, a dashboard prototype makes the states and recovery path easier to test before development.
A useful prototype answers a question. For example, can an employee find a meeting room for four people and understand when the booking is confirmed? You do not need a working room database to review that interface. Use sample rooms and times, and tell reviewers which information is simulated. For an unverified system behavior, a technical spike brief separates the interface example from the engineering evidence needed.
How to Make a Prototype
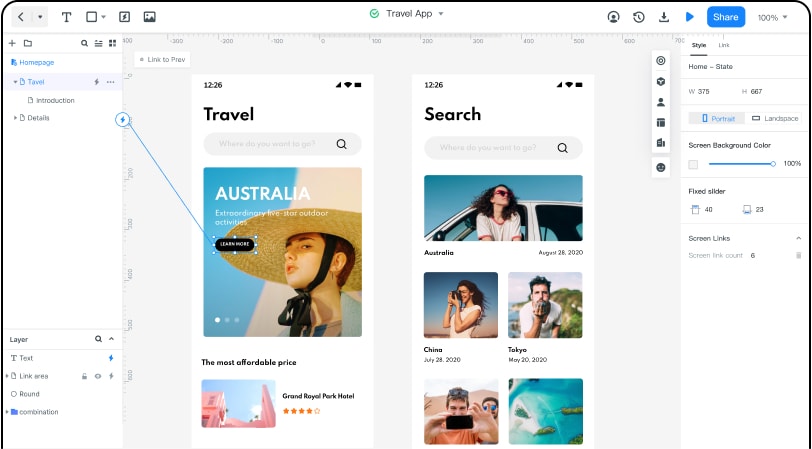
The following three steps take a small interface from an empty project to a shared review. Retained screenshots show an earlier Mockitt interface; the separately labelled official demo illustrates screen linking. Follow the controls in your current workspace. Begin with the room-booking task rather than designing every part of an office-management system.
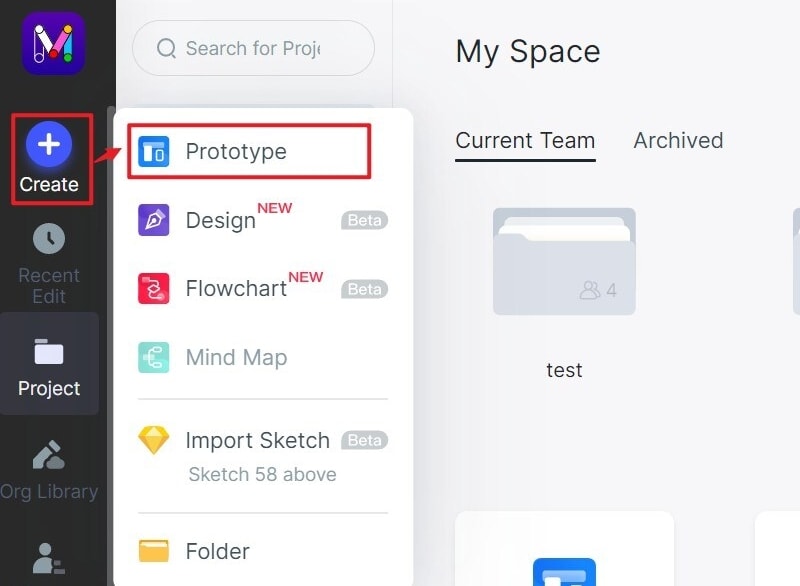
Step 1. Create a New Project
- Sign in to your Mockitt workspace and create a prototype project. Name it after the task, such as Find and book a room.
- Start with a blank project to practice building the flow, or adapt an existing template if its structure fits the task. A template is a starting point: remove unrelated screens and keep the decisions your reviewer needs to make.
- Choose a canvas size appropriate for the device being reviewed. For this example, use a 390 × 844 mobile canvas as an example viewport because the employee is booking a room away from their desk. This is a design size, not a choice of production operating system.
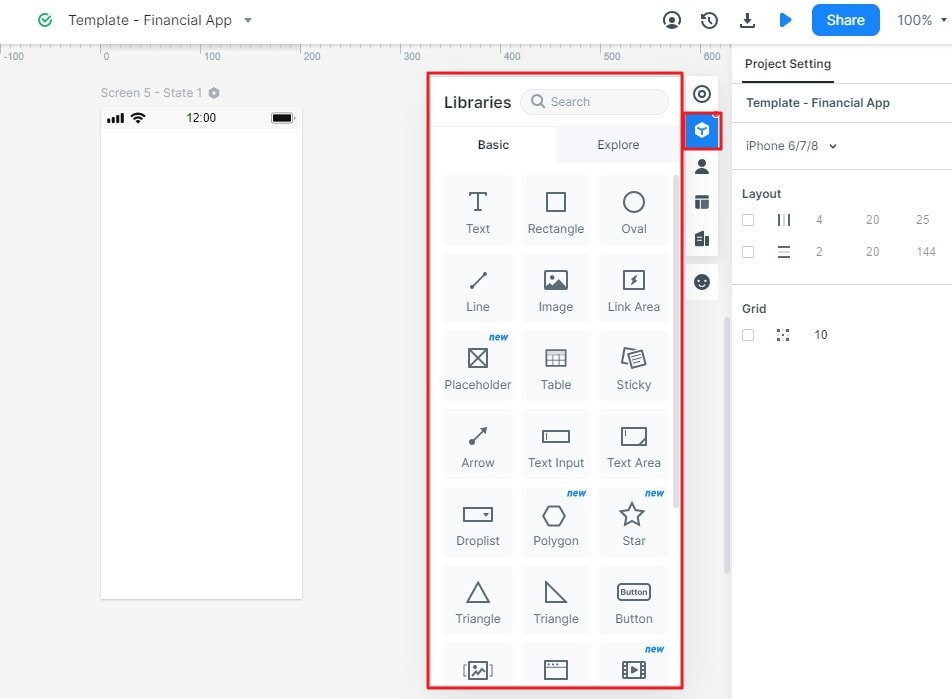
Step 2. Add Widgets and Set Size
- Start with Find a room, Room details and Booking confirmed. Add a No rooms available state and a second search state for the alternate time. Name the five states Find–14:00, Details–14:00, Confirmed–14:00, Find–15:00 and No rooms–15:00. They can be separate screens in this small click-through example.
- Drag the required controls from the widget library onto the canvas. Use a text label for capacity, a time selection and a Search rooms button on the first screen. Search the library for a specific control when useful; there is no need to use every available widget.
- Adjust the widgets' size, alignment, color and labels in the properties controls. In Room details, repeat the selected time and room capacity so the employee can check the choice before confirming. Keep the main action distinct from Change time.
- Connect the screens as well as drawing them. A set of attractive panels is not yet a usable click-through flow; the controls that matter to the task need destinations.
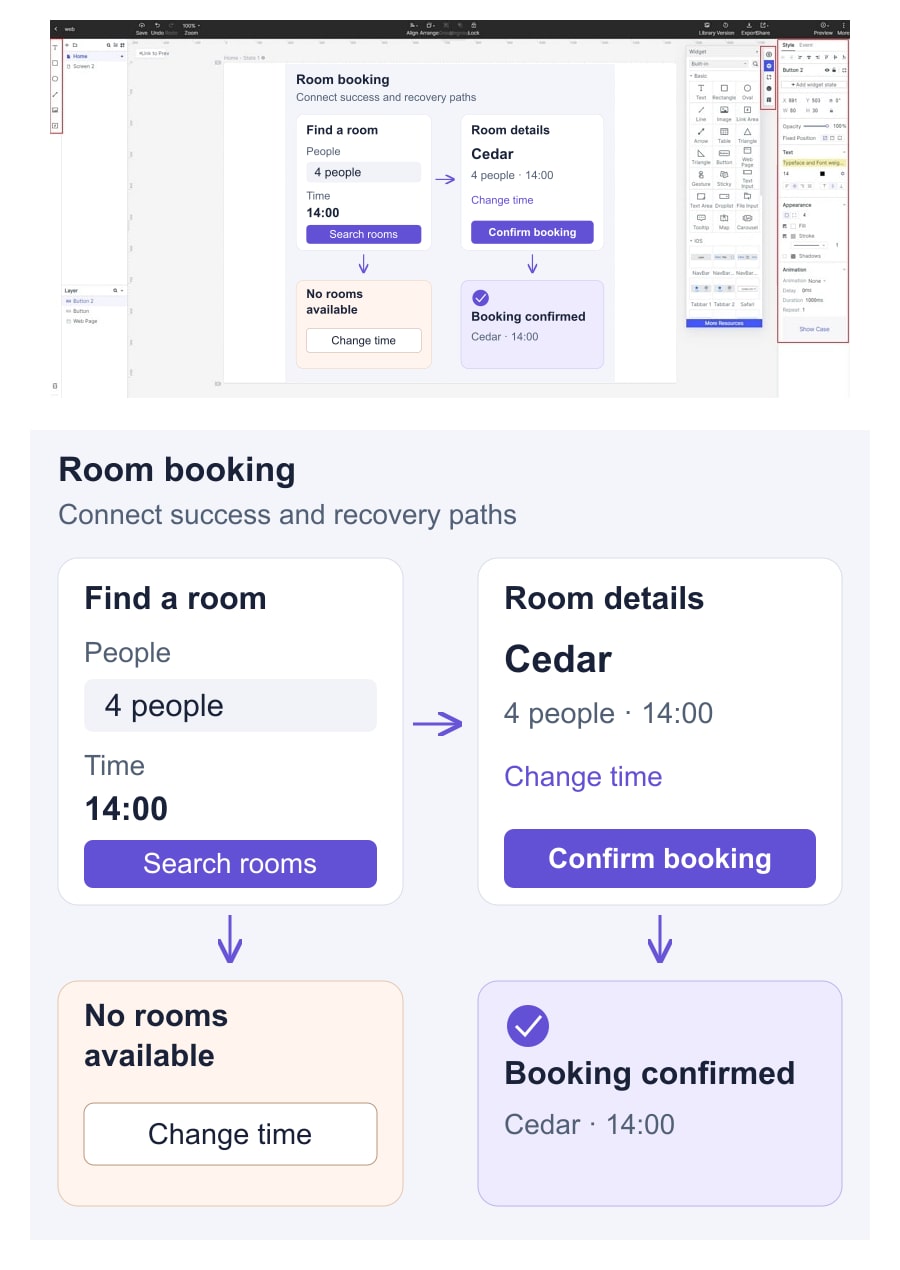
Use the same sample data throughout: four people; Cedar room, capacity four; 14:00–14:30 available; 15:00–15:30 unavailable. These are invented review conditions, not live room availability. Separate screens let you demonstrate both outcomes without a database or automatic validation.
| Screen or state | Visible content | Action and destination |
|---|---|---|
| Find–14:00 | 4 people; 14:00–14:30 | Search rooms → Details–14:00; choose 15:00 → Find–15:00 |
| Details–14:00 | Cedar; capacity 4; 14:00–14:30 | Confirm booking → Confirmed–14:00; Change time → Find–14:00 |
| Confirmed–14:00 | Booking confirmed; Cedar; 14:00–14:30 | Book another room → Find–14:00 |
| Find–15:00 | 4 people; 15:00–15:30 | Search rooms → No rooms–15:00; choose 14:00 → Find–14:00 |
| No rooms–15:00 | No rooms available for 4 people at 15:00–15:30 | Change time → Find–15:00; keep the capacity visible |
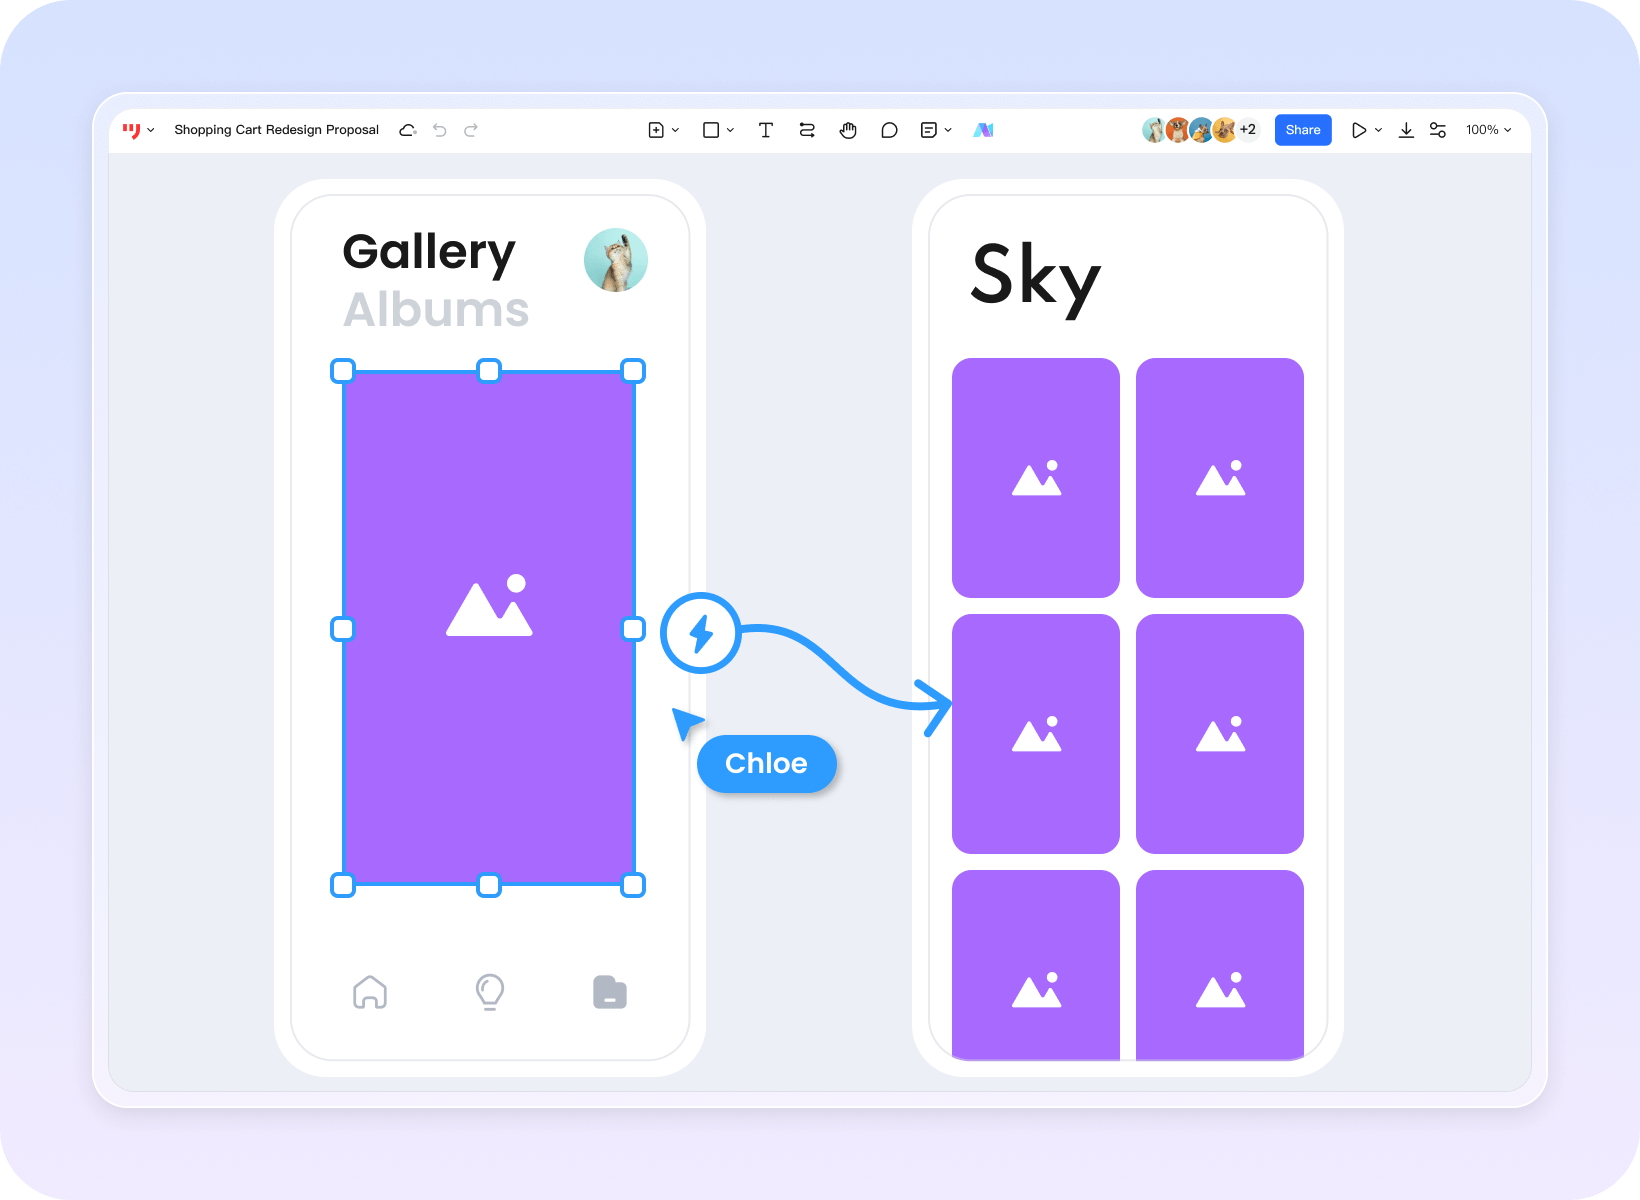
Step 3. Preview and Share
For the room-booking example, connect Find a room to Room details, then Confirm booking to Booking confirmed. Change time should return to the search choices. Add a separate No rooms available state with an explanation and an action to change the time or capacity. This lets you review a recoverable failure rather than only a successful booking.
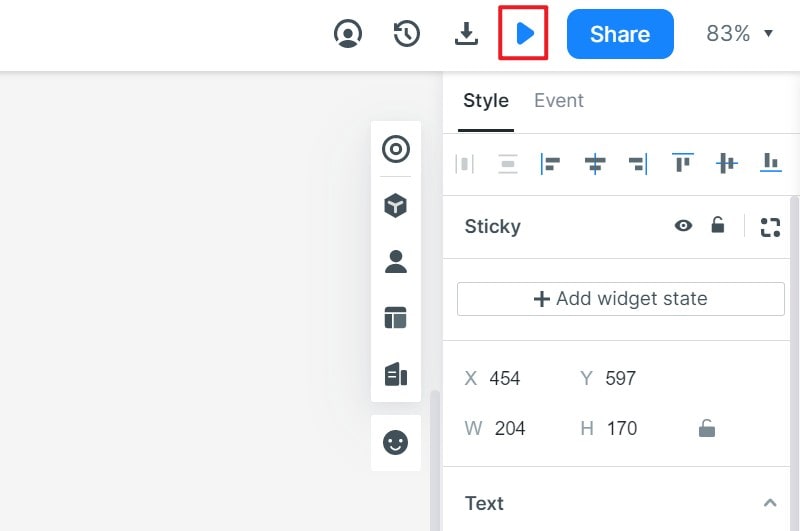
Open the prototype preview and try the task without explaining each button. Then use its current sharing link to review it on the intended device. Ask the participant to find a room, change the time and identify the confirmation. If they hesitate, note the screen and what they expected; avoid telling them the answer before you have observed the problem.
Use two short review scripts. First: “Book Cedar for four people at 14:00, then tell me the room and time that were confirmed.” Second: “Find a room for four at 15:00; if none is available, change to 14:00 and complete the booking.” Reset to the matching search state before each script. The recovery should keep four people visible and never show a booking confirmation for the unavailable slot.
Record the state reached, the label clicked and any help needed. For example, if a reviewer mistakes room capacity for the number of attendees, change the labels to “Room capacity: 4” and “Your group: 4,” then rerun the same task. That is a possible revision to try, not an observed result from this article. Finish with a shared prototype link, the five-state list, and a short note of unresolved design questions.
Prototype Makers: Four Options and One Legacy Tool
1. Mockitt:
Mockitt combines interface widgets, linked screens and team review. It fits this tutorial when you need to draw the booking screens, connect their actions and discuss changes in one workspace.
Useful for:
- Reusable components for app and website screens.
- Interaction links and preview for a proposed user flow.
- Shared review and comments close to the design.
Considerations:
- A simulated flow still needs implementation and testing before it becomes a working service.
- Check the project and collaboration limits of the plan you intend to use.
Access:
Create in the web workspace; review the intended device size.
2. Balsamiq
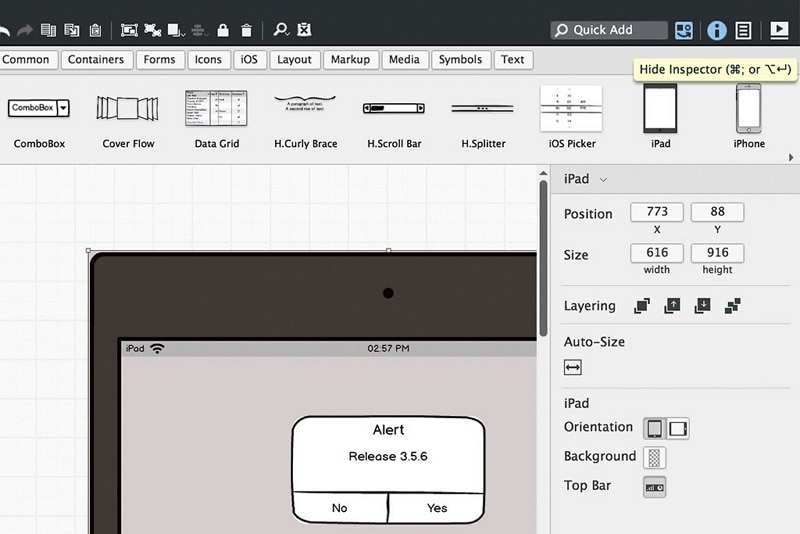
Balsamiq supports wireframing and AI-generated interactive prototypes. Its current workflow can turn selected screens into a prototype, refine it and share a link. For this booking exercise, check the unavailable-time recovery as well as the happy path. The older image below shows the wireframe editor, not the current AI workflow.
Useful for:
- Sketch-style layouts keep attention on content and navigation.
- AI-generated prototypes provide another route from wireframes to a reviewable interaction.
Considerations:
- Inspect generated interactions against the intended booking rules; a prototype is not the production booking service.
Access:
The documented AI workflow is in Balsamiq Cloud; check its current plan and credit allowance.
3. WireframePro:
MockFlow WireframePro focuses on wireframe creation, reusable UI material and collaborative review. It can help a team organize page structure before investing in finished visual design.
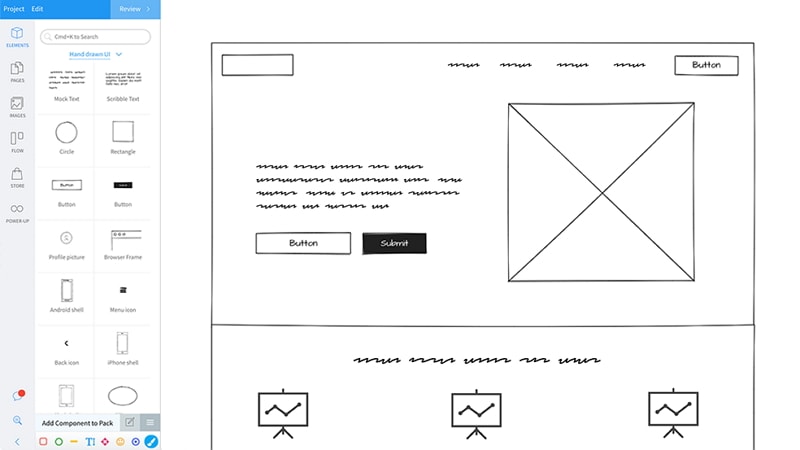
Useful for:
- Wireframe editing and reusable UI resources.
- Collaborative feedback and presentation of screens or flows.
Considerations:
- Evaluate the interaction behavior your example needs; do not infer it from the appearance of a static wireframe.
Access:
The product offers browser-based work; verify any desktop or integration requirement before committing.
UXPin:
UXPin supports interactive prototypes and reusable components, including code-backed workflows. Consider it when the review requires more detailed states or behavior than a simple sequence of linked screens.
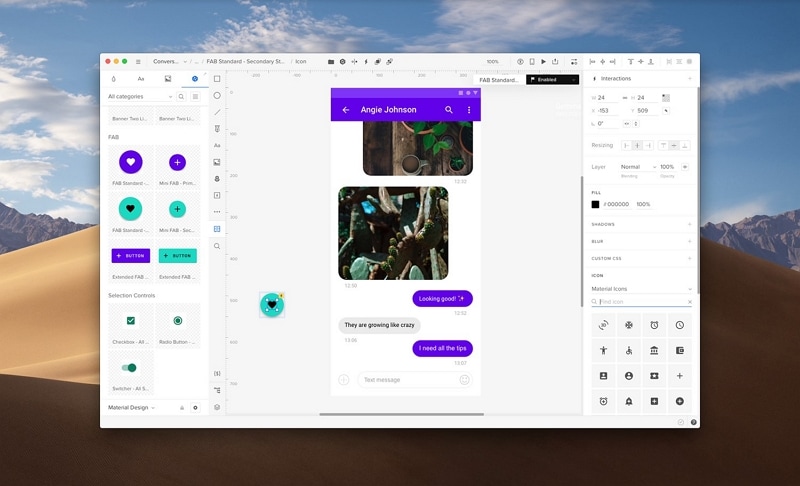
Useful for:
- Reusable components and libraries.
- Interaction states and conditional behavior for detailed examples.
Considerations:
- Set up a small representative task first, especially when using an existing coded component library.
Access:
Choose the authoring and preview setup required by your team.
Invision:
InVision belongs here as a historical example, not a tool to start a new project with. The company announced that its services shut down on December 31, 2024. Its archived image shows why older tutorials may refer to it.
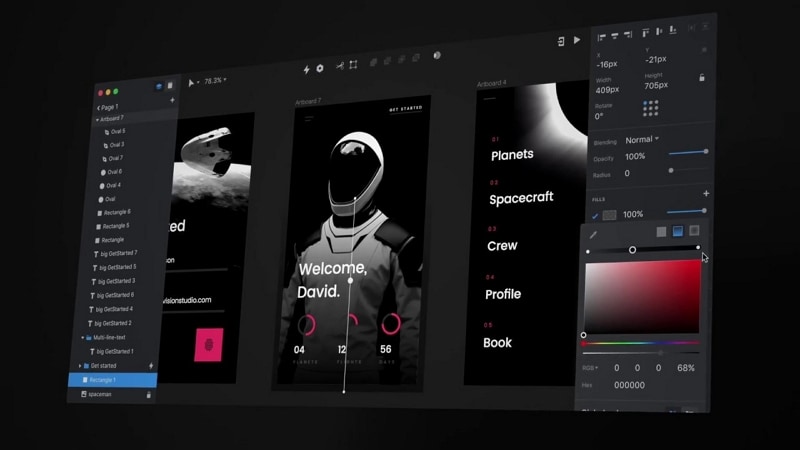
Historical role:
- Older teams used it to present linked screens and collect feedback.
Considerations:
- Do not base a new prototype or a recovery plan on the former service. Keep any exported files and choose an available tool for continued work.
Access:
Historical product entry; not a current sign-up recommendation.
Tips on How to Make a Prototype of My Idea:
An idea becomes easier to review when its assumptions are visible. Before polishing screens, decide what you are trying to learn. In the room-booking example, the question might be whether people understand the room capacity and reservation time before confirming, rather than whether they like the color scheme.
Step1:
Make a concept sketch on paper or in a simple digital canvas. Write the task beside it and show the order of the screens. Paper is convenient for quick changes, but it is not inherently more accurate than a digital sketch. Keep labels realistic enough that someone else can understand the idea.
Step2:
Turn the sketch into a digital prototype when you need to review navigation or share the same flow with several people. For a website or app, two-dimensional screens are usually the relevant output; you do not need a 3D model merely to attract attention. Add only the detail needed for the question being tested.
Step3:
Ask people who resemble the intended users to try a specific task, using a prototype usability testing plan. Observe the action, the result they expected and where the design failed to explain itself. Invite teammates to help interpret the findings, then revise the flow and try again. A successful review does not guarantee success for every user or context.
Tips on How to Make an Invention Prototype:
A physical invention may need a different kind of prototype. An interface model can show how a person would operate a device or its companion app; it cannot establish the object's fit, strength, material behavior or manufacturing feasibility. Keep those questions separate from the screen review.
For example, a smart locker could have a clickable collection flow and a separate physical model of the door and latch. The digital flow can explore how someone enters a pickup code and responds to an error. The physical model addresses access, dimensions and mechanical behavior. Testing one does not validate the other.
Before requesting a physical prototype, describe the question, expected conditions and constraints to an appropriate fabrication or engineering specialist. Agree on the deliverable and what it will demonstrate. Do not assume that a digital prototype establishes patent rights, safety approval or a manufacturing-ready specification.
Conclusion:
Making a prototype starts with a clear question and ends with something people can examine or try. For the digital workflow here, choose the task, sketch its screens, connect the important actions and observe a review. Keep return paths and failure messages visible enough to learn from them.
Choose the tool after deciding what the prototype needs to demonstrate. A wireframe, an interactive interface and a physical model each serve a different purpose. The useful result is a better-informed next design decision, not the largest number of features in the prototype.