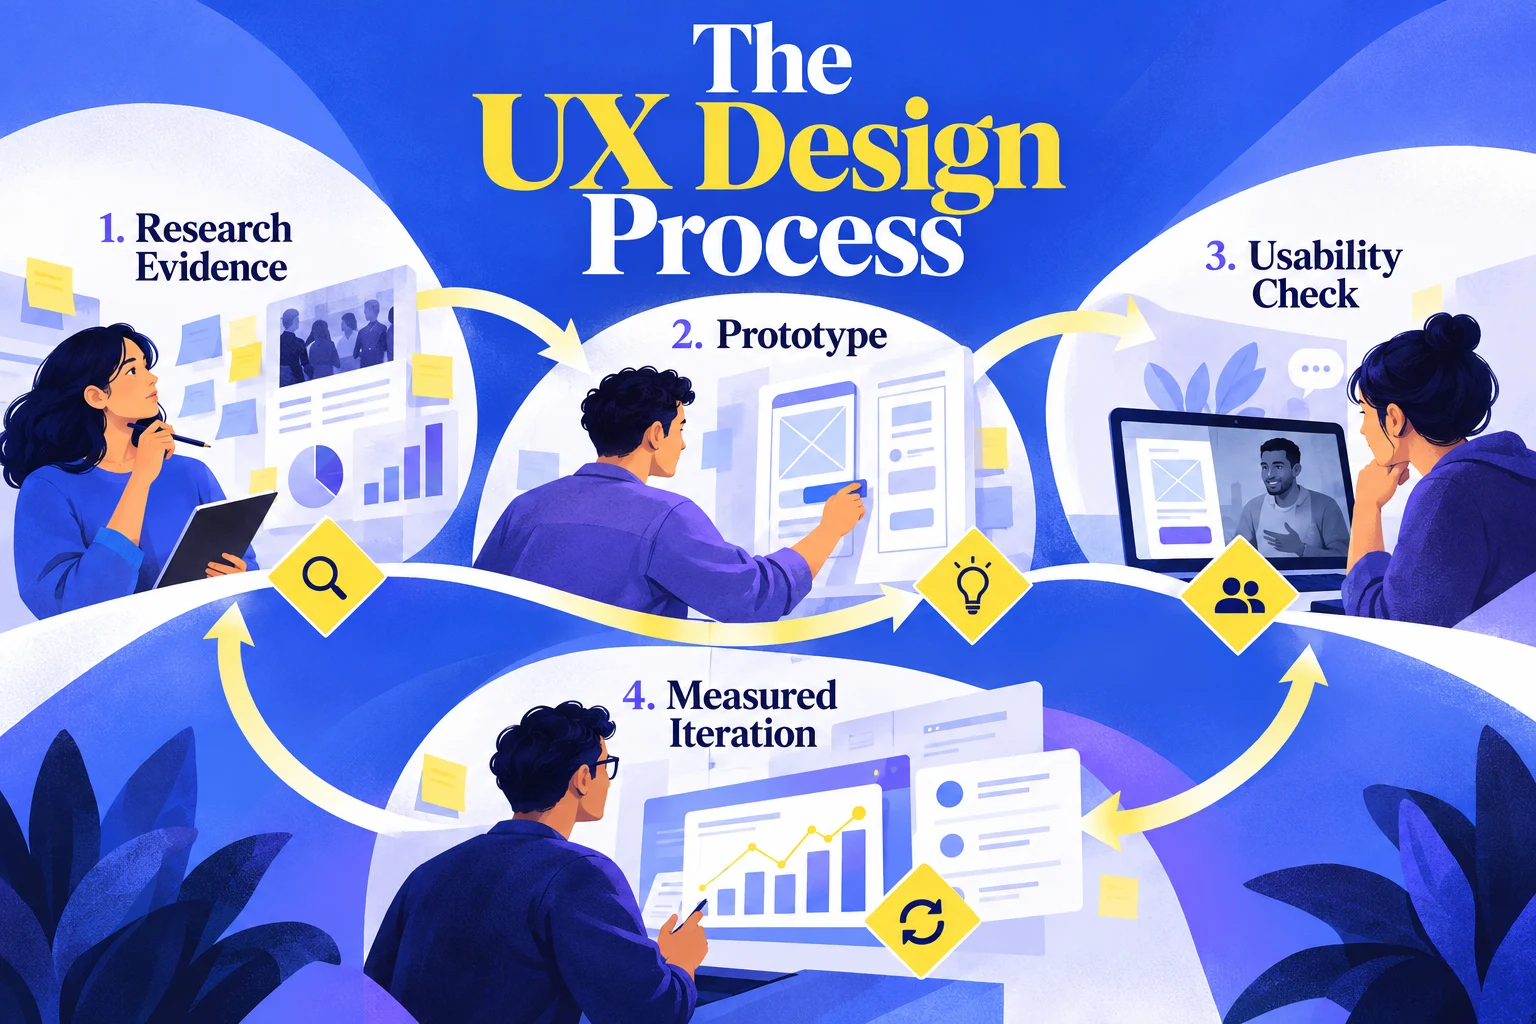
The UX design process turns an understanding of users into a product they can use successfully. A practical cycle is to research the problem, define the task, design and prototype a solution, test it with users, and improve it before and after release. Each stage should leave the team with evidence or a clear decision, not simply another document.
The process pays attention to usefulness, ease of use, and the effort involved in completing a task. For a travel app, that might mean helping someone find a suitable stay, understand the dates and price, and recognize whether a booking is confirmed. Good visual design supports that journey, but it cannot replace understanding what the traveler needs.
Once you have a task worth testing, Mockitt's interaction design tools let you connect screens and share a prototype for review. Use the prototype to investigate a specific question; the choice of tool alone does not make a design usable.
UX Design Process: From Research to a Testable Decision
The process is iterative. A test may uncover a missing requirement, while an interview may suggest a small experiment you can prototype immediately. The Design Council's Double Diamond describes discovery, definition, development, and delivery as a way to explore problems and possible solutions. You do not need to finish a rigid set of documents before learning from users.
| Stage | Useful output | Decision it supports |
|---|---|---|
| Research | Observations, interview notes, and open questions | Which task or problem needs attention? |
| Define | A focused problem statement and success criteria | What will the team investigate first? |
| Design and prototype | A task flow, realistic content, and the necessary states | Can this approach address the problem? |
| Test | Observed difficulties and their effect on task completion | What needs to change, and why? |
| Iterate and hand off | Revised behavior, implementation notes, and unresolved issues | What is ready to build, and what still needs investigation? |
Why User Research Is Important
User research helps you understand people's behavior, goals, needs, and motivations. It also reveals how they navigate an existing service and the problems they encounter. A journey that seems obvious to its designer may be confusing to someone who has never used the product.
Involve people who reflect the audience and circumstances you are designing for. Consider differences in experience, accessibility needs, devices, and environment. Empathy is useful, but it is not a substitute for listening and observing. Record what a participant actually did or said separately from your interpretation.
Research can reduce the risk of building around an unsupported assumption. It does not guarantee a perfect solution or eliminate future changes. Keep some room for learning later in the project; Nielsen Norman Group's research guidance explains how research can inform different stages of the design cycle.
What Is Involved During User Research?
Start with a question that can affect the design. For the travel example, “How do people check whether the selected room fits their trip?” is more useful than “Do people like our new page?” Look at existing support questions or product evidence, then choose a method that can fill the gap.
Interviews allow a one-to-one discussion about the user's situation, recent experiences, and needs. Ask about a real booking or search rather than asking participants to design an ideal app for you. Observation can reveal workarounds and details that people forget to mention. The UX research methods guide covers how to choose and plan the appropriate approach.
At the end of this stage, a compact research brief should identify the audience, question, method, evidence, and uncertainty. Group related observations, but retain their context. A recurring complaint and an isolated difficulty should not automatically become equally important requirements.
Online Surveys
Surveys can help collect structured answers about needs, experiences, or reported behavior. Ask one thing at a time, avoid leading wording, and make the response options meaningful. Include an option for people whose experience does not fit the choices you anticipated.
For example, a travel survey could ask which information people checked before their most recent booking. It should not assume that everyone compared the same providers or traveled for leisure. Report who answered and how they were recruited before generalizing the results. A survey response about ease of use is also different from watching someone complete a task.
Testing an Existing Experience
If you are improving an existing product, usability testing can reveal difficulties before you redesign it. Ask participants to complete a realistic task and observe where they hesitate, take an unexpected route, or need help. This establishes a starting point and can prevent a redesign from removing something that already works.
Turn the evidence into a focused problem statement. A hypothetical example is: “Travelers reviewing a stay cannot tell which dates their selection applies to.” The next design task is to make that state clear, not to redesign every screen in the app.
Design and Prototyping
Design explores possible answers to the problem. Start with sketches or wireframes when the main question is content and hierarchy. Add realistic interaction when the question depends on navigation, feedback, or changing a selection. The appropriate fidelity is the one that lets a participant understand and attempt the task.
Mockitt provides reusable components, screen connections, and preview and sharing features for that work. Keep repeated elements consistent so that an accidental label or layout difference does not distract from the question you are testing. A shared review link gives teammates a way to discuss the prototype, but stakeholder comments and research with intended users serve different purposes.

The travel example above is useful because the relationship between screens is visible. For a booking study, extend the journey only as far as the question requires: results, stay details, selected dates, review, and confirmation. Include a way to change a selection and an unavailable result if those situations matter to the task.
Steps to Make an App Prototype with Mockitt
The basic sequence remains create, design, preview, and share. Keep the scope small enough to revise after feedback. If you need a broader walkthrough, see how to make a prototype from a task flow.
Step 1: Create a New Project
Create a prototype project for the device or viewport you need to investigate. A blank project lets you focus on the required screens; a suitable template can provide a starting structure. Choose the format because it reflects the participant's task, rather than because a particular device frame looks attractive.
Write the task beside your project notes. For this example: “Find a stay for two people, review the dates, and confirm the booking.” List the states needed to attempt it before designing the details. Use fictional guest and booking information.
Step 2: Design the App
- Add the necessary components. Build the layout with text, inputs, navigation, buttons, and other appropriate widgets. Reuse consistent components across the screens.
- Use meaningful content. Show example dates, the number of guests, and a clear action label. Placeholder text can hide the very problem you need participants to notice.
- Connect the screens. Connect an action to its destination or state, then configure the interaction needed for the task. Include returning to edit a choice, not only moving forward.
- Explain behavior that is not built. Add notes for conditional rules, loading, errors, and other unresolved behavior. A note should explain a limitation, not make a missing interaction appear functional.
- Add animation selectively. Use transitions or dynamic states when they help communicate a change. They are unnecessary when the research question only concerns information order.
Step 3: Preview the Prototype
Open the preview and attempt the journey from its intended start. Check that the visible labels match the destinations, the back route works, and the final screen makes the outcome clear. In the travel example, the participant should be able to identify the stay, dates, and booking state without the facilitator explaining them.
Review at the intended device size. A desktop preview alone may miss small text, awkward scrolling, or controls placed too close together on a phone. Separate a limitation of the prototype from a usability issue in the proposed design so that you do not draw the wrong conclusion.
Step 4: Share the Prototype
Create a sharing link with suitable access and verify it before the session. Give teammates the task and the questions you want feedback on. Ask reviewers to identify a screen or state when leaving a comment, so that the issue can be located after revisions.
Do not assume every shared link is public or accessible without an account. Test the actual permission setting with the intended review arrangement. Keep participant instructions separate from internal notes that reveal the expected route.
User Testing: Observe the Task, Then Decide What to Change
Invite people who reflect the intended audience to attempt a realistic task. Explain the scenario without naming the button they should press. Observe their actions, listen to their reasoning, and avoid rescuing them immediately when they hesitate.
Record the issue, the screen or state, the observed behavior, and its effect on completion. “The participant returned to the date picker to check which dates were selected” is more actionable than “The page was confusing.” Treat this as an example of the kind of observation to record, not a result from a study conducted for this article.
- Task completion: could the participant reach and recognize the intended outcome?
- Errors and recovery: could they change a choice or recover from an unavailable option?
- Understanding: did labels and confirmation content communicate the right meaning?
- Context: did the device, content, or prototype limitation affect the attempt?
Team feedback helps identify implementation and business concerns. User testing provides evidence about the experience of the intended audience. Neither should be presented as the other, and a small study should not be turned into an unsupported claim about every user.
Iterate, Validate, and Hand Off
Prioritize issues by their impact on the task and the evidence behind them. If selected dates are hard to recognize, improve the summary and review the affected journey again. Changing the whole visual style would make it harder to tell whether the specific issue was addressed.
For handoff, include the approved screens, interaction rules, content, important states, and unresolved questions. Agree with developers on what the prototype demonstrates and what requires implementation checks, including responsive behavior and accessibility. Review the built experience as well; a clickable prototype cannot prove production keyboard behavior, performance, or assistive-technology support.
Summary
A useful UX design process connects research to design decisions and makes those decisions testable. Begin with a real task, retain what already works, prototype the uncertainty, and use observed behavior to guide the next revision. Mockitt can support the design and review stages; the quality of the result still depends on the evidence, the choices the team makes, and how the finished product serves its users.