A usability lab provides a place to observe people attempting tasks with a product or service. It can be a dedicated room or a portable setup assembled for a study. The important decisions are what you need to observe, who will participate and how the environment supports them. A prototype prepared for a moderated test gives the session a defined task; cameras and recording software support observation rather than make the study valid by themselves.
What Is a Usability Lab?
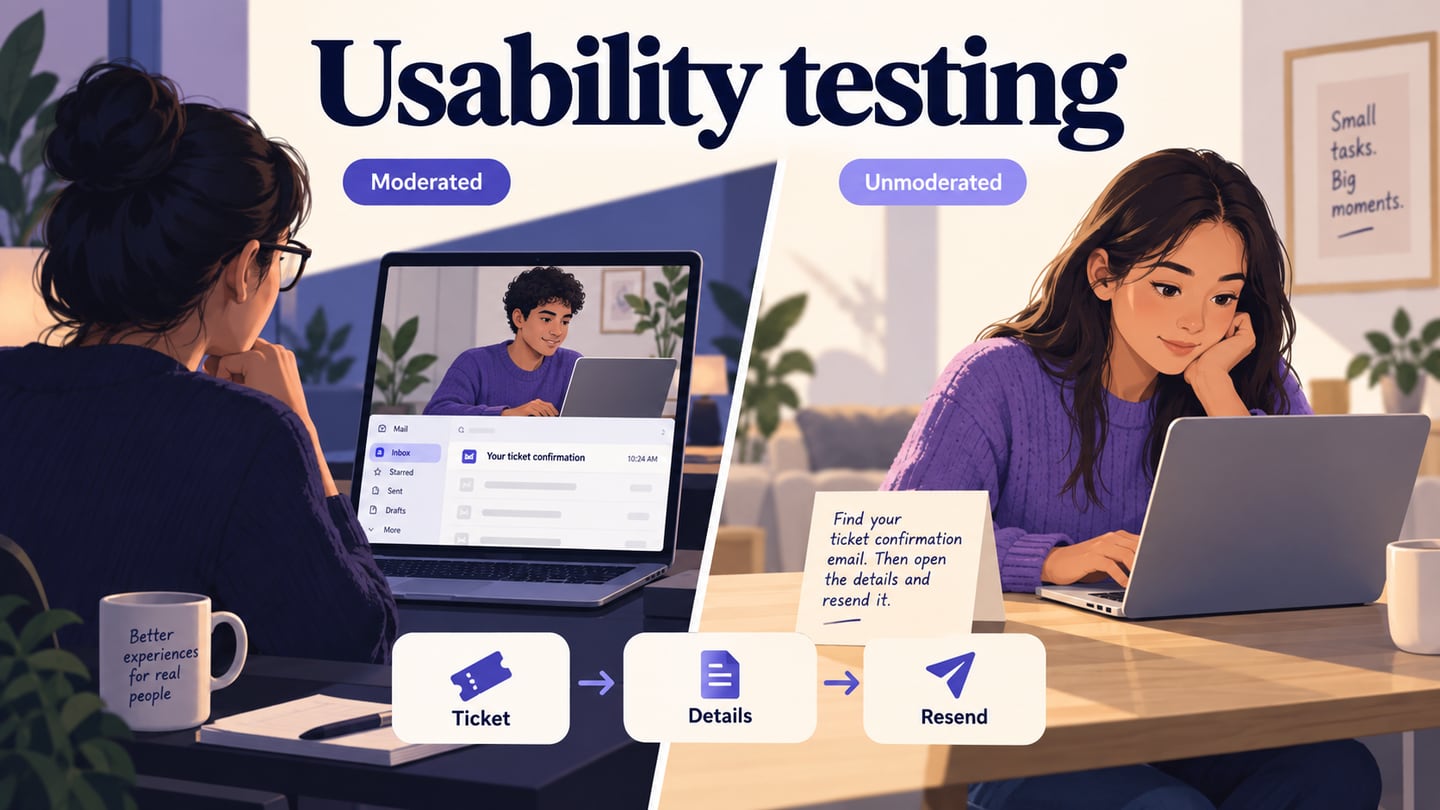
A usability lab is an environment for research, not a testing method in itself. In moderated usability testing, a facilitator observes participants attempting specific tasks. The setting may be a research lab, meeting room or remote session, depending on the question and participants’ needs.
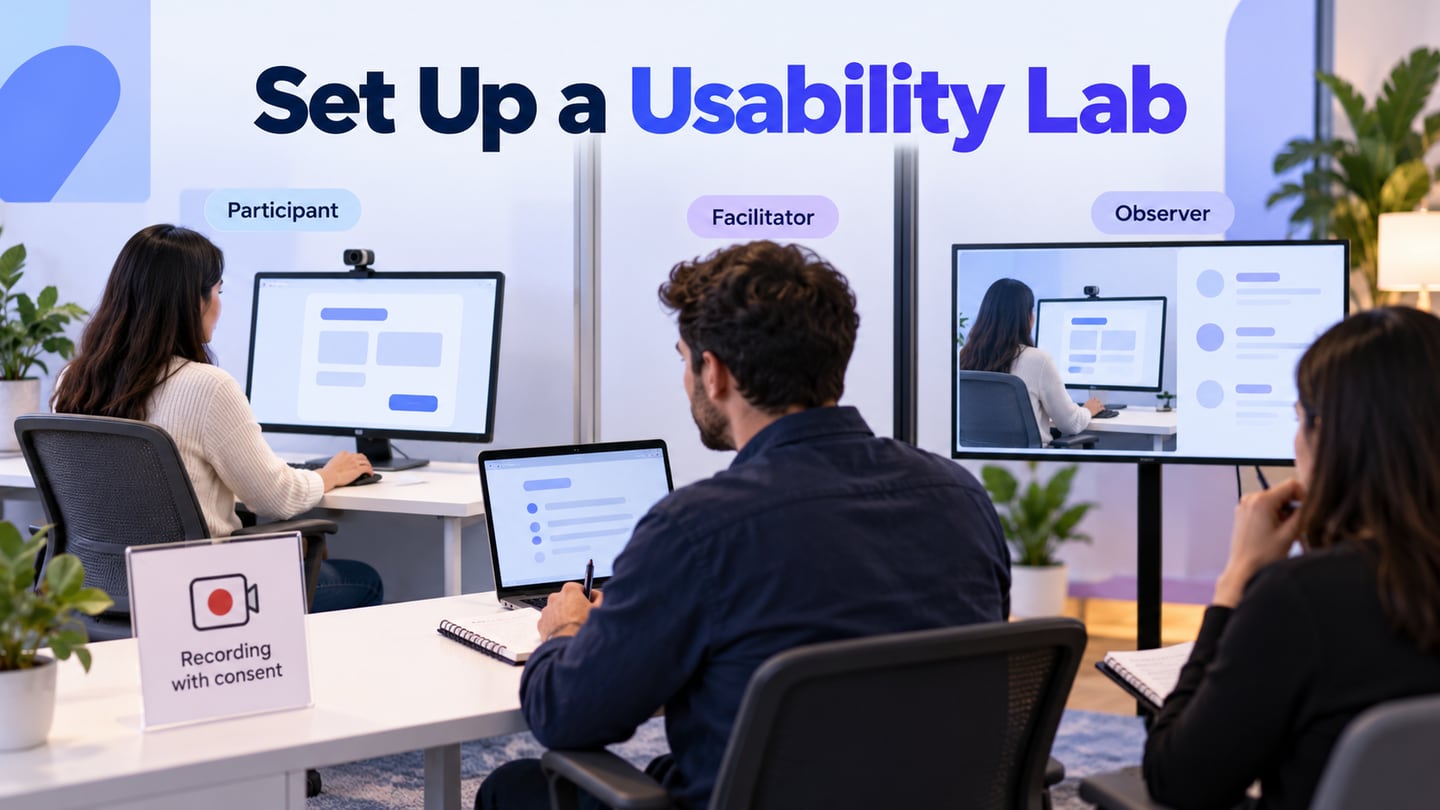
A dedicated lab may include a participant area and a separate observation area. A quiet, accessible meeting room can also work. Coffee shops and cafeterias introduce noise, privacy and distraction concerns, so do not treat them as interchangeable with a controlled lab. For a portable kit, consider the participant’s device and input method, a facilitator’s computer, reliable audio and any agreed screen or interaction recording. Bring required power adapters and connection equipment, and allow space for assistive technology.
How to Build a Usability Lab
A room and a participant do not complete a research setup. Define the task, observation method and practical constraints before selecting equipment. A portable kit can help when you need to change location, but it still needs a pilot on the actual devices and network. The five areas below keep the setup connected to the evidence you need.
1. Setting Up
Set up the room so the participant can work comfortably and the facilitator can observe without crowding them. Check accessibility, lighting, seating, power and noise. Explain who will observe and where they will be. Agree how recordings and notes will be handled, following informed-consent guidance. More cameras do not automatically produce better evidence.
2. Interface
Screen capture can show what appears on the interface, while a camera may reveal physical interaction. Choose a capture method compatible with the actual device, permissions and software. AirPlay, casting or a cable may be options in a supported setup, but matching operating systems does not guarantee that mirroring works. Pilot the connection, audio, resolution and network before the session. Avoid exposing unrelated notifications or personal information.
3. Interaction
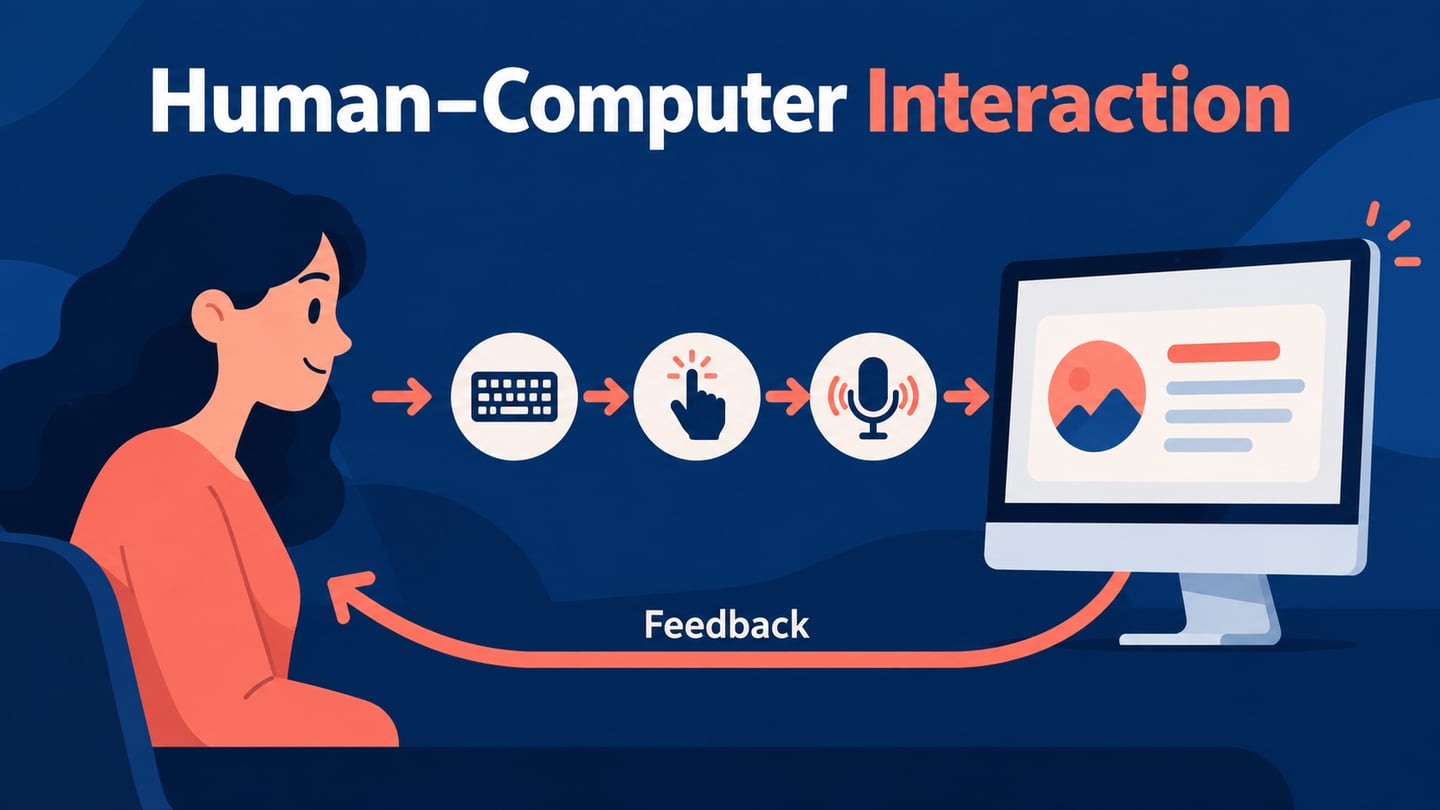
Observing interaction helps you understand how someone uses a control, changes focus or handles a device. If a camera is needed, agree its use and position it so it captures the relevant action without obstructing the participant. Check framing and focus in the pilot. A screen recording alone may not show a missed tap or difficulty reaching a control.
4. Expressions
Facial expressions can provide context, but they do not establish a person’s emotion or explain the cause of a difficulty. Record behavior and comments separately from interpretation. Explain any camera use openly and let participants raise concerns; do not conceal a camera to obtain a supposedly natural response. Ask neutral follow-up questions when you need to understand what happened.
5. Synchronize
If you use more than one recording, make it possible to relate them through timestamps or an agreed synchronization method. Check a short sample before the session: can you hear the participant, read the screen and identify the same moment in each view? Also prepare a note-taking fallback if recording fails. Synchronization is an equipment task, not something an interface prototype provides automatically.
Before the first participant arrives, run a short pilot: open the intended prototype version, confirm the starting state, try the task, test the agreed capture method, and check how to reset. Keep facilitator notes and observer discussion away from the participant’s screen. A prototype usability test plan can hold the task, observation criteria and follow-up decisions.
Prepare a Prototype in Mockitt
Mockitt can help designers, developers and product managers prepare screens and interactions for review. Arrange UI elements, connect the relevant states and share the draft using the permissions available to your account. It is a prototyping workspace, not a substitute for recruitment, consent, participant recording or research analysis. The images below show historical editor controls; current labels and account options may differ.
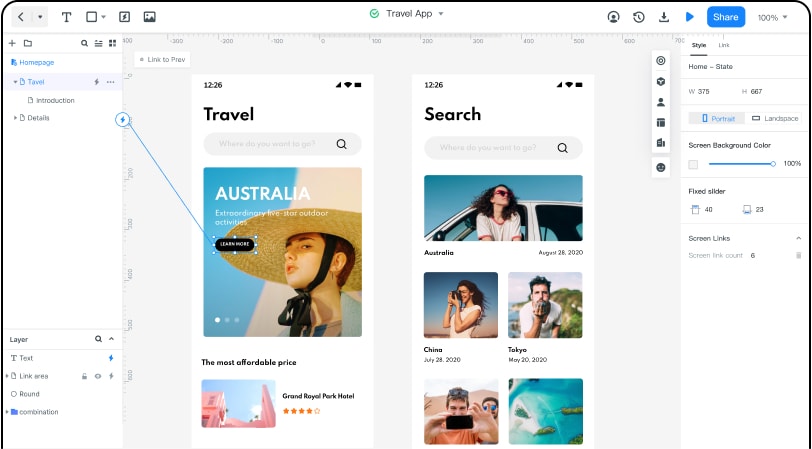
Key Features
- It supports real-time collaboration.
- Users can share projects with the access settings available to their account. Check the participant’s access before the session.
- It has plenty of design resources such as UI assets, templates, and a wide range of widgets.
- It supports cloud-prototyping.
- The program supports the design of interactive and animated prototypes.
- Available inspection and handoff tools can communicate design specifications. Developers still implement and test the production interface.
How to Prepare a Testable Flow with Mockitt
Step 1. Create a New Project
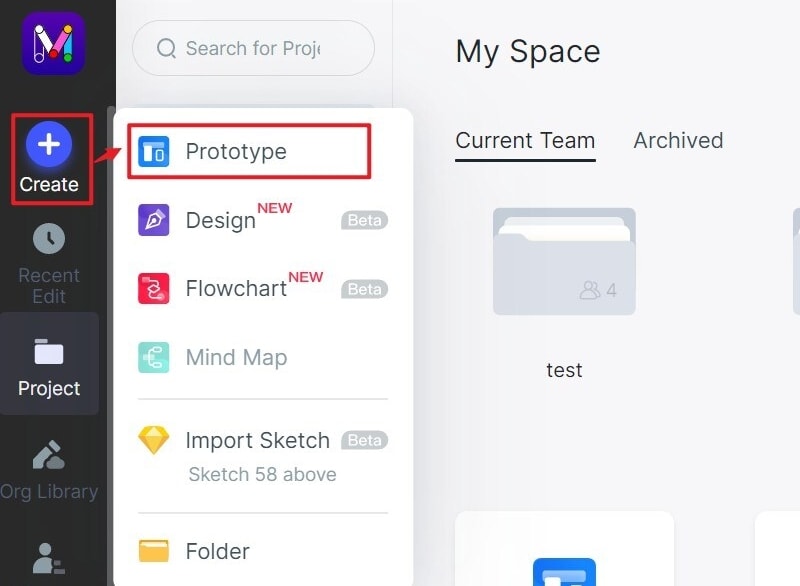
Sign in to Mockitt and create a prototype project. Give it a recognizable name and choose a starting screen size appropriate to the task. The historical image shows Create > Prototype. Keep the study version separate from experimental edits so each participant sees the intended flow.
Step 2. Add Widgets and Components
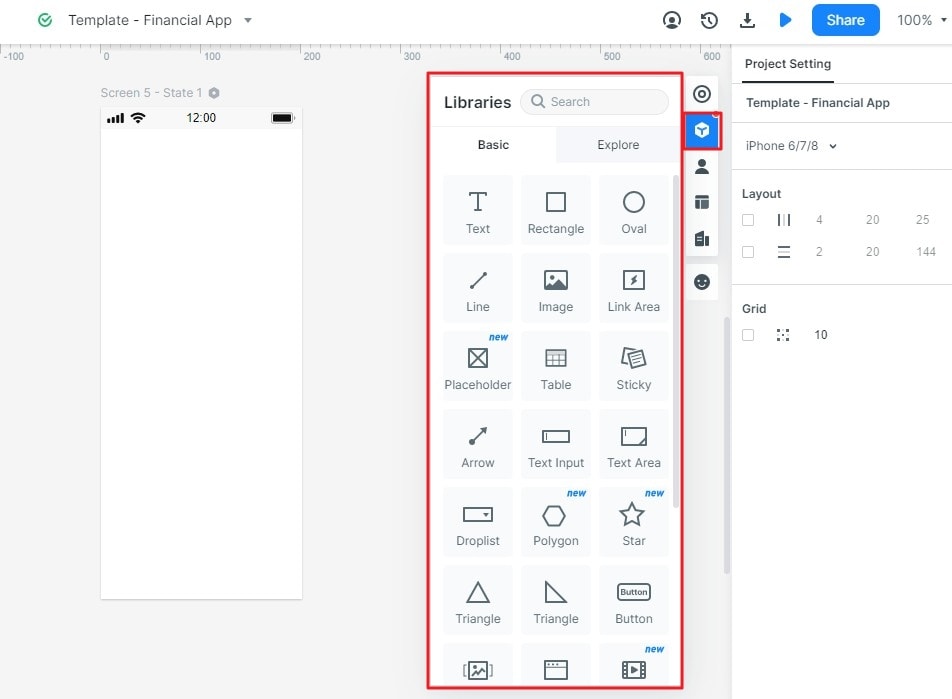
Add the widgets and content needed for the task, then add the relevant screens. The historical Libraries panel shows basic controls. Include realistic labels, selected values and an understandable confirmation rather than decorating unrelated parts of the product. A participant should be able to interpret the task without an explanation from the designer.
For an illustrative newsletter-preference task, begin with “Weekly digest” selected and prepare a “Monthly digest” option plus a confirmation summary. A neutral task could ask the participant to receive the digest once a month; it should not tell them which control to select. This is synthetic example content, not a completed user study.
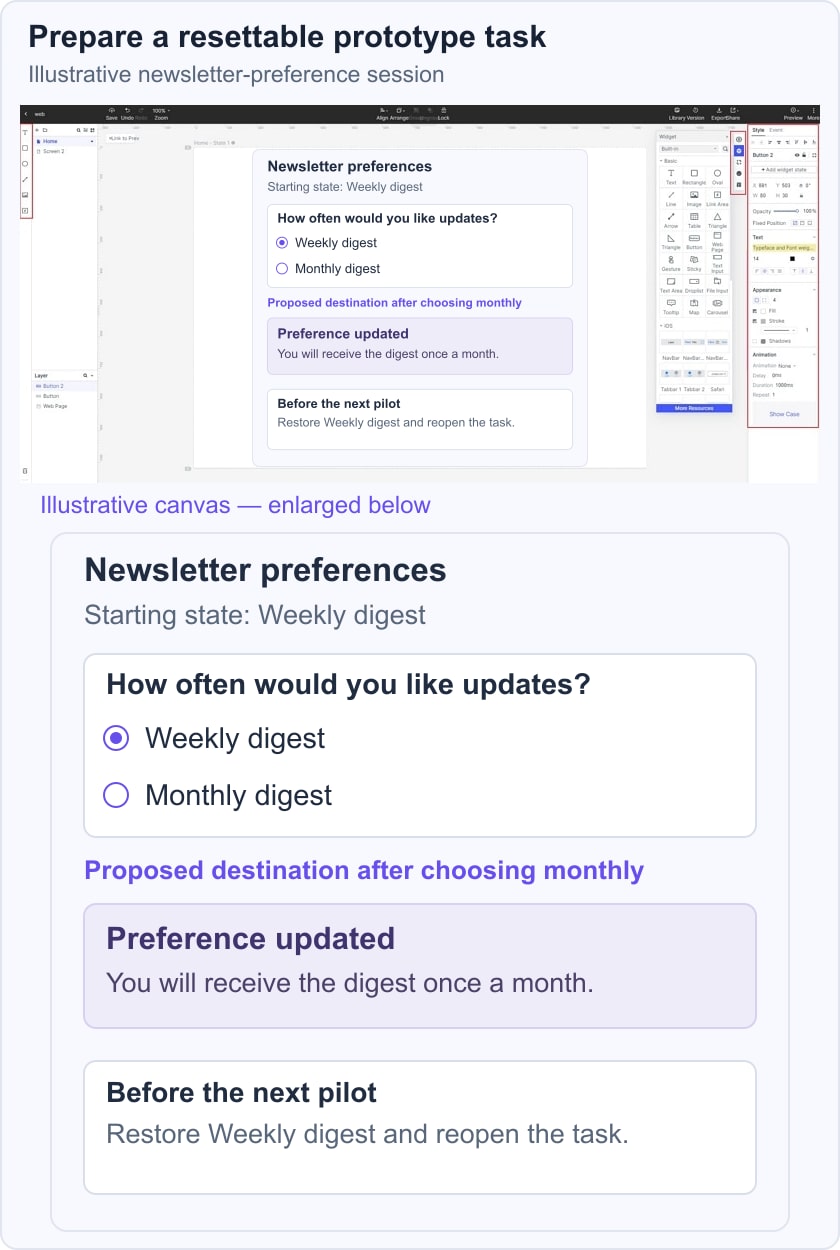
Step 3. Create Interactions
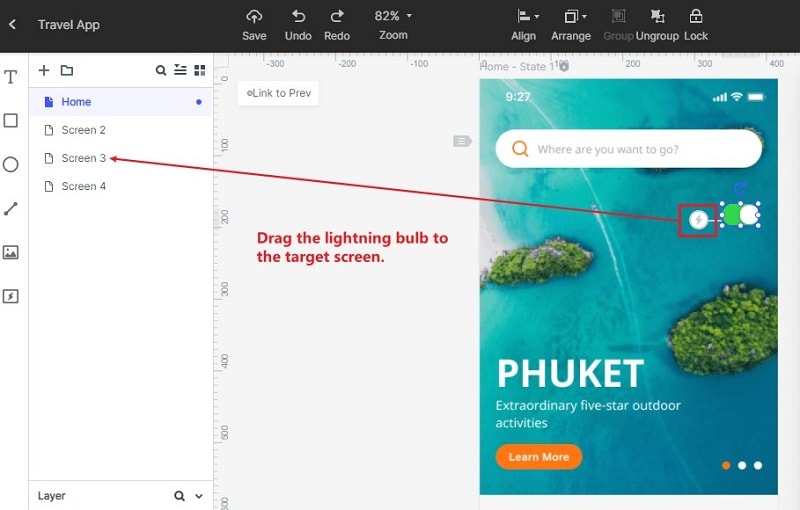
Connect the states needed to complete the task and return to the starting point. The retained image shows a historical link being drawn between screens. For the newsletter example, include the current preference, the selection and the confirmation. Check that a reviewer can return without reaching an unrelated screen.
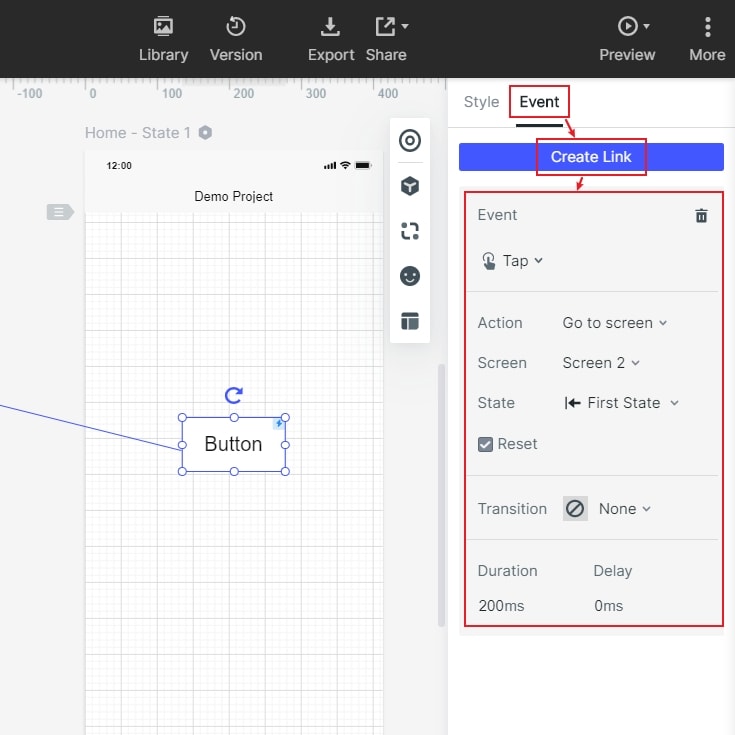
The historical Event panel shows controls for defining a trigger and action. Use the relevant interaction controls in your current workspace, then verify the result in preview. A drawn connection is not proof that the complete task works as intended.
Step 4. Preview the Usability Design
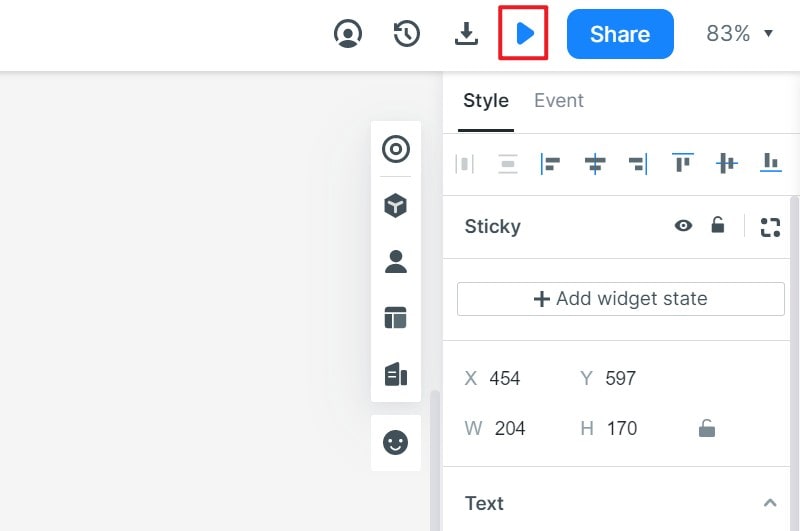
Open preview and attempt the task from the specified starting state. Check links, labels and the confirmation, then restore the original weekly preference for the next pilot. Test the participant’s actual access route and device as well. Preview checks help find broken paths; participant research is still needed to understand usability.
Step 5. Hand Over to Developers
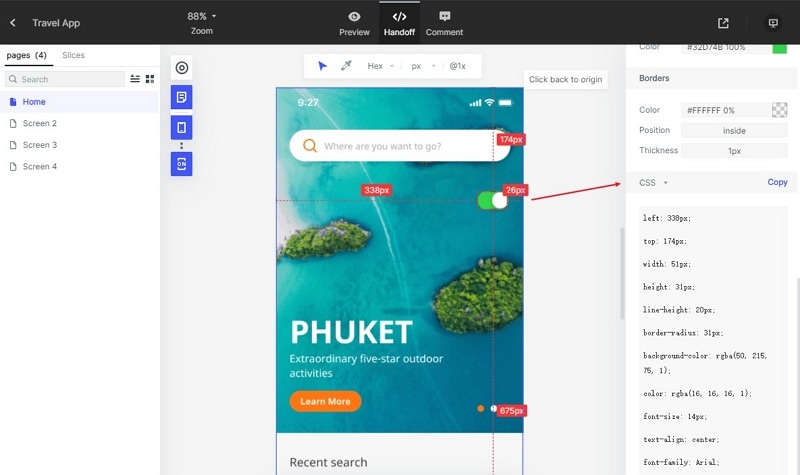
After reviewing the findings, communicate the relevant design and unresolved questions to developers. The retained historical Handoff image illustrates specifications and CSS inspection, not a working newsletter service. Record what must be implemented and tested, including saved preferences, permissions and failure states. Keep research observations separate from the proposed solution so the team can revisit its reasoning.