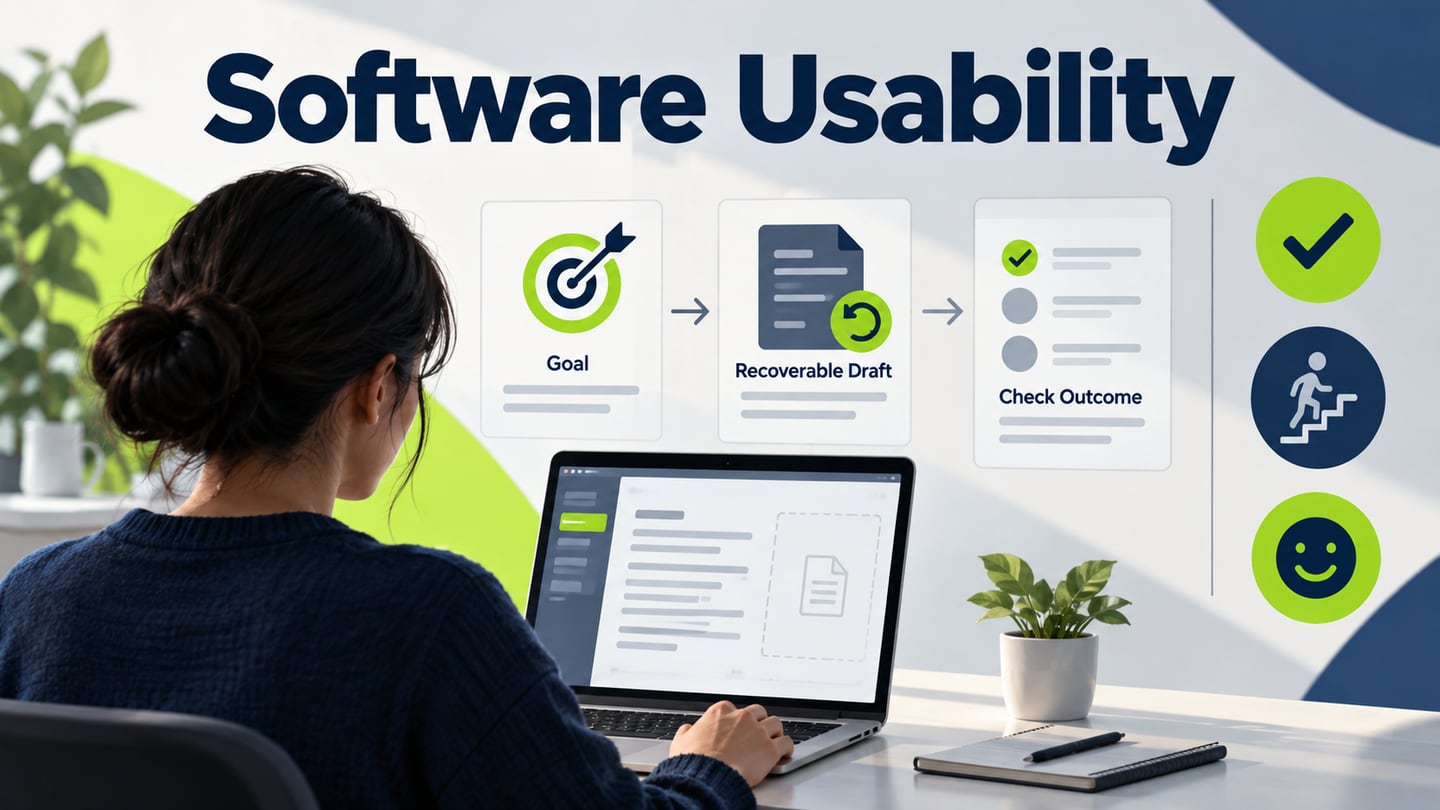
Software usability is how effectively, efficiently and satisfactorily people can complete a task in a specific context. Working software is not always easy to use: a save button may function correctly but be hard to find. Define the intended users and task, then choose a usability-testing method and follow the nine evaluation steps below.
What is Software Usability?
Usability is an outcome of use, not a switch that a designer can directly control. The ISO 9241-11 overview provides a framework for understanding usability across systems, products and services. UX is broader: expectations, emotions and experiences beyond a single task also matter. Interface decisions influence usability, but so do the user's knowledge, tools and environment.
Effectiveness asks whether the goal is achieved accurately and completely. Efficiency considers the resources used in relation to the result, such as time and effort. Satisfaction concerns the person's experience of use. These dimensions should be interpreted together: completing a task quickly after a moderator gives the answer is different from completing it independently.
Software usability is also distinct from functional UI testing. A test may confirm that a button saves data, while an observation reveals that people cannot find the button or misunderstand what it saves. Define the intended outcome and the context before deciding what evidence would count as success.
How to evaluate software usability
The following nine phases form a practical study workflow. The level of formality depends on the question, risk and available resources. Plan the study before recruiting so that participants encounter a consistent task and the team knows how observations will be recorded.
1. Determine the part of the software you want to test
Choose a specific uncertainty in the software. Instead of asking whether the whole product is intuitive, investigate whether people can recover an unsaved note without losing its content. Include the entry point, relevant states and a recovery path, and identify anything the prototype cannot represent.
2. Select your usability study tasks
Use a realistic goal expressed in the participant's language. For example: You return to your notes and want to keep the version recovered after an interruption. The task should not tell the person to click a particular control. Keep unrelated activities out of the scenario unless they are part of the question.
3. Set success criteria
Define observable success before the session: the recovered text is retained and the participant can identify the resulting draft. Record incomplete, assisted and independent completion separately. If timing matters, define the start and stop points. A short time by itself does not establish a successful outcome.
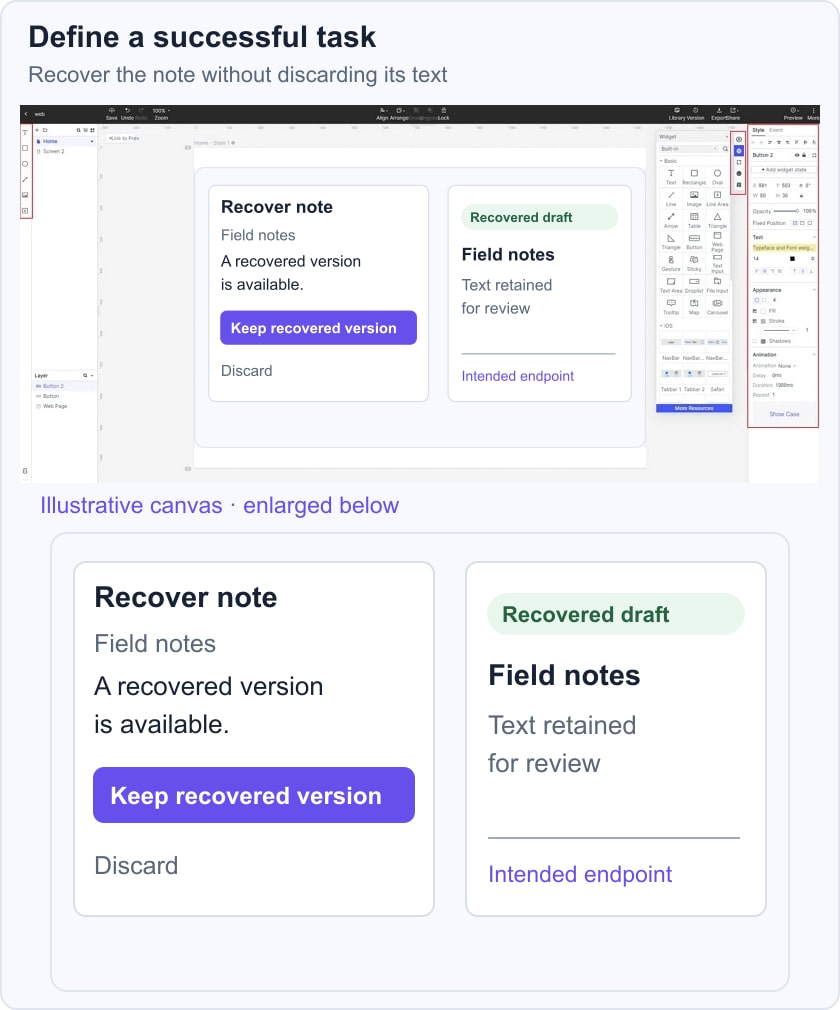
For the illustrated recovery task, the canvas shows a choice between keeping the recovered version and discarding it, followed by a Recovered draft state. Those screens clarify the intended endpoint. They do not show a participant result, and the design should not be reported as successful until it has been evaluated in the intended context.
4. Create a study plan and script
Write the study goal, participant introduction, task scenario and neutral follow-up questions. Include what the moderator should do if the participant becomes stuck, if the prototype fails or if the person wants to stop. Pilot the script to find ambiguous instructions; consistency is useful, but it does not make a small study automatically representative.
5. Delegate tasks
Assign a moderator and a note-taker where possible. The moderator explains the session and observes without teaching the interface. The note-taker separates what happened from interpretations. For example, record that the participant reopened a dialog three times before writing that the confirmation may have been unclear.
6. Get your participants
Recruit participants who reflect the intended users and experience levels. Members of the product team often know too much about the design to represent a new user. Digital.gov guidance recommends matching participants to intended readers for content testing. Choose the number and mix for your study purpose; five is not a universal rule for every software or user group.
7. Carry out the study
Present one task at a time and observe the person's approach. Avoid hints that reveal the intended path. If assistance is needed, follow the plan and record it rather than silently counting the task as independent success. Ask neutral questions about expectations and uncertainty, and distinguish prototype limitations from problems in the proposed design.
8. Data analysis
Analyze outcomes alongside observations and participant comments. Group recurring difficulties by task and consequence, and check whether they arose under similar conditions. Do not turn a small qualitative sample into a population-wide percentage. Prioritize changes using the severity of the problem, evidence strength and the importance of the affected task.
9. Report the findings
Report what actually occurred, including participant context, task definitions, limitations and assistance. Link each recommendation to the observation that supports it. Assign an owner for the next change and decide what needs to be checked again. Retesting helps determine whether the change addressed the original problem without introducing another.
Prepare a prototype for usability evaluation
A Mockitt prototype can represent the screens and task paths you want to discuss or evaluate. Build enough of the experience to answer the study question, including the relevant failure or recovery state. Sharing a prototype supports review; it does not automatically recruit participants, run a study or produce a valid usability score.
 Legacy prototype example retained from the original article; not a new usability study.
Components, icons and widgets can help create a consistent interface representation. Use realistic labels and enough content for the participant to make a decision. Avoid a polished successful path that leaves recovery behavior undefined. The original screenshots below show legacy Mockitt controls, so exact labels may differ from the current application.
Prepare the task path in Mockitt
Step 1: Create a new project
Create a project with a clear task name and an appropriate screen size. The original screenshot shows a Create menu with a Prototype option. For a recovery study, define the note list, recovery dialog and resulting draft before styling the screens. Keep the scenario separate from any real participant or production data.
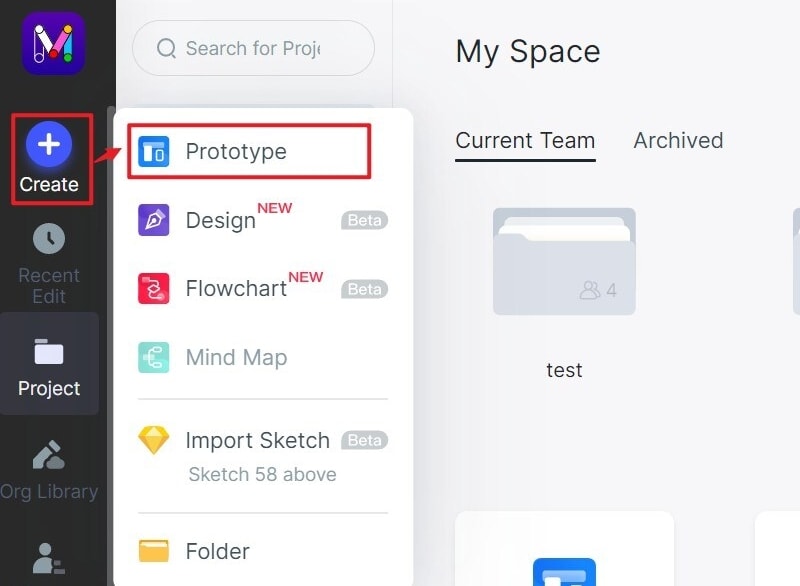 Original legacy project menu; exact current labels may differ.
Step 2: Find the design elements
Use the available component library to place text, buttons and other necessary controls on the canvas. The original Libraries screenshot shows basic elements such as text, rectangles, inputs and buttons. Choose elements for the task and label them clearly; a large component collection does not replace a coherent interaction design.
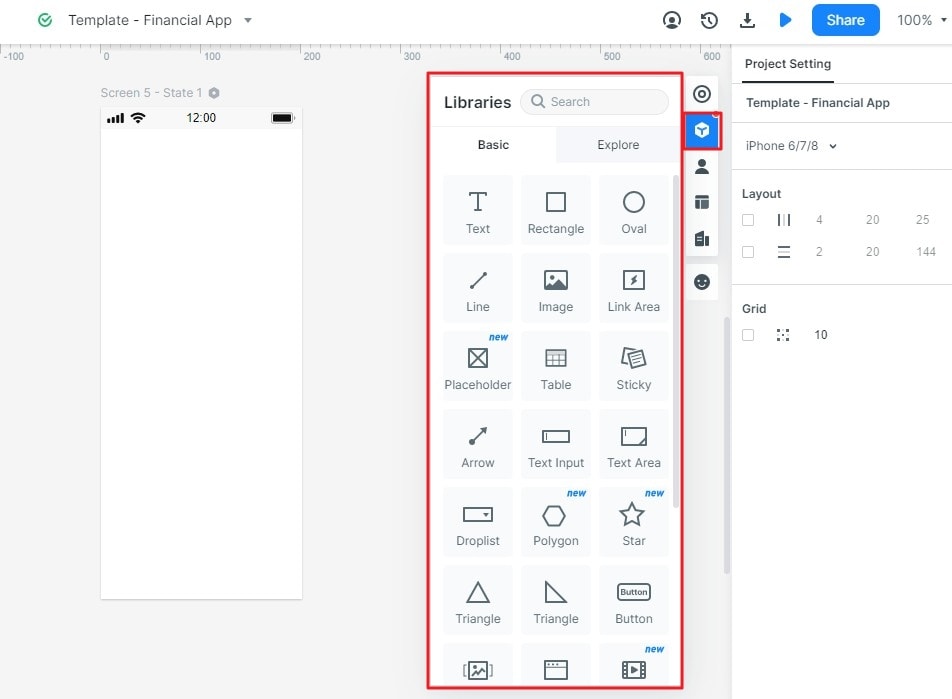 Original legacy Libraries panel.
Step 3: Adapt the components and states
Adjust the layout, labels and visible states to match the scenario. The original screenshot illustrates selecting an iOS widget library, not editing every element through a universal setting. In the recovery example, Keep recovered version and Discard should be distinguishable, and the final Recovered draft state should make the outcome clear.
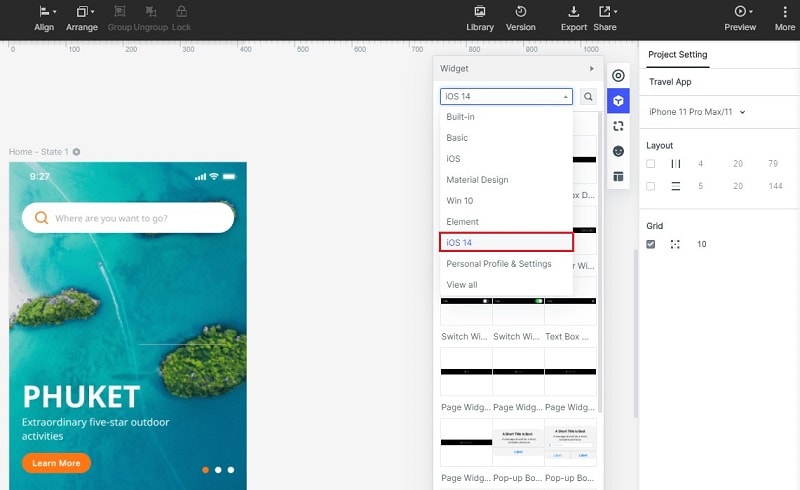 Original library-selection example, accurately identified as an iOS widget library.
Step 4: Preview, share and evaluate
Preview the path to check that the intended controls and destinations are represented, then share it for the planned review or study. The original toolbar screenshot shows Preview and Share. Check what the shared version permits before the session. Record observations outside the prototype as required by your research process, revise the design and evaluate the changed task again.
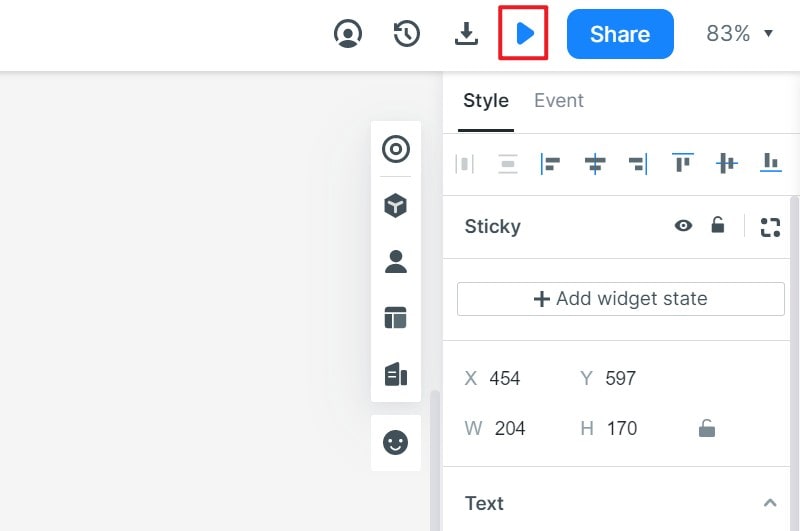 Original legacy preview and sharing controls; sharing alone does not conduct a usability test.