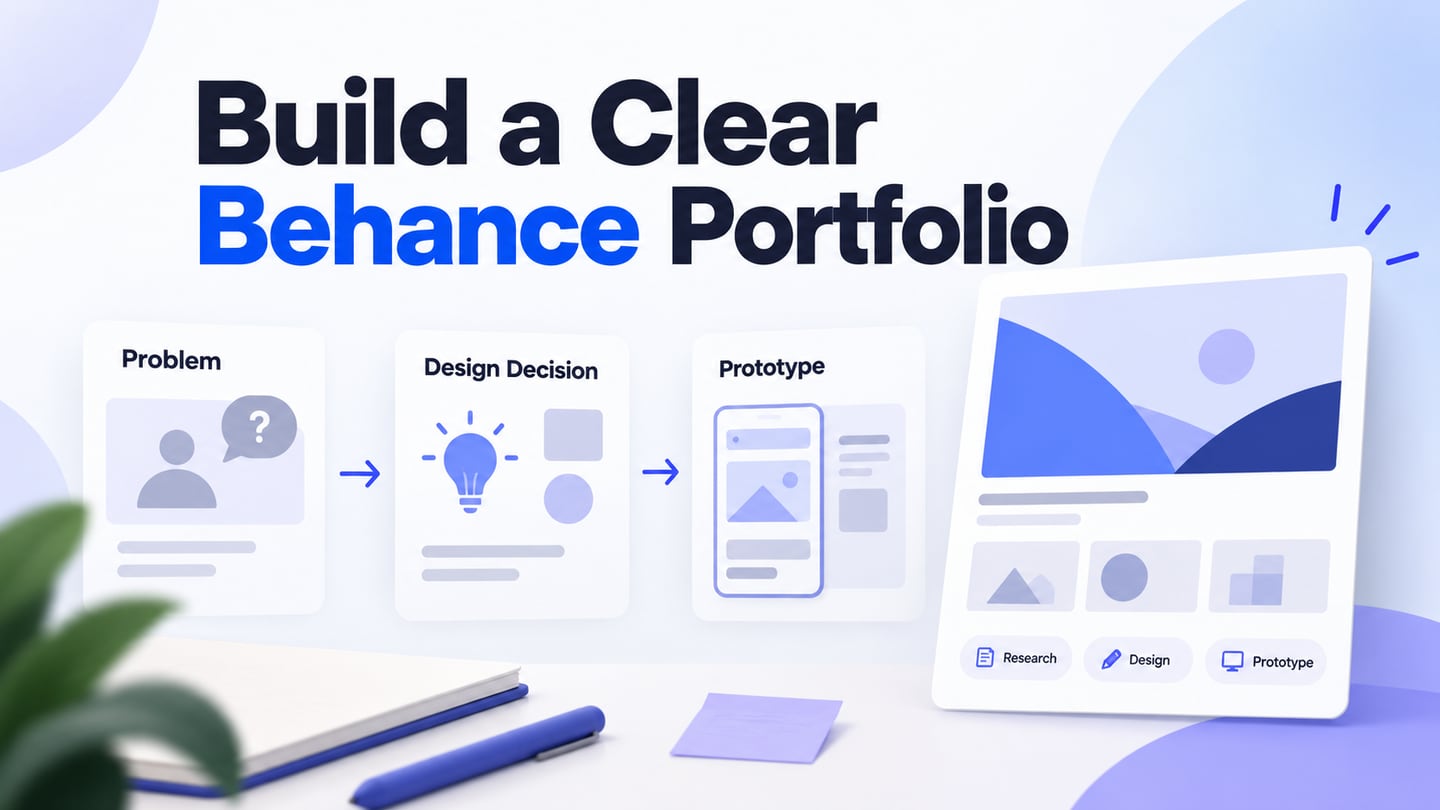
Behance lets creative professionals publish projects and present their work in one profile. A useful Behance portfolio shows more than attractive screens: it explains the problem, your role, the decisions you made, and what the result demonstrates. For an interface project, you can prepare a shareable interactive prototype in Mockitt alongside the still images so readers can inspect the flow you describe.
This guide follows the steps for creating your first project, organizing its presentation, adding relevant tags, and keeping the portfolio current. It also explains how to prepare prototype evidence without confusing Behance with a custom-built portfolio website.
How to create your Behance portfolio?
Putting your design work on Behance gives visitors a consistent place to view your projects. Behance supports several creative fields, not only website design. Your profile and published projects are hosted within the platform; creating one is different from building an independent website or using Adobe Portfolio.
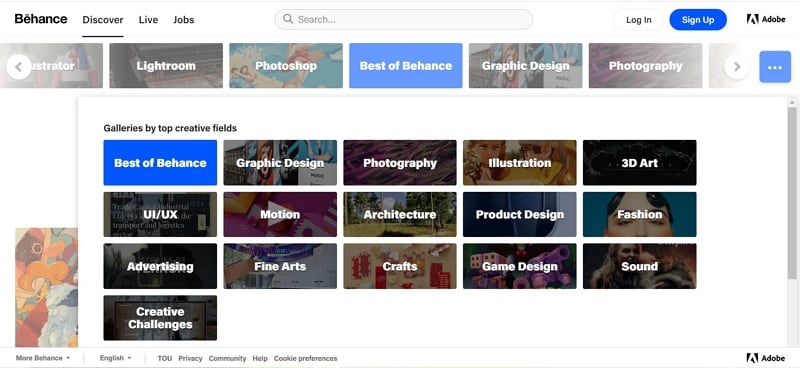
Decide what a visitor should learn before choosing images. A first project can be small: a booking flow, an onboarding problem, or a focused redesign. State which work is yours and whether it was a client project, a team contribution, or an independent exercise.
Use the following sequence to prepare the account, project content, navigation, tags, and later updates. Behance may change individual controls, so consult its official project-publishing guide for the current requirements.
1. Registration process with Behance
Start by signing in or creating an account through the options shown by Behance. Check the profile name, image, and public information before adding a project. Use a name and contact details that you are comfortable making visible.
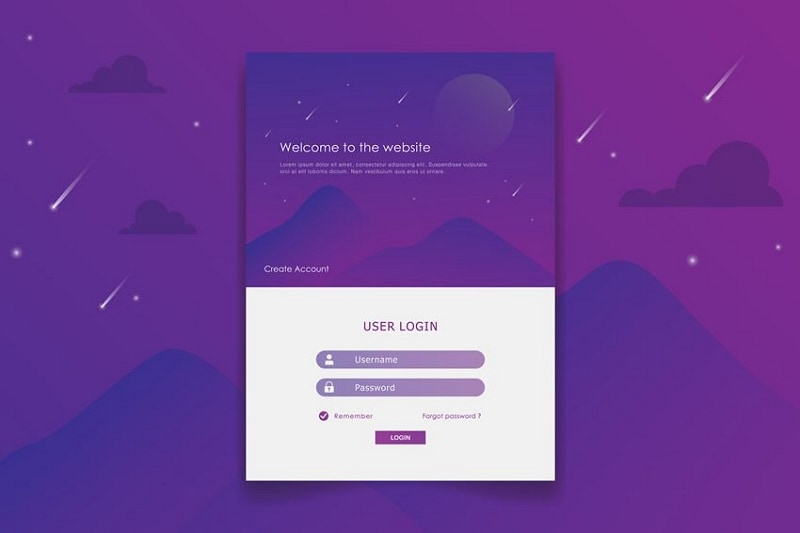
Do not assume an older Facebook or Google sign-in option is still available. Follow the current account screen and check which details are shared with the service you choose.
Complete your profile with a concise description of your design focus. A specific statement, such as mobile onboarding or dashboard interaction design, tells a reviewer more than a broad claim to design everything.
Following creators can help you discover relevant work, but it should not be treated as a compulsory portfolio-building step. Explore projects for presentation ideas, then develop your own content and credit any work you reference.
2. Your first project
Choose Share Your Work, then Project, and add the content for your first case study. Organize it around the problem, constraints, your contribution, important decisions, and outcome or remaining questions. The historical examples below illustrate presentation approaches; they do not prove that the current Behance editor has the same controls.
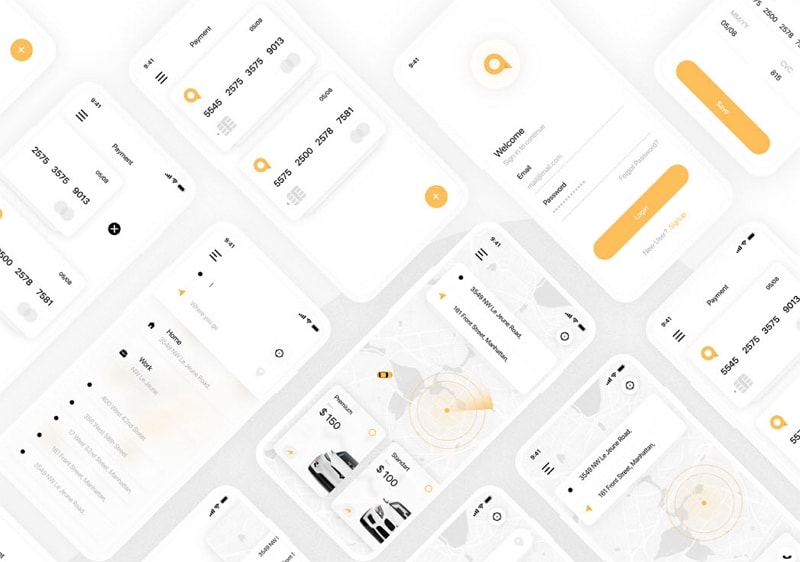
Source: Behance designer - Roman Lel
Add images and explanatory text that help readers follow the work. If a prototype is publicly shareable, provide a descriptive link and test its access in a signed-out browser. Remove client names, personal data, and confidential screens unless you have permission to publish them.
Distinguish project content from profile customization. You can prepare a consistent visual presentation in your uploaded material, but do not assume Behance provides arbitrary control over profile fonts, page code, or a standalone website theme.
For an illustrative library-booking project, show the date-selection decision beside the relevant screen, identify your role, and explain what you wanted to test. If the flow was not tested with users, label the question as untested rather than presenting a design hypothesis as a measured result.
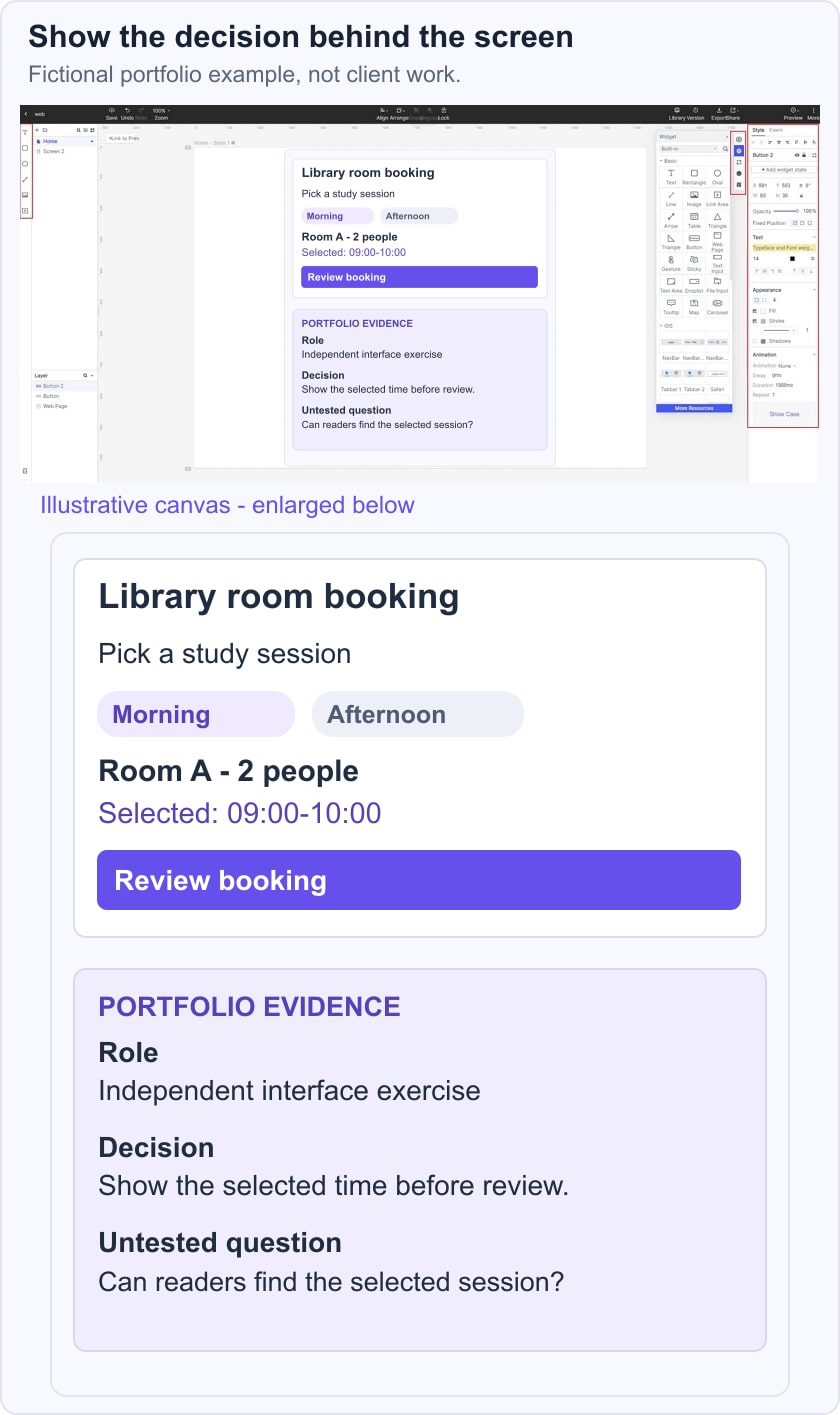
3. Clear buttons
Make the next action clear. A link labeled “View the booking prototype” is more informative than a generic instruction. Keep contact or prototype links separate from explanatory screenshots so readers can distinguish an image from an interactive destination.
Use the project editor’s supported media controls for images and other content. A button drawn inside an uploaded image is still part of an image; it does not automatically become a working link. Preview the project and check every intended action before publishing.
4. Add tags
Choose tags that describe the actual work, such as interaction design, booking, or mobile UI. Behance’s publishing flow requires a project cover, title, and creative field; project tags are additional descriptive information. They can help explain the subject, but they do not guarantee visibility or traffic.
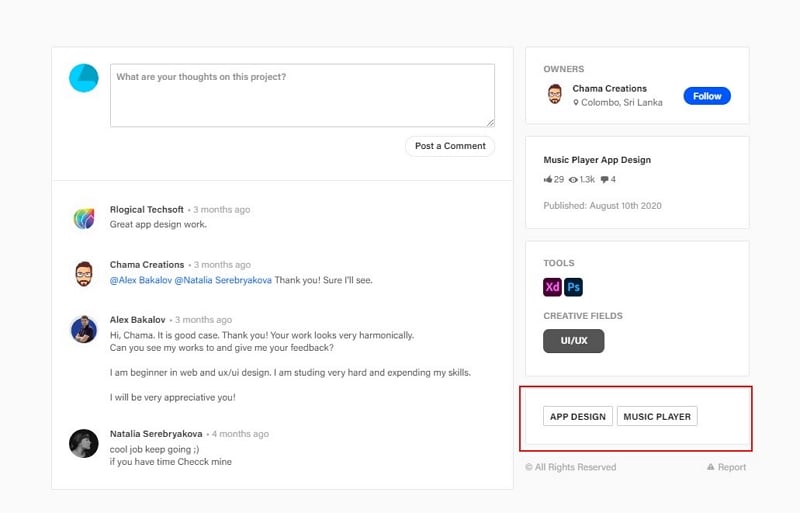
Source: Behance designer - Chama Creations
5. Add the latest projects
Publish when the project is coherent and ready to be public; otherwise save a draft. Keep the portfolio selective and update existing work when your contribution or evidence changes. The Behance editing guide explains how to return to drafts and published projects. Recheck links and permissions after any change.
Why is it essential to build a Behance portfolio?
A Behance portfolio is one possible way to present work to colleagues, recruiters, and clients. It is useful when your audience can evaluate the project without needing a private walkthrough. It is not a substitute for the work itself or a requirement for every design role.
A focused UX case study helps readers understand how you think, not just which software you used. Show enough process to support a decision and be explicit about limitations. Publishing alone does not guarantee leads, a job, or an improvement in design skill.
Software to help your Behance portfolio
Prototype software can help you prepare the interface evidence for a portfolio project. In Mockitt, create the screens and connect a short path that illustrates the decision you want to explain. Capture relevant states for the case study and share the prototype where permission allows. You are documenting your design work, not recreating the Behance platform.
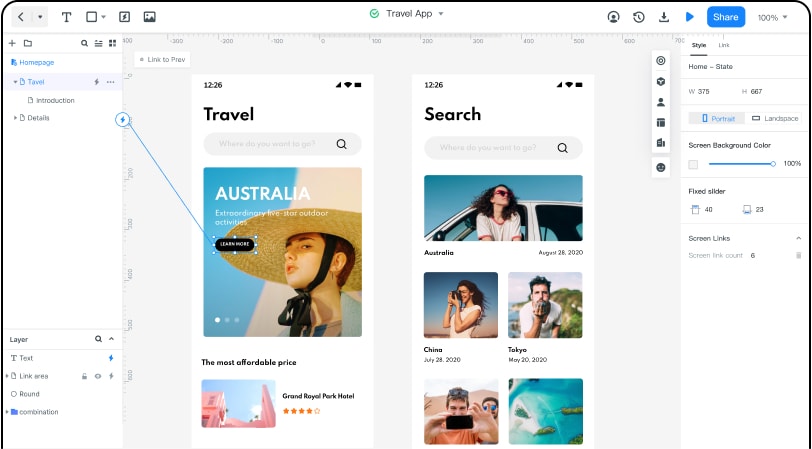
Keep the prototype and case study consistent. The selected screen, captions, and shared link should describe the same version. Use usability testing when you need evidence about whether people understand a flow; a polished presentation is not proof of usability.
Before publishing, check the project on a narrow screen, read the image captions, verify the prototype link, and confirm the credits. The older Mockitt screenshot below is retained as a historical interface example; current controls and sharing options may differ.
The features of Mockitt
Prototyping in the browser: Prepare connected screens in a shared workspace and use a preview to review the path. A prototype communicates interaction intent; it is not the production application.
Reusable design resources: Use relevant components and icons as a starting point, then adapt them to your project. Show your decisions rather than presenting a stock template as entirely original work.
Feedback and teamwork: Ask a collaborator to review the project story and prototype access. Record which feedback informed a change and avoid unsupported claims about time or money saved.