A software demo shows an audience how a product handles a task. It can demonstrate existing software or a proposed experience before development. This guide focuses on the second case: use an interactive prototype to show a small, coherent workflow, explain which data is simulated, and collect a decision about the design.
Wireframes, screen designs and interactive prototypes help a team move from a sketch to a reviewable experience. They support the formal review process rather than replace it. A clickable front end can communicate navigation and states, but it does not prove that calculations, integrations or permissions work in a production system.
For example, an accounting demo might show a sample tax calculation or balance sheet, while a school-management demo might show a proposed timetable or equipment request. Label those values as sample data if they are not connected to a working service. The audience should understand both what the interface illustrates and which technical questions remain open.
Using Mockitt for a Prototype Demo
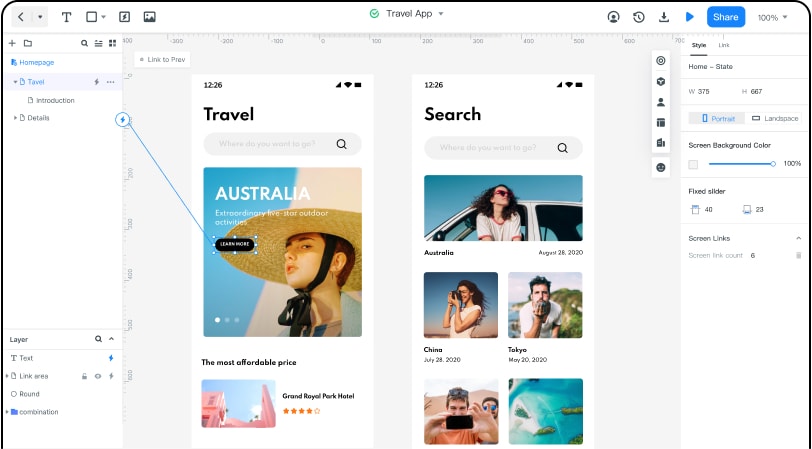
Mockitt provides screen design, interaction and sharing tools for presenting an interface to clients or teammates. Build the screens needed for the selected task, connect the actions that matter, and add notes where a behavior needs explanation. The goal is enough fidelity for the review question, rather than an elaborate simulation of every feature.
How to Create a Software Demo
Step 1: Define the Parameters of the Software
Use the product requirements document (PRD), research notes or an agreed brief to define the demonstration. A PRD is not necessarily a client questionnaire: it should explain the relevant user need, scope and behavior. Choose one audience, one task and one decision you want from the meeting. This keeps the demo focused when the full product has many features.
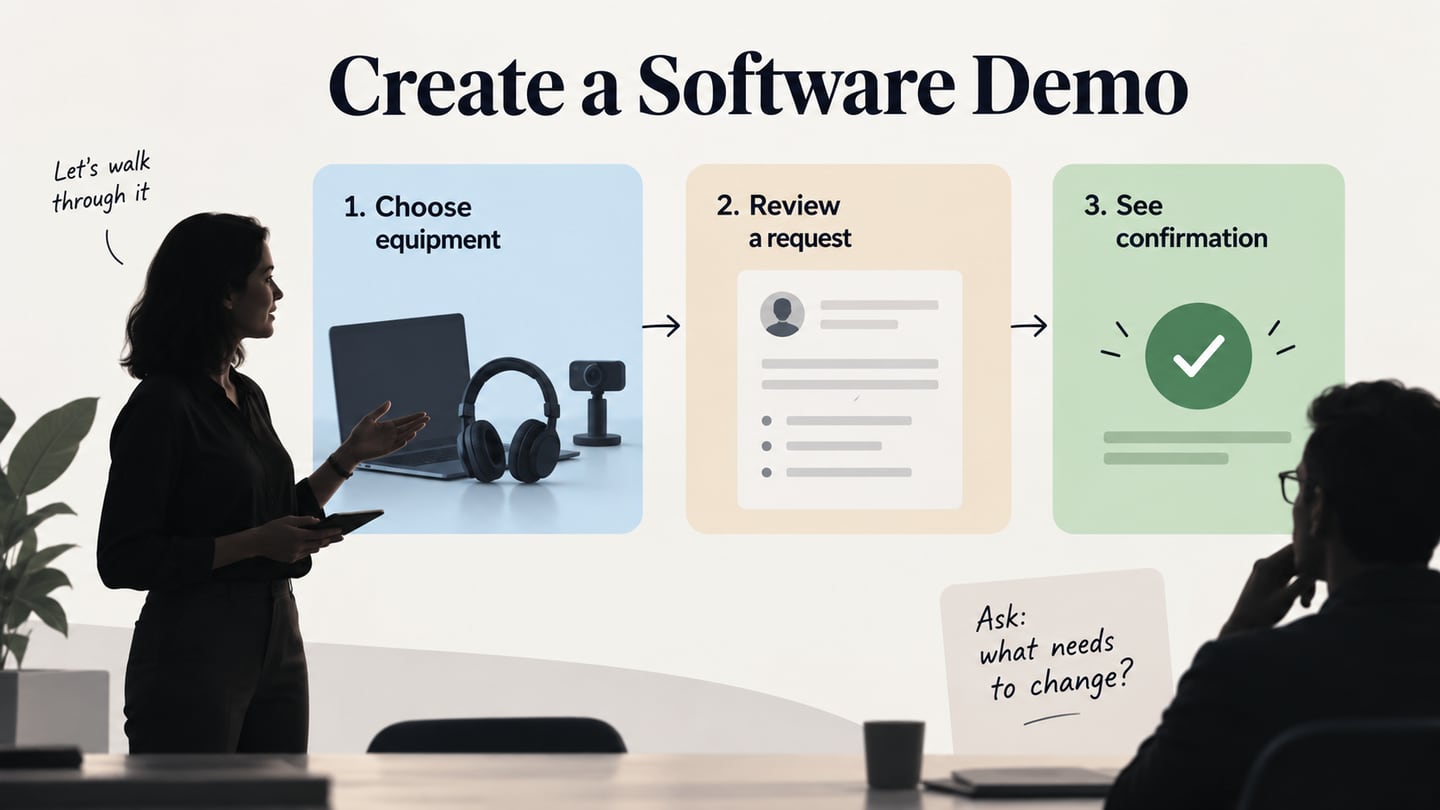
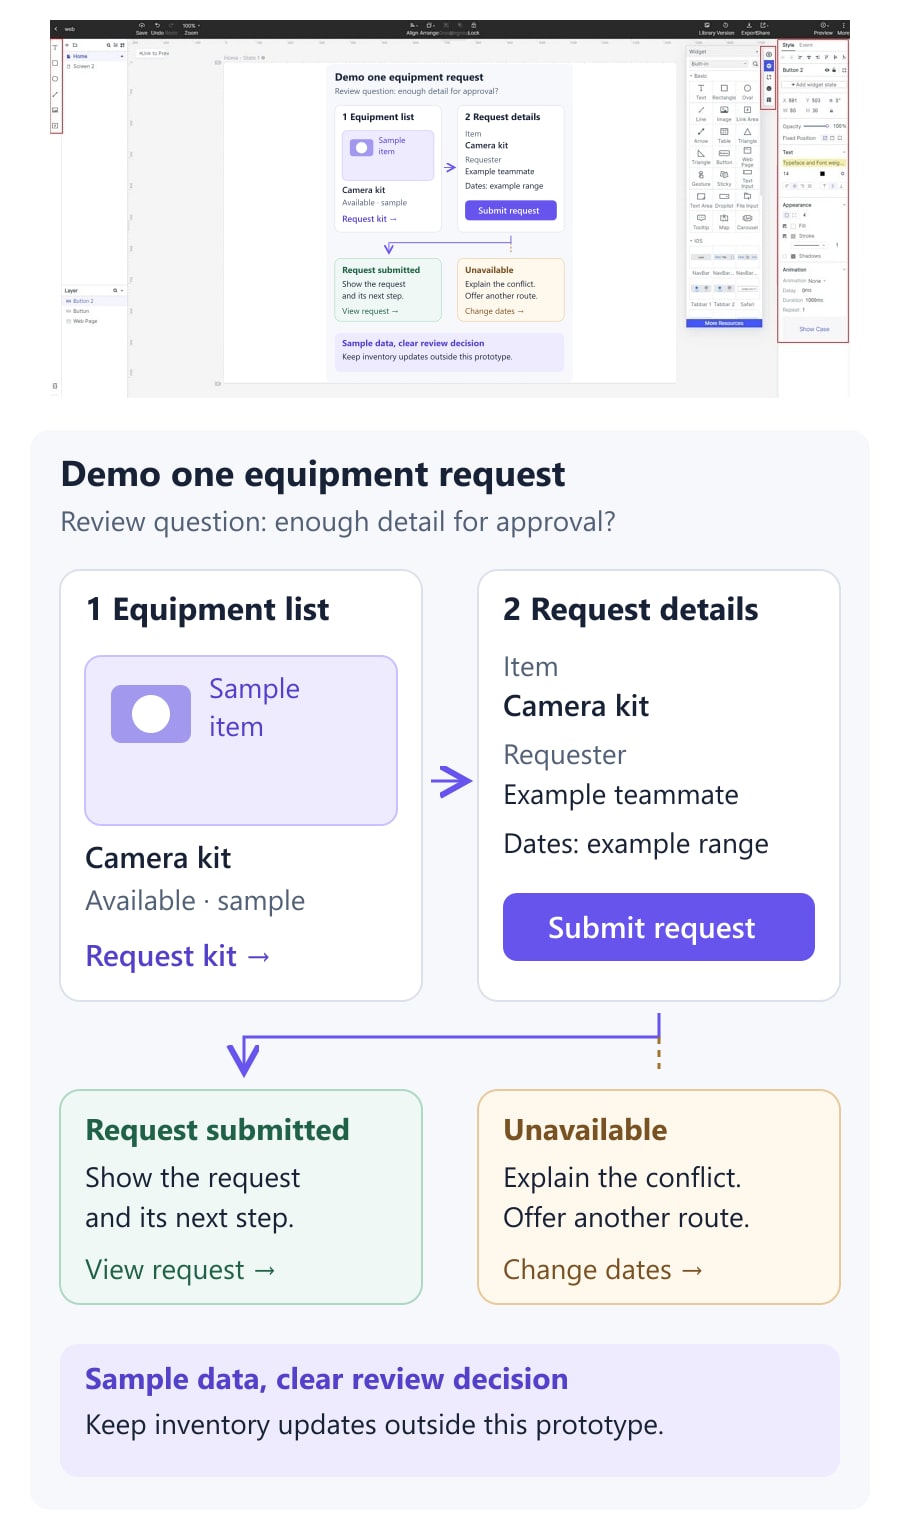
For an equipment-loan demo, the audience might be operations staff and the task might be requesting an available camera kit. The decision is whether the request contains enough information for approval. Prepare fictional dates, a sample item and a sample requester, then identify what is intentionally out of scope: inventory updates, payment and account permissions.
Step 2: Design the Software UI and UX
The terms User Interface and User Experience, usually shortened to UI and UX, respectively, refer to how the software will appear and how it will interact with the user. The primary task of a designer is to create a user-friendly UI that delivers a positive UX factor. To design the software's interface to these specifications, follow the steps shown below:
- First, create a new project and choose the device or viewport the audience will use. Keep the initial demo at that size so the review is about the task rather than a mixture of desktop and mobile layouts.
- Start adding the elements needed on the first screen, then create screens for the next steps and important states. Use widgets for repeated interface elements and give each screen a task-based name. In the equipment-loan example, create a short linked path: Equipment list → Request details → Request submitted.
- Once the components are in place, link the relevant controls to their destination screens. Add a return path so a reviewer can change the request, and a separate unavailable-item state. Choose transitions that explain the action; the prototype should communicate behavior without implying that a database or approval system is running behind it.
- Add annotations beside anything that needs explanation. For example, mark the item status as sample data and note whether the final product should reserve inventory before approval. The earlier Mockitt screenshot shows the general linked-screen workflow; it is not evidence that this equipment service has been implemented.
At the end of this stage, you have a reviewable interface path with defined states. Keep a short set of prototype acceptance criteria so everyone knows which interactions the demonstration is intended to answer.
Step 3: Preview and Test the Prototype
Preview the design and check each link against the brief before the meeting. Start from the entry screen, request the camera kit, return to change the dates and try the unavailable-item branch. Ask a teammate to follow the path without coaching. Note any dead ends, unclear labels or mismatched sample values and repair those before showing the demo.
Check the sharing permissions with the intended review audience. Keep a fallback set of screenshots if a live preview cannot load, but explain that the fallback will not demonstrate interaction. Use synthetic data throughout so screen sharing does not expose customer or employee information.
Step 4: Demonstrate the Software to the Client and Other Stakeholders
Open by stating the user, task and decision: “An operations teammate needs a camera kit for an event. We want to know whether this request gives the approver enough information.” Walk through that path, then show the alternate state. Pause on the review screen and ask what information is missing. A focused demonstration is more useful than clicking through every feature.
For an asynchronous review, share the prototype link with the starting screen, task and specific question. Ask reviewers to identify the screen or state behind each comment. The prototype feedback workshop guide provides a fuller approach when several stakeholders need to compare observations.
Close the review with a decision and an owner. For example: add the return date to Request details; test the wording with operations staff; leave inventory reservation to a separate technical investigation. Record unresolved questions instead of treating a successful click-through as proof that the product is ready to build.
Conclusion
A useful software demo makes the proposed workflow understandable and exposes the decisions the team still needs to make. The prototype can show screens, transitions and expected states. Developers still need requirements for data, permissions, integrations and failure handling; a visual demo or code draft does not supply a complete production implementation.
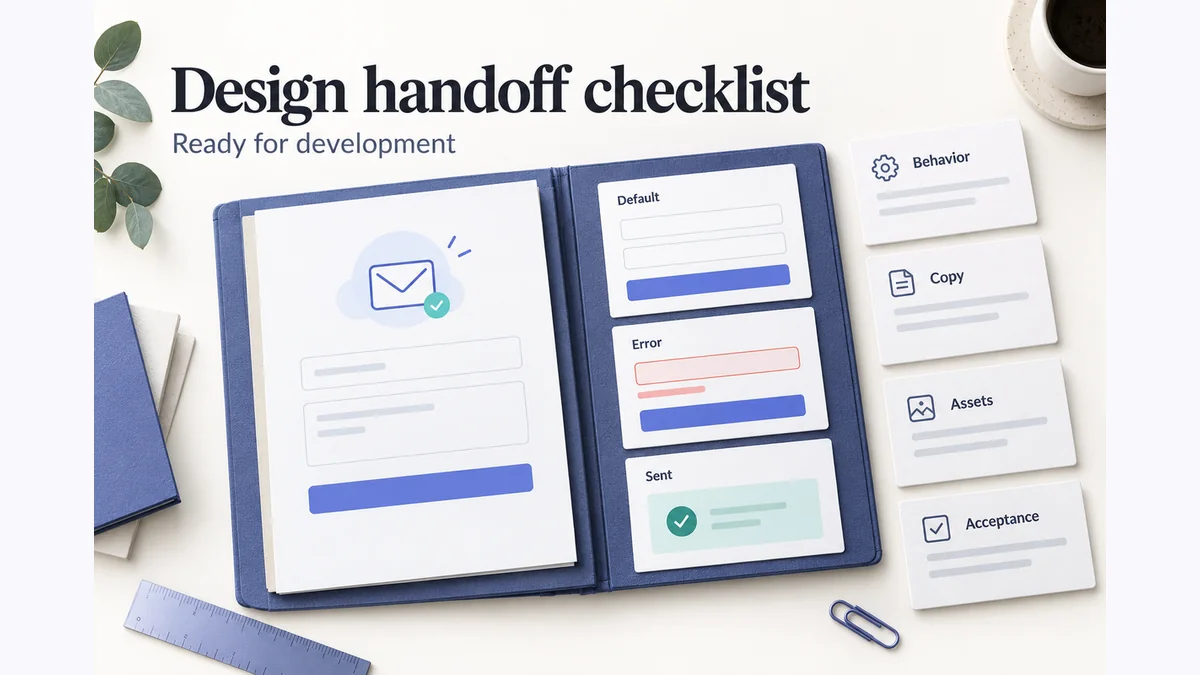
For handoff, share the approved flow together with the sample-data assumptions, unresolved questions and decisions from the review. Keep those notes close to the screens they describe. That gives designers, developers and stakeholders a clearer starting point for the next iteration.