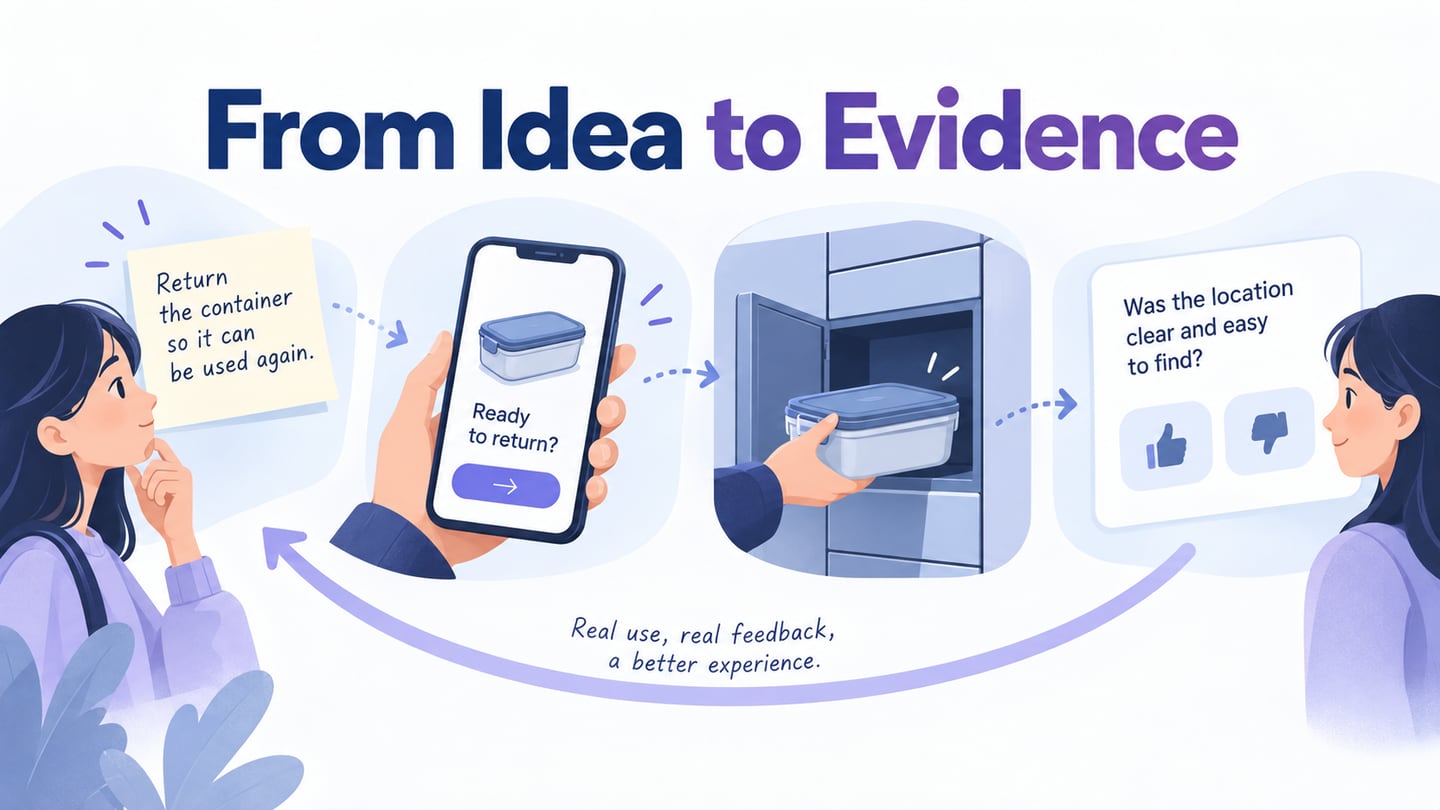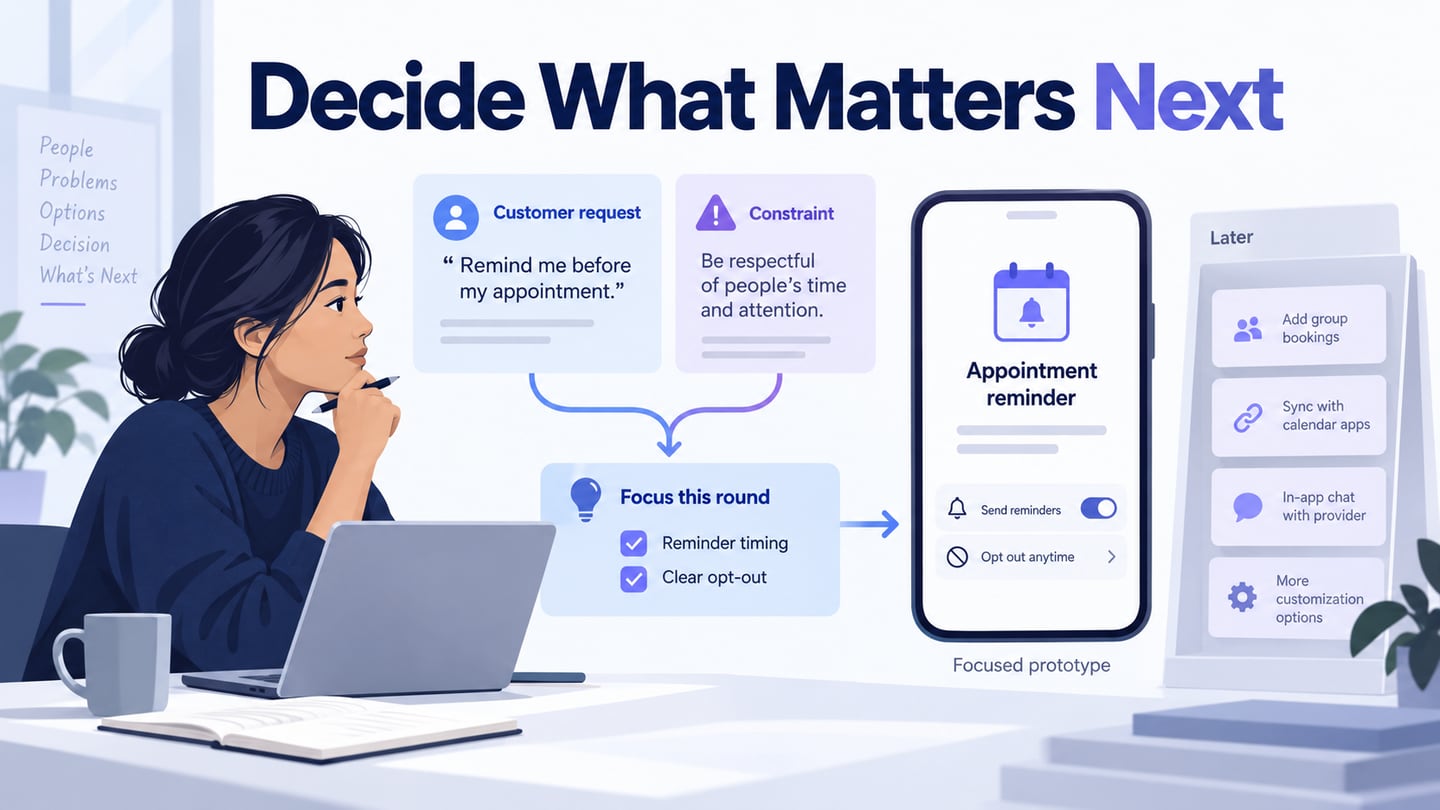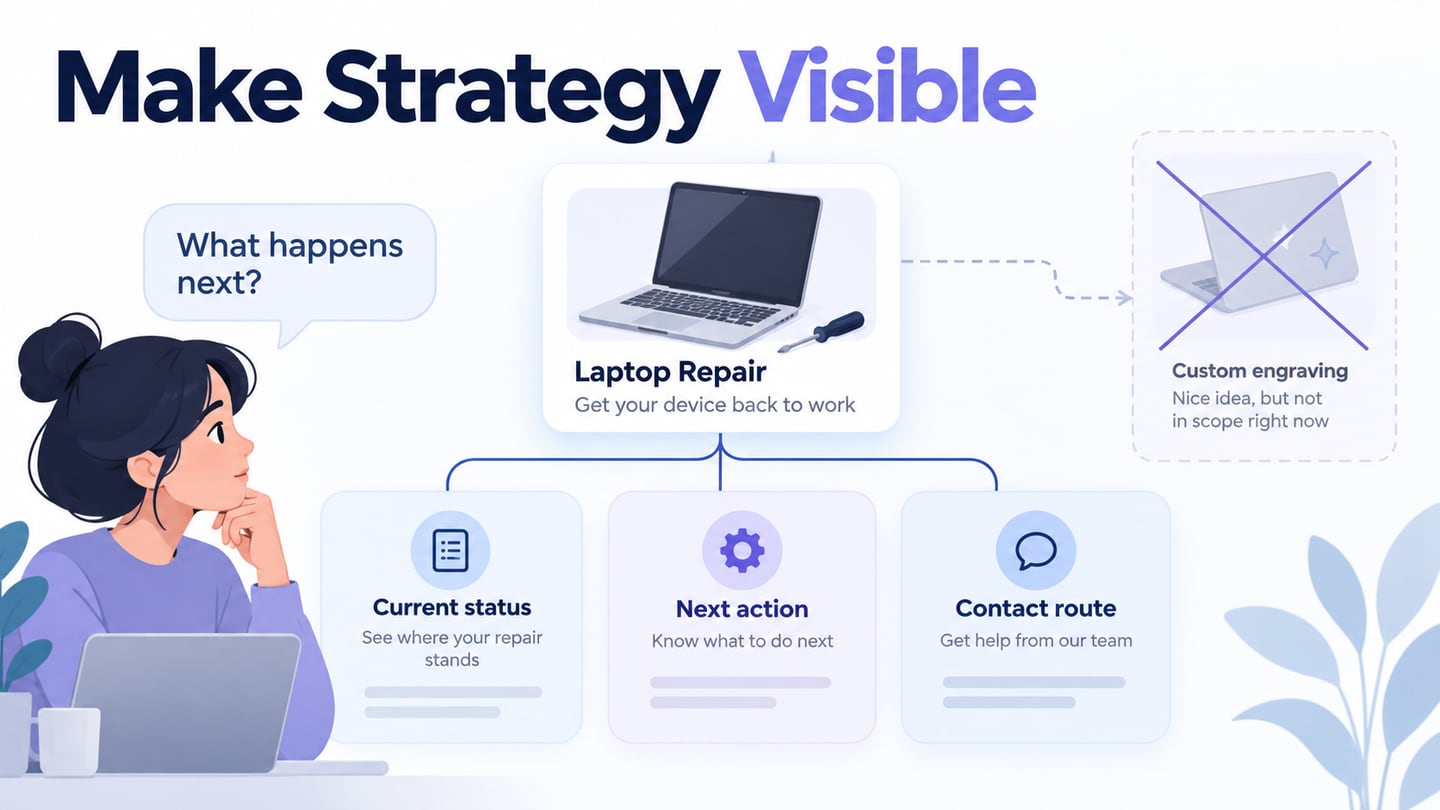
A design strategy connects what people need with what a product team intends to achieve. It helps designers decide which problems deserve attention, what to leave out, and how to judge a proposed solution. A broader UX strategy also considers the surrounding experience and business direction; this guide focuses on the design choices that turn that direction into a product people can use.
What is Design Strategy
Designing a product involves more than choosing its look and feel. Teams also decide what users can do, how the interface explains the task, and which constraints the solution must respect. A strategy provides a shared basis for those decisions, so a persuasive visual does not automatically outweigh an important user need.
A design strategy is a set of choices that links user needs, business objectives, and design work. It identifies a target audience, the problem to solve, the intended outcome, and the principles that guide tradeoffs. A good strategy can explain both why a feature belongs in the product and why another attractive idea is outside the current scope.
Benefits of Design Strategy
- It gives the team a shared direction for design work, including what to explore and what to defer.
- It creates common language for discussing user needs, constraints, and tradeoffs across design, product, and development.
- It gives short-term decisions a connection to longer-term goals, while allowing the team to revise assumptions when research changes the picture.
How to Create an Effective Design Strategy
A strategy can apply to a new product, an existing service, or a specific area of an interface. It does not have to wait until the brand is complete. The following six steps progress from defining the product to reviewing results. The Design Council’s Double Diamond is a useful companion for separating investigation of a problem from exploration of possible solutions.
1. Define your Product
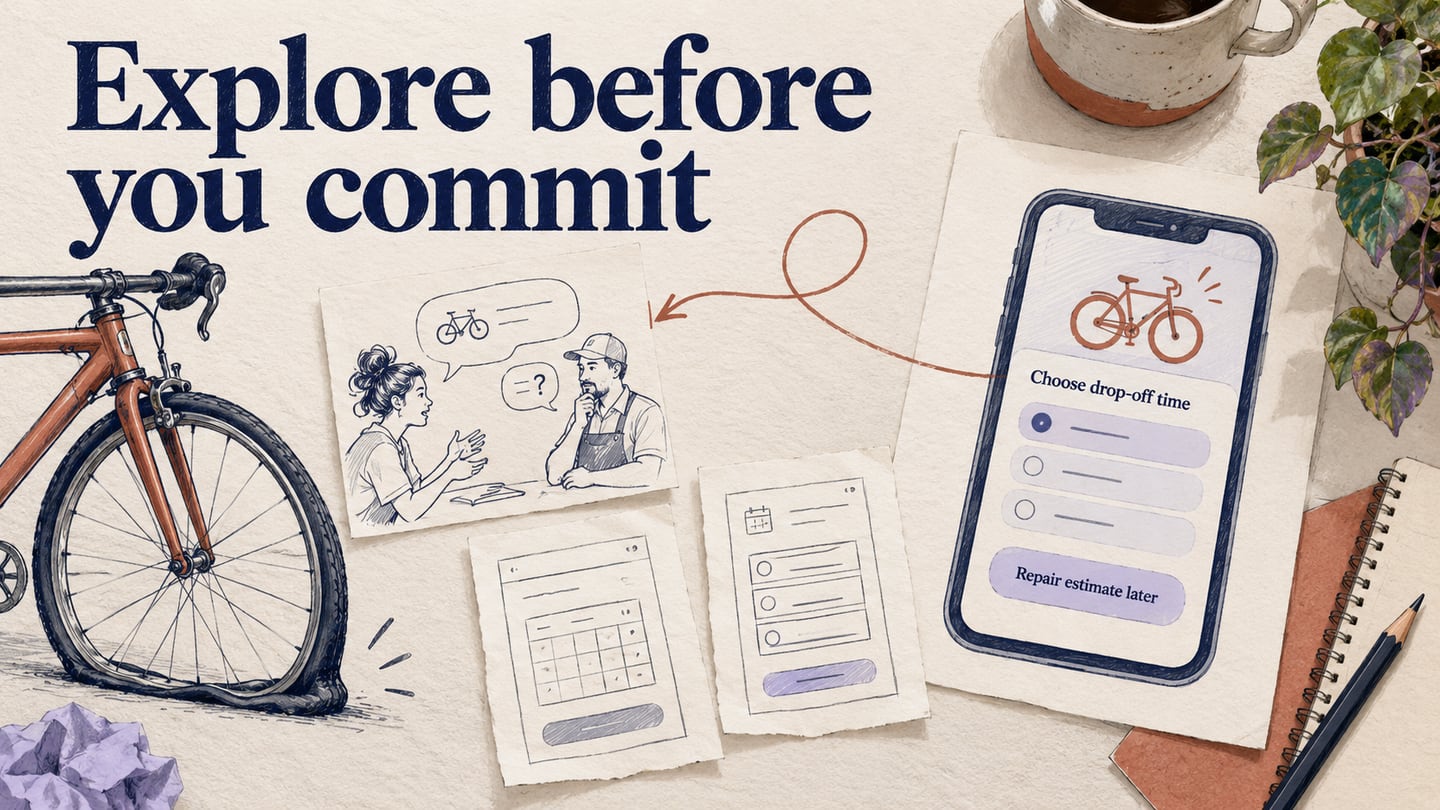
Define what the product does, who uses it, and the context in which they need it. Include the problem the product addresses, rather than describing only its features or brand personality. For a repair service, the relevant question might be how customers understand the progress of a repair without needing to call the workshop. That is a more useful starting point than “make the dashboard look modern.”
2. Define the product goals
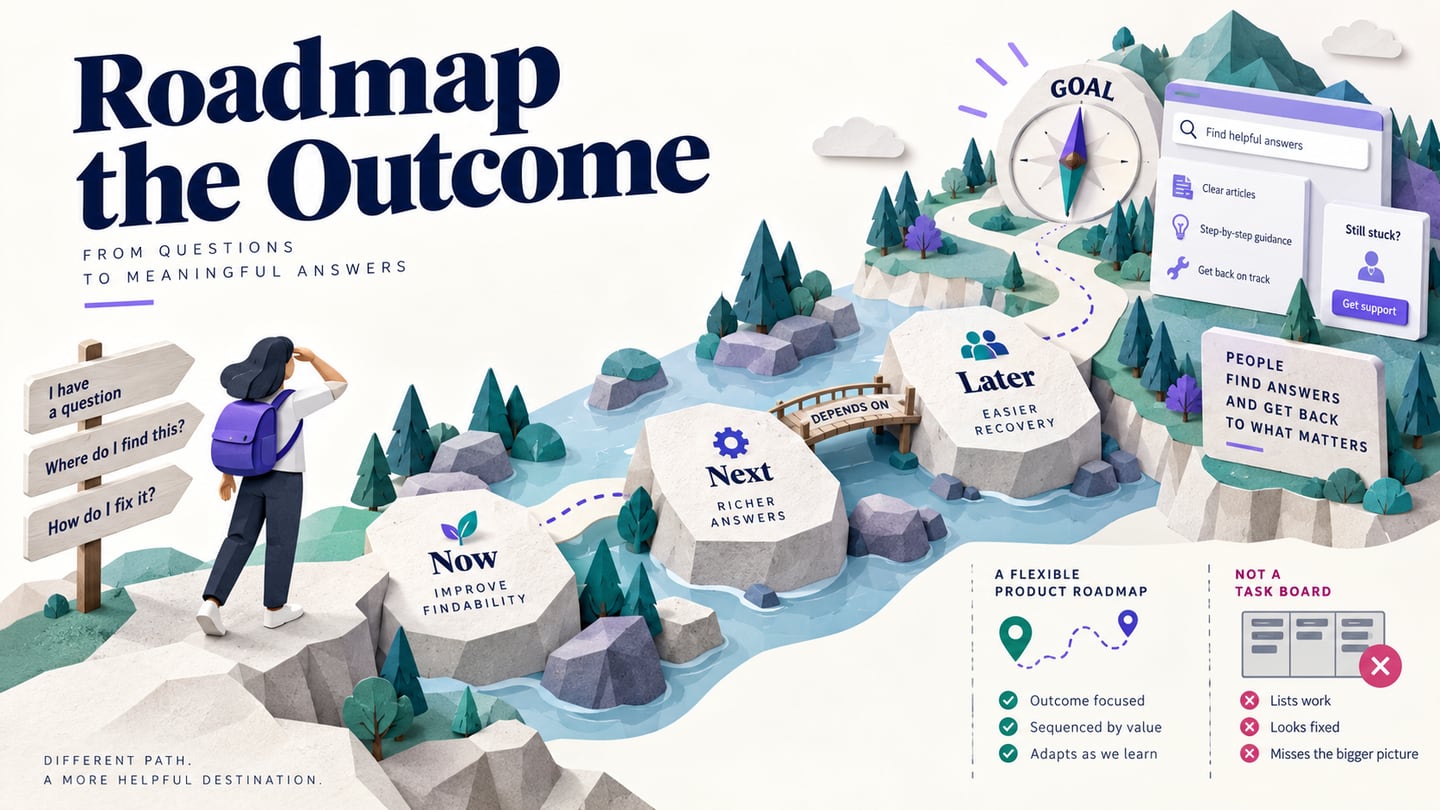
State the user outcome and the business reason for pursuing it. A goal provides a reference for later decisions; it is not a result the team has already achieved. In the repair example, customers should be able to identify the current stage and their next action. The business may want fewer avoidable status enquiries, but it needs a baseline and follow-up evidence before claiming a reduction.
3. Conduct Proper Research
Research the audience, the situation, and the alternatives. Talk to people who face the problem, examine existing support questions, and observe the current task where possible. Keep an evidence note separate from an interpretation: “the customer asked whether a quote was ready” is an observation; “the status label may be unclear” is a hypothesis to investigate.
4. Identify unmet needs
Look for a need that current solutions do not address adequately. A complaint can suggest an opportunity, but one request does not establish how common or important the problem is. Compare the need with other research, practical constraints, and the audience you intend to serve. Decide which problem is worth solving before adding a new feature to the plan.
5. Turn the objectives into design choices
Translate the findings into a few decisions that can guide the interface. For example, show a plain-language status, explain the next event, and offer a contact route when the information is insufficient. Record the reason for each decision. A style preference such as using rounded cards may support the visual system, but it should not replace the reasoning about the task.
6. Measure and review the strategy
Choose evidence that relates to the goal. In a prototype review, observe whether someone can identify the status and explain what happens next without prompting. After implementation, compare appropriate service measures with a defined baseline and investigate other changes that could affect them. Revise the strategy when the evidence challenges its assumptions; a polished screen alone does not establish success.
Turn a strategic choice into a reviewable screen
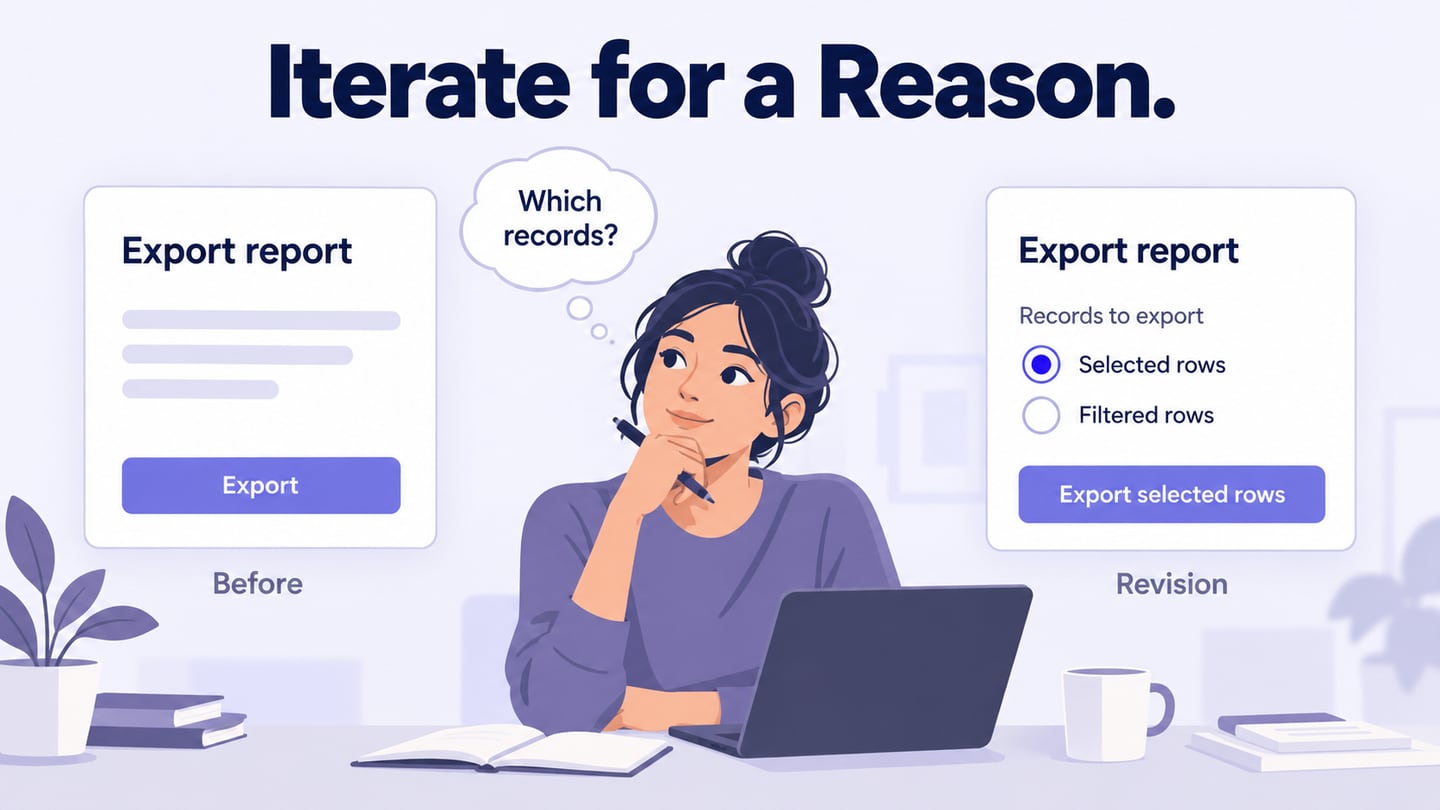
Consider an illustrative repair-status page. The service has confirmed that a device was received, but no repair quote is available yet. The first design shows only “In progress.” A second design keeps that status and adds “Diagnosis in progress,” explains that the workshop will contact the customer when a quote is ready, and includes “Ask about this repair.” Neither version invents a completion date.
The important comparison is between two ways to answer the same customer question: what is happening, and what should I do next? Put the two states into a prototype, then ask a reviewer to explain the next step. Record their interpretation before asking whether they like the design. If they expect work to start immediately, the wording needs attention even if the card looks tidy.
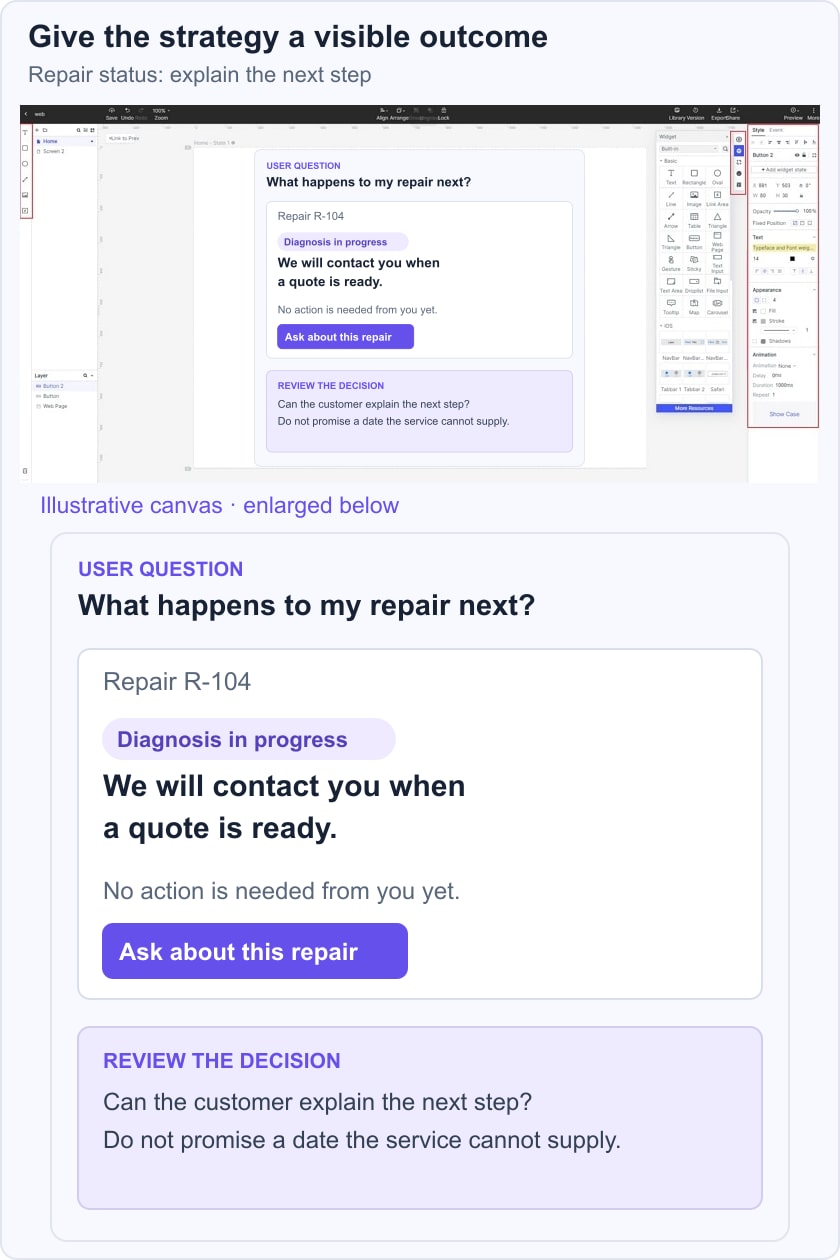
This produces a small, inspectable output: a screen, a task, a question, and a decision to keep or revise the explanation. It does not prove that enquiries will fall. Keep the service policy, operational status data, and any promised response time with the delivery team so the eventual implementation matches the design.
Put Your Design Strategy into Practice with Mockitt
Use Mockitt’s interactive prototype workspace to make a chosen design direction visible and reviewable. Components and connected screens let the team explore a flow, while comments keep feedback near the relevant state. The tool helps communicate the strategy; research and product decisions still determine which solution is worth building.

- Start with a small set of screens that demonstrates the decision you need to review.
- Use available UI libraries and templates as a starting point, then adapt them to the product’s content.
- Connect actions to screens or states, including the important error and recovery paths.
- Choose sharing and access settings appropriate to the review.
- Reuse components and consistent labels instead of manually styling every repeated screen.
- Work with teammates on the shared design and keep the relevant version available for review.
- Use comments to capture questions, proposed changes, and the reasons for a decision.
Step 1. Create a Project
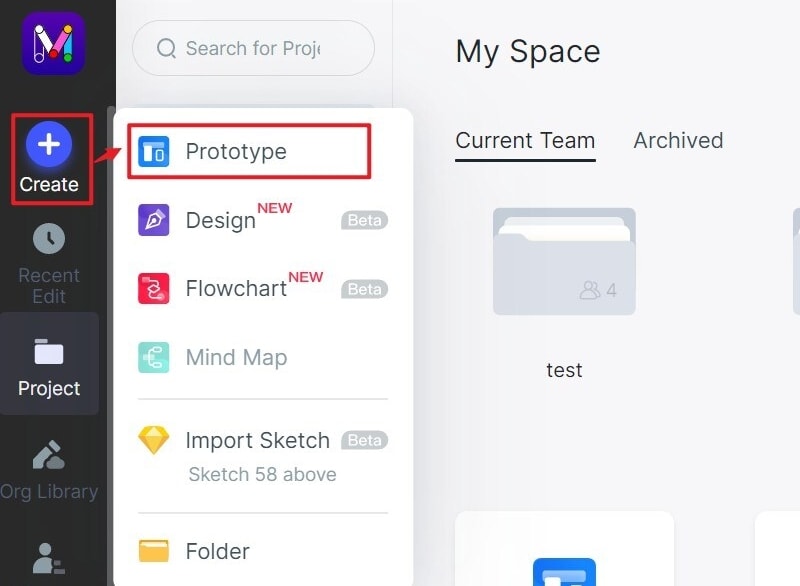
Create a prototype project in Mockitt and choose a suitable screen size. Give it a task-based name such as “Repair status: explain the next step.” The retained guide image illustrates an earlier project-creation interface; use the equivalent project controls in the workspace available to your account.
Step 2. Add Widgets
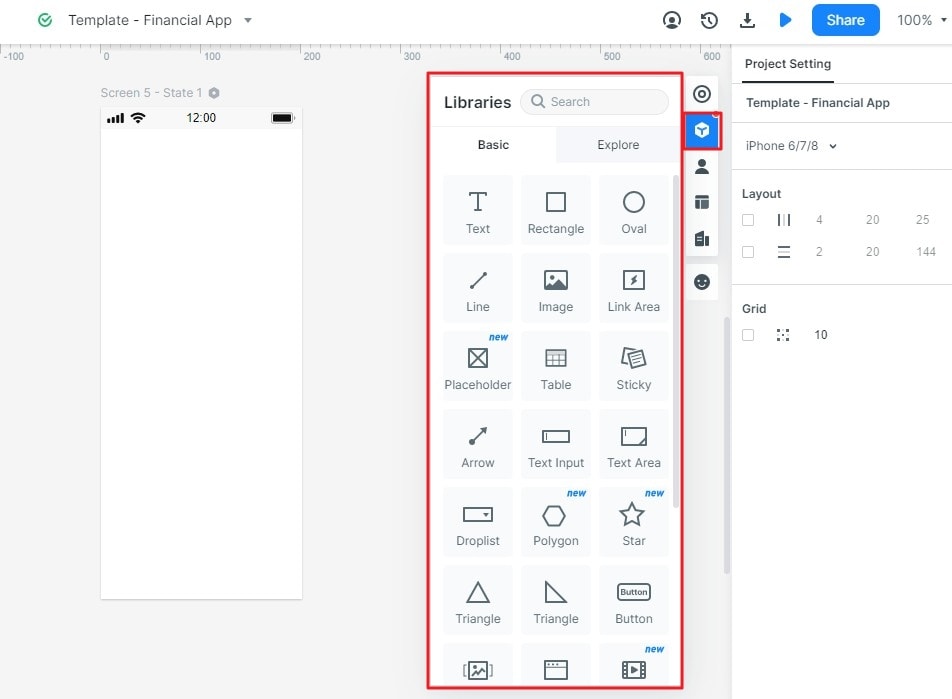
Add the components needed for the task: the repair reference, status, explanatory text, and a contact action. Keep realistic but fictional example content so reviewers can interpret the screen. Add another screen only when it represents a meaningful step, such as the contact form or the quote-ready state.
Step 3. Create Interactions
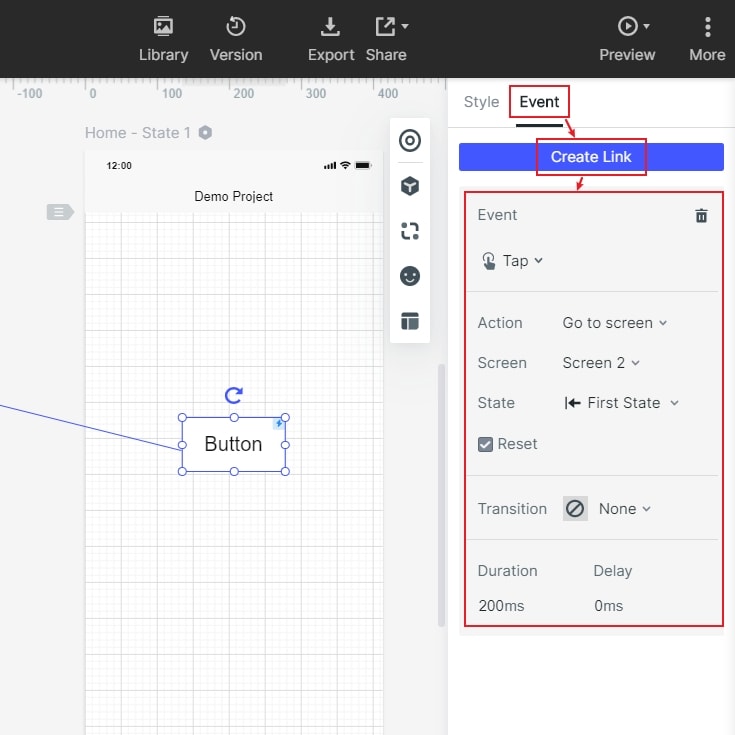
Connect the contact action to its intended destination. Define what each interaction demonstrates, then check the return path. The retained guide capture shows how a component can connect to another screen; exact panel placement can differ between versions. Do not imply that a prototype action sends a real service request.
Step 4. Preview
Preview the task and ask a colleague to follow it without extra instructions. Check that the status and next action remain understandable on the intended screen size. Capture unclear labels and missing states as specific changes, rather than accepting a general “looks good.”
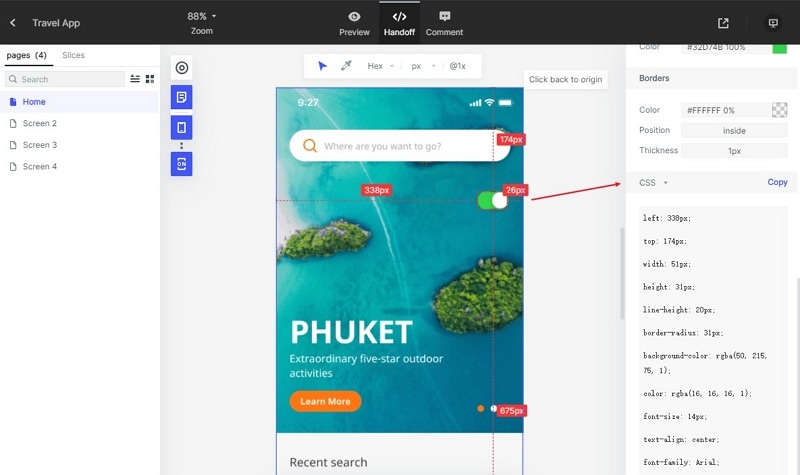
For handoff, share the reviewed flow, component states, content, and unresolved questions with developers. Inspectable styles or exported code drafts are supporting material; implementation still needs the real service data, permissions, accessibility checks, and testing.