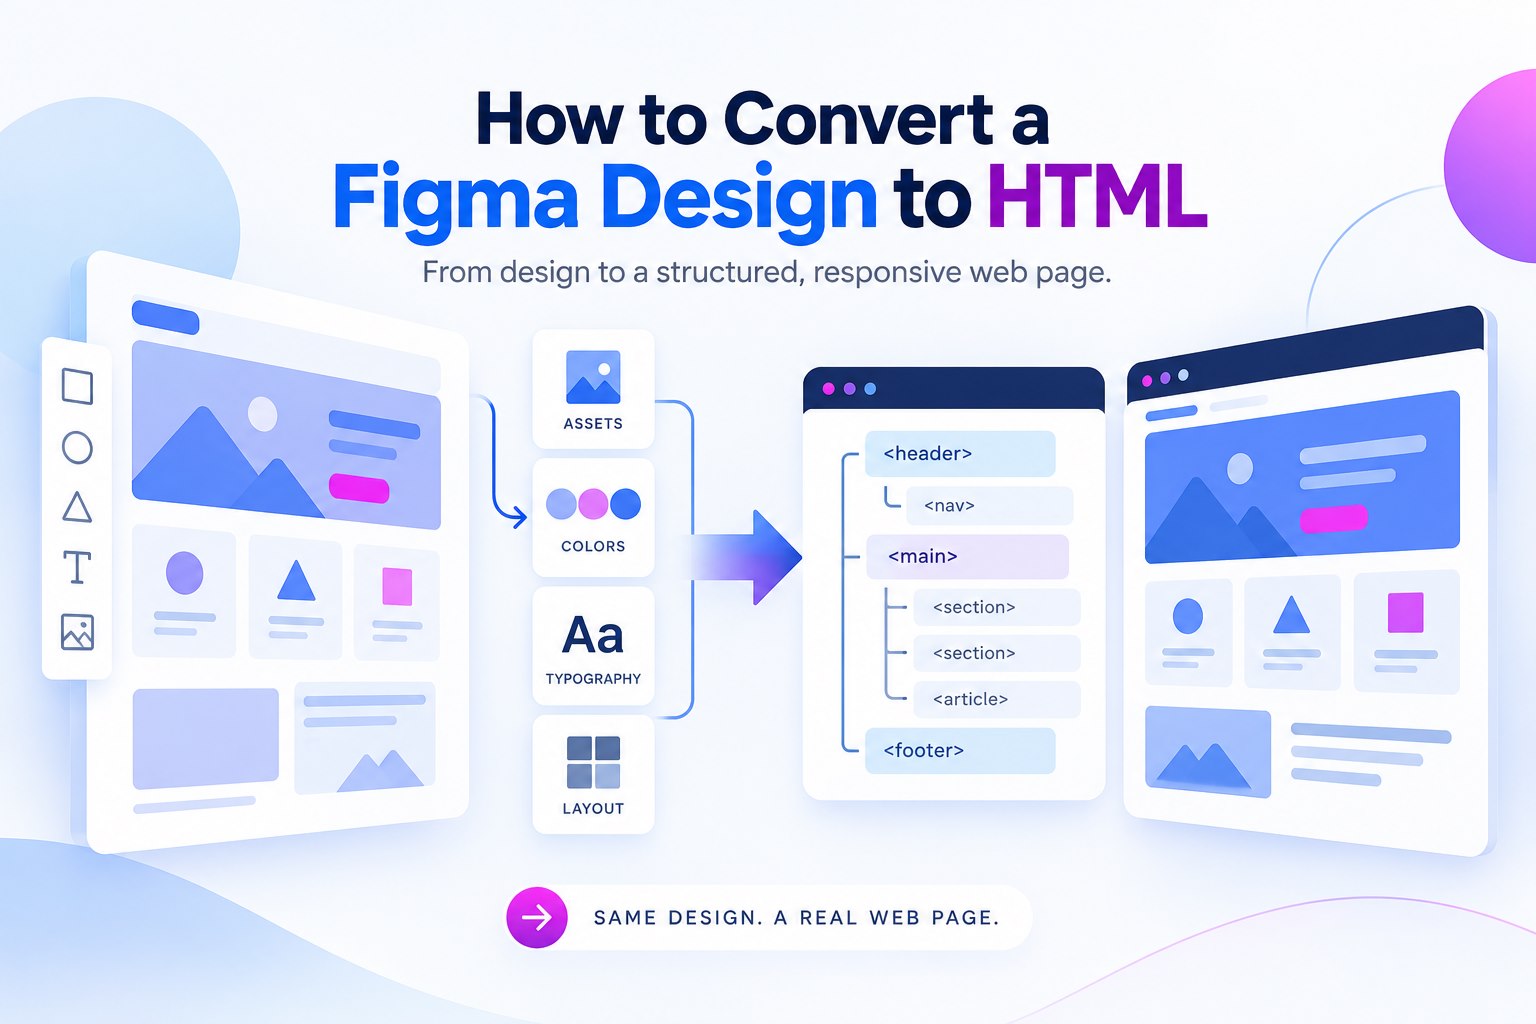
Figma is used to design interfaces and prototypes. If you need HTML after designing a screen, first decide whether you need a visual export for inspection or maintainable code for a working website. A design file alone does not define application data, accessibility, or production behavior.
Detailed Steps to Convert Figma to HTML
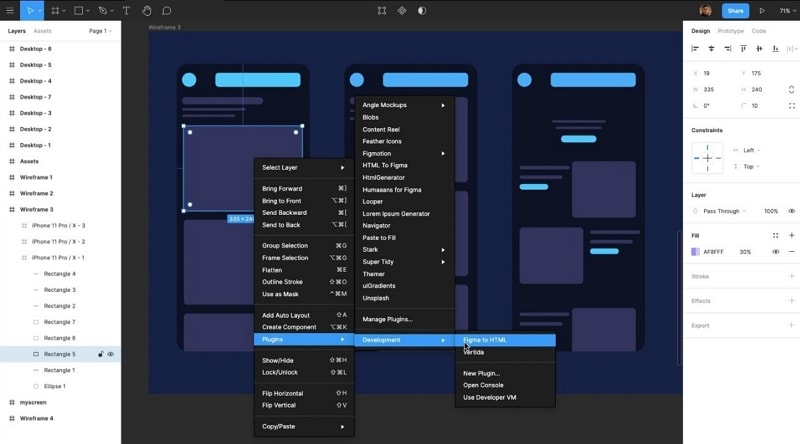
The historical example uses an HTML-export plugin. Before following it, check the plugin’s current availability, permissions, and output format; the steps below describe the export checks rather than endorsing an unverified plugin.
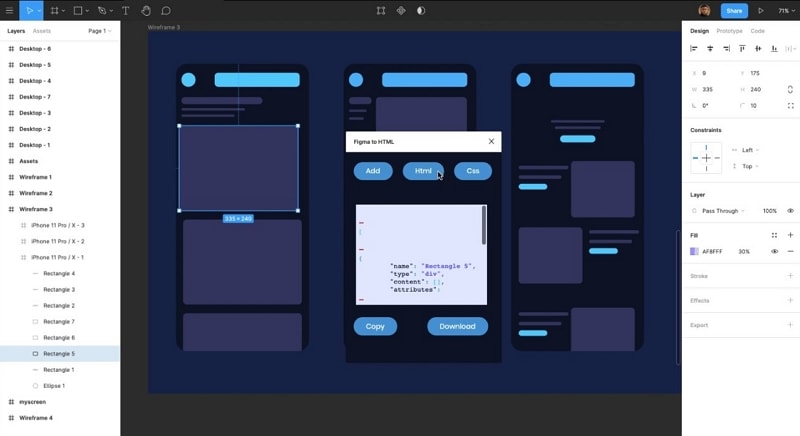
Step 1: Open the design in Figma and select the frame or elements to export. Run an installed HTML-export plugin using its current instructions. The original screenshot shows a plugin menu labeled “Figma to HTML”; menu placement and plugin names may differ from that historical example.
Step 2: Review the plugin’s output and export settings. If it provides a download or copy option, save the generated files and check which fonts, images, styles, and scripts are included.
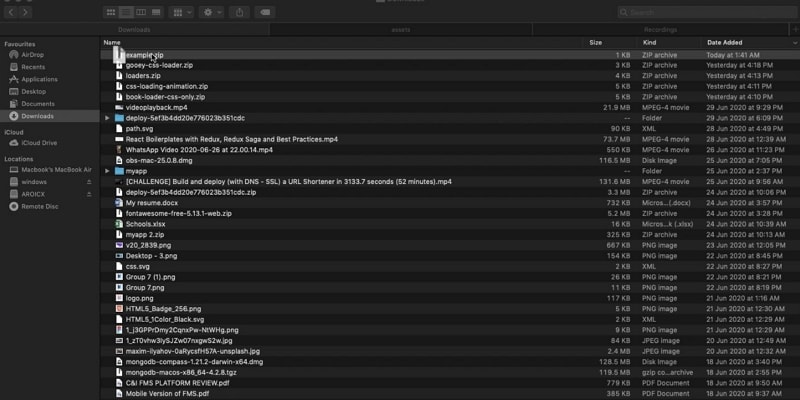
Step 3: Extract the downloaded package, open the entry page, and test the result at more than one viewport width. Compare headings, reading order, keyboard behavior, links, and missing assets with the design before handing the files to a developer.
A Separate Mockitt Prototype and Handoff Workflow
Mockitt offers a separate environment for building and reviewing a prototype in the browser. The steps below start with a Mockitt project; they are not a Figma-file conversion process. Use them when the next task is to validate screens and interactions or communicate a design to development.
Inspect and Export a Mockitt Prototype
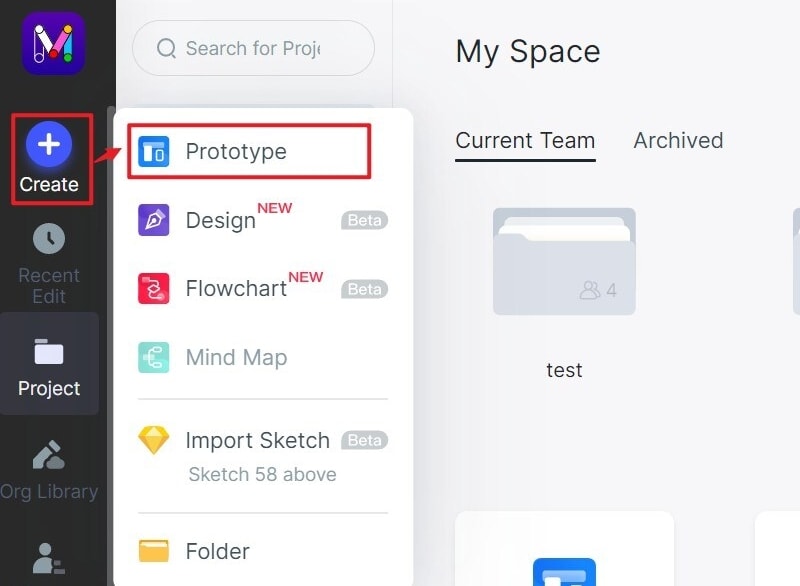
Step 1: Sign in to your Mockitt account first. If you don't have any account then you can create new one for free of cost. After signing in to your account you can click on the "Create" button and then hit "Project".
Step 2: In the next popup screen enter the name of your project then select device for which you want to create. Now from the drop down list select the mobile model and then click on the "Create" button.
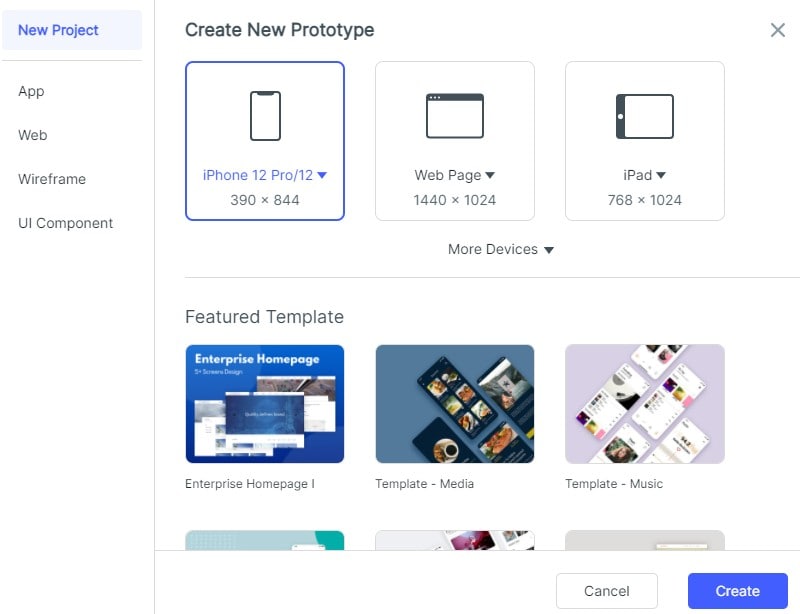
Step 3: After creating your project you will be redirected to the working dashboard where you can design your prototypes. Just simply drag and drop the widgets you need.
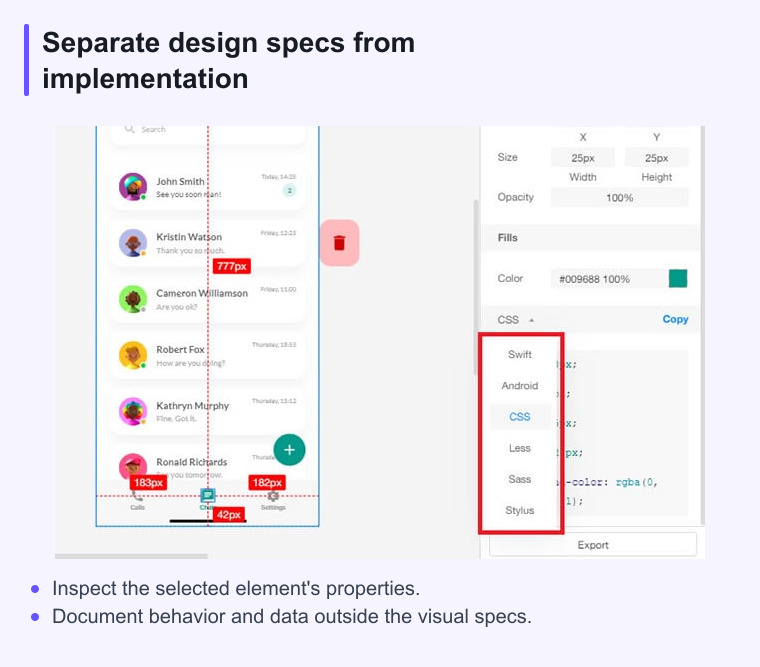
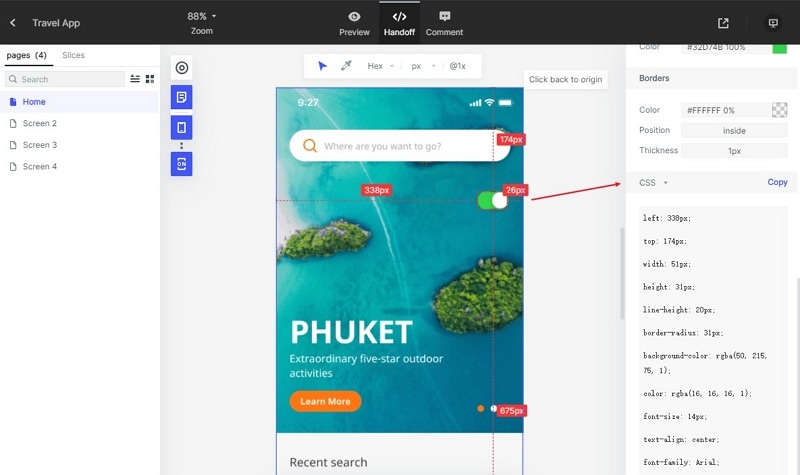
Step 4: Build the screens and interactions that need review. In a workspace that provides handoff inspection, inspect the relevant elements and record their visual specifications for development; style snippets are not a complete application.
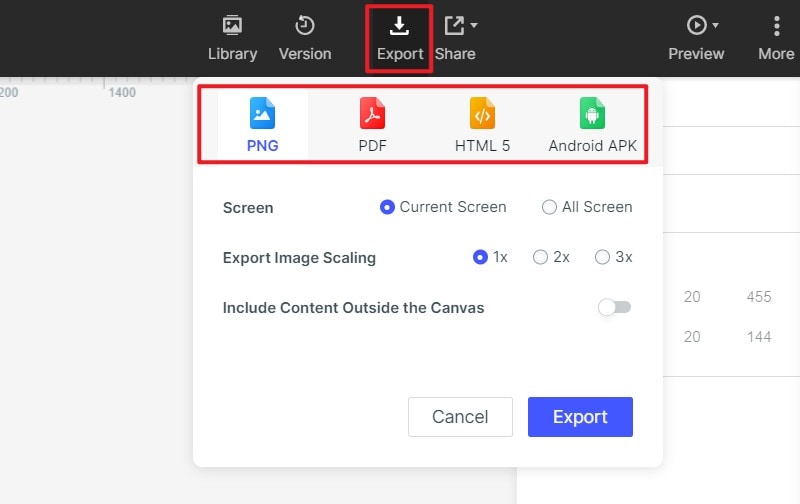
Step 5: If your workspace provides an HTML preview export, use the available export control and test the downloaded package. Treat it as a prototype preview unless the contents have been reviewed for the intended implementation; an HTML file alone does not establish production readiness.
Separate visual handoff from functional code
A design file can communicate layout, typography, assets, and responsive intent, but it does not by itself define production behavior. Before handoff, list the states, data dependencies, and interactions that still need implementation decisions.
If the team needs to validate the journey first, a clickable prototype can answer that question earlier than a code export. Keep the implementation notes alongside the screens so developers can see both the visual target and the expected behavior.